How to build a jQuery PDF viewer with PDF.js
Table of contents

If you’re looking to integrate a PDF viewer into your website or web application, you can easily do so using PDF.js(opens in a new tab), an open source library developed by Mozilla. When combined with jQuery, which simplifies event handling and DOM manipulation, this solution becomes incredibly versatile and user-friendly.
Overview of the tutorial
In this tutorial, the process is in two parts:
- Rendering and viewing a PDF in the browser using PDF.js.
- Building a fully featured PDF viewer with additional functionalities like zoom, navigation, and print, enhanced by the Nutrient jQuery PDF library.
Requirements
To get started, you’ll need:
- Node.js(opens in a new tab)
- A package manager for installing the Nutrient library. You can use npm(opens in a new tab) or Yarn(opens in a new tab). If you don’t want to use a package manager, you may choose to manually download the files into your project.
When you install Node.js,
npmis installed by default.
Understanding PDF.js and HTML5 canvas
PDF.js(opens in a new tab) is an open source JavaScript library developed by Mozilla that renders PDF files directly in the browser using HTML5’s <canvas> element. It parses PDF files and draws each page onto a <canvas>, allowing users to view and interact with documents without needing an external plugin.
The <canvas> element is a 2D drawing surface used to render visual content like text, images, or graphics. With jQuery, you can easily manipulate the DOM and control rendering behavior, like so:
<canvas id="canvas"></canvas>const $ctx = $('#canvas')[0].getContext('2d');This is the foundation of the jQuery + PDF.js viewer, allowing you to load and navigate PDF pages using familiar DOM manipulation and rendering APIs.
These features provide a solid foundation for building a complete and interactive PDF viewing experience.
You can see the end result here and access the full code on GitHub.(opens in a new tab)
Building a jQuery PDF viewer with PDF.js
Project setup
Before diving into the code, ensure you have the necessary libraries.
- PDF.js — This will help you render the PDF document into the browser.
- jQuery — Use this to handle user interactions and DOM manipulation.
- Font Awesome — For nice icons like arrows and zoom buttons.
Here’s the HTML file setup:
<!DOCTYPE html><html lang="en"> <head> <title>PDF Viewer in jQuery</title> <link rel="stylesheet" href="https://cdnjs.cloudflare.com/ajax/libs/font-awesome/6.6.0/css/all.min.css" crossorigin="anonymous" referrerpolicy="no-referrer" /> <script src="https://code.jquery.com/jquery-3.6.0.min.js"></script> <link rel="stylesheet" href="style.css" /> </head> <body> <header> <ul class="navigation"> <li class="navigation__item"> <a href="#" class="previous round" id="prev_page"> <i class="fas fa-arrow-left"></i> </a> <input type="number" value="1" id="current_page" /> <a href="#" class="next round" id="next_page"> <i class="fas fa-arrow-right"></i> </a> Page <span id="page_num">1</span> of <span id="page_count">1</span> </li> <li class="navigation__item"> <button class="zoom" id="zoom_in"> <i class="fas fa-search-plus"></i> </button> <button class="zoom" id="zoom_out"> <i class="fas fa-search-minus"></i> </button> </li> </ul> </header> <canvas id="canvas" class="canvas__container"></canvas> <script type="module" src="index.js"></script> </body></html>Core features of the PDF viewer
This PDF viewer comes with several key features:
- Navigation — Move between pages with Next and Previous buttons.
- Zoom — Zoom in and out of the PDF pages.
- Page jumping — Jump directly to a specific page by typing the page number.
JavaScript logic for the PDF viewer
Now, examine the JavaScript code that powers the PDF rendering and interaction:
const pdf = 'document.pdf';
// Import necessary modules from PDF.js.import {  GlobalWorkerOptions,  getDocument,} from 'https://cdn.jsdelivr.net/npm/pdfjs-dist@4.5.136/build/pdf.min.mjs';
// Set the worker source to the PDF.js worker.GlobalWorkerOptions.workerSrc =  'https://cdn.jsdelivr.net/npm/pdfjs-dist@4.5.136/build/pdf.worker.min.mjs';
const initialState = {  pdfDoc: null, // PDF document object.  currentPage: 1, // Current page number.  pageCount: 0, // Total number of pages.  zoom: 1, // Current zoom level.};
// Render the current page to the canvas.const renderPage = () => {  initialState.pdfDoc    .getPage(initialState.currentPage)    .then((page) => {      const canvas = $('#canvas')[0]; // Get canvas element.      const ctx = canvas.getContext('2d'); // Get canvas context.      const viewport = page.getViewport({        scale: initialState.zoom,      });
      canvas.height = viewport.height; // Set canvas height.      canvas.width = viewport.width; // Set canvas width.
      // Render the PDF page into the canvas.      const renderCtx = {        canvasContext: ctx,        viewport: viewport,      };
      page.render(renderCtx);
      // Update the page number on the UI.      $('#page_num').text(initialState.currentPage);    });};
// Load the PDF document.getDocument(pdf)  .promise.then((data) => {    initialState.pdfDoc = data; // Save the PDF document.    $('#page_count').text(initialState.pdfDoc.numPages); // Display total page count.
    renderPage(); // Render the first page.  })  .catch((err) => {    alert(err.message); // Handle error if PDF fails to load.  });
Key sections:
- Loading the PDF:
- The
getDocumentfunction from PDF.js loads the PDF. You specify the file (in this case,document.pdf). - The
promisefunction ensures the PDF is loaded before performing any operations.
- The
- Rendering pages:
- The
renderPage()function renders the current page on a canvas. - Use
getViewport()to adjust the zoom level and scale the page accordingly. - The
canvasContextrenders the content of the PDF page onto thecanvaselement on the webpage.
- The
Adding navigation and zoom controls
Now, take a look at the jQuery logic for handling navigation and zoom controls:
// Show Previous Page.const showPrevPage = () => {  if (initialState.pdfDoc === null || initialState.currentPage <= 1)    return;  initialState.currentPage--;  $('#current_page').val(initialState.currentPage); // Update current page input.  renderPage(); // Render the previous page.};
// Show Next Page.const showNextPage = () => {  if (    initialState.pdfDoc === null ||    initialState.currentPage >= initialState.pdfDoc.numPages  )    return;  initialState.currentPage++;  $('#current_page').val(initialState.currentPage); // Update current page input.  renderPage(); // Render the next page.};
// Zoom In.const zoomIn = () => {  if (initialState.pdfDoc === null) return;  initialState.zoom *= 1.25; // Increase the zoom factor.  renderPage(); // Rerender the current page with updated zoom.};
// Zoom Out.const zoomOut = () => { if (initialState.pdfDoc === null) return; initialState.zoom *= 0.8; // Decrease the zoom factor. renderPage(); // Rerender the current page with updated zoom.};- Navigation —
showPrevPage()andshowNextPage()update thecurrentPagevariable and rerender the page. - Zoom —
zoomIn()andzoomOut()adjust the zoom factor (initialState.zoom) and re-render the page at the new zoom level.
Adding event listeners with jQuery
Now, you need to handle the events triggered by the user:
// Bind events using jQuery.$('#prev_page').on('click', showPrevPage);$('#next_page').on('click', showNextPage);$('#zoom_in').on('click', zoomIn);$('#zoom_out').on('click', zoomOut);
// Keypress Event for jumping to a page.$('#current_page').on('keypress', (event) => {  if (initialState.pdfDoc === null) return;
if (event.keyCode === 13) { let desiredPage = parseInt($('#current_page').val()); initialState.currentPage = Math.min( Math.max(desiredPage, 1), initialState.pdfDoc.numPages, ); $('#current_page').val(initialState.currentPage); renderPage(); }});- Event bindings — jQuery is used to bind click events to the buttons. Each event handler corresponds to a specific function (e.g.
showPrevPage,zoomIn). - Keypress for jumping pages — If the user types a number in the
inputfield and presses Enter, the page jumps to the desired page.
Challenges of working with PDF.js
PDF.js is an open source library that provides basic PDF viewing functionality right out of the box. However, it has some limitations that can become apparent when working with more advanced use cases or large, complex documents.
- Limited documentation and an unstructured API design, leading to longer development times when customizing the PDF.js viewer.
- Significant time and developer resources are required to add advanced features — like annotations, document editing, and eSignatures — to the viewer.
- Performance issues with large or complex PDFs, leading to slow rendering and poor user experience. Handling large documents or highly detailed PDFs often leads to performance bottlenecks.
- Challenges in maintaining and fixing the viewer when a new version of PDF.js is released, often requiring additional development work.
Building a jQuery PDF viewer with Nutrient
The Nutrient jQuery PDF library offers several advantages over PDF.js, including:
- A prebuilt and polished UI for an improved user experience
- 15+ prebuilt annotation tools to enable document collaboration
- Support for more file types with client-side PDF, MS Office, and image viewing
- Dedicated support from engineers to speed up integration
Getting started with Nutrient for jQuery is straightforward. This tutorial will guide you through the setup process — from installing the library, to embedding the PDF viewer into your project.
Step 1 — Install the SDK
First, install Nutrient Web SDK using your package manager:
npm i @nutrient-sdk/viewerpnpm add @nutrient-sdk/vieweryarn add @nutrient-sdk/viewerStep 2 — Add the SDK to your project
Copy the SDK distribution files into your assets directory:
cp -R ./node_modules/@nutrient-sdk/viewer/dist/ ./assets/Your assets/ folder should now contain:
nutrient-viewer.jsnutrient-viewer-lib/(contains fonts, wasm, etc.)
Ensure your server supports WebAssembly with the correct MIME type: Content-Type: application/wasm. You can read more in our troubleshooting guide.
Step 3 — Add a container for the viewer
In your HTML file (index.html), add a container element where the viewer will render:
<div id="nutrient" style="width: 100%; height: 100vh;"></div>Step 4 — Add jQuery
Include jQuery in your page via a CDN:
<script src="https://ajax.googleapis.com/ajax/libs/jquery/3.7.1/jquery.min.js"></script>Step 5 — Load the viewer in jQuery
- Add the PDF document you want to display to your project’s directory. You can use the demo document as an example.
- Create a new file called
index.js. This file will load Nutrient Web SDK and initialize the viewer inside the#nutrientcontainer you added earlier in your HTML:
import './assets/nutrient-viewer.js';
// Set the path to where the viewer assets (like fonts and wasm) are located.const baseUrl = `${window.location.protocol}//${window.location.host}/assets/`;
$(document).ready(function () {  NutrientViewer.load({    baseUrl, // Points to the folder containing 'nutrient-viewer-lib'.    container: '#nutrient', // The DOM element where the viewer will be mounted.    document: 'document.pdf', // The file to render.  })    .then((instance) => {      console.log('Nutrient loaded', instance);    })    .catch((error) => {      console.error(error.message);    });});
Make sure you have a PDF file in your project’s root directory named document.pdf. You can use any PDF file you want, but this example uses the demo document provided.
- Then, import this module into your HTML file:
<script type="module" src="index.js"></script>Final HTML example
Here’s a complete index.html file that renders the viewer:
<!DOCTYPE html><html lang="en">  <head></head>  <body>    <!-- Viewer container -->    <div id="nutrient" style="width: 100%; height: 100vh;"></div>
    <!-- jQuery CDN -->    <script src="https://ajax.googleapis.com/ajax/libs/jquery/3.7.1/jquery.min.js"></script>
    <!-- Initialize viewer -->    <script type="module" src="index.js"></script>  </body></html>
Serving the viewer locally
To test the viewer locally, use the serve CLI tool:
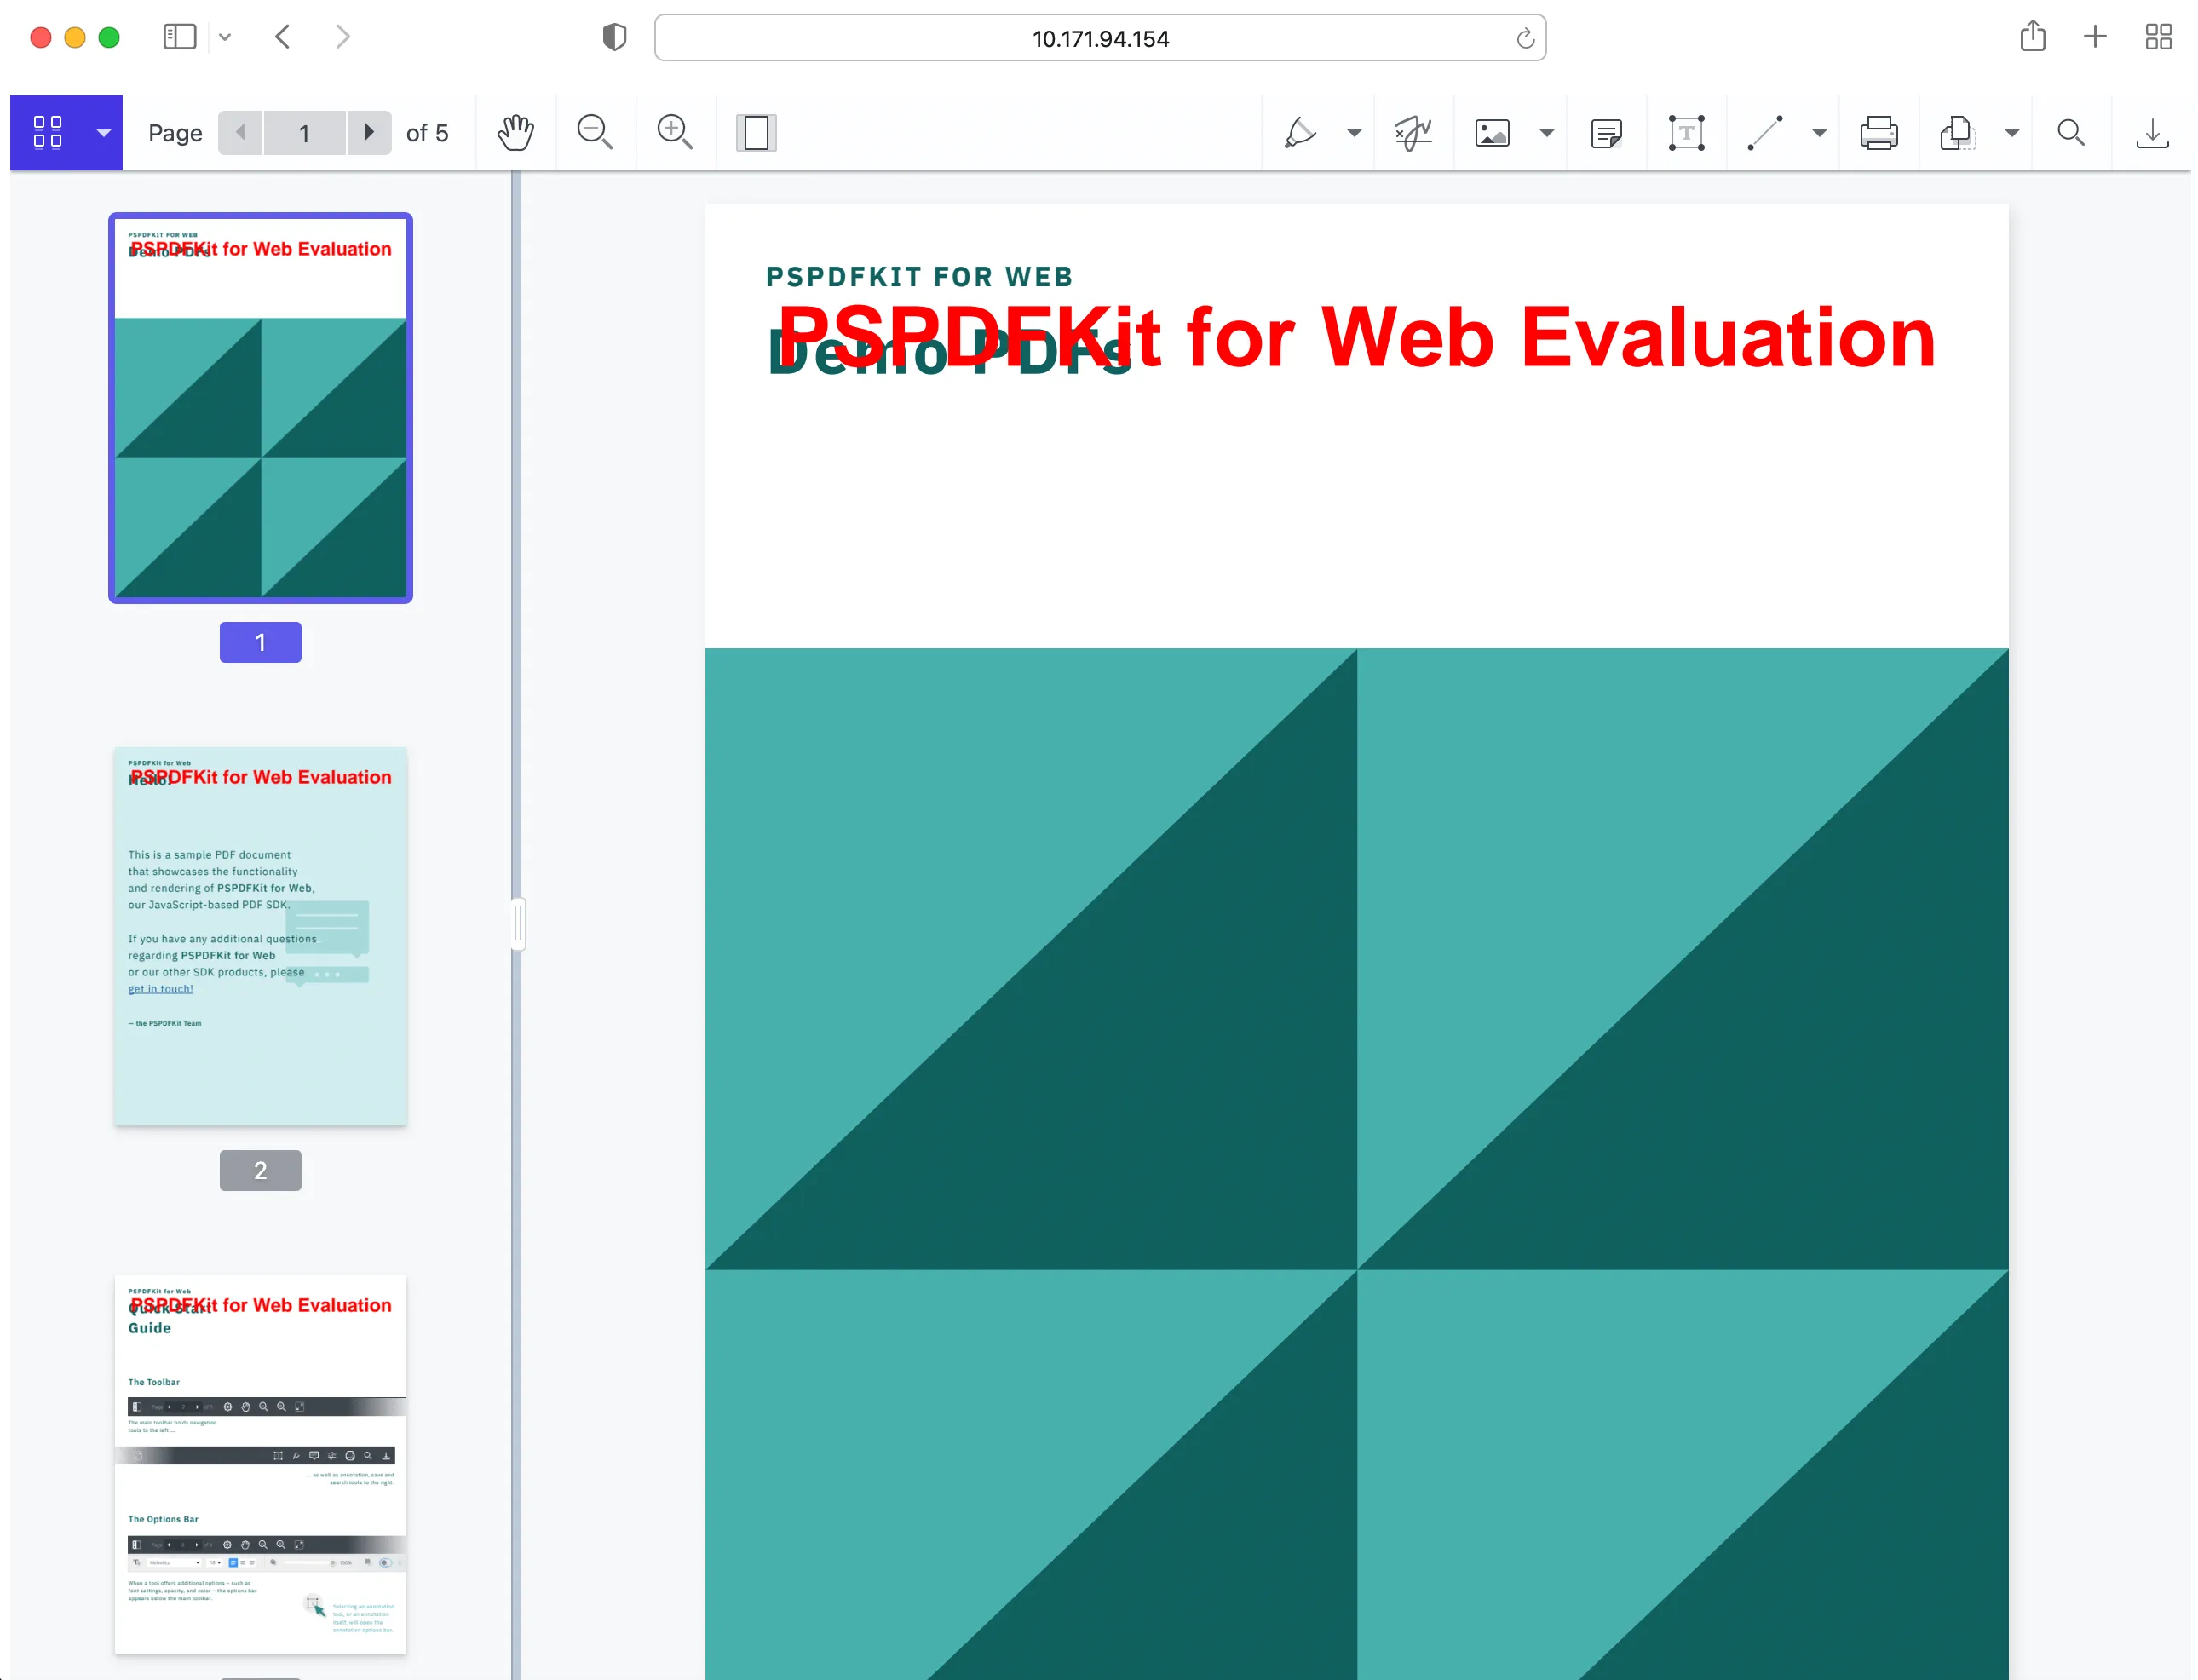
npm install --global serveserve -l 8080 .Then open http://localhost:8080(opens in a new tab) in your browser. You’ll see your PDF or image rendered in the viewer.

If you want to download Nutrient manually or integrate it as a module, you can check out our jQuery getting started guide.
Nutrient vs. PDF.js — Side-by-side feature comparison
While PDF.js is ideal for basic PDF rendering, Nutrient delivers a full-featured, enterprise-ready experience. Here’s a consolidated overview:
| Feature | PDF.js | Nutrient |
|---|---|---|
| Basic viewing | ✔️ Lightweight rendering via <canvas> | ✔️ High-fidelity rendering with multi-format support |
| Annotations | ❌ Requires custom dev work | ✔️ 15+ prebuilt annotation tools |
| Document editing | ❌ Not available | ✔️ Editing, form filling, digital signatures |
| Performance | ❌ Can lag on large documents | ✔️ Optimized for large, complex PDFs |
| Support | ❌ Community only | ✔️ Enterprise-grade support from dedicated engineers |
| Integration | ✔️ Works with basic setups | ✔️ Seamless integration across platforms and frameworks |
Conclusion
PDF.js is a fantastic lightweight, open source solution for simple PDF rendering needs. It’s an excellent choice for projects where basic PDF viewing functionality is sufficient, and there are no performance or complex interaction requirements. However, if you need more advanced features like annotations, document editing, real-time collaboration, or enterprise-level support, Nutrient stands out as a powerful solution.
We’ve also created similar tutorials for various web frameworks and libraries:
- How to build an Angular PDF viewer with PDF.js
- How to build a Vue.js PDF viewer with PDF.js
- How to build a React PDF viewer with PDF.js
- How to build a Bootstrap 5 PDF viewer with PDF.js
- How to build an Electron PDF viewer with PDF.js
- How to build a TypeScript PDF viewer with PDF.js
- How to build a JavaScript PDF viewer with PDF.js
To get started with our jQuery PDF viewer, try it for free, or launch our web demo.
FAQ
PDF.js is an open source JavaScript library focused on rendering PDFs in the browser, while Nutrient offers a commercial PDF SDK with more features like annotations, form filling, and OCR.
Yes, both libraries support annotations, but Nutrient provides a more extensive set of tools and customization options for annotations.
Yes, both libraries can handle large PDFs, but Nutrient has optimizations for better performance with larger files and complex documents.
Both viewers can be customized, but Nutrient offers more flexibility for custom UI elements and tools, especially in enterprise applications.
Yes, both libraries are compatible with popular JavaScript frameworks, though integration approaches may vary depending on project requirements.


