


How to build an Angular PDF viewer with PDF.js
Table of contents

Quickly compare three ways to add PDFs to your Angular app:
- PDF.js — A minimal, DIY viewer for basic rendering and navigation.
- ngx-extended-pdf-viewer — A plug‑and‑play UI built on PDF.js for faster setup.
- Nutrient Web SDK — An enterprise solution with out‑of‑the‑box annotations, form filling, and multi‑format support.
Pick PDF.js for simplicity, ngx-extended-pdf-viewer for speed, or Nutrient for full‑featured, production‑ready document handling.
Angular, developed by Google, is a powerful framework for building dynamic web applications, while PDF.js, an open source JavaScript library by Mozilla, enables seamless PDF rendering within browsers. This post will show how to combine these technologies to create a PDF viewer within an Angular app.
What you’ll learn
By the end of this tutorial, you’ll be able to:
- Set up a custom PDF.js viewer in Angular (canvas rendering, page navigation, zoom)
- Install and configure
ngx‑extended‑pdf‑viewerfor zero‑configuration embedding - Integrate Nutrient Web SDK for annotations, form filling, and Office documents
- Compare performance and UX tradeoffs between all three approaches
- Add accessibility features (keyboard navigation, ARIA labels, high‑contrast mode)
Why use PDF.js instead of native PDF viewing?
Most modern browsers, like Chrome and Firefox, include built-in PDF viewers that are sufficient for simple use cases — such as displaying static PDFs or allowing users to print documents. However, native viewers offer limited functionality and little-to-no flexibility for customization.
PDF.js, Mozilla’s open source JavaScript library, bridges that gap. It enables PDF rendering directly in the browser while providing control over how documents are displayed and interacted with. Here’s why PDF.js is a preferred choice for Angular applications:
- Consistent cross-browser support — Works reliably across all modern browsers, unlike native viewers which vary in capability and behavior.
- Interactive features — Supports zooming, page navigation, search, and rendering of complex PDF elements like forms, annotations, and embedded images.
- Customizable UI — Gives developers full control over the viewer interface, enabling seamless integration with your app’s design and UX requirements.
- Open source and extensible — Free to use, actively maintained, and easy to extend with custom features tailored to your specific needs.
If your application requires more than just viewing static PDFs — like advanced navigation, user interaction, or dynamic UI integration — PDF.js offers a powerful, flexible foundation to build on.
Open source and commercial Angular PDF viewer libraries
When integrating a PDF viewer into an Angular app, there are several options based on your needs and the features required. Here’s an overview of three popular libraries: PDF.js, ngx-extended-pdf-viewer, and Nutrient.
1. PDF.js
PDF.js is a lightweight, open source library designed for basic PDF viewing. It’s great for simple PDFs but requires additional effort for advanced features like UI customization or annotations.
Features
- Lightweight core library — Minimal footprint; no UI scaffolding, so you only bundle what you need.
- Canvas‑based rendering — High‑fidelity drawing of text, vectors, and images via
<canvas>. - Separate worker thread — Offloads parsing and rendering to a web worker for smooth UI performance.
- Text layer support — Extract selectable, searchable text overlay for copy/paste and accessibility.
- Customizable interaction — Events for page load, rendering, links, and text selection let you wire up your own UI.
- Fully open source — No license fees, and a vibrant community for bug fixes and enhancements.
2. ngx-extended-pdf-viewer
ngx-extended-pdf-viewer is a popular open source library built on top of PDF.js, offering a richer user interface and more advanced features right out of the box. It’s highly customizable, making it easy to tweak the viewer’s look and behavior. This library is ideal for developers who need both flexibility and an out-of-the-box solution.
Features
- Built on PDF.js, with a prebuilt UI for zoom, page navigation, text selection, and more.
- Highly customizable and well-documented.
- Actively maintained, with great support from its developers.
3. Nutrient Web SDK
Nutrient is a commercial PDF viewer with a comprehensive feature set, ideal for enterprises and applications requiring advanced PDF functionalities.
Features
- A prebuilt UI — Save time with a well-documented list of APIs when customizing the UI to meet your exact requirements.
- Annotation tools — Draw, circle, highlight, comment, and add notes to documents with 15+ prebuilt annotation tools.
- Multiple file types — Support client-side viewing of PDFs, MS Office documents, and image files.
- 30+ features — Easily add features like PDF editing, digital signatures, form filling, real-time document collaboration, and more.
- Dedicated support — Deploy faster by working 1-on-1 with our developers.
| Feature/library | Setup effort | UI customization | Advanced features |
|---|---|---|---|
| PDF.js | Low | High (DIY) | None (render-only) |
| ngx-extended-pdf-viewer | Medium | Medium (config props) | Search, text selection, print |
| Nutrient Web SDK | Low | Low (prebuilt theming) | Annotations, forms, Office |
Requirements for implementing an Angular PDF viewer
To get started, you’ll need:
- The latest version of Node.js(opens in a new tab).
- A package manager for installing the Angular CLI and importing packages. You can use
npm(opens in a new tab) oryarn(opens in a new tab).
When you install Node.js, npm is installed by default.
Setup
Go to your terminal and install the Angular command-line interface (CLI)(opens in a new tab). This will help you get up and running quickly with Angular:
npm install -g @angular/cliNow, you can check the version of Angular:
ng versionIntegrate PDF.js into your Angular project
Setting up the Angular project
Start by setting up a new Angular project. If you already have an Angular project, you can skip this step.
Open your terminal and run the following commands:
Terminal window ng new angular-pdf-viewercd angular-pdf-viewerNext, install the
pdfjs-distpackage, which contains the PDF.js library:Terminal window npm install pdfjs-distConfigure the worker file:
PDF.js relies on a separate worker file for improved performance. You need to configure Angular to serve this worker file properly.
First, create the assets directory under the src folder if it doesn’t exist:
mkdir -p src/assetsCopy the pdf.worker.min.mjs file into the assets directory of your Angular project. You can use the following bash command:
cp node_modules/pdfjs-dist/build/pdf.worker.min.mjs src/assets/Make sure to add your sample.pdf file (or any PDF file you want to render) to the assets directory. This will allow you to load the PDF from this path in the loadPdf method later on.
Your project structure should look like this:
angular-pdf-viewer/├── src/ ├── assets/ ├── pdf.worker.min.mjs <-- Copied worker file ├── sample.pdf <-- Your sample PDFOpen your angular.json file and add the following to the "assets" array to include the PDF.js worker file:
"assets": [ "src/assets", { "glob": "pdf.worker.min.mjs", "input": "node_modules/pdfjs-dist/build/", "output": "/assets/" }],This ensures the worker file is accessible in the application and can be used to offload processing tasks.
Creating the PDF viewer component
Now, you’ll create a new component where you’ll implement the PDF viewer. This component will contain all the logic for rendering the PDF and handling navigation and zoom functionality.
Run the following Angular CLI command to generate the component:
ng generate component pdf-viewerThe next step is to create the HTML template and styles that define the layout of your PDF viewer.
The HTML template, pdf-viewer.component.html, includes buttons for navigation, zoom controls, and a container for displaying the PDF document:
<div class="pdf-viewer-controls">  <button (click)="goToPrevPage()" [disabled]="currentPage <= 1">    Previous  </button>  <span>Page {{ currentPage }} of {{ totalPages }}</span>  <button (click)="goToNextPage()" [disabled]="currentPage >= totalPages">    Next  </button>  <button (click)="zoomIn()">Zoom In</button>  <button (click)="zoomOut()">Zoom Out</button></div>
<div class="pdf-container"> <div #pdfContainer></div></div>- Navigation buttons — The Previous and Next buttons allow the user to navigate between PDF pages.
- Zoom controls — The Zoom In and Zoom Ou buttons adjust the zoom level for the PDF.
- PDF container — The
#pdfContainerdiv is where the PDF pages will be rendered dynamically using the<canvas>element.
Adding the component logic
Now, you’ll implement the logic to load and render the PDF, handle navigation, and adjust zoom. This will be done in the TypeScript file of the component.
Implement the TypeScript logic with pdf-viewer.component.ts, like so:
import { Component, OnInit, OnDestroy, ElementRef, ViewChild,} from "@angular/core";import * as pdfjsLib from "pdfjs-dist";
@Component({ selector: "app-pdf-viewer", templateUrl: "./pdf-viewer.component.html", styleUrls: ["./pdf-viewer.component.css"],})export class PdfViewerComponent implements OnInit, OnDestroy {87 collapsed lines
@ViewChild("pdfContainer", { static: true }) pdfContainer!: ElementRef<HTMLDivElement>; private pdfDocument: any; private currentPageNumber = 1; private scale = 1.5; totalPages = 0; currentPage = 1;
constructor() {}
ngOnInit(): void { this.loadPdf(); }
ngOnDestroy(): void { // Clean up resources when the component is destroyed. }
// Load the PDF file. async loadPdf() { try { const pdfjs = pdfjsLib as any; pdfjs.GlobalWorkerOptions.workerSrc = "assets/pdf.worker.min.mjs";
const loadingTask = pdfjs.getDocument("assets/sample.pdf"); // Path to your PDF file. this.pdfDocument = await loadingTask.promise; this.totalPages = this.pdfDocument.numPages; this.renderPage(this.currentPageNumber); } catch (error) { console.error("Error loading PDF:", error); } }
// Render a specific page of the PDF. async renderPage(pageNumber: number) { const page = await this.pdfDocument.getPage(pageNumber); const viewport = page.getViewport({ scale: this.scale });
const container = this.pdfContainer.nativeElement; container.innerHTML = ""; // Clear previous content
const canvas = document.createElement("canvas"); container.appendChild(canvas);
const context = canvas.getContext("2d")!; canvas.height = viewport.height; canvas.width = viewport.width;
const renderContext = { canvasContext: context, viewport: viewport, };
await page.render(renderContext).promise; }
// Navigate to the previous page. goToPrevPage() { if (this.currentPageNumber > 1) { this.currentPageNumber--; this.currentPage = this.currentPageNumber; this.renderPage(this.currentPageNumber); } }
// Navigate to the next page. goToNextPage() { if (this.currentPageNumber < this.totalPages) { this.currentPageNumber++; this.currentPage = this.currentPageNumber; this.renderPage(this.currentPageNumber); } }
// Zoom in to the PDF. zoomIn() { this.scale += 0.25; this.renderPage(this.currentPageNumber); }
// Zoom out of the PDF. zoomOut() { if (this.scale > 0.5) { this.scale -= 0.25; this.renderPage(this.currentPageNumber); } }}- PDF loading — The
loadPdffunction uses thepdfjsLib.getDocumentmethod to load the PDF document. You can replace'assets/sample.pdf'with the URL or the path of any PDF you want to display. - Page rendering — The
renderPagemethod renders the current page of the PDF to a<canvas>element. This method is called whenever the page changes or the zoom level is adjusted. - Navigation — The
goToPrevPageandgoToNextPagemethods update thecurrentPageNumberand callrenderPageto load the respective page. - Zoom — The
zoomInandzoomOutmethods adjust thescalevalue, which in turn changes the zoom level of the rendered PDF page.
Styling the PDF viewer
Now you’ll add some basic styles to make the viewer user-friendly and visually appealing.
Add the styling (pdf-viewer.component.css):
.pdf-viewer-controls {  display: flex;  justify-content: center;  margin-bottom: 10px;}
button {  margin: 0 5px;  padding: 5px 10px;}
.pdf-container {  display: flex;  justify-content: center;  align-items: center;}
Run the application
Start your Angular application by running:
ng serveOpen your browser and navigate to http://localhost:4200. You’ll see your PDF viewer with navigation controls to browse through the pages.
Access the project on GitHub(opens in a new tab).
Building an Angular PDF viewer with ngx-extended-pdf-viewer
Open your terminal and create a new Angular project in a fresh folder:
mkdir pdf-viewer && cd pdf-viewerng new ngx-pdf-viewer- When prompted, choose:
- Routing — No
- Stylesheet format — CSS
Then move into the new project directory and start the dev server:
cd ngx-pdf-viewernpm startThe app should now be running at http://localhost:4200(opens in a new tab).
Adding ngx-extended-pdf-viewer
Run the command below to install the ngx-extended-pdf-viewer library via npm or yarn. This will install the latest version of the library:
npm install ngx-extended-pdf-viewerNow you need to configure the angular.json file. You’ll add this configuration under the projects > yourProjectName > architect > build > options > assets section:
"assets": [ "src/favicon.ico", "src/assets", { "glob": "**/*", "input": "node_modules/ngx-extended-pdf-viewer/assets/", "output": "/assets/" }],Go to the app.component.ts file, import NgxExtendedPdfViewerModule from ngx-extended-pdf-viewer, and pass it to the imports array:
import { Component } from '@angular/core';import { RouterOutlet } from '@angular/router';import { NgxExtendedPdfViewerModule } from 'ngx-extended-pdf-viewer';
@Component({  selector: 'app-root',  standalone: true,  imports: [RouterOutlet, NgxExtendedPdfViewerModule],  templateUrl: './app.component.html',  styleUrls: ['./app.component.css']})
Displaying a PDF
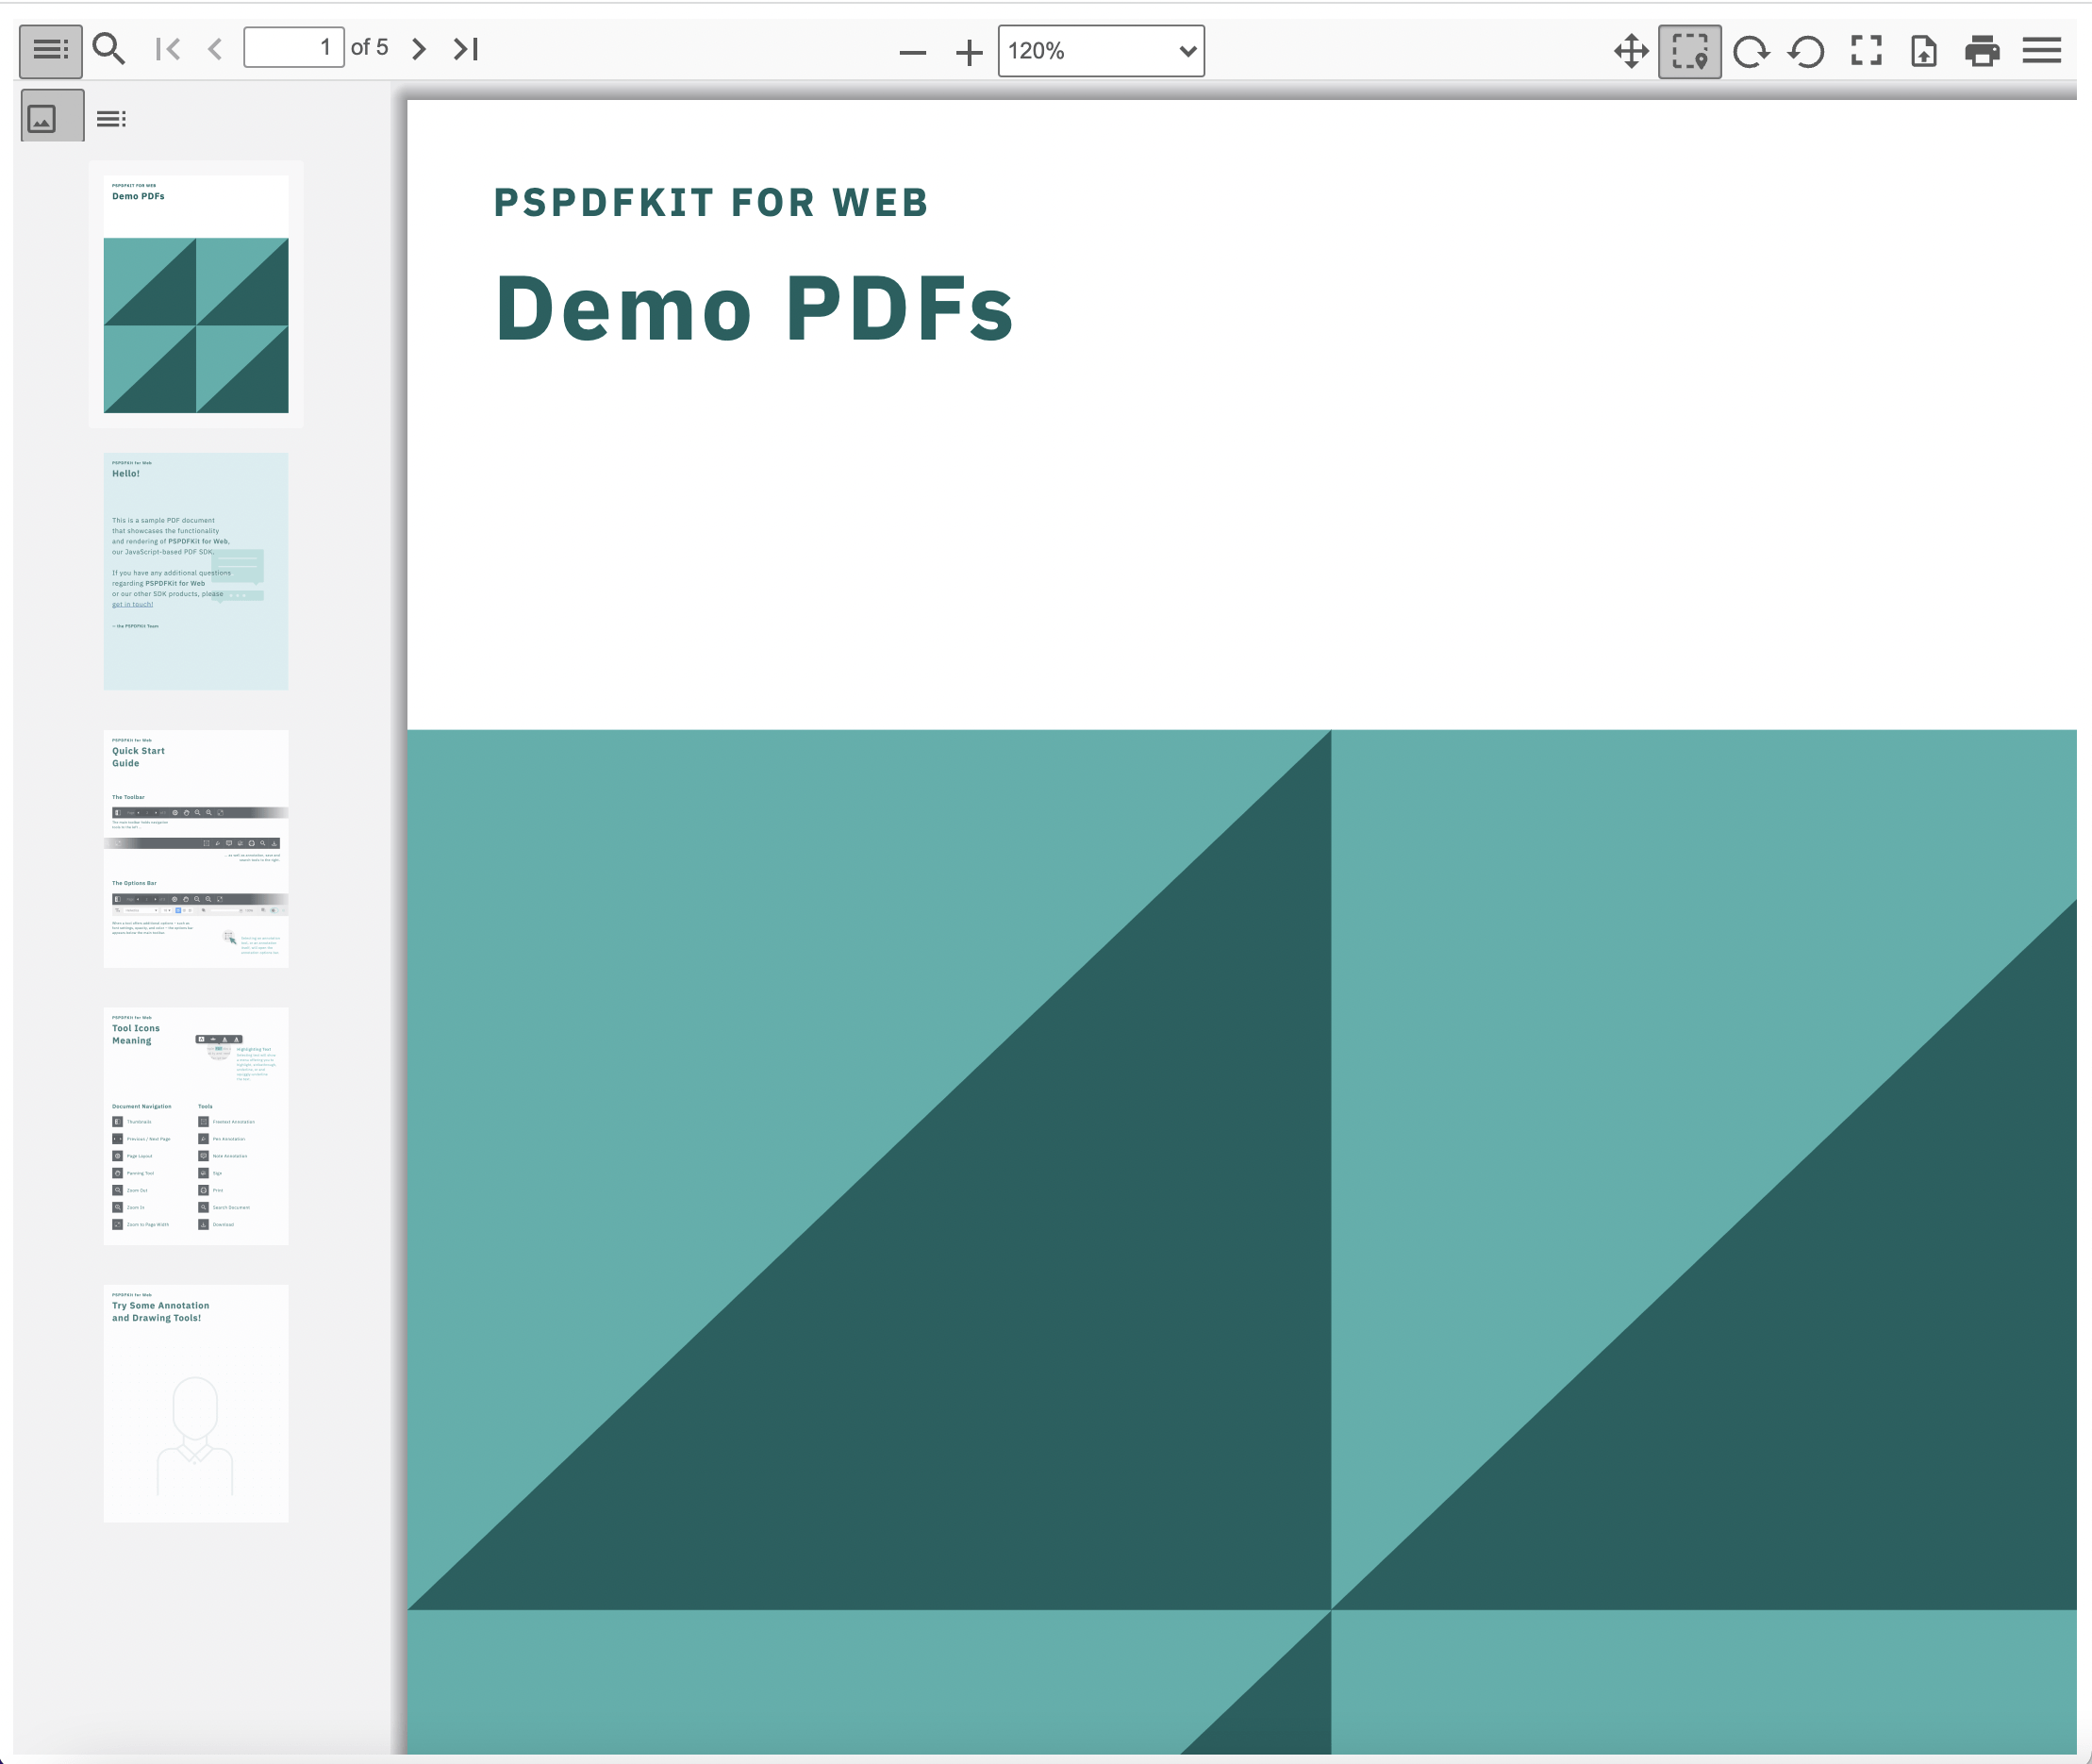
Add your PDF document to the src/assets directory. You can use our demo document as an example.
There’s one more step left to see the PDF file in the browser. Go to the app.component.html file and replace the contents of app.component.html with:
<ngx-extended-pdf-viewer [src]="'assets/example.pdf'" [textLayer]="true" [showHandToolButton]="true" [showPresentationModeButton]="true" [showDownloadButton]="true"></ngx-extended-pdf-viewer>There are many configuration options you can use. You can see all the options(opens in a new tab) on the ngx-extended-pdf-viewer website.
Now, run your project with the following command:
ng serveNavigate to localhost:4200 to see your PDF file.
Access the project on GitHub(opens in a new tab).
Building an Angular PDF viewer with Nutrient
While ngx-extended-pdf-viewer is a solid open source option, it comes with some tradeoffs:
- Frequent changes in the library can break your app unless you’re using the latest version.
- Performance issues with large files (e.g. 1,000+ page documents) have been reported.
For a more robust, enterprise-ready solution, Nutrient provides a modern PDF viewing experience with enhanced performance, editing tools, and support for images and Office documents — all in one viewer.
The following section will walk through how to integrate Nutrient Web SDK into your Angular project.
Add PDF functionality with Angular using Nutrient Web SDK
Nutrient Web SDK is a fast, flexible JavaScript library for rendering and interacting with PDFs entirely in the browser. It requires no server-side rendering and includes features like form filling, dark mode, bookmarks, and responsive design.
Follow the steps below to integrate Nutrient into your Angular app and build a fully functional PDF viewer.
Step 1 — Install the Nutrient viewer
Install the SDK package using your preferred package manager:
npm install @nutrient-sdk/viewerThen, configure Angular to copy the SDK’s required assets at build time. Open your angular.json file and add this to the assets array:
"assets": [ "src/assets", { "glob": "**/*", "input": "./node_modules/@nutrient-sdk/viewer/dist/nutrient-viewer-lib/", "output": "./assets/nutrient-viewer-lib/" }]This ensures Nutrient’s JavaScript and WebAssembly files are bundled into your app so the SDK can load them when the viewer runs.
Step 2 — Create and configure the PDF viewer
Use Angular CLI to create a new component:
ng generate component pdf-viewerThis creates the component’s HTML, TypeScript, and CSS files in src/app/pdf-viewer.
In pdf-viewer.component.html, add a container where the viewer will mount:
<div class="pdf-viewer"> <div id="nutrient-container" style="width: 100%; height: 100vh"></div></div>The #nutrient-container div is where the SDK will render the PDF viewer UI.
Load and render the PDF
In pdf-viewer.component.ts, initialize the SDK:
import { Component, OnInit } from "@angular/core";import NutrientViewer from "@nutrient-sdk/viewer";
@Component({  selector: "pdf-viewer",  templateUrl: "./pdf-viewer.component.html",  styleUrls: ["./pdf-viewer.component.css"],  standalone: true,})export class PdfViewerComponent implements OnInit {  ngOnInit(): void {    NutrientViewer.load({      // The SDK loads viewer assets from this base URL.      baseUrl: `${location.protocol}//${location.host}/assets/`,      // PDF document to load.      document: "/assets/document.pdf",      // DOM container where the viewer should be rendered.      container: "#nutrient-container",    }).then((instance) => {      // Optional: expose viewer instance for debugging.      (window as any).instance = instance;    });  }}
Add a sample PDF to the src/assets folder and name it document.pdf, or use any PDF file you want to display. Nutrient Web SDK will automatically load this file when the viewer initializes.
Step 3 — Display the viewer in your app
To make the viewer appear, import and use the PdfViewerComponent in your root component.
In app.component.ts:
import { Component } from "@angular/core";import { RouterOutlet } from "@angular/router";import { PdfViewerComponent } from "./pdf-viewer/pdf-viewer.component";
@Component({  selector: "app-root",  imports: [RouterOutlet, PdfViewerComponent],  templateUrl: "./app.component.html",  styleUrls: ["./app.component.css"],})export class AppComponent {  title = "angular";}
In app.component.html:
<pdf-viewer></pdf-viewer>This mounts your PDF viewer on the page using Angular’s component system.
Step 4 — Run the application
Start your Angular app with:
npm run devNavigate to http://localhost:4200 and you’ll see your PDF rendered inside the Nutrient viewer. The UI includes zoom, navigation, full-text search, annotation tools, and more — all ready to use.
Access the project on GitHub(opens in a new tab).
Troubleshooting common issues
When integrating PDF.js into your Angular project, you might encounter some common issues. Here are some potential problems and their solutions.
1. PDF.js not rendering correctly
Issue: Sometimes, the PDF doesn’t render or displays incorrectly (blank or garbled).
Solution: Ensure that the pdf.worker.min.mjs file is correctly linked in the angular.json file and served from the correct location. Double-check the file path and the worker configuration in the loadPdf method.
2. Cross-origin resource sharing (CORS) errors
Issue: When loading PDFs from a different domain, you may get CORS errors.
Solution: You need to ensure that the server hosting the PDFs has CORS enabled, or you can load the PDFs from the same server as your Angular app.
3. PDF.js library loading issues
Issue: The library doesn’t load or gives an error such as “Unable to find PDF.js.”
Solution: Ensure you’ve correctly installed pdfjs-dist and the path to the worker file is accurate. If using a CDN for PDF.js, make sure the CDN is accessible.
Performance optimization techniques
Lazy loading of PDF documents
When dealing with large PDFs, it can be inefficient to load the entire document upfront. Implementing lazy loading of individual pages can significantly improve performance.
Here’s how you can implement lazy loading:
- Load pages dynamically — Instead of loading all pages at once, load the page as the user navigates to it.
- Preload adjacent pages — When navigating to a page, preload the next and previous pages in the background to avoid delays when flipping through pages.
Efficient memory management
To prevent memory leaks and improve performance, ensure each page is disposed of when it’s no longer needed. You can use page.cleanup() to clear resources when a page is no longer in view.
Handling large files
When dealing with large files, consider the following strategies:
- Split the document — If possible, split large PDFs into smaller chunks and load them as needed.
- Limit concurrent render operations — Ensure that only a few pages are rendered concurrently, especially on mobile devices with limited memory.
Enhancing user experience
Custom navigation controls
Implementing custom controls for PDF navigation can improve user experience. You can customize the “Previous” and “Next” buttons to offer more control, such as adding a jump-to-page feature or a slider for easy navigation through pages:
<!-- Add a custom page input --><input type="number" [(ngModel)]="currentPage" (ngModelChange)="navigateToPage($event)" [max]="totalPages" [min]="1"/>// TypeScript logic for custom page navigation.navigateToPage(pageNumber: number) { if (pageNumber > 0 && pageNumber <= this.totalPages) { this.currentPageNumber = pageNumber; this.renderPage(this.currentPageNumber); }}Responsive design
To ensure the PDF viewer is mobile-friendly, you can apply CSS media queries to make the viewer adjust to different screen sizes:
/* Responsive Design for PDF viewer */@media (max-width: 600px) { .pdf-viewer-controls { flex-direction: column; align-items: center; } .pdf-container { max-width: 100%; overflow: hidden; }}Accessibility features
Adding accessibility features makes the PDF viewer usable for users with disabilities.
Keyboard navigation — Ensure users can navigate through pages using the keyboard (e.g. Arrow Up/Down).
Screen reader support — Provide proper
alttext oraria-labelattributes for buttons and elements:<button(click)="goToPrevPage()"[aria-label]="'Go to previous page'"[disabled]="currentPage <= 1">Previous</button>High contrast mode — Provide an option for high-contrast viewing modes for users with visual impairments:
/* High Contrast Mode */.high-contrast-mode {background-color: black;color: white;}
Conclusion
In this tutorial, you explored two popular approaches for building a PDF viewer in Angular — using the open source ngx-extended-pdf-viewer library, and using the commercial-grade Nutrient Web SDK.
For basic PDF viewing, open source tools like PDF.js or ngx-extended-pdf-viewer can get you started quickly. But when you need advanced functionality — like annotations, form handling, Office file support, or a polished UI — a commercial solution like Nutrient offers significant advantages.
Looking for a production-ready Angular PDF viewer that’s customizable, performant, and well-documented? Try Nutrient for free, or explore our live demo.
Explore more framework guides
Want to build a PDF viewer with a different tech stack? Check out our other tutorials:
- How to build a React PDF viewer with PDF.js
- How to build a Vue.js PDF viewer with PDF.js
- How to build a jQuery PDF viewer with PDF.js
- How to build a Bootstrap 5 PDF viewer with PDF.js
- How to build an Electron PDF viewer with PDF.js
- How to build a TypeScript PDF viewer with PDF.js
- How to build a JavaScript PDF viewer with PDF.js
Related Angular guides
Framework comparisons
FAQ
ngx-extended-pdf-viewer supports Angular 9-13, uses PDF.js, and is highly customizable with features like text layers, zoom controls, and more.
Use Nutrient if you need advanced features like PDF editing, annotation tools, multi-format support, or improved performance.
Install Angular CLI, create a new Angular project, add ngx-extended-pdf-viewer via npm or yarn, configure it in angular.json, and update app.component.html to display your PDF.
Install Nutrient, configure angular.json to include its assets, and update app.component.html and app.component.ts to load and display the PDF using Nutrient.


