


How to build an Electron PDF viewer with PDF.js
Table of contents

In this post, you’ll learn how to build an Electron PDF viewer with PDF.js(opens in a new tab). Electron(opens in a new tab) is an open source framework maintained by GitHub and written in many languages, including JavaScript. This makes building a cross-platform desktop application with Electron as easy as writing some JavaScript. Meanwhile, PDF.js is an open source JavaScript library created and maintained by Mozilla, and it allows you to view PDF documents in your browser.
In the first part, you’ll create a PDF viewer with PDF.js In the second part, you’ll create the PDF viewer using our Electron PDF library. Our viewer library provides some benefits beyond what PDF.js provides, including:
- A prebuilt UI — Save time with a well-documented list of APIs when customizing the UI to meet your exact requirements.
- Annotation tools — Draw, circle, highlight, comment, and add notes to documents with 15+ prebuilt annotation tools.
- Multiple file types — Support client-side viewing of PDFs, MS Office documents, and image files.
- 30+ features — Easily add features like PDF editing, digital signatures, form filling, real-time document collaboration, and more.
- Dedicated support — Deploy faster by working 1-on-1 with our developers.
Building an Electron PDF viewer with PDF.js
To get started, you’ll first get everything ready.
Step 1: Creating a new project
- Open your terminal, create a folder, and change your directory into the new folder:
mkdir electron-pdf-viewer && cd electron-pdf-viewer- Now, open your preferred code editor and initialize a Node.js project with the following command:
npm init --yes- Go to the
package.jsonfile and add astartscript to run the application:
{ "name": "electron-pdfjs-viewer", "version": "1.0.0", "description": "A desktop PDF viewer", "main": "src/main.js", "scripts": { "start": "electron ." }}Also, make sure main points to the src/main.js file.
- Then, install Electron in your
devDependenciessection:
npm install --save-dev electronStep 2: Adding PDF.js
- Install
PDF.jsvianpm:
npm install pdfjs-distStep 3: Creating the main Electron file
Next, create a src directory and add the main.js file. This file will contain the code to launch the Electron application and load the HTML file:
const { app, BrowserWindow } = require('electron');
function createWindow() {  const mainWindow = new BrowserWindow({    width: 1200,    height: 800,  });
  mainWindow.loadFile('./src/index.html');}
app.whenReady().then(createWindow);
Step 4: Creating the HTML file
Now, add the index.html file inside the src folder. This file contains the structure for displaying the PDF viewer:
<!DOCTYPE html><html>  <head>    <meta charset="UTF-8" />    <meta      http-equiv="Content-Security-Policy"      content="default-src 'self'; script-src 'self' 'nonce-abc123';"    />    <title>Electron PDF.js Desktop PDF Viewer Example</title>  </head>  <body>    <h1>Electron PDF.js Desktop PDF Viewer Example</h1>    <canvas id="pdfContainer"></canvas>
    <!-- Import PDF.js as a module -->    <script type="module" nonce="abc123">      import * as pdfjsLib from './pdf.min.mjs';
      // Set the workerSrc to point to the PDF.js worker script      pdfjsLib.GlobalWorkerOptions.workerSrc =        './pdf.worker.min.mjs';
      async function renderPdf(pdfDocument) {        try {          const pdf = await pdfjsLib.getDocument(pdfDocument)            .promise;          const pageNumber = 1;          const page = await pdf.getPage(pageNumber);          const scale = 1.5;          const viewport = page.getViewport({ scale });          const canvas = document.getElementById('pdfContainer');          const context = canvas.getContext('2d');          canvas.height = viewport.height;          canvas.width = viewport.width;          const renderContext = {            canvasContext: context,            viewport,          };          page.render(renderContext);        } catch (error) {          console.error(error);        }      }
      const pdfPath = '../assets/example.pdf'; // Path to your PDF file      renderPdf(pdfPath);    </script>  </body></html>
Step 5: Copying the PDF.js files
To make sure PDF.js works with Electron, you’ll need to copy the necessary files from pdfjs-dist into your project:
cp ./node_modules/pdfjs-dist/build/pdf.min.mjs ./srccp ./node_modules/pdfjs-dist/build/pdf.worker.min.mjs ./srcYou can use any PDF file for testing — including our sample PDF — as long as it’s located in the ./assets folder and referenced by its file name.
Your file directory now should look like this:
electron-pdf-viewer├── assets│ └── example.pdf├── src│ ├── main.js│ └── pdf.min.mjs│ └── pdf.worker.min.mjs│ └── index.html├── package.json└── package-lock.jsonAnd that’s it! Now you can open your application and see the PDF viewer:
npx electron .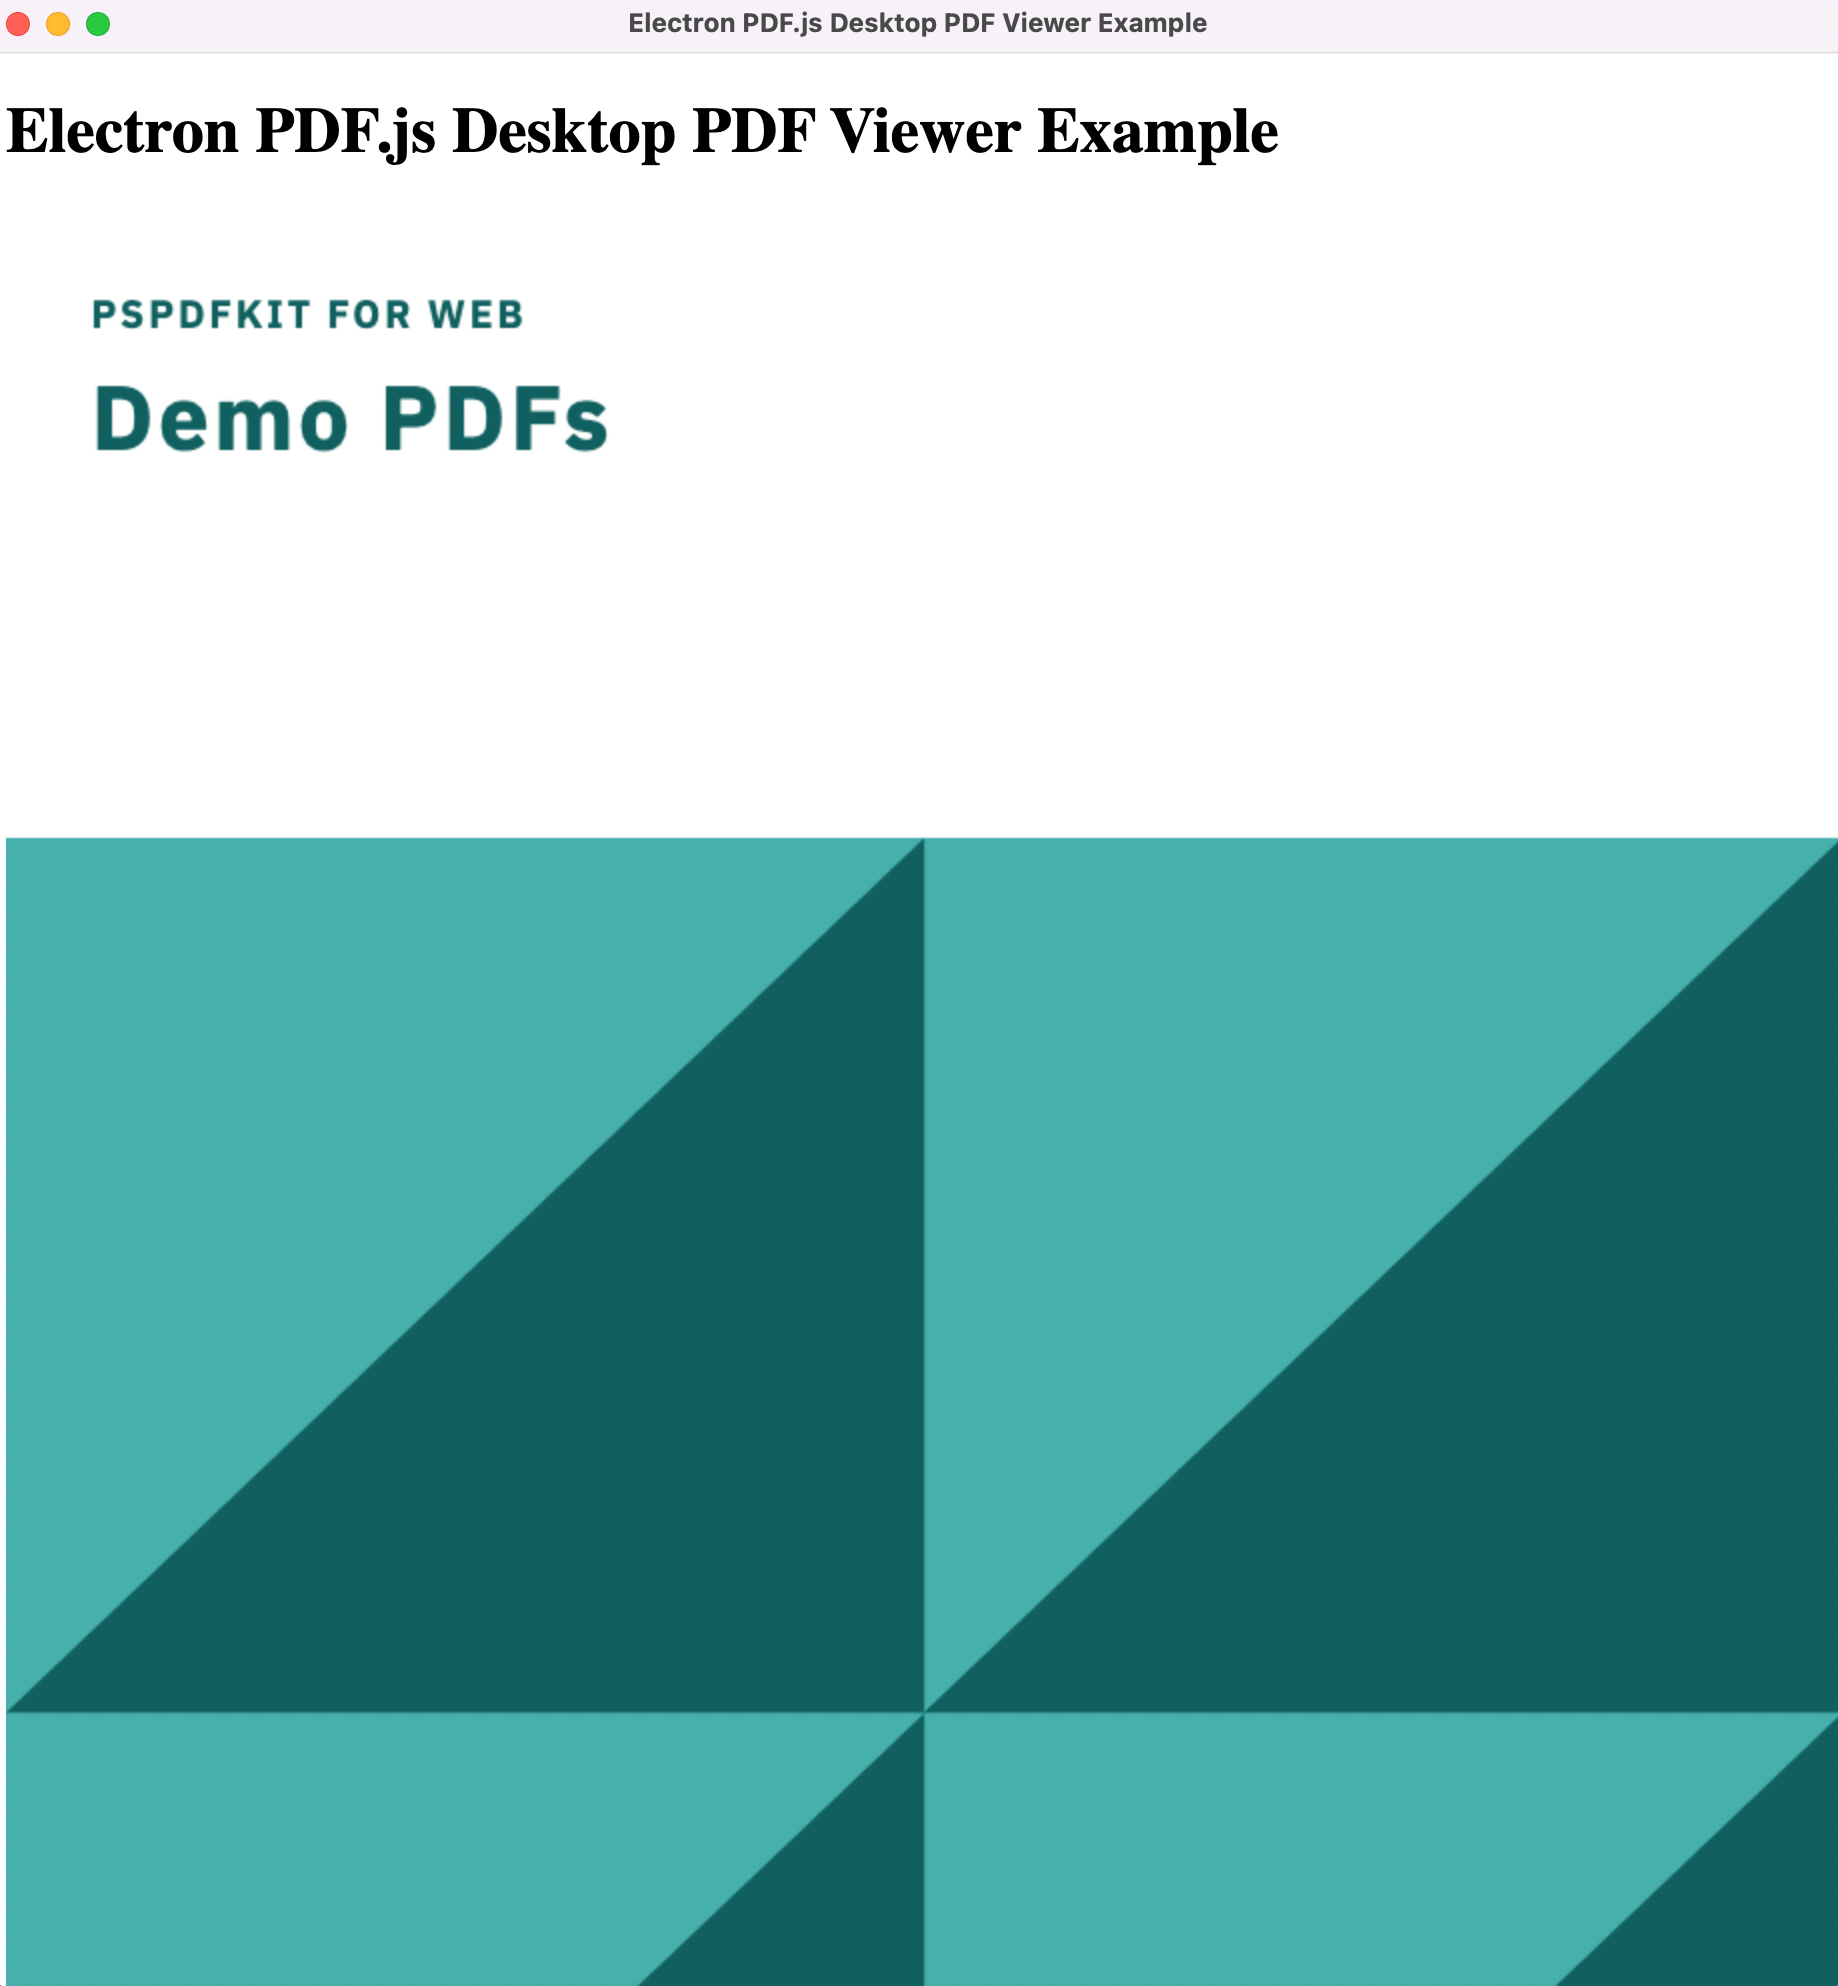
Building an Electron PDF viewer with Nutrient
If you’ve come this far and played a bit with the example application you just built, you may miss some handy features like PDF annotations, thumbnails, and so on.
Nutrient Web SDK, a powerful cross-platform PDF viewer and annotating tool, is compatible with Electron, and it’s easy to install and use. So now, you’ll integrate Nutrient into your new or existing Electron projects.
Creating a new Electron project
- Start by creating a new folder and changing the directory into the newly created folder:
mkdir pspdfkit-electron-pspdfkit-viewer && cd pspdfkit-electron-pspdfkit-viewer- Open your code editor and navigate to your project. Initialize a new Node.js project with the following command:
npm init --yesThis will create a package.json file in the root of your project.
- Now, install the Electron(opens in a new tab) and electron-packager(opens in a new tab) packages as
devDependencies:
npm install --save-dev electron electron-packager- Add a
startscript in thepackage.jsonfile to run the application:
{ "name": "PSPDFKit Electron Example", "version": "1.0.0", "main": "index.js", "license": "MIT", "devDependencies": { "electron": "^31.3.0", "electron-packager": "^17.1.2" }, "scripts": { "start": "electron ." }}Adding Nutrient
You can add Nutrient to your project as an npm package by running the following command:
npm install pspdfkitCopy the Nutrient Web SDK library assets to the public directory:
cp -R ./node_modules/pspdfkit/dist/ ./public/Displaying a PDF
- Add the PDF document you want to display to the
assetsdirectory. You can use our demo document as an example. - Create an
index.htmlfile to set up a mount target in the HTML file of your renderer process:
<!DOCTYPE html><html>  <head>    <meta charset="UTF-8" />    <meta      name="viewport"      content="width=device-width, initial-scale=1.0, minimum-scale=1.0, maximum-scale=1.0, user-scalable=no"    />    <title>PSPDFKit for Electron Example App</title>
    <style>      html,      body {        margin: 0;        padding: 0;        background: #f6f7fa;      }
      header {        display: none;      }
      #root {        width: 100vw;        height: 100vh;      }    </style>  </head>
  <body>    <header></header>    <div id="root"></div>
    <script src="./public/pspdfkit.js"></script>
    <script type="module">      let instance = null;
      async function load(document) {        if (instance) {          PSPDFKit.unload(instance);          hasUnsavedAnnotations = false;          instance = null;        }
        const configuration = {          document,          container: '#root',          appName: 'pspdfkit-electron-example',          // Add when using a license key          // licenseKey: "LICENSE KEY GOES HERE",        };
        instance = await PSPDFKit.load(configuration);      }
window.onload = () => load('./assets/document.pdf'); </script> </body></html>- Create a preload script(opens in a new tab) to run before the main renderer process:
const { contextBridge } = require('electron');
const {  documentExport,  documentImport,  askUserToDiscardChanges,} = require('./lib/modals');
// Use the recommended, safe way of selectively exposing the capabilities// of the Node.js API to the browser context.
// Electron helpers exposed in the browser context as `window.electron`.contextBridge.exposeInMainWorld('electron', {  processPlatform: () => process.platform,  documentExport,  documentImport,  askUserToDiscardChanges,});
Preload scripts have access to Node.js APIs and can be used to expose specific functionalities of the Node.js API to the renderer process window object through the contextBridge module. For PDF manipulation, our Node.js PDF SDK can be integrated. This overcomes some serious security implications present when using node integration.
- Now, create the main JavaScript file to get access to the preload script inside the
BrowserWindowconstructor’swebPreferencesoption:
const { app, BrowserWindow } = require('electron');const path = require('path');const url = require('url');
function createWindow() {  const mainWindow = new BrowserWindow({    width: 800,    height: 600,    webPreferences: {      preload: path.join(__dirname, 'preload.js'),    },  });
  mainWindow.loadURL(    url.format({      pathname: path.join(__dirname, 'index.html'),      protocol: 'file:',      slashes: true,    }),  );}
app.whenReady().then(() => {  createWindow();
  app.on('activate', function () {    if (BrowserWindow.getAllWindows().length === 0) createWindow();  });});
app.on('window-all-closed', function () {  if (process.platform !== 'darwin') app.quit();});
By setting contextIsolation to true in webPreferences, you won’t expose the Node.js runtime, which makes your application more secure. Read more about context isolation(opens in a new tab), migrating from older versions, and why you shouldn’t use remote modules(opens in a new tab) in your Electron applications.
From Electron 12 and later, context isolation defaults to
true. This means if you’re using a lower version of Electron, you’ll need to set theBrowserWindowconstructor’swebPreferencesoption totrueto enable context isolation.
mainWindow = new BrowserWindow({ webPreferences: { contextIsolation: true, nodeIntegration: false, preload: path.join(__dirname, 'preload.js'), },});- Finally, you can start your application:
npm startFor more details, refer to the GitHub project(opens in a new tab).
Conclusion
In this post, you saw how to build an Electron PDF viewer with both the PDF.js open source library and our Electron PDF SDK that enables you to display and render PDF files in your web application.
PDF.js offers a great low-cost solution and is optimal for simple use cases where the primary objective is viewing PDF documents. However, for more complex use cases that involve annotating, signing, forms, etc., a commercial PDF viewer can provide some additional benefits — including speeding up development time and reducing costs from not having to build out these functions in-house.
At Nutrient, we offer a commercial, feature-rich, and completely customizable JavaScript PDF library that’s easy to integrate and comes with well-documented APIs to handle advanced use cases. Try it for free, or visit our demo to see it in action.
We created similar how-to blog posts using different web frameworks and libraries:
- How to build an Angular PDF viewer with PDF.js
- How to build a Vue.js PDF viewer with PDF.js
- How to build a React PDF viewer with PDF.js
- How to build a jQuery PDF viewer with PDF.js
- How to build a Bootstrap 5 PDF viewer with PDF.js
- How to build a TypeScript PDF viewer with PDF.js
- How to build a JavaScript PDF viewer with PDF.js
FAQ
You can install Electron by running npm install electron --save-dev.
PDF.js is a JavaScript library for rendering PDFs in web browsers.
You can start an Electron app by running npx electron . in your terminal.
Yes, Electron allows you to build desktop applications for Windows, macOS, and Linux using web technologies.
Nutrient provides advanced PDF features beyond the basic viewing capabilities — like annotations, digital signatures, and more.


