Convert PowerPoint to image with Nutrient Document Web Services API on Zapier
In this tutorial, you’ll learn how to convert PowerPoint presentations into images using the Nutrient Document Web Services API on Zapier. You’ll trigger the workflow when a PPT or PPTX file is uploaded to Google Drive and automatically convert it into high-resolution images.
What is Zapier?
Zapier is an automation platform that connects your favorite apps and services with no code required. You can build “Zaps” to automate repetitive tasks by setting up triggers and actions between apps like Google Drive, Slack, Gmail, and more.
In this tutorial, you’ll automate PowerPoint-to-image conversion using Nutrient’s API.
What is the Nutrient API?
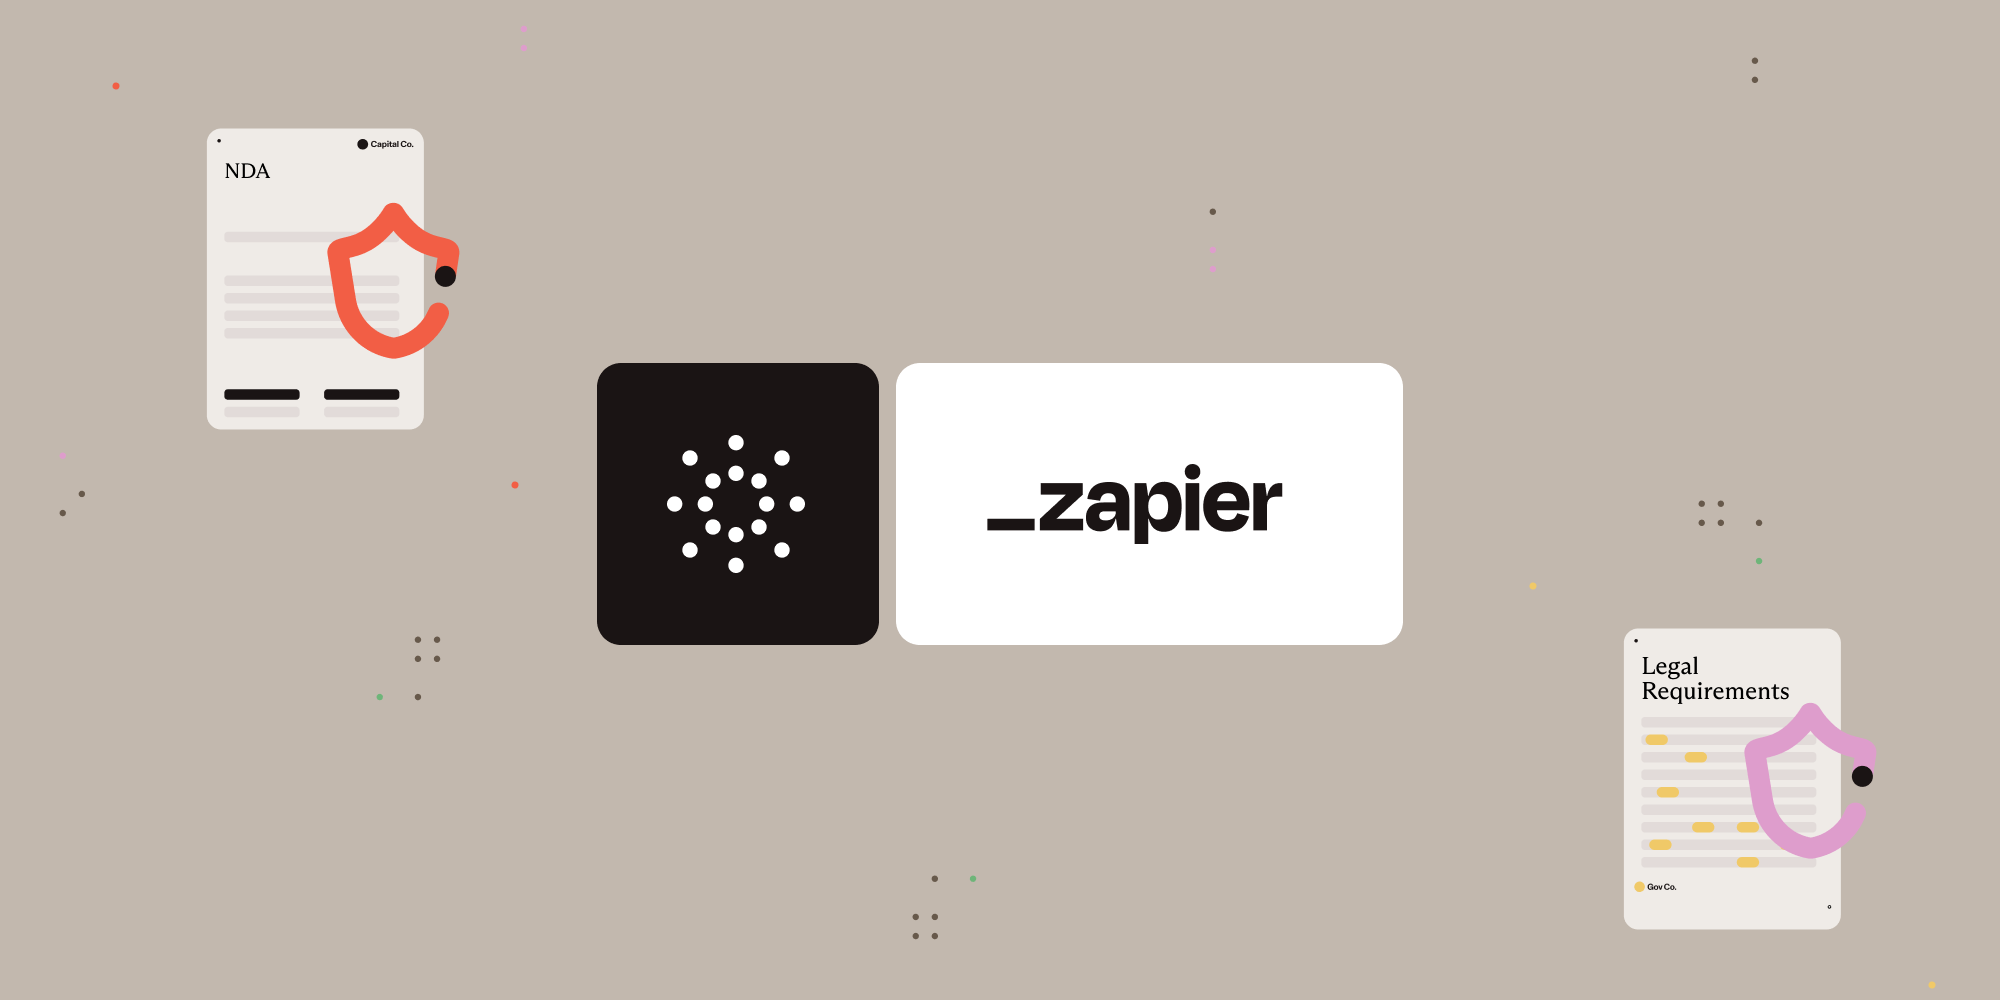
Nutrient Document Web Services API provides powerful document automation tools. With your free account, you get 100 credits to perform tasks like file conversion, redaction, OCR, watermarking, and more.
It supports more than 30 document operations, including:
-
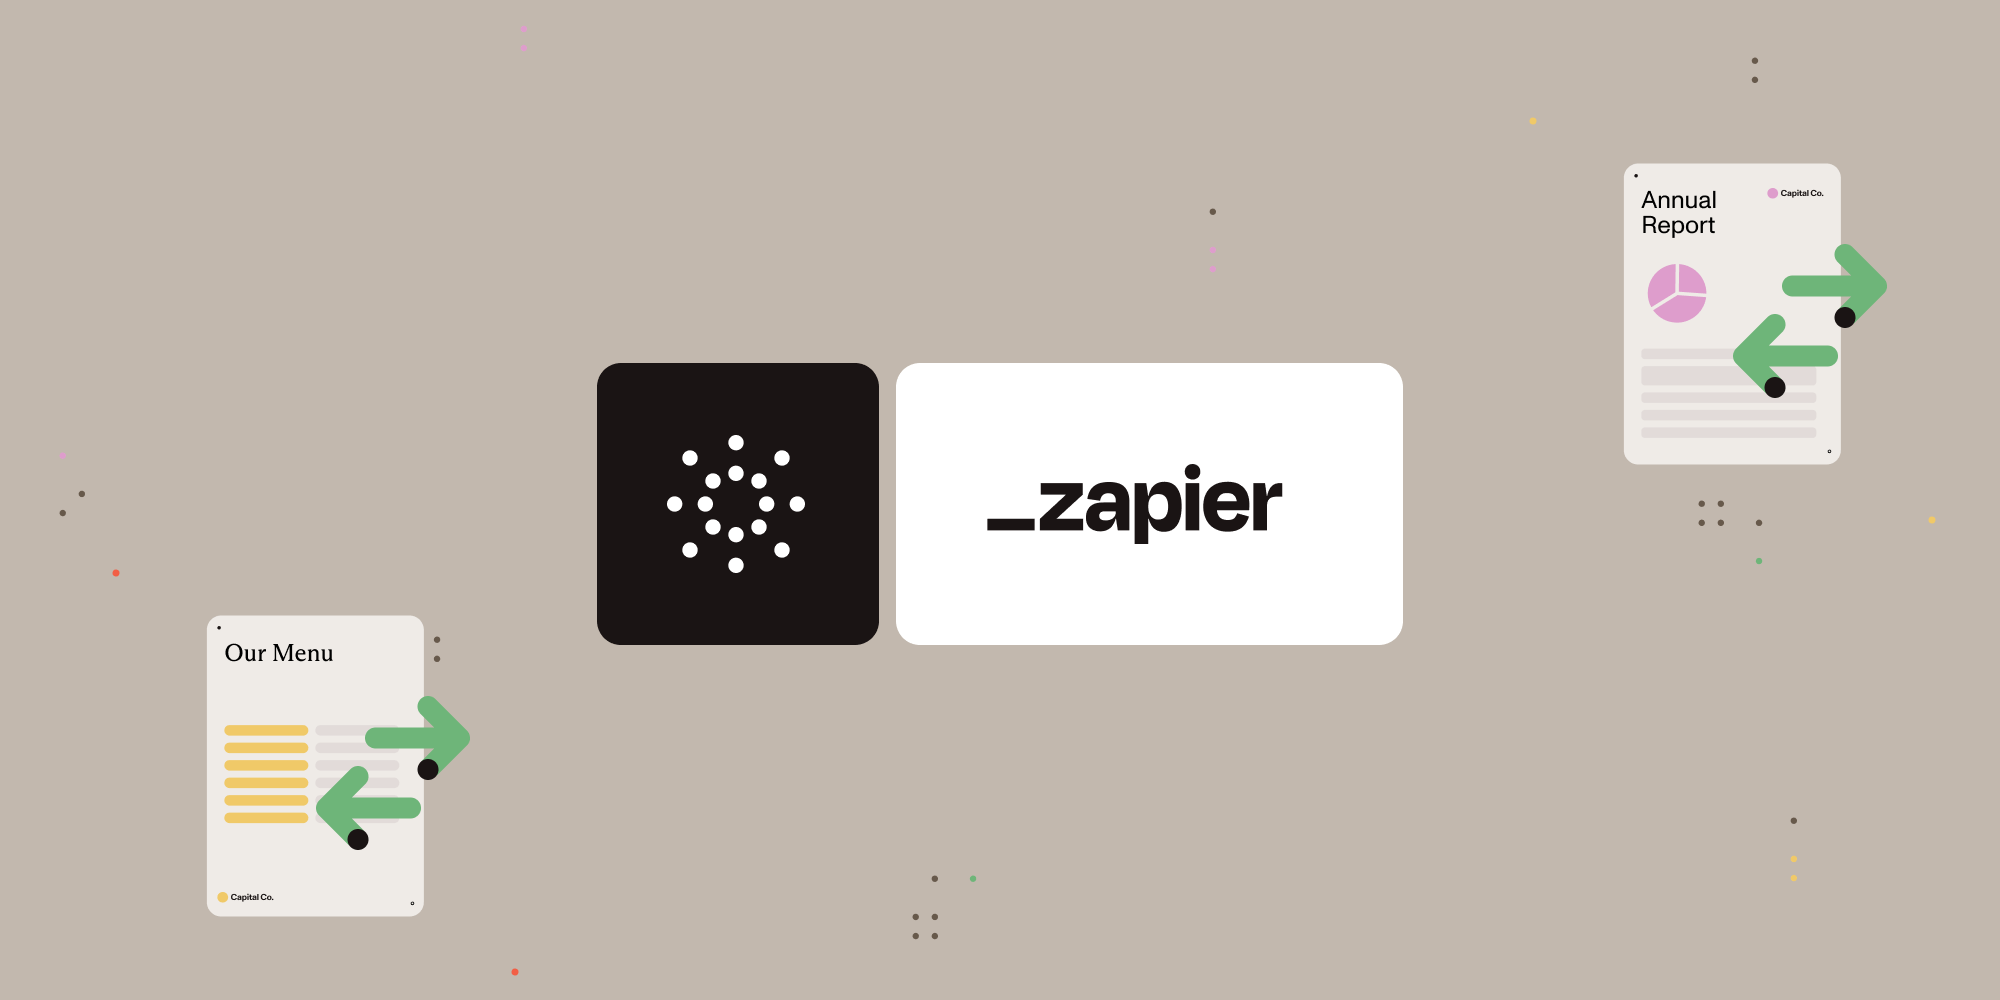
Convert Office files to PDF or images
-
Merge or split PDFs
-
Add signatures, redactions, annotations
-
Extract tables or text
What you’ll need
-
A Zapier account (a pro plan is necessary for multi-step Zaps)
-
A Google Drive account
-
A PowerPoint file (PPT or PPTX) stored in Google Drive
-
A Nutrient API key — sign up here
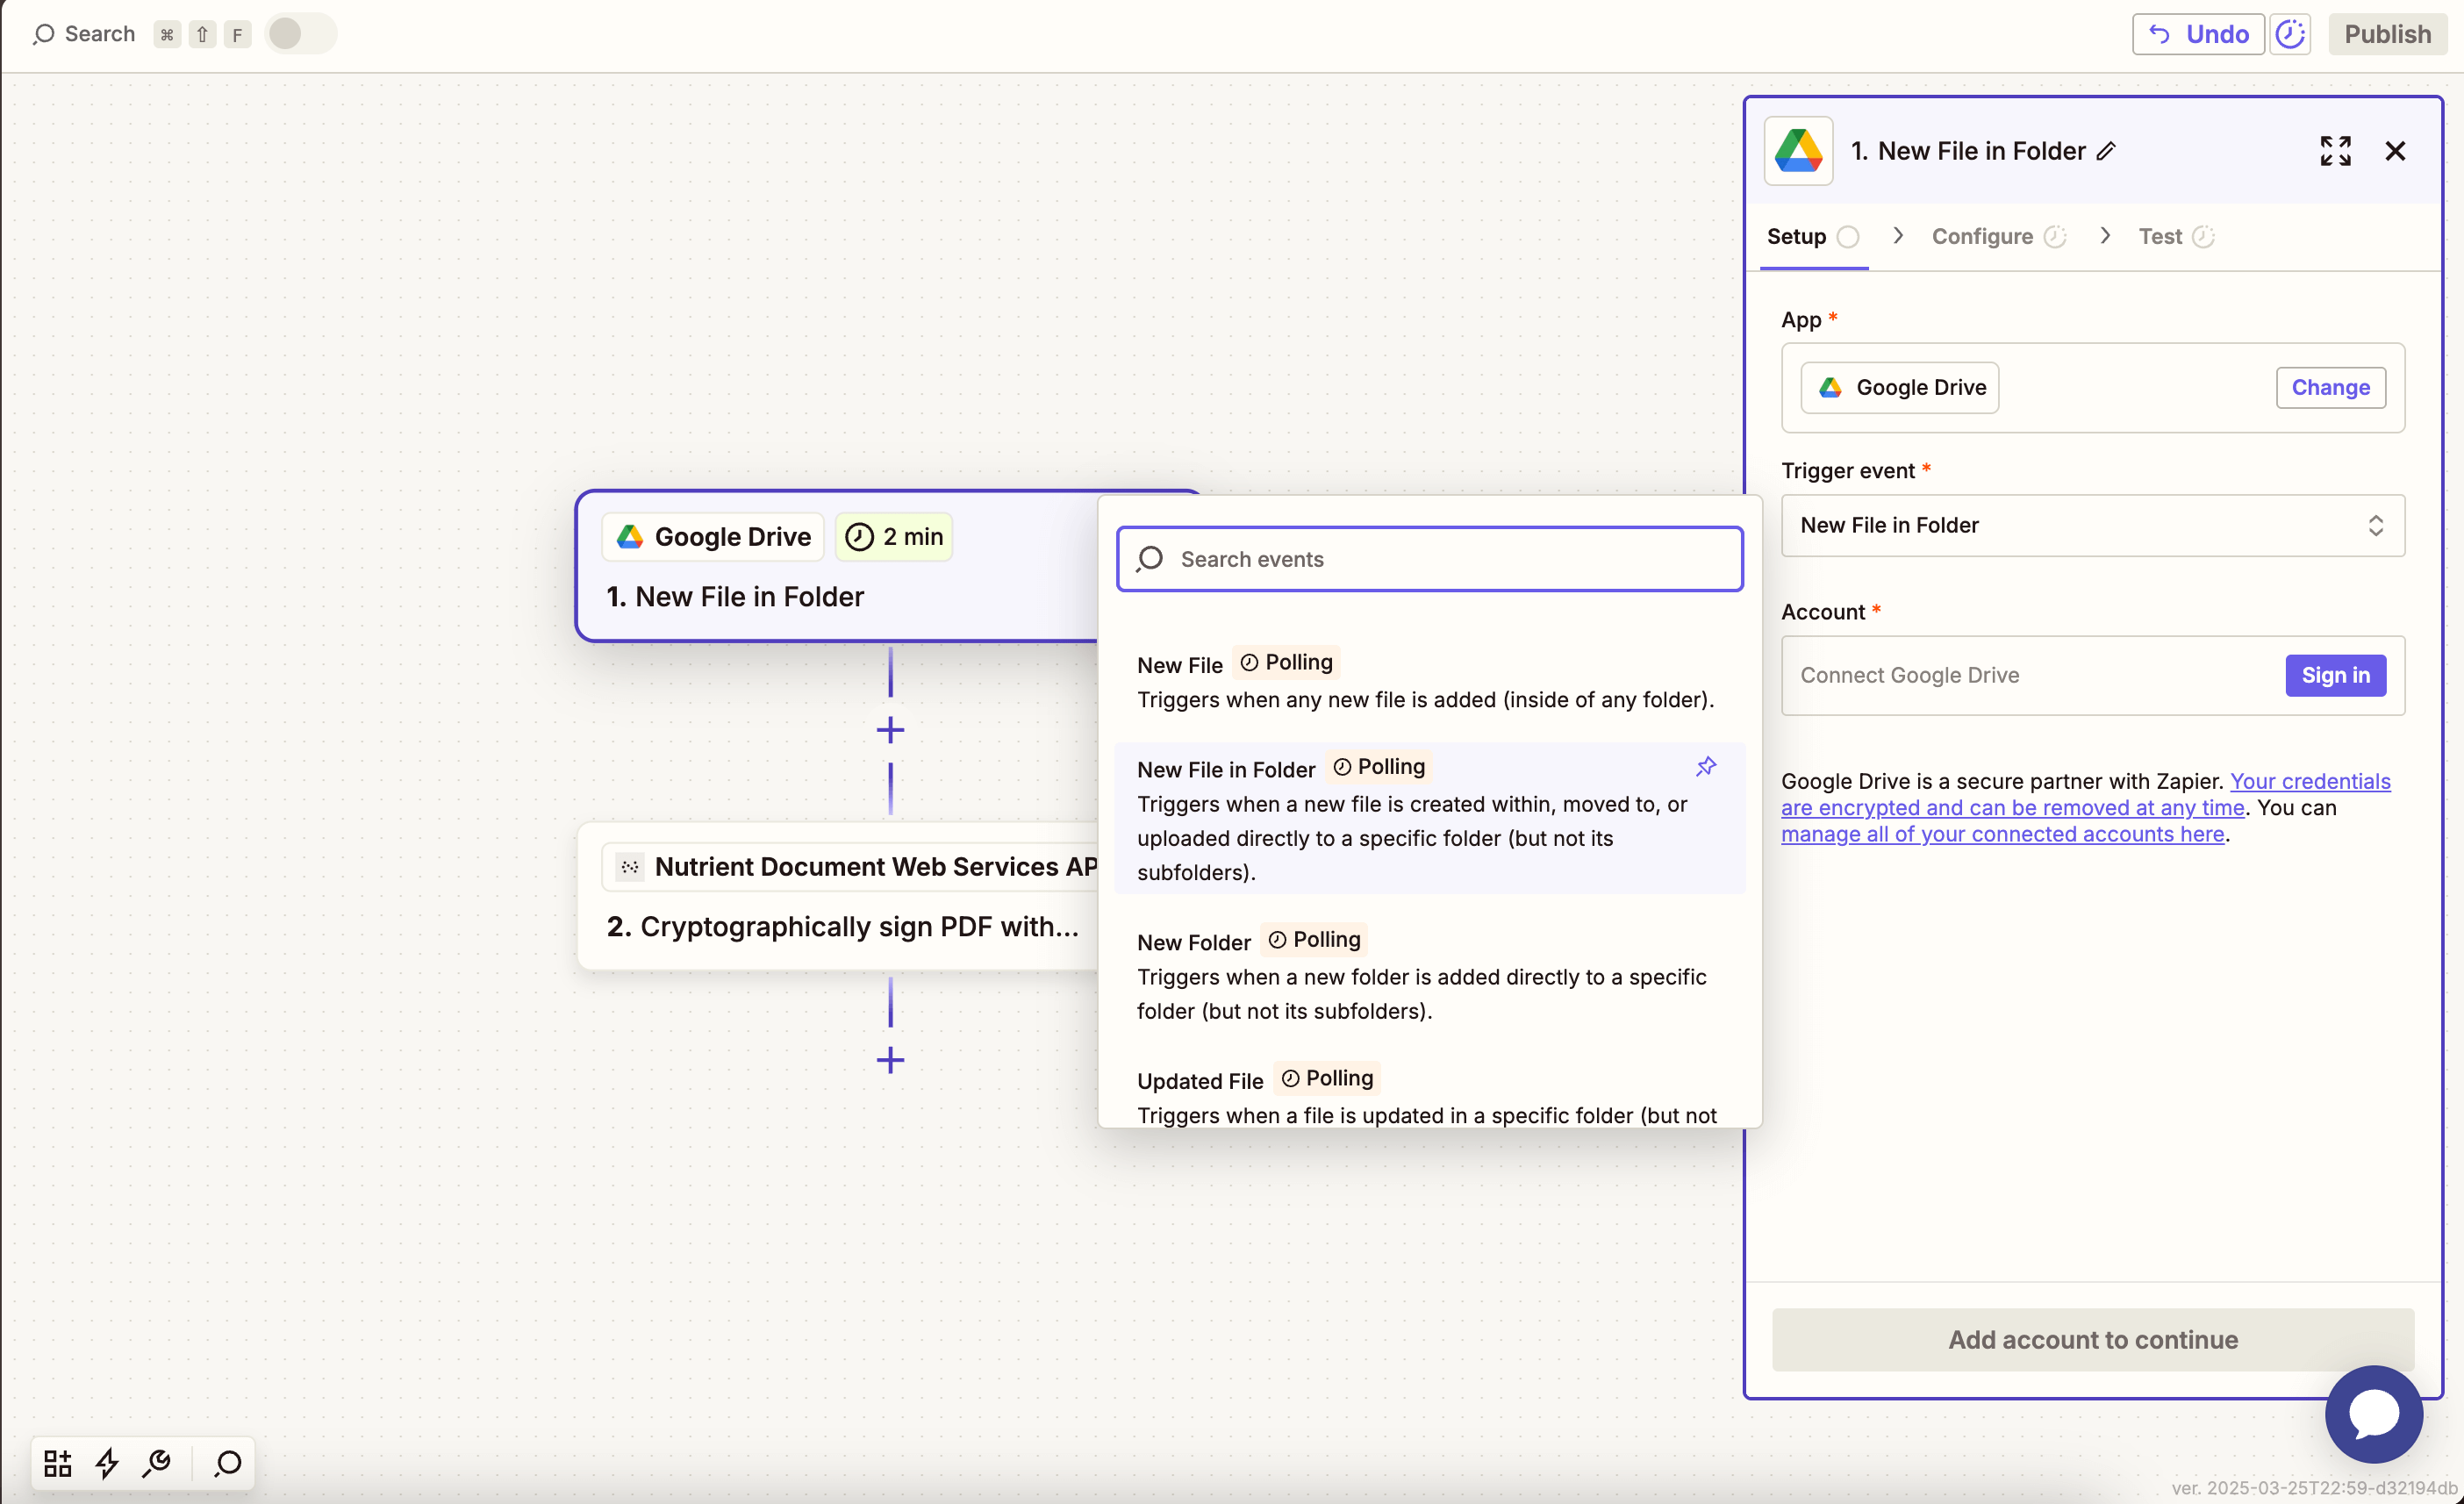
Step 1 — Trigger a new file in a Google Drive folder
-
Choose Google Drive as your trigger app.
-
Select the New File in Folder trigger event.
-
Connect your Google Drive account.
-
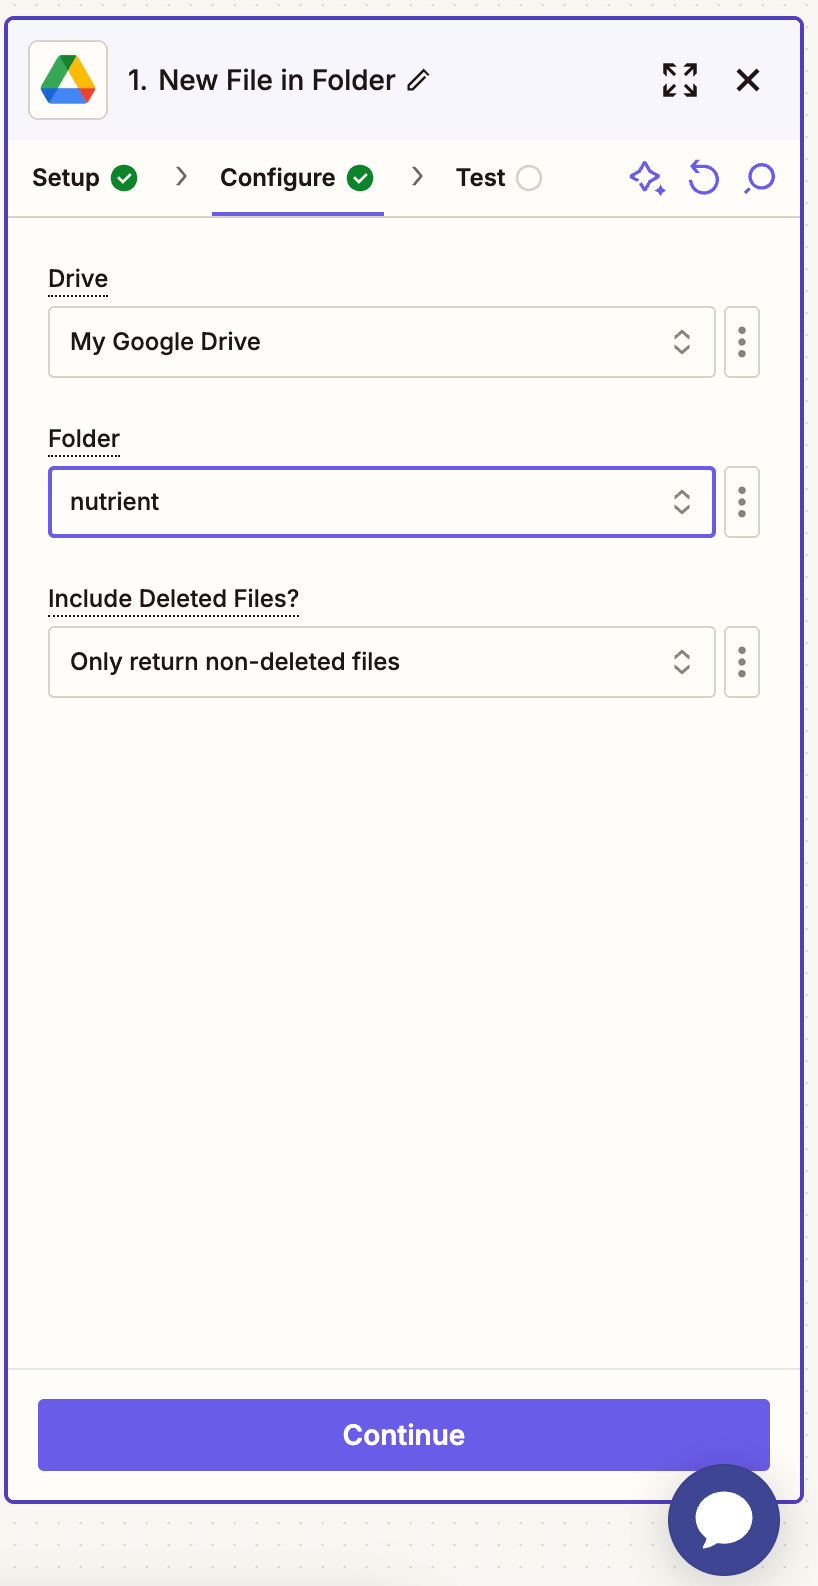
Configure the trigger:
-
In the Drive field, select your Google Drive.
-
In the Folder field, select or create a folder (e.g.
ppt-to-image).
-
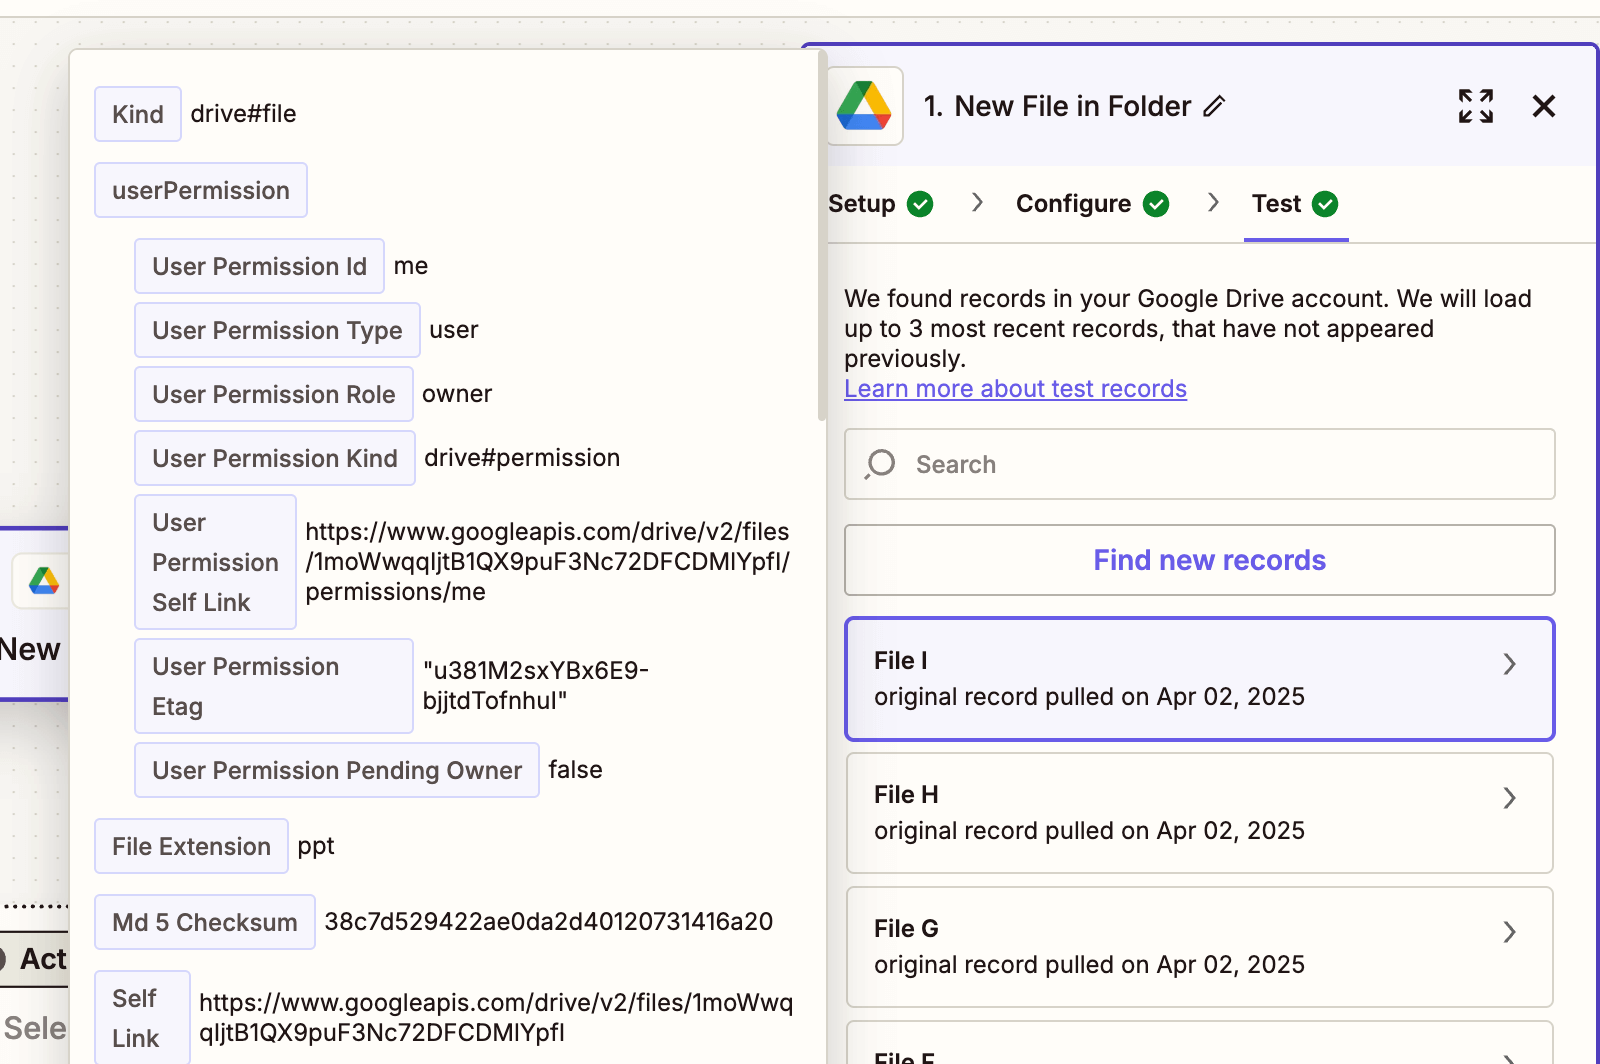
Test this step with a sample
.pptxfile. You can use our sample file.
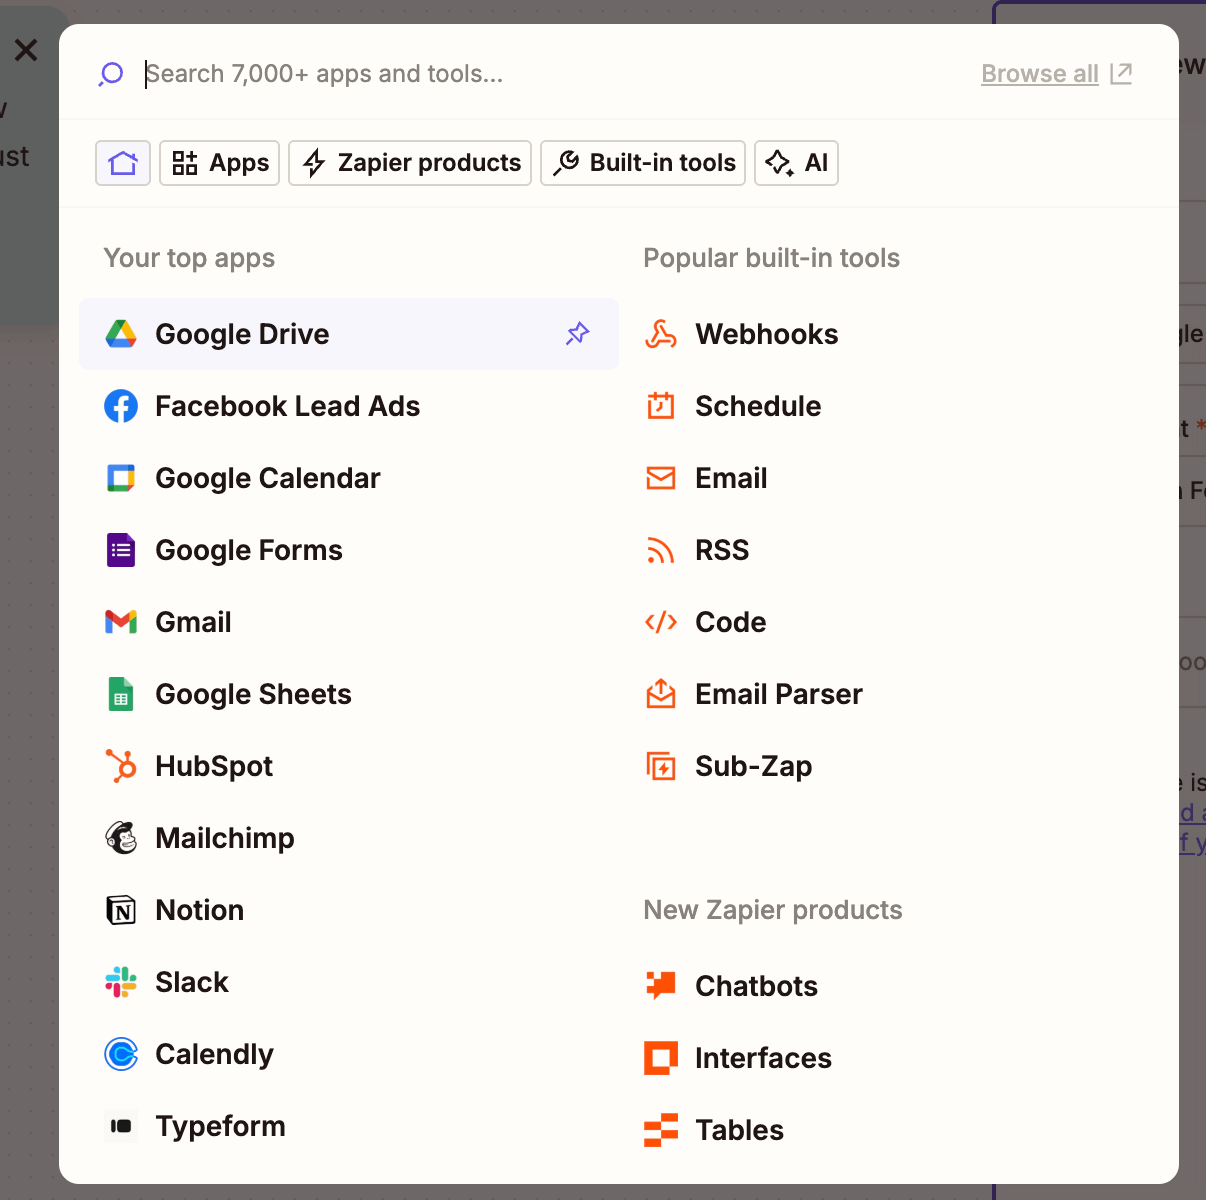
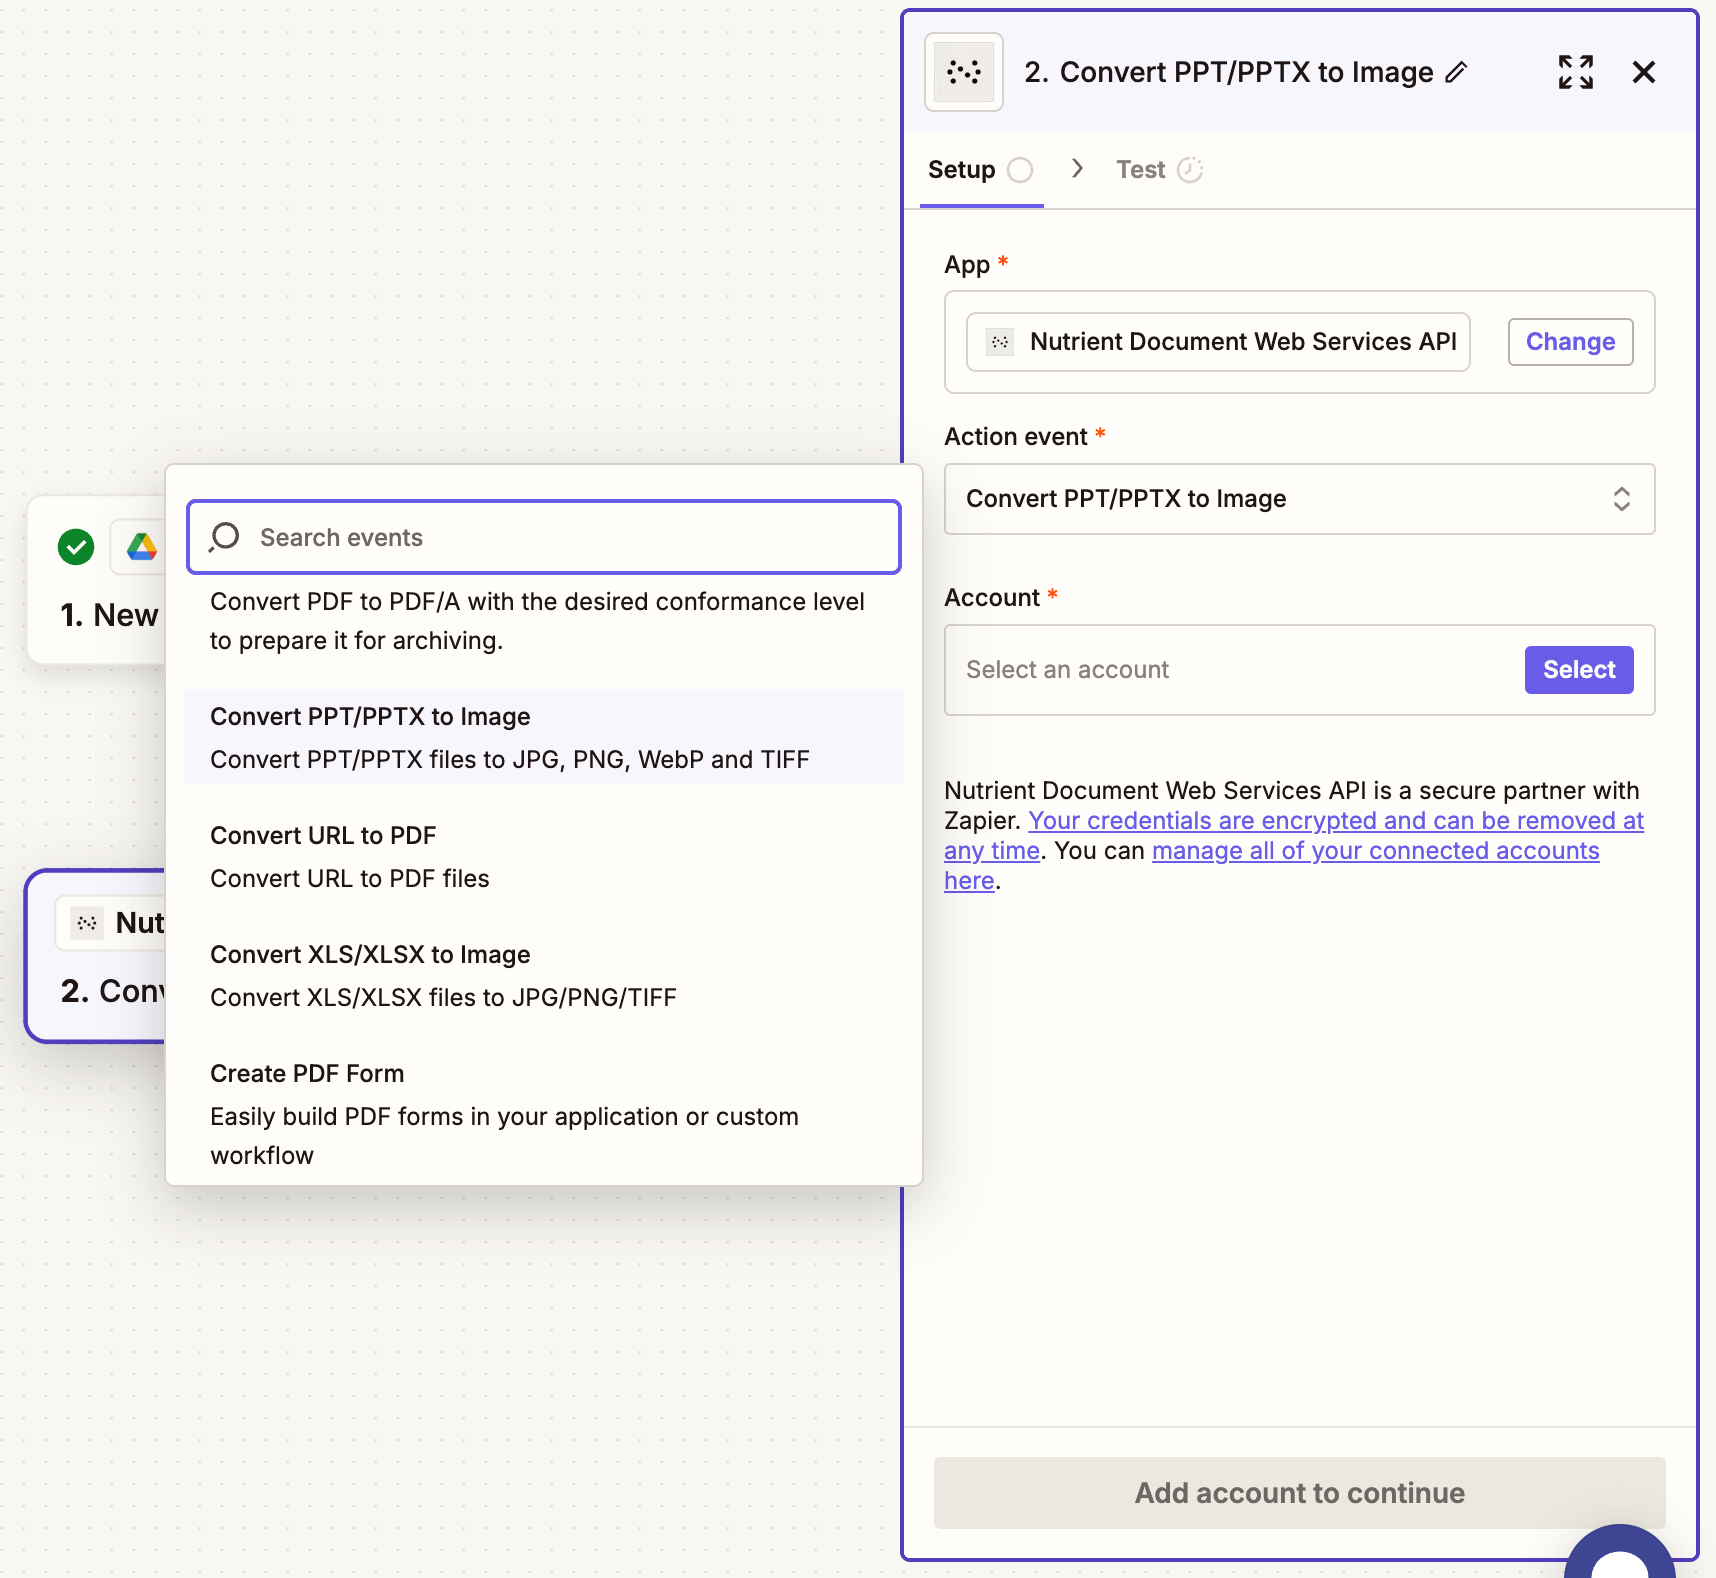
Step 2 — Convert PPT/PPTX to image action
-
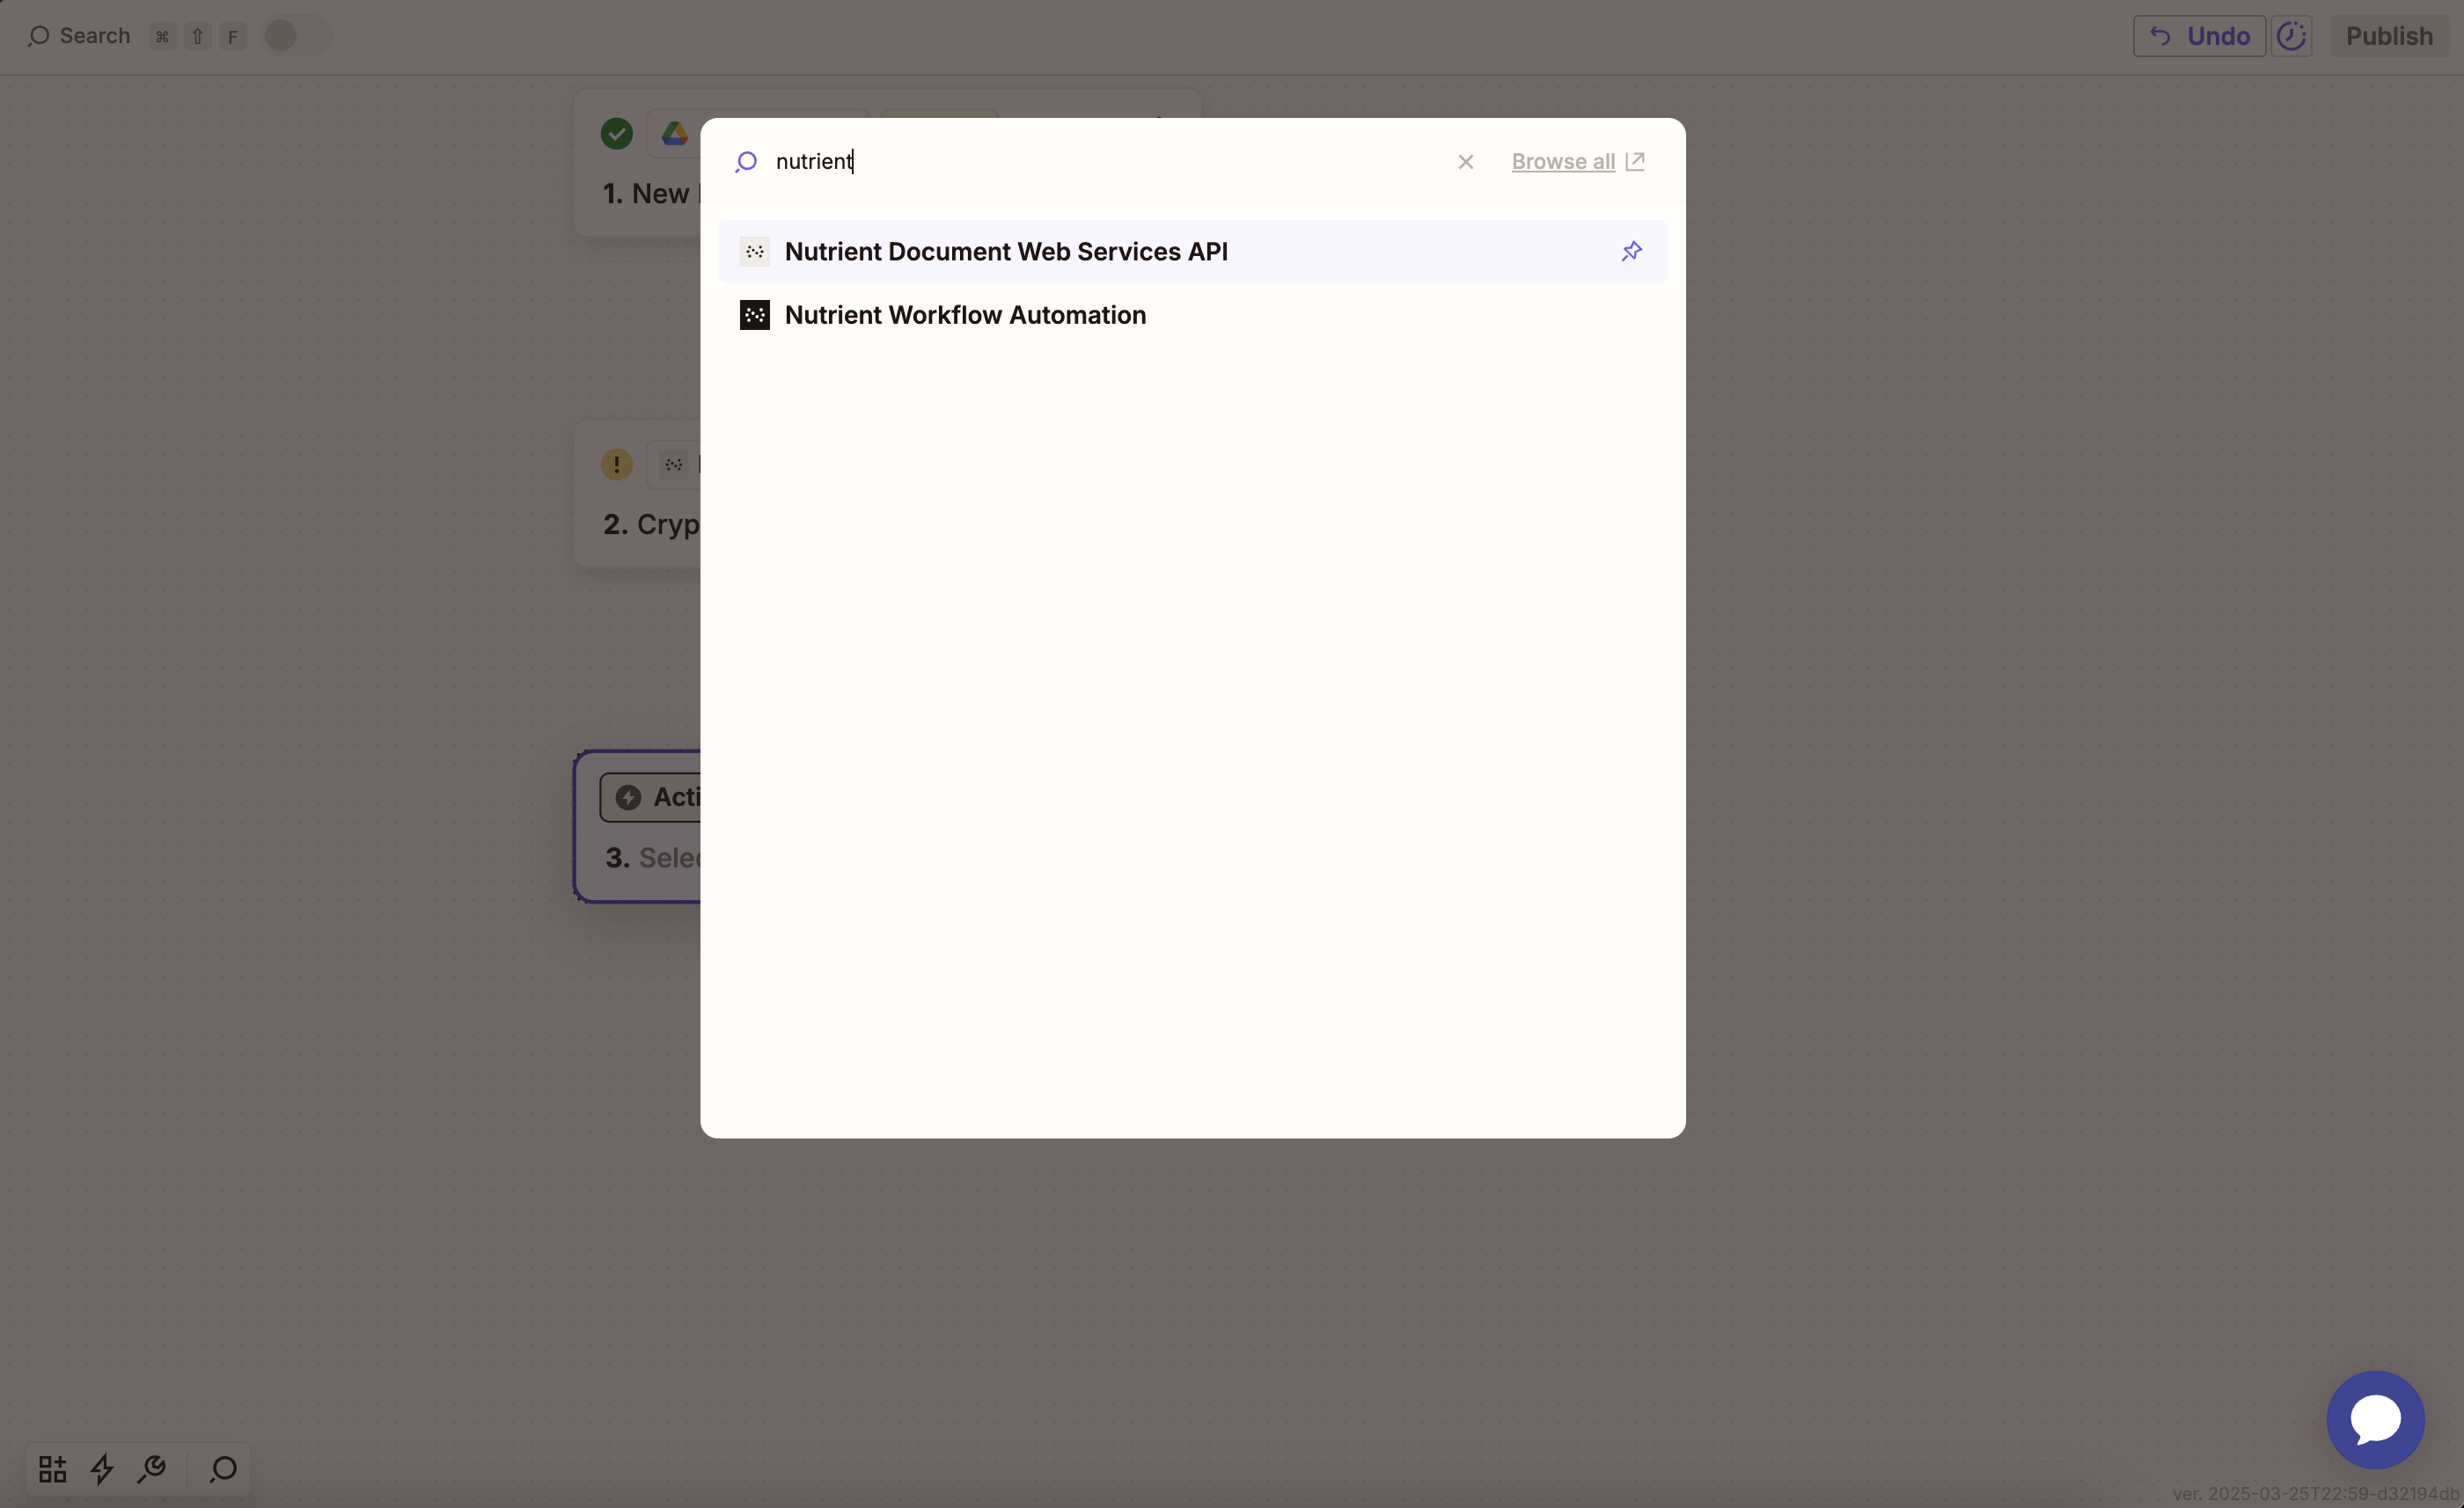
Select Nutrient Document Web Services API as the action app.
-
Choose the Convert PPT/PPTX to Image action.
-
Connect your Nutrient API account by pasting your API key.
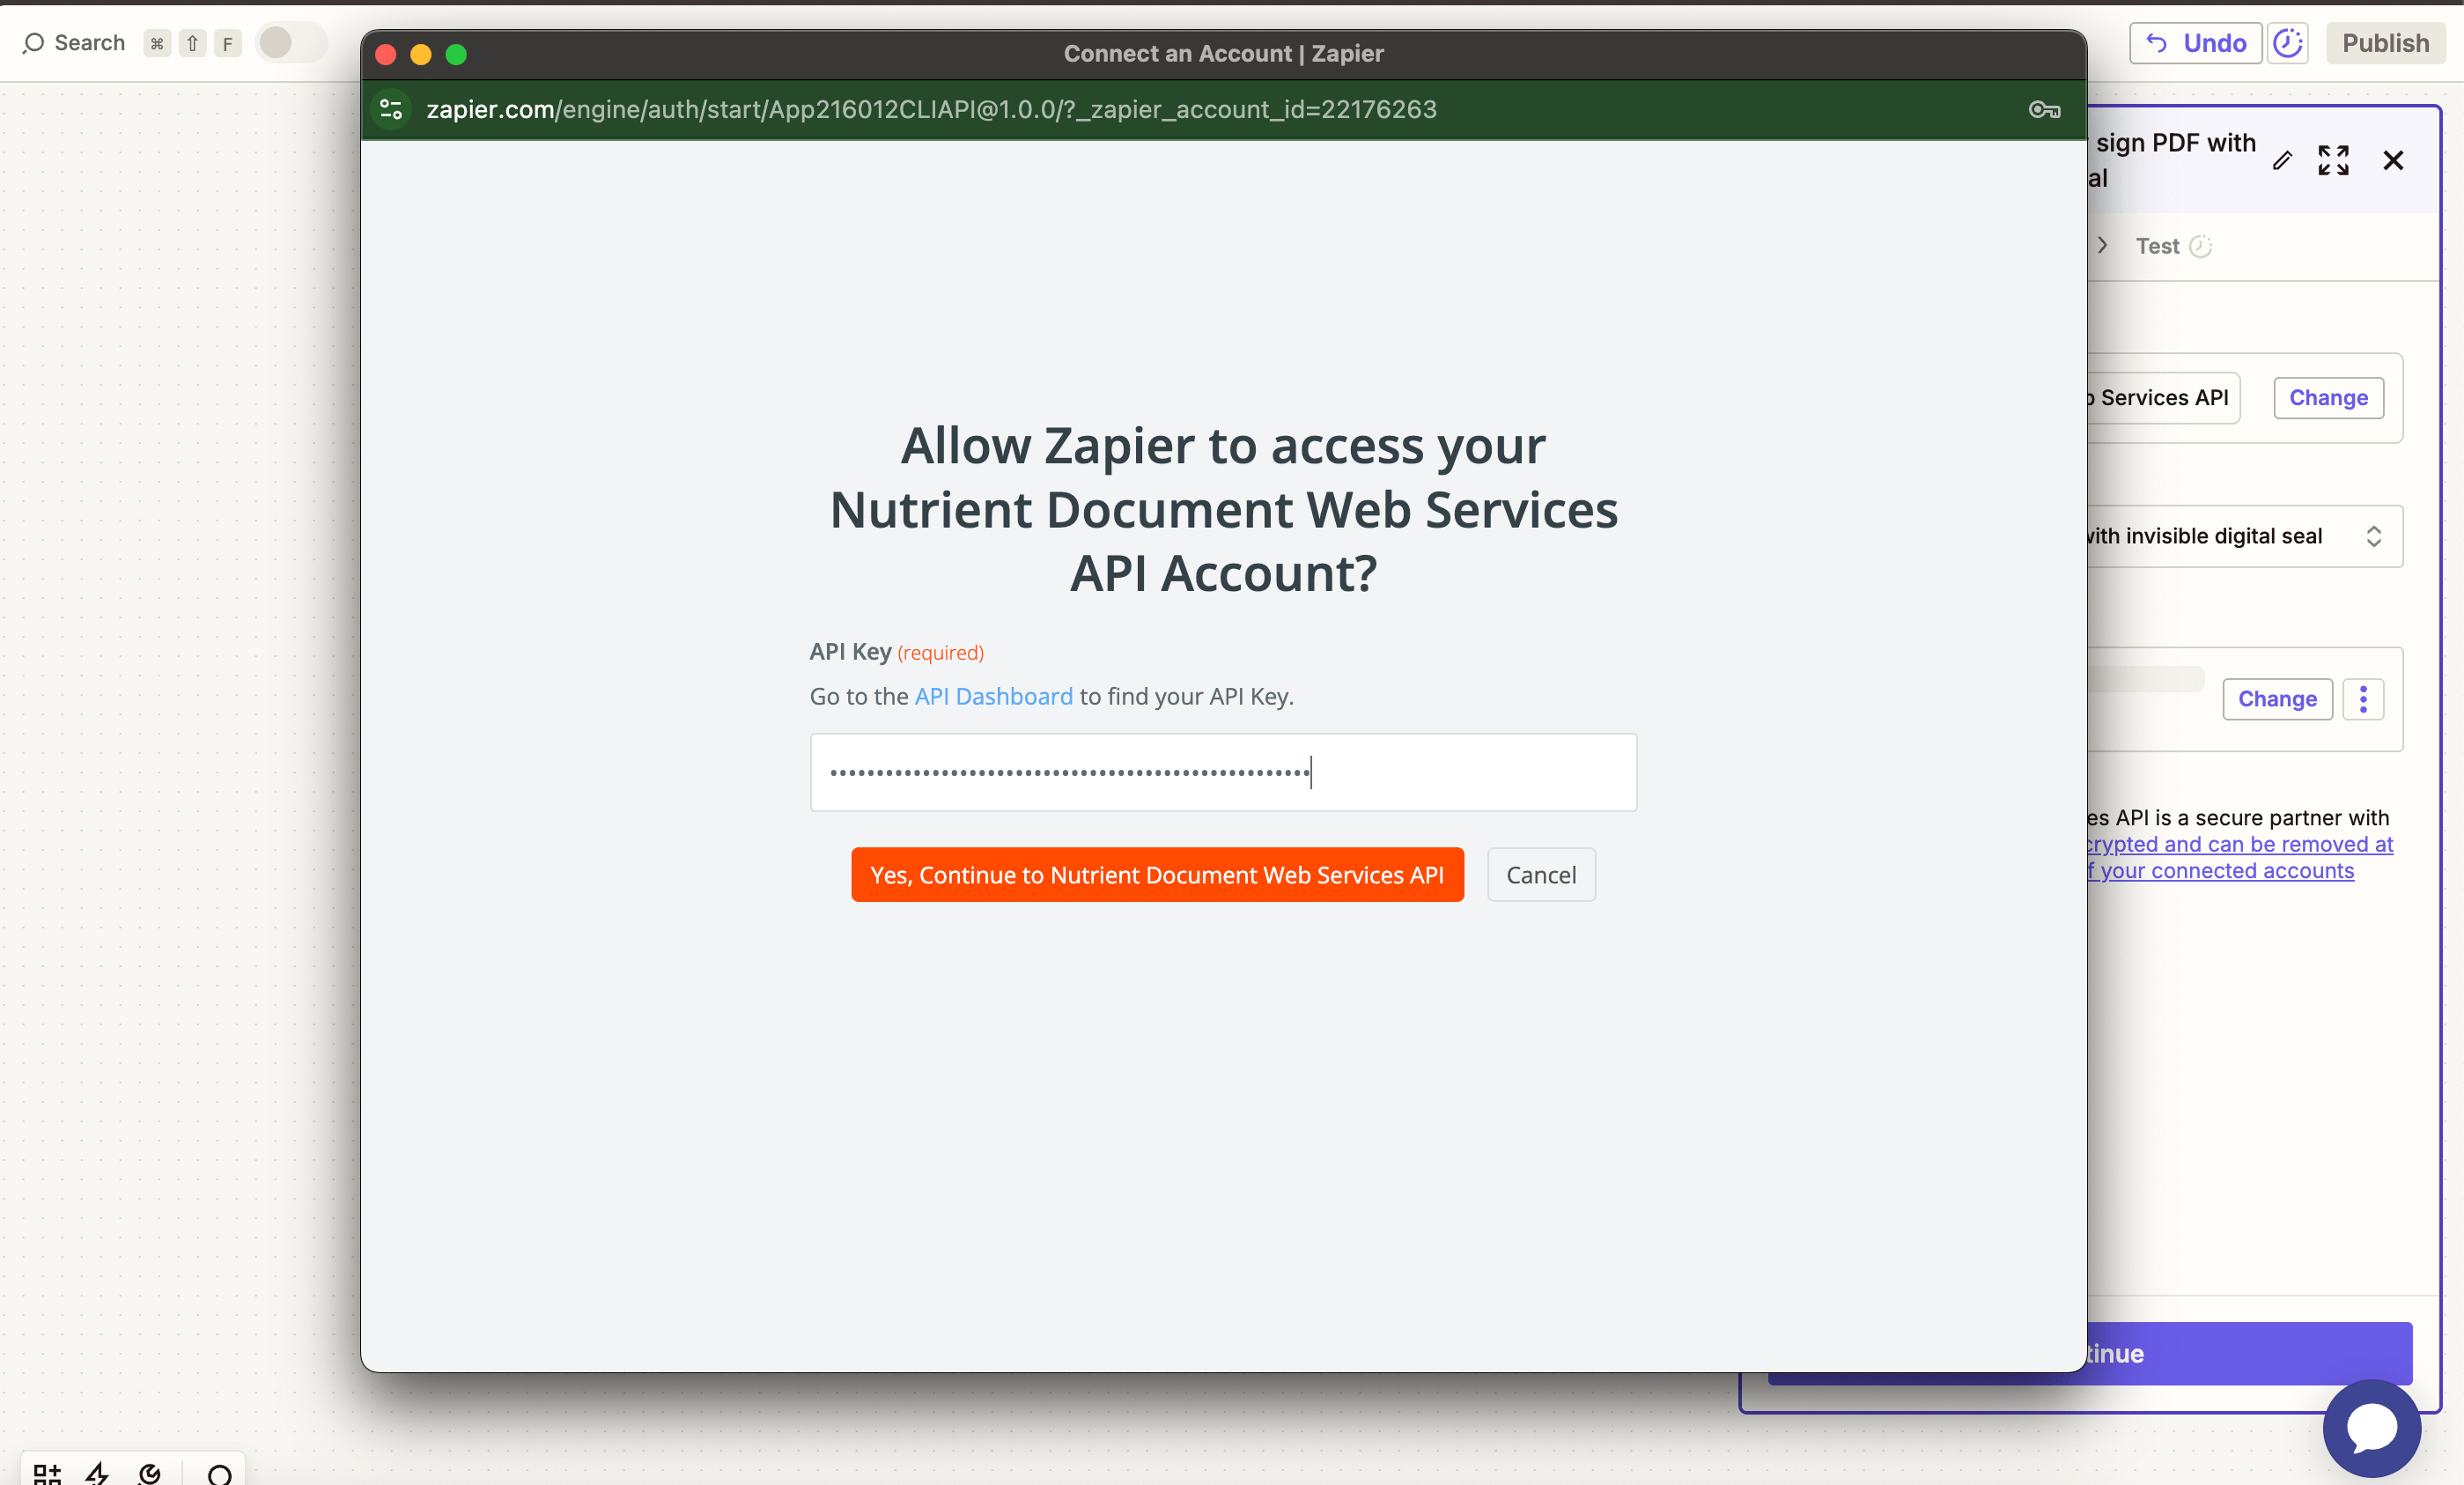
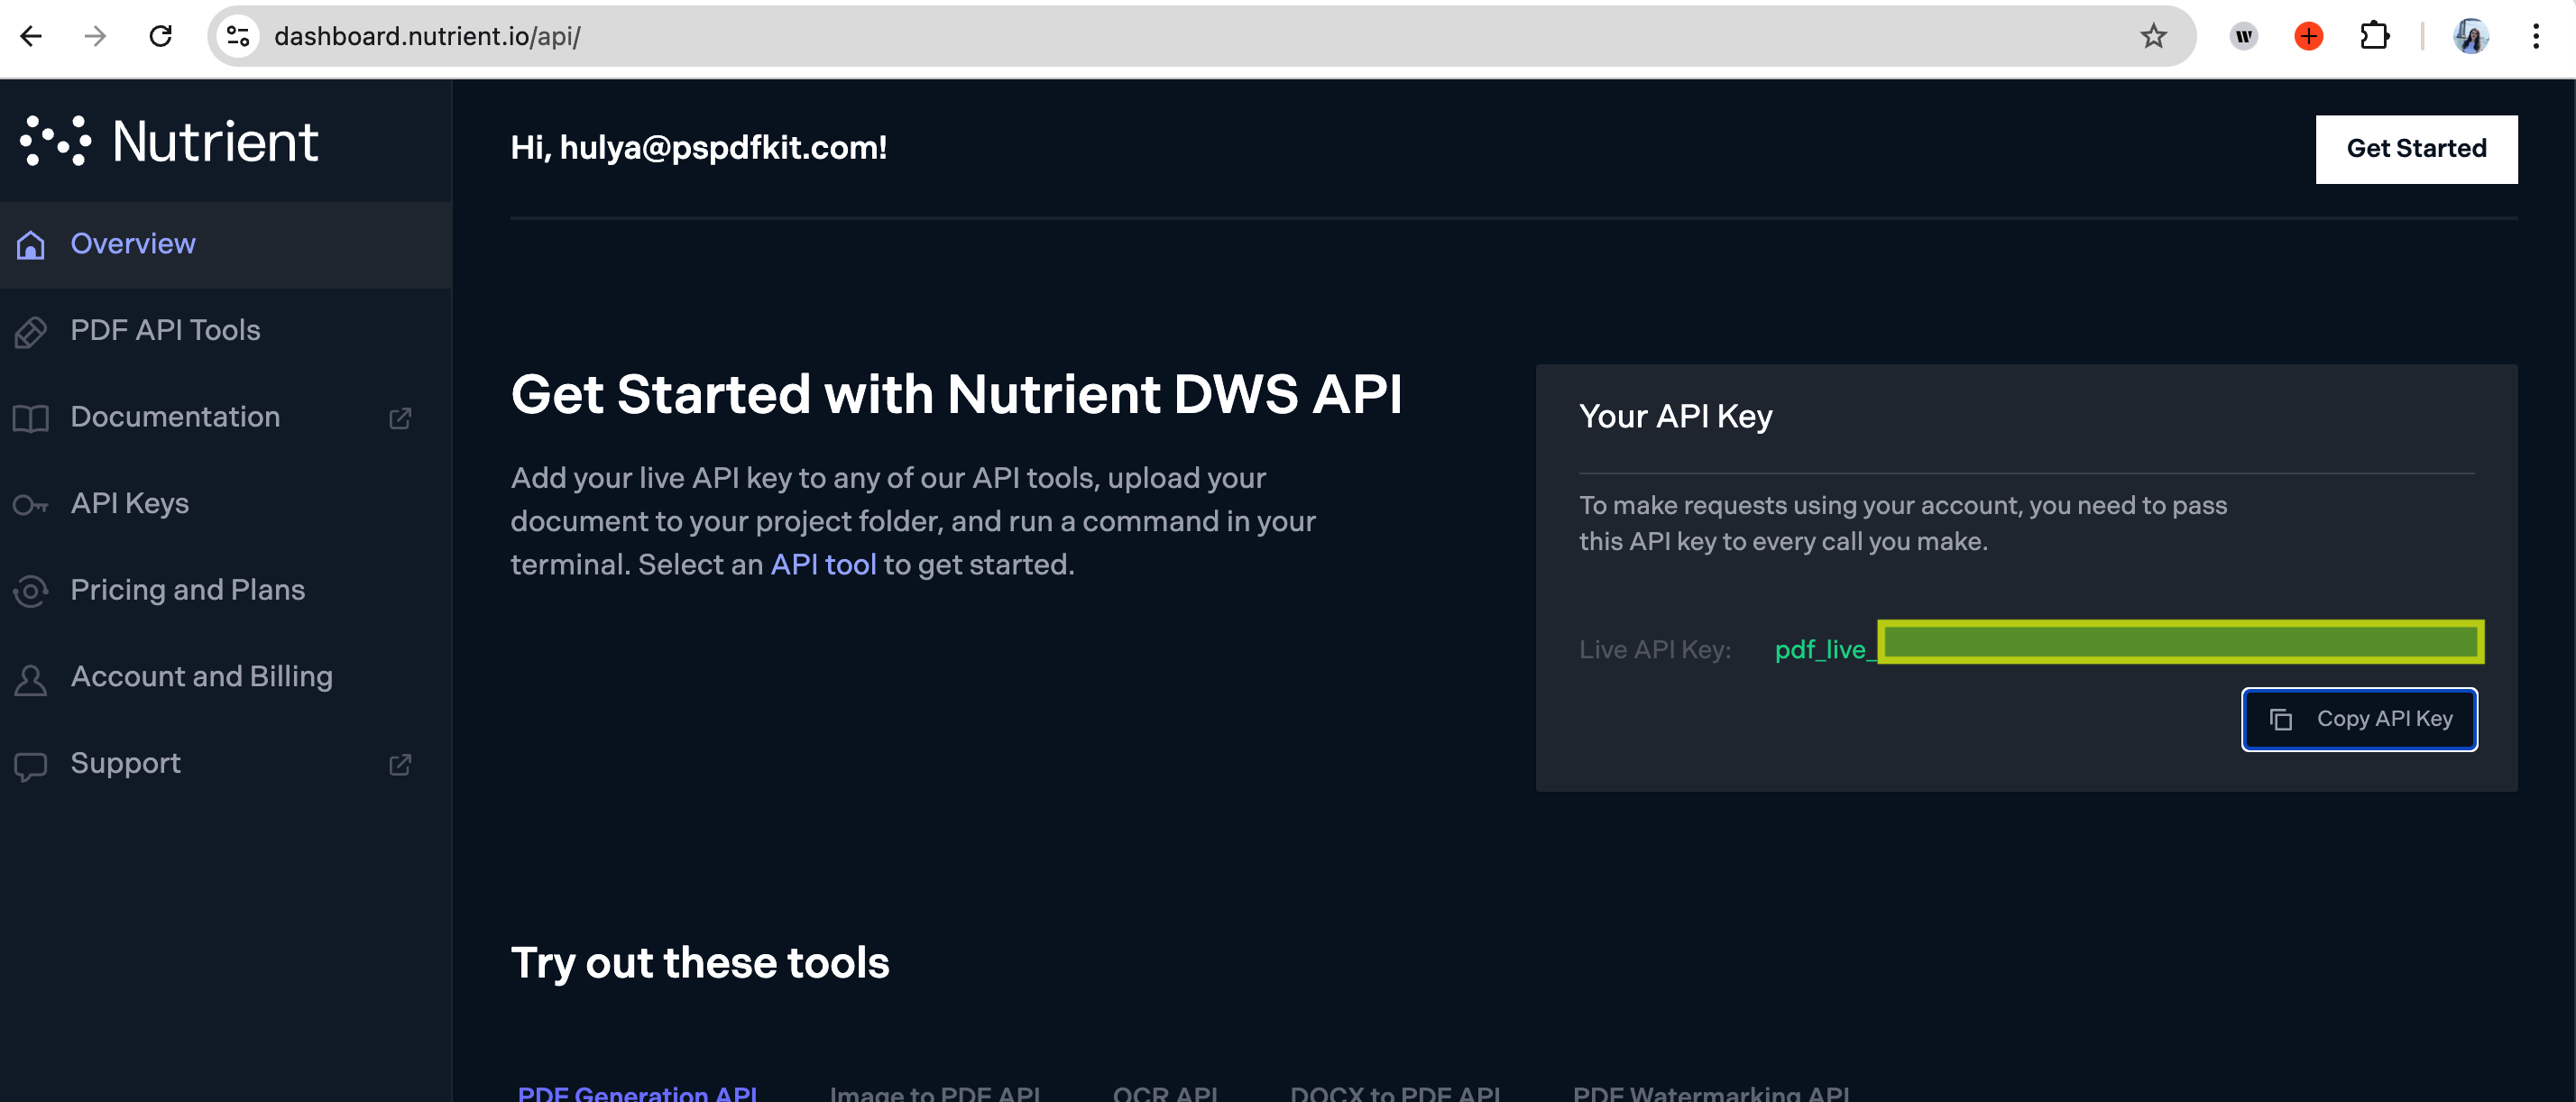
You can find your API key in the Nutrient dashboard.
-
Configure the fields:
-
PPT File — Use the file from step 1.
-
Output format — Choose
jpg,png,tiff, orwebp. -
Output File Name — Optional (e.g.
presentation.jpg).
-

Make sure the file is publicly accessible or Zapier has access to it via Google Drive.
-
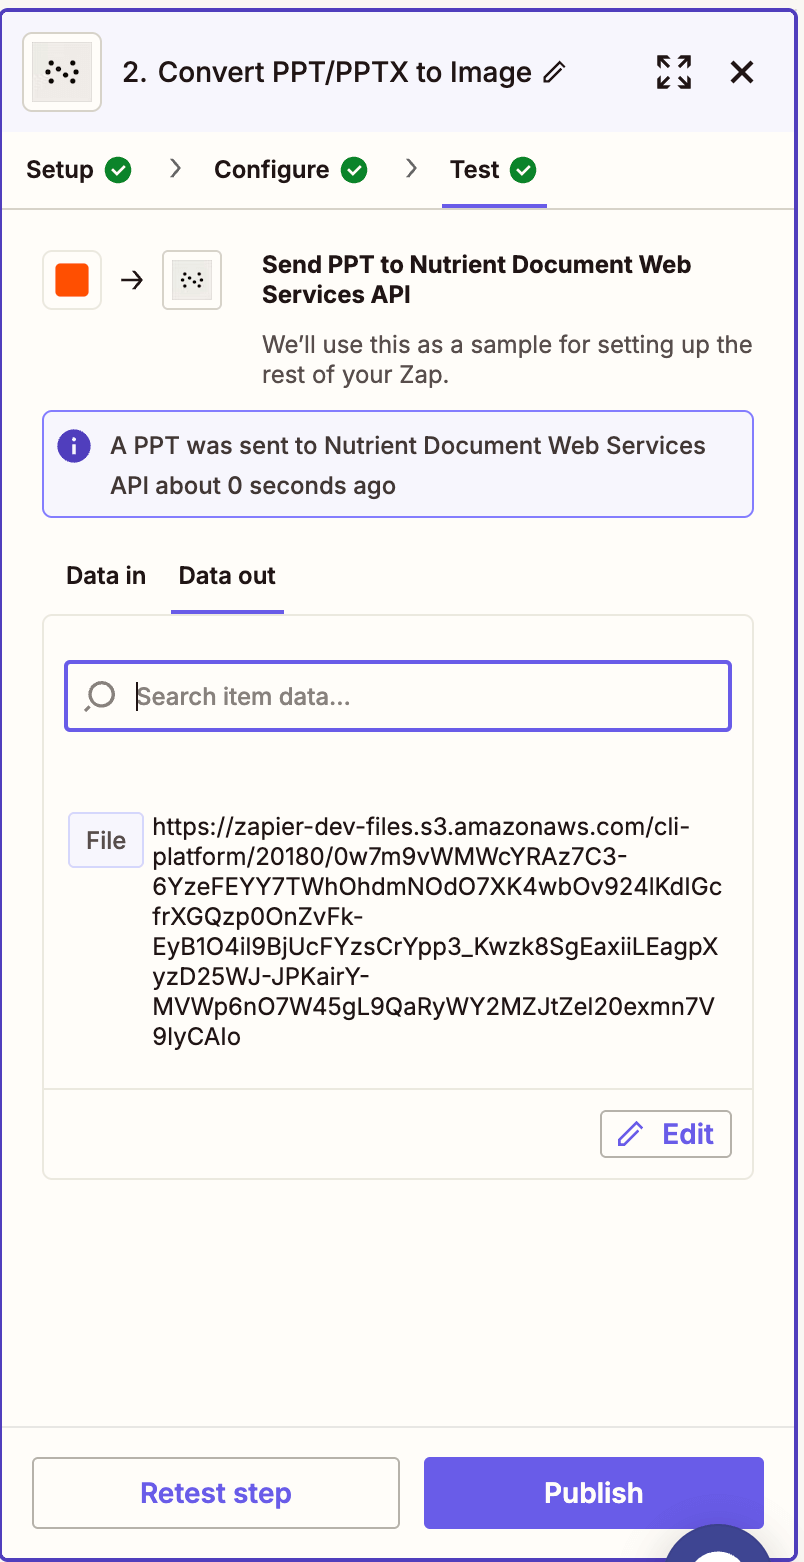
Run a test to ensure the conversion works.
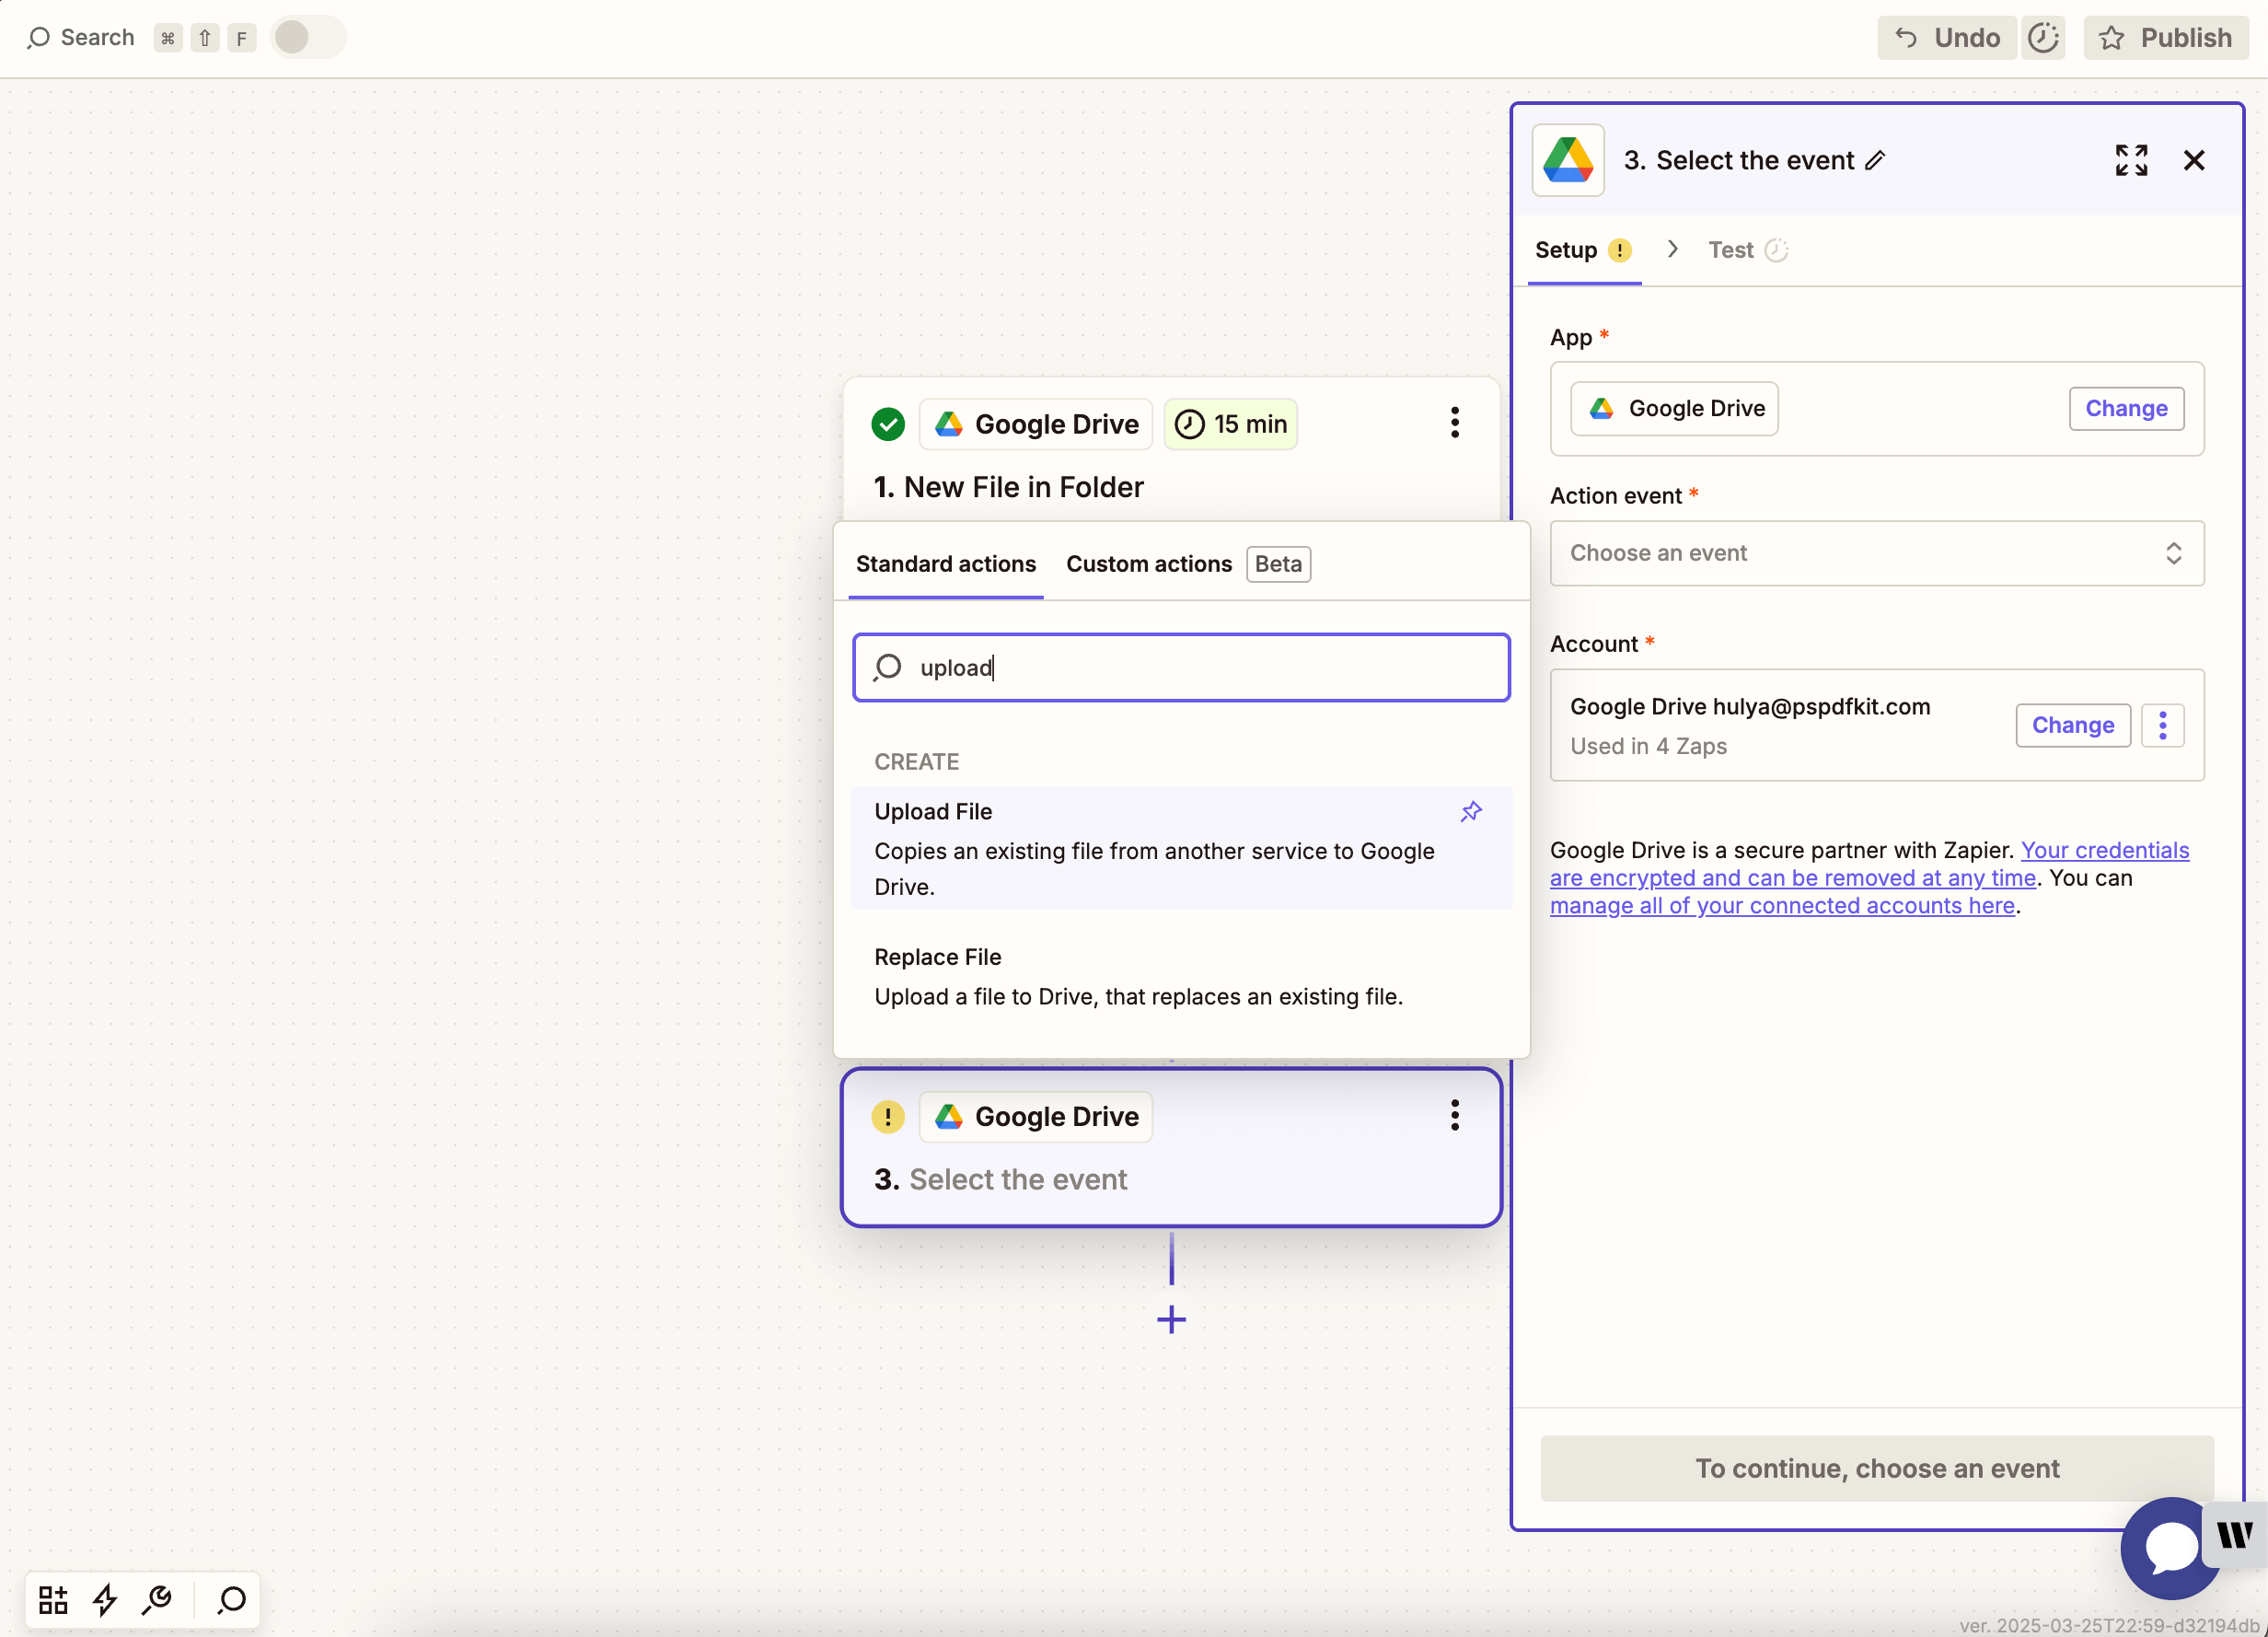
Step 3 — Upload the image to Google Drive
-
Add Google Drive as the final step.
-
Choose the Upload File action.
-
Select your drive and folder.
-
In the File field, map the output from the previous Nutrient step.

Zapier may warn you about a Zap loop if input and output folders are the same. Use a different folder for uploads.
-
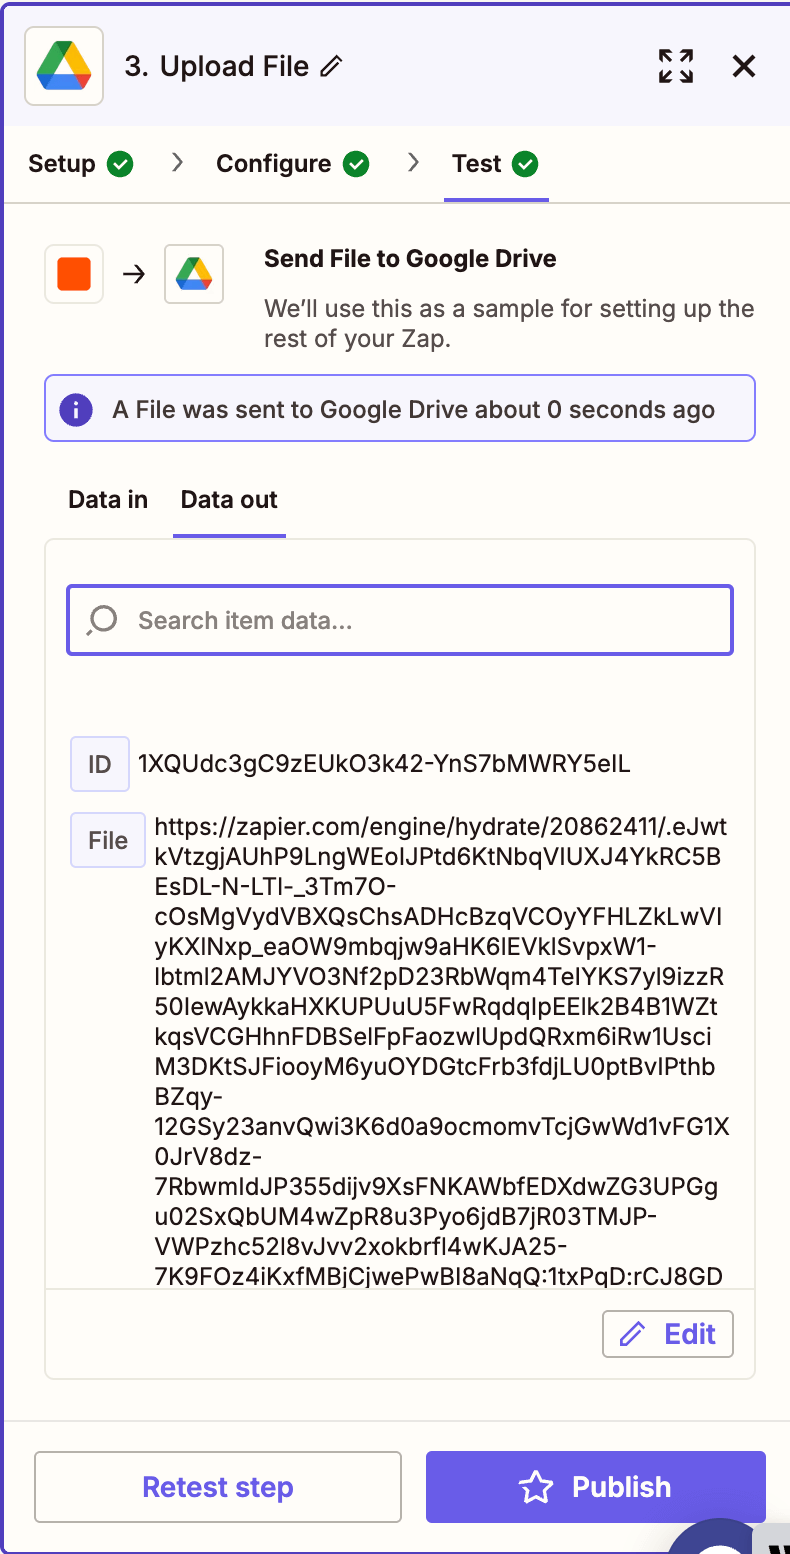
Test the step to confirm the image uploads successfully.
Conclusion
You’ve just automated the conversion of PowerPoint files into image formats like JPG, PNG, TIFF, or WebP using Nutrient API and Zapier. This is especially useful for slide previews, printing, or converting slide decks into assets for design and web.
You can expand this flow by adding PDF conversion, compression, or even email delivery steps.

Hulya is a frontend web developer and technical writer at Nutrient who enjoys creating responsive, scalable, and maintainable web experiences. She’s passionate about open source, web accessibility, cybersecurity privacy, and blockchain.