Extract text from scanned PDFs using OCR with Nutrient Document Web Services API on Zapier
This tutorial walks you through how to automatically apply optical character recognition (OCR) to scanned PDF files using the Nutrient Document Web Services API on Zapier. The result is a searchable PDF with selectable text, perfect for digitization and archiving workflows.
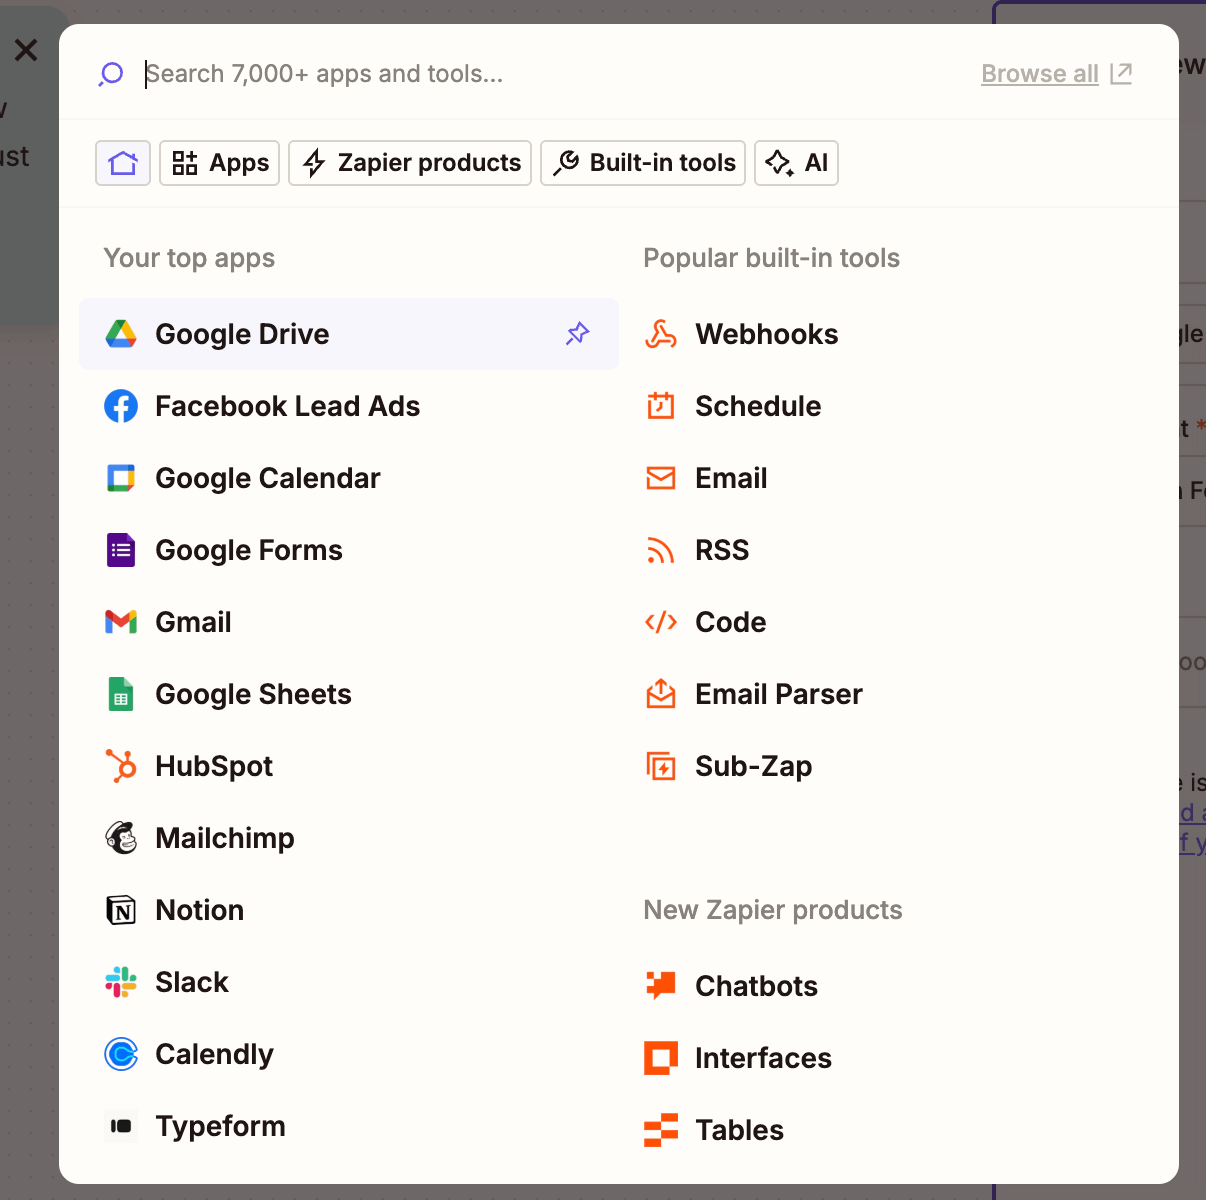
What is Zapier?
Zapier is a no-code automation platform that lets you connect apps like Google Drive, Gmail, and Slack to automate tasks without writing code. You can use it to build workflows triggered by file uploads or new entries, and take actions like converting or extracting data from documents.
What is the Nutrient API?
Nutrient Document Web Services API helps you automate everything from document conversion to redaction, annotation, OCR, and digital signing. With your free account, you get 100 credits to experiment with different tools and integrations.
You’ll be using the OCR action to turn scanned PDFs into searchable documents.
What you’ll need
-
A Zapier account (a pro plan is necessary for multi-step Zaps)
-
A Google Drive account
-
A scanned PDF file stored in Google Drive
-
A Nutrient API key — get one here
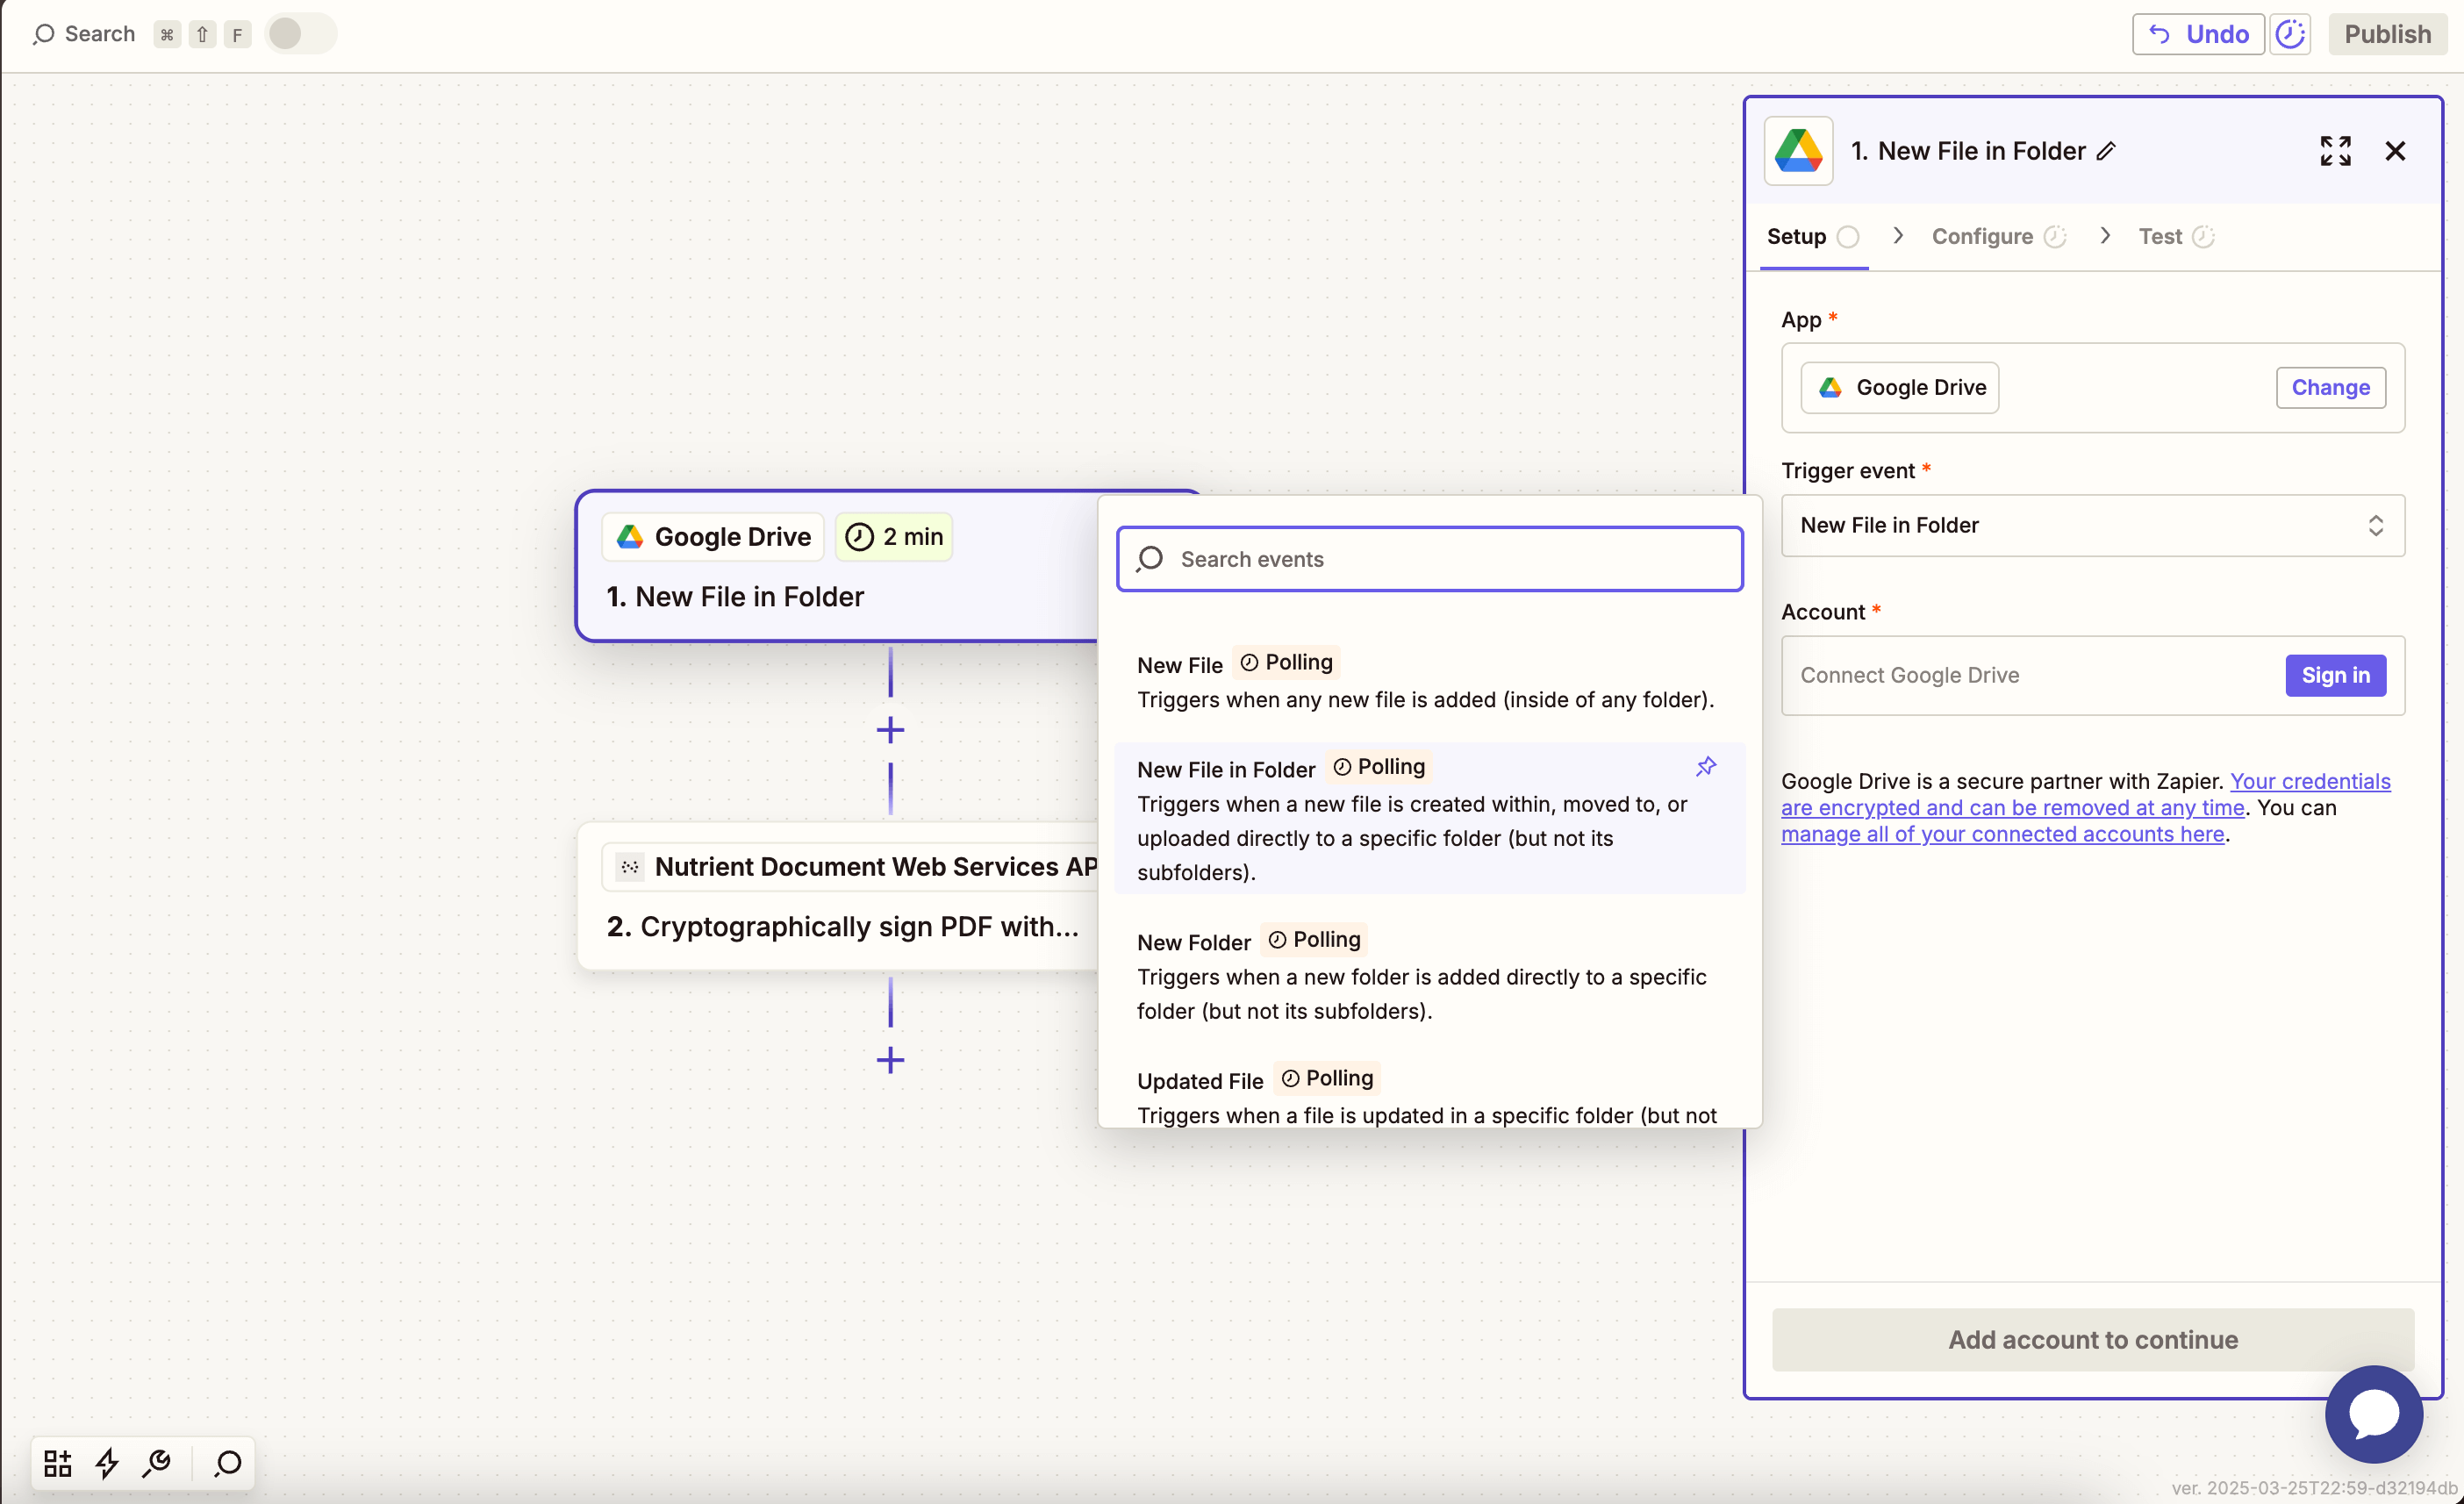
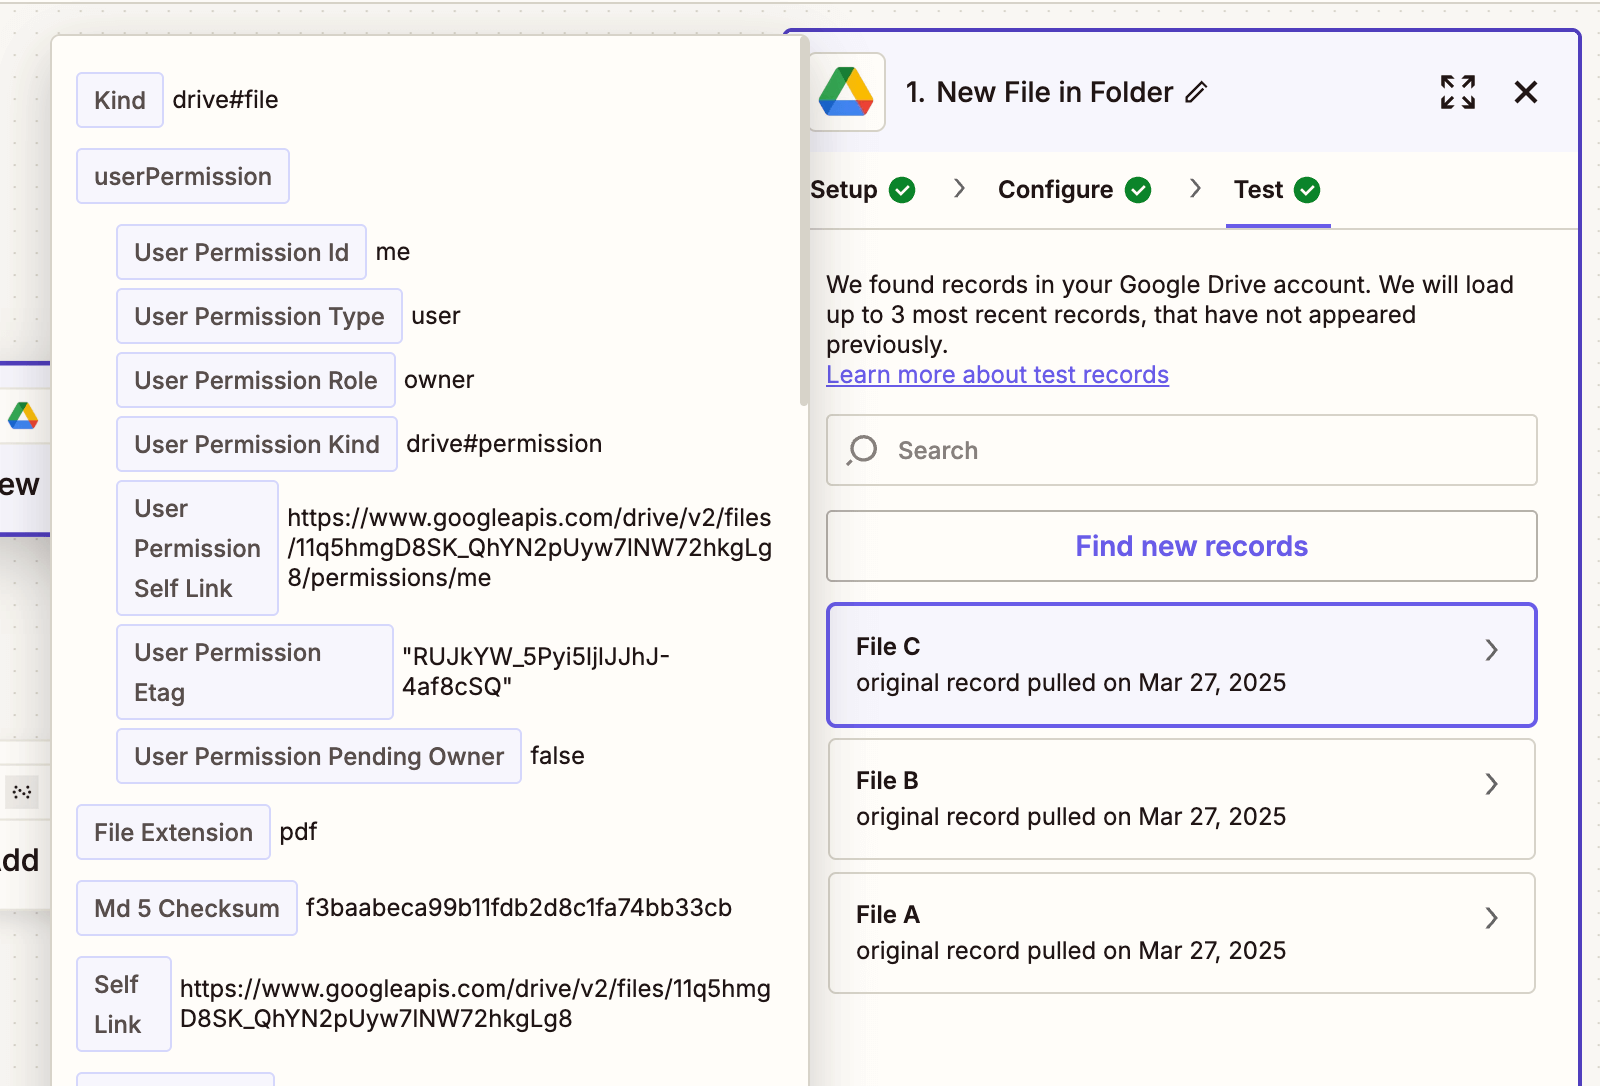
Step 1 — Trigger a new file in a Google Drive folder
-
Select Google Drive as the trigger app.
-
Choose the New File in Folder trigger event.
-
Connect your Google Drive account.
-
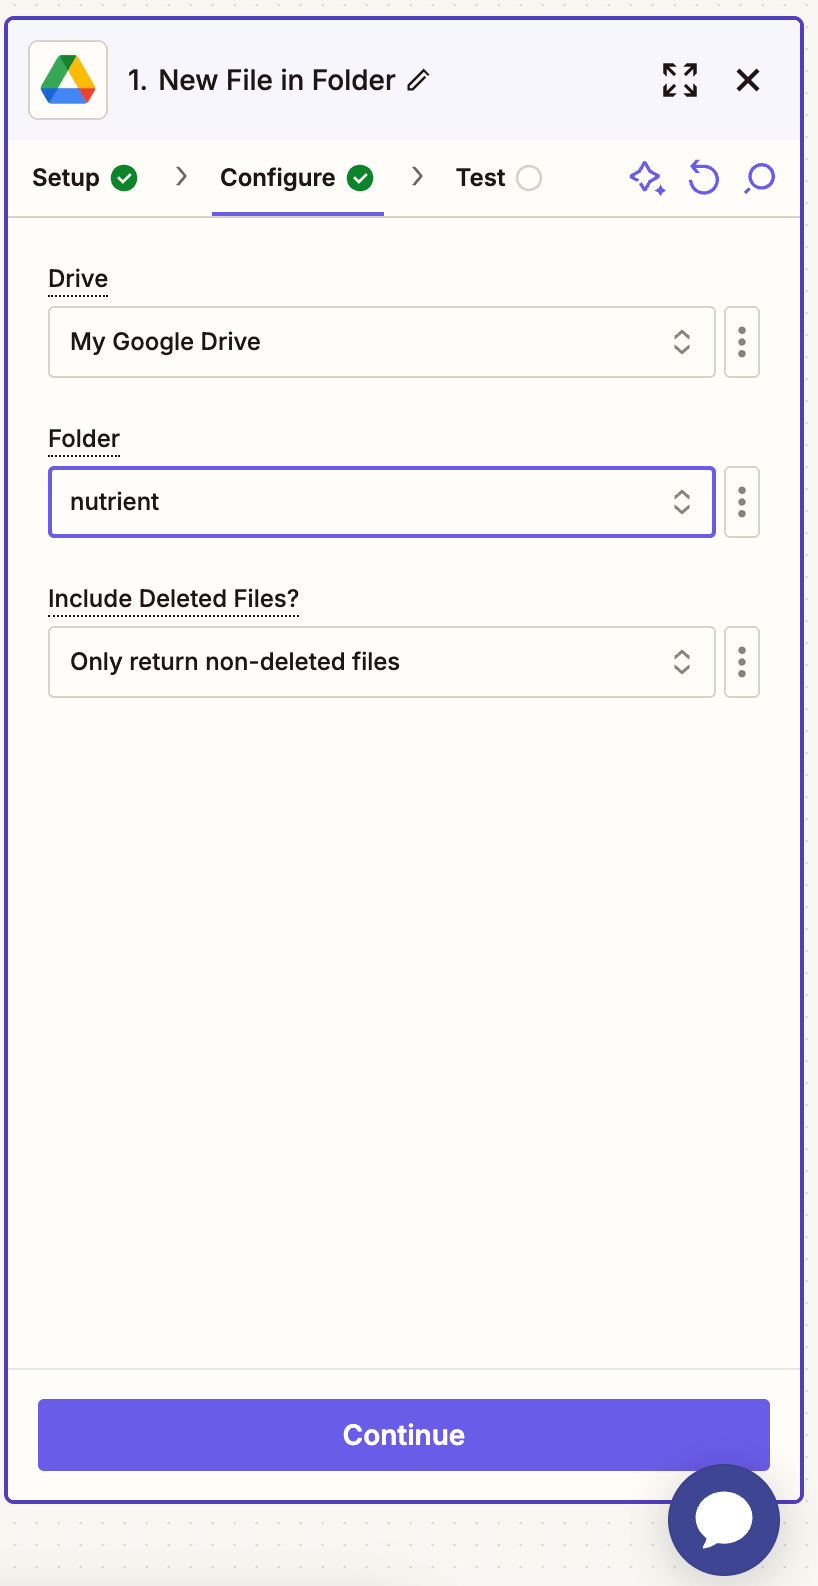
Select the drive and input folder (e.g.
ocr-scanned-files).
-
Upload a test PDF file and confirm Zapier pulls it in.
Step 2 — Apply OCR to scanned PDF action
-
Choose Nutrient Document Web Services API as the action app.
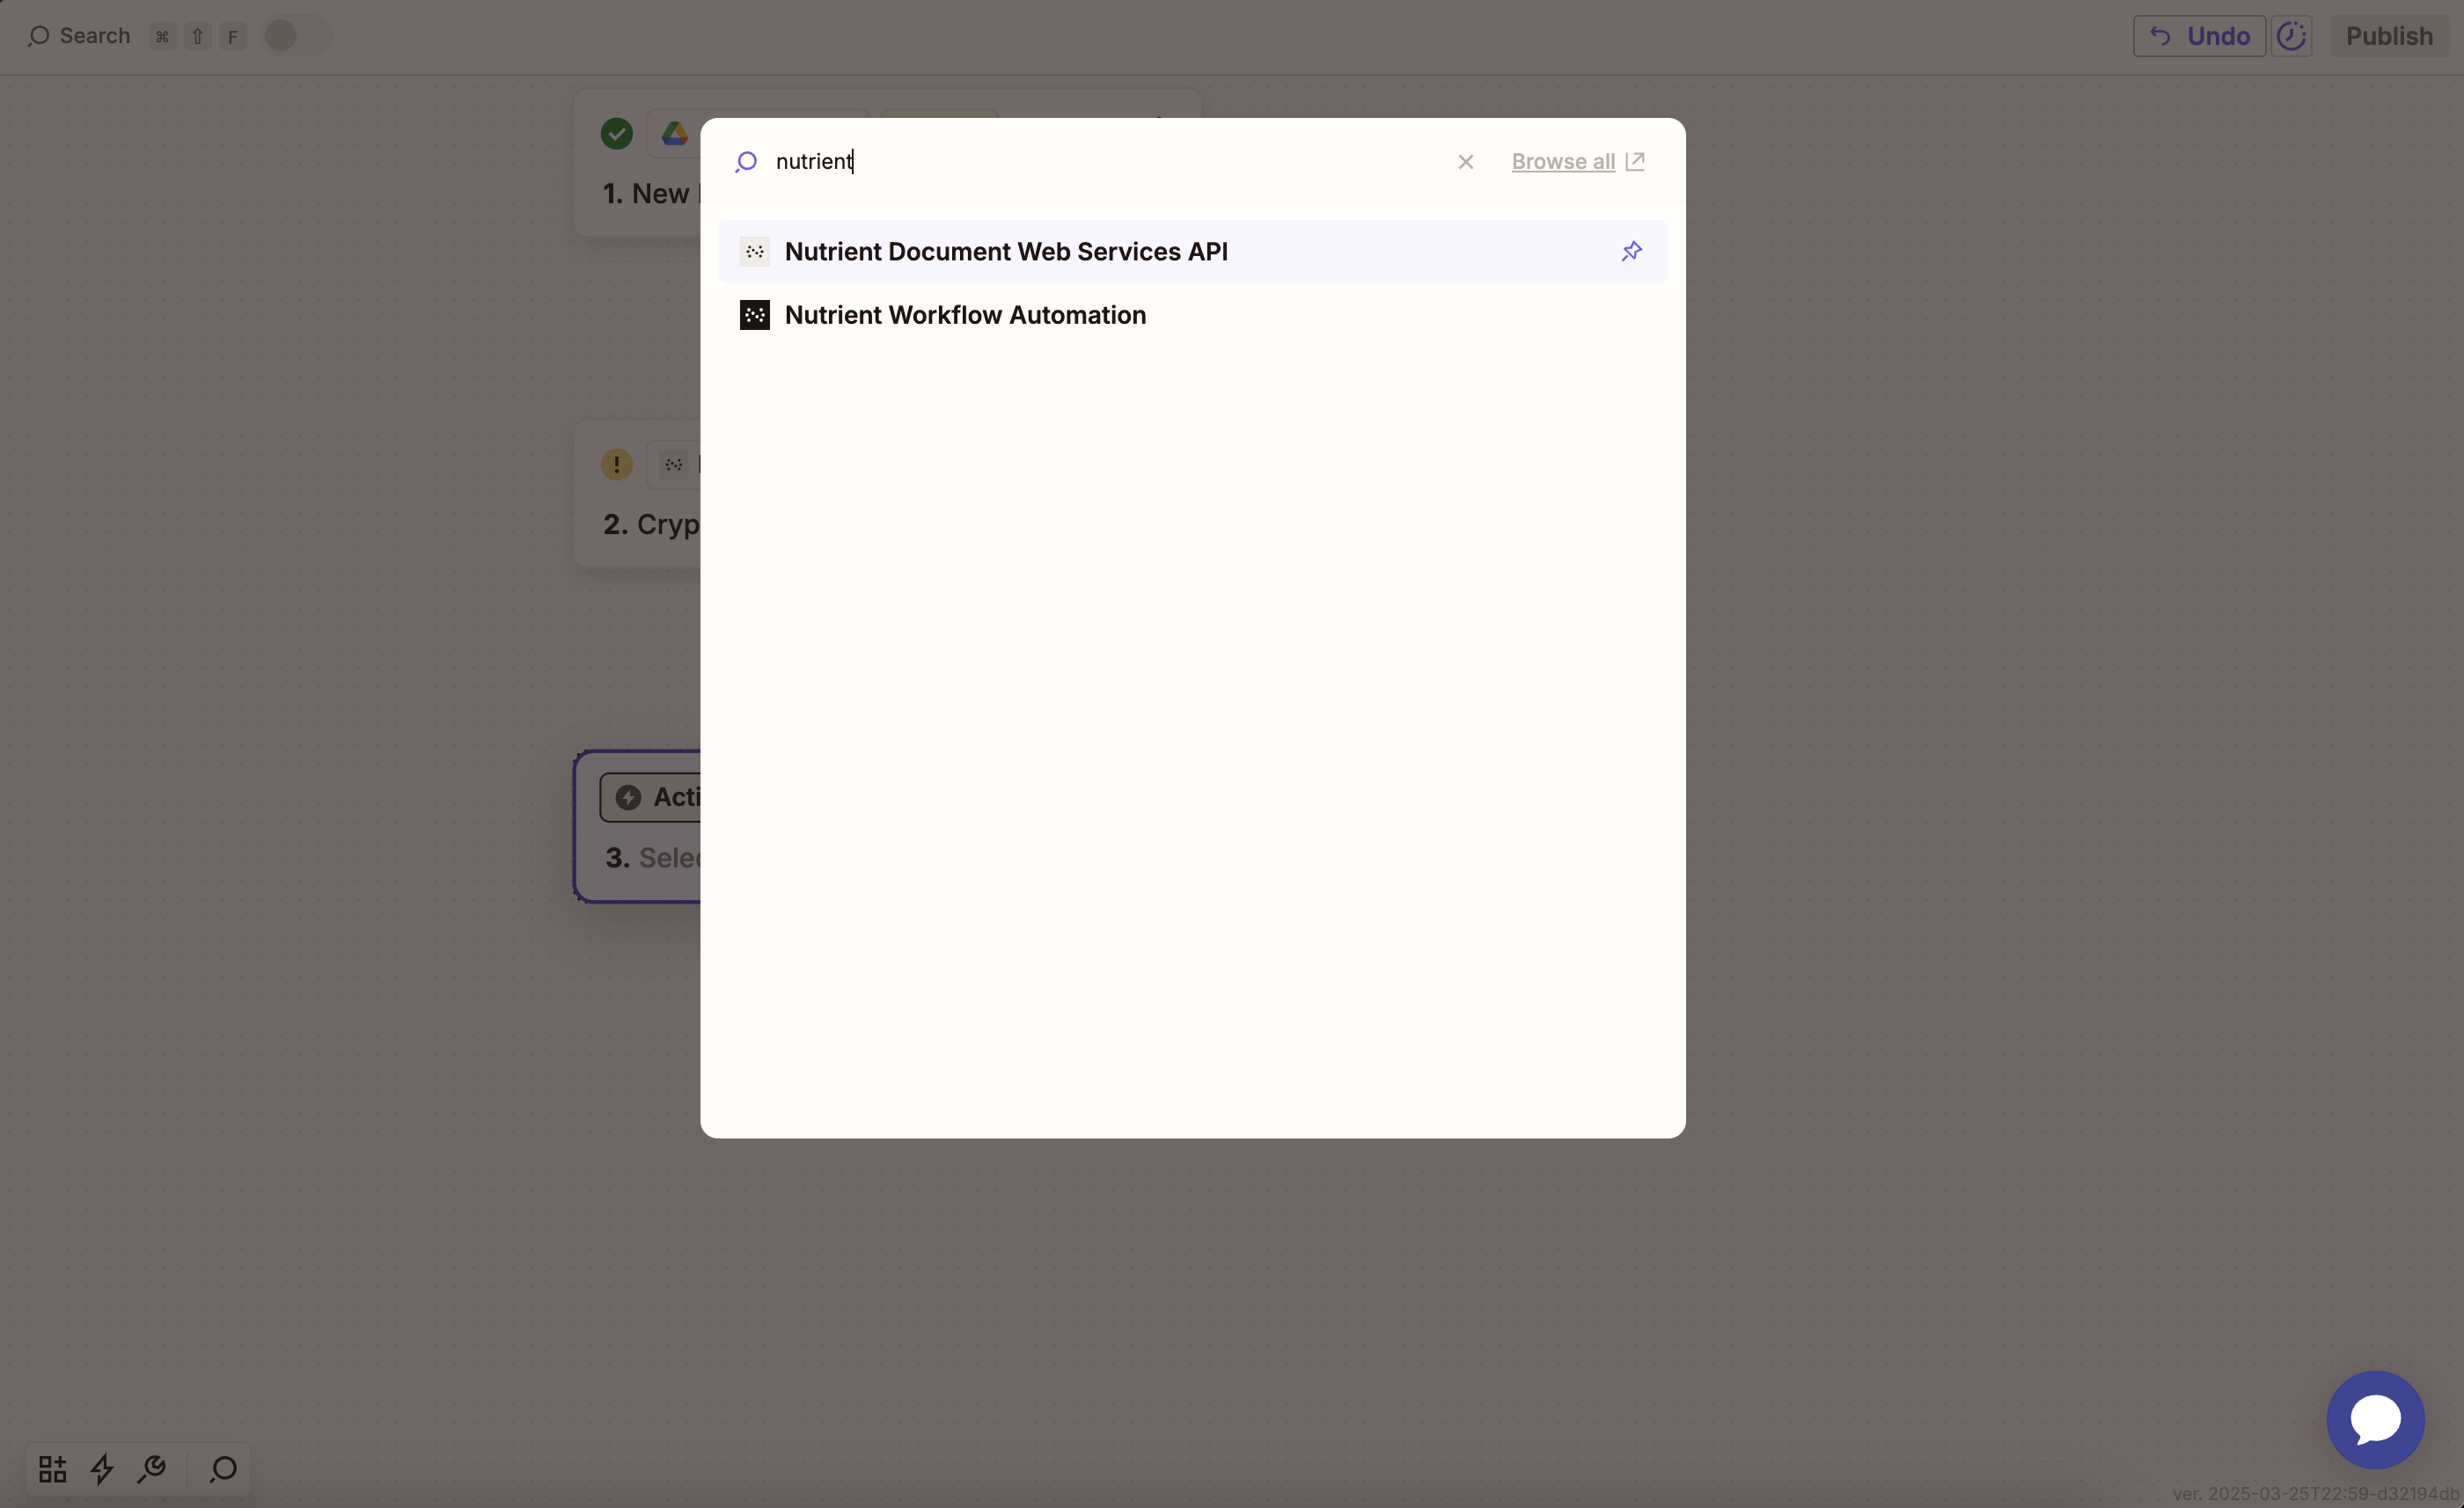
-
Choose the Extract Text With OCR action.
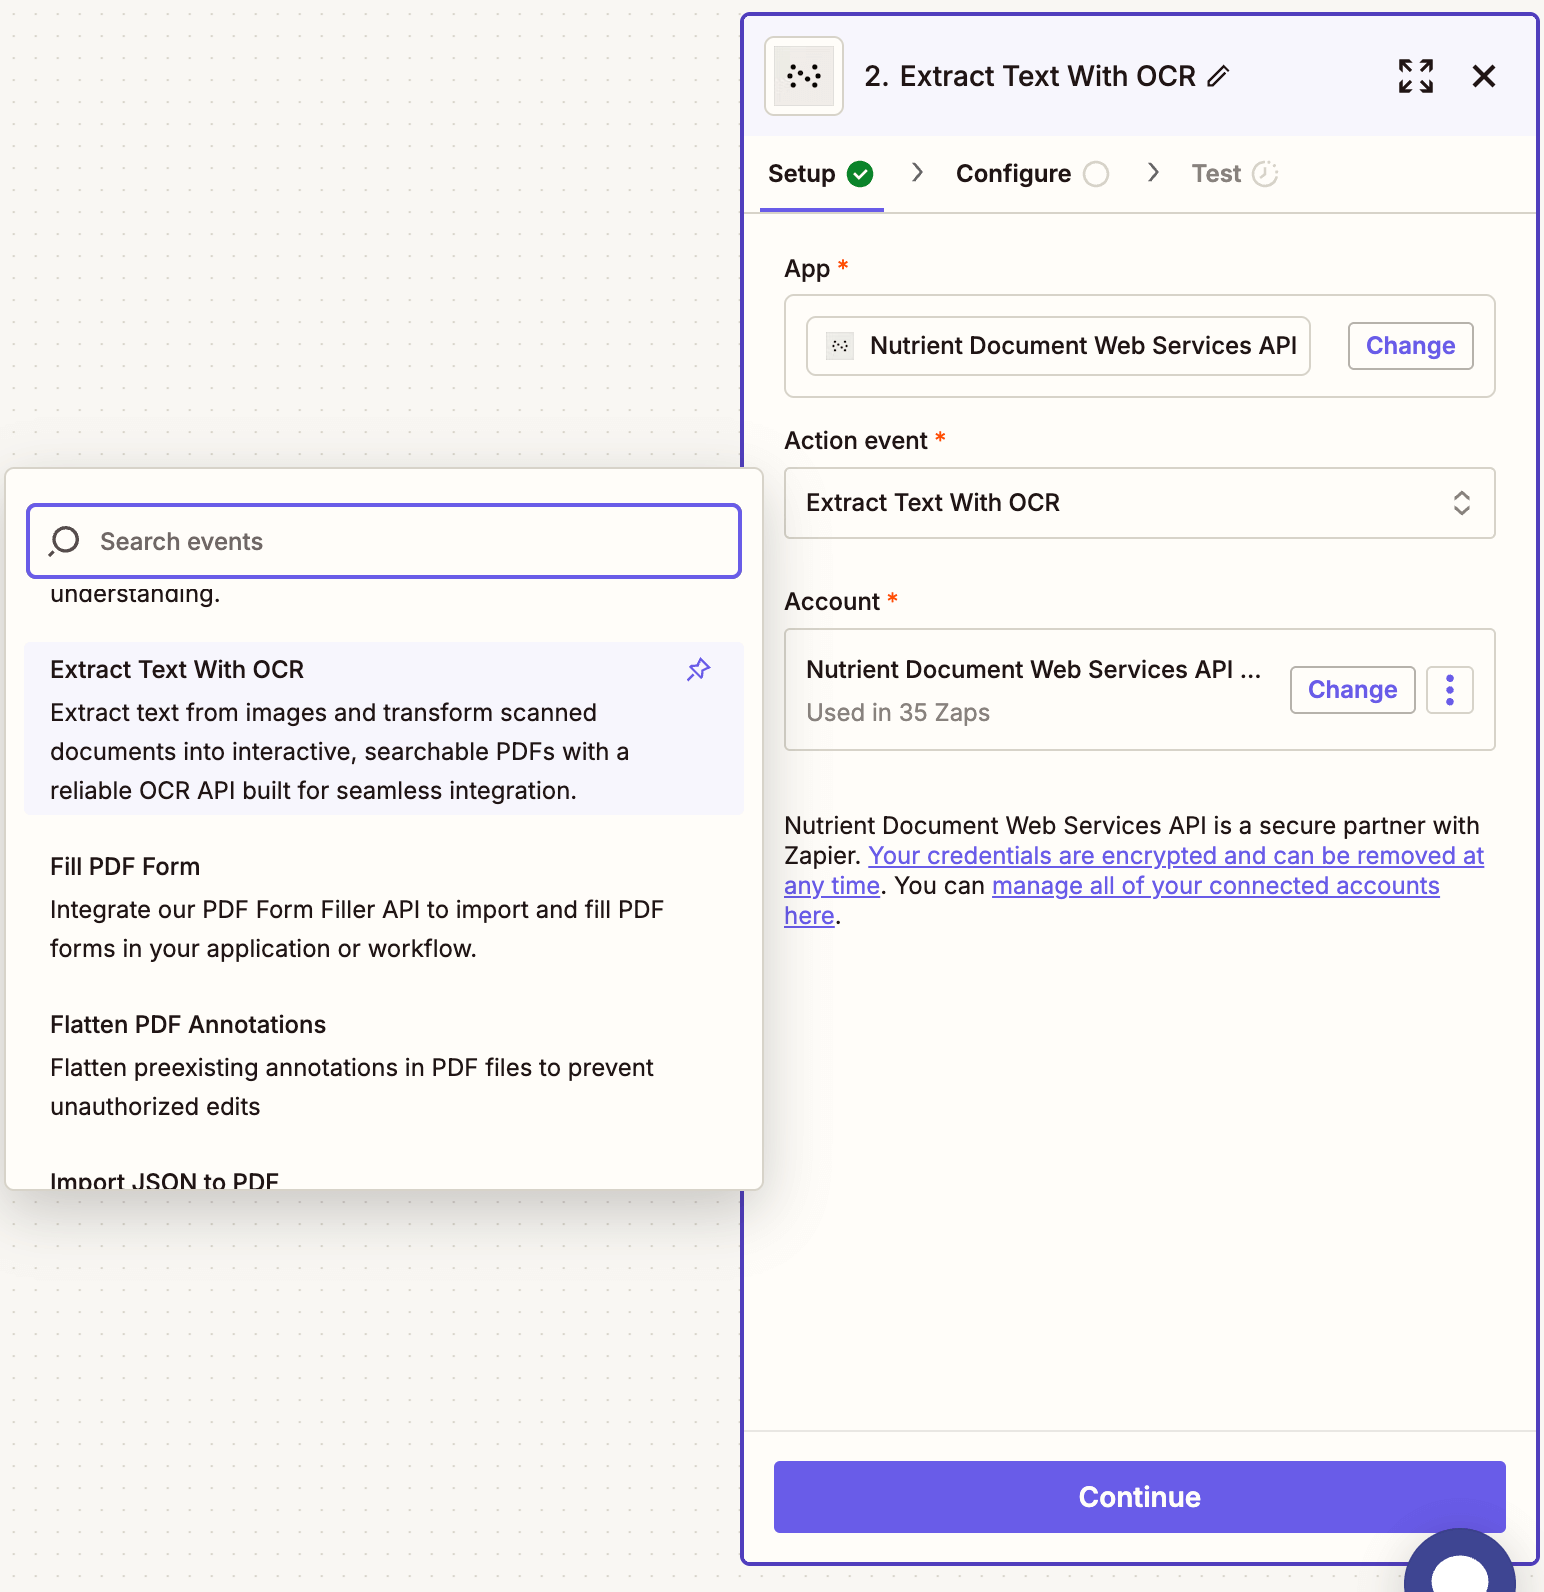
-
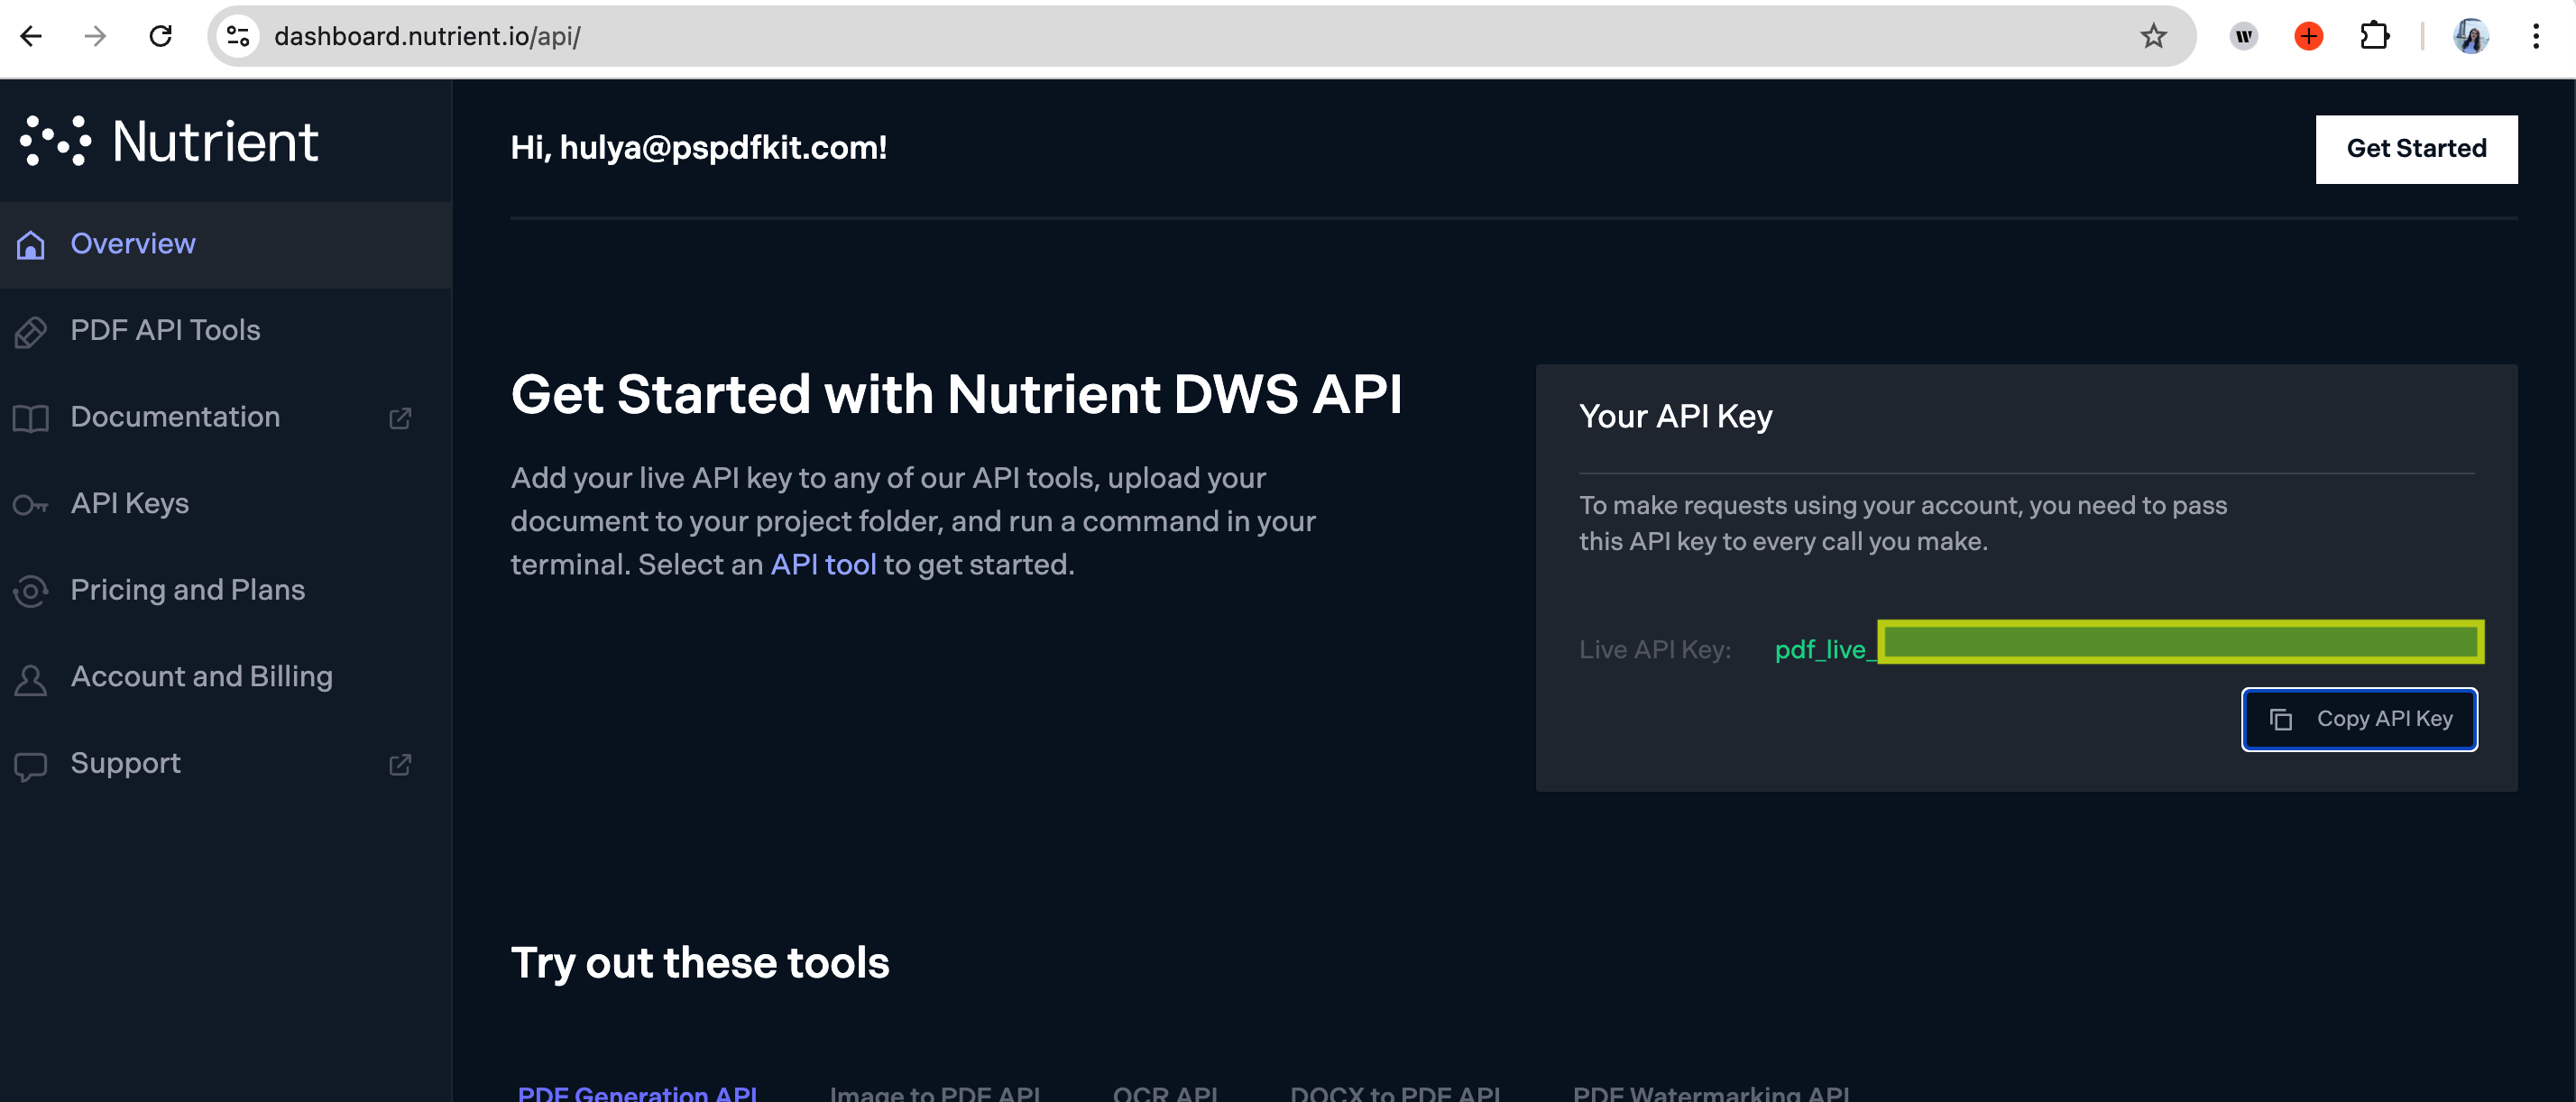
Connect your Nutrient account by pasting your API key.
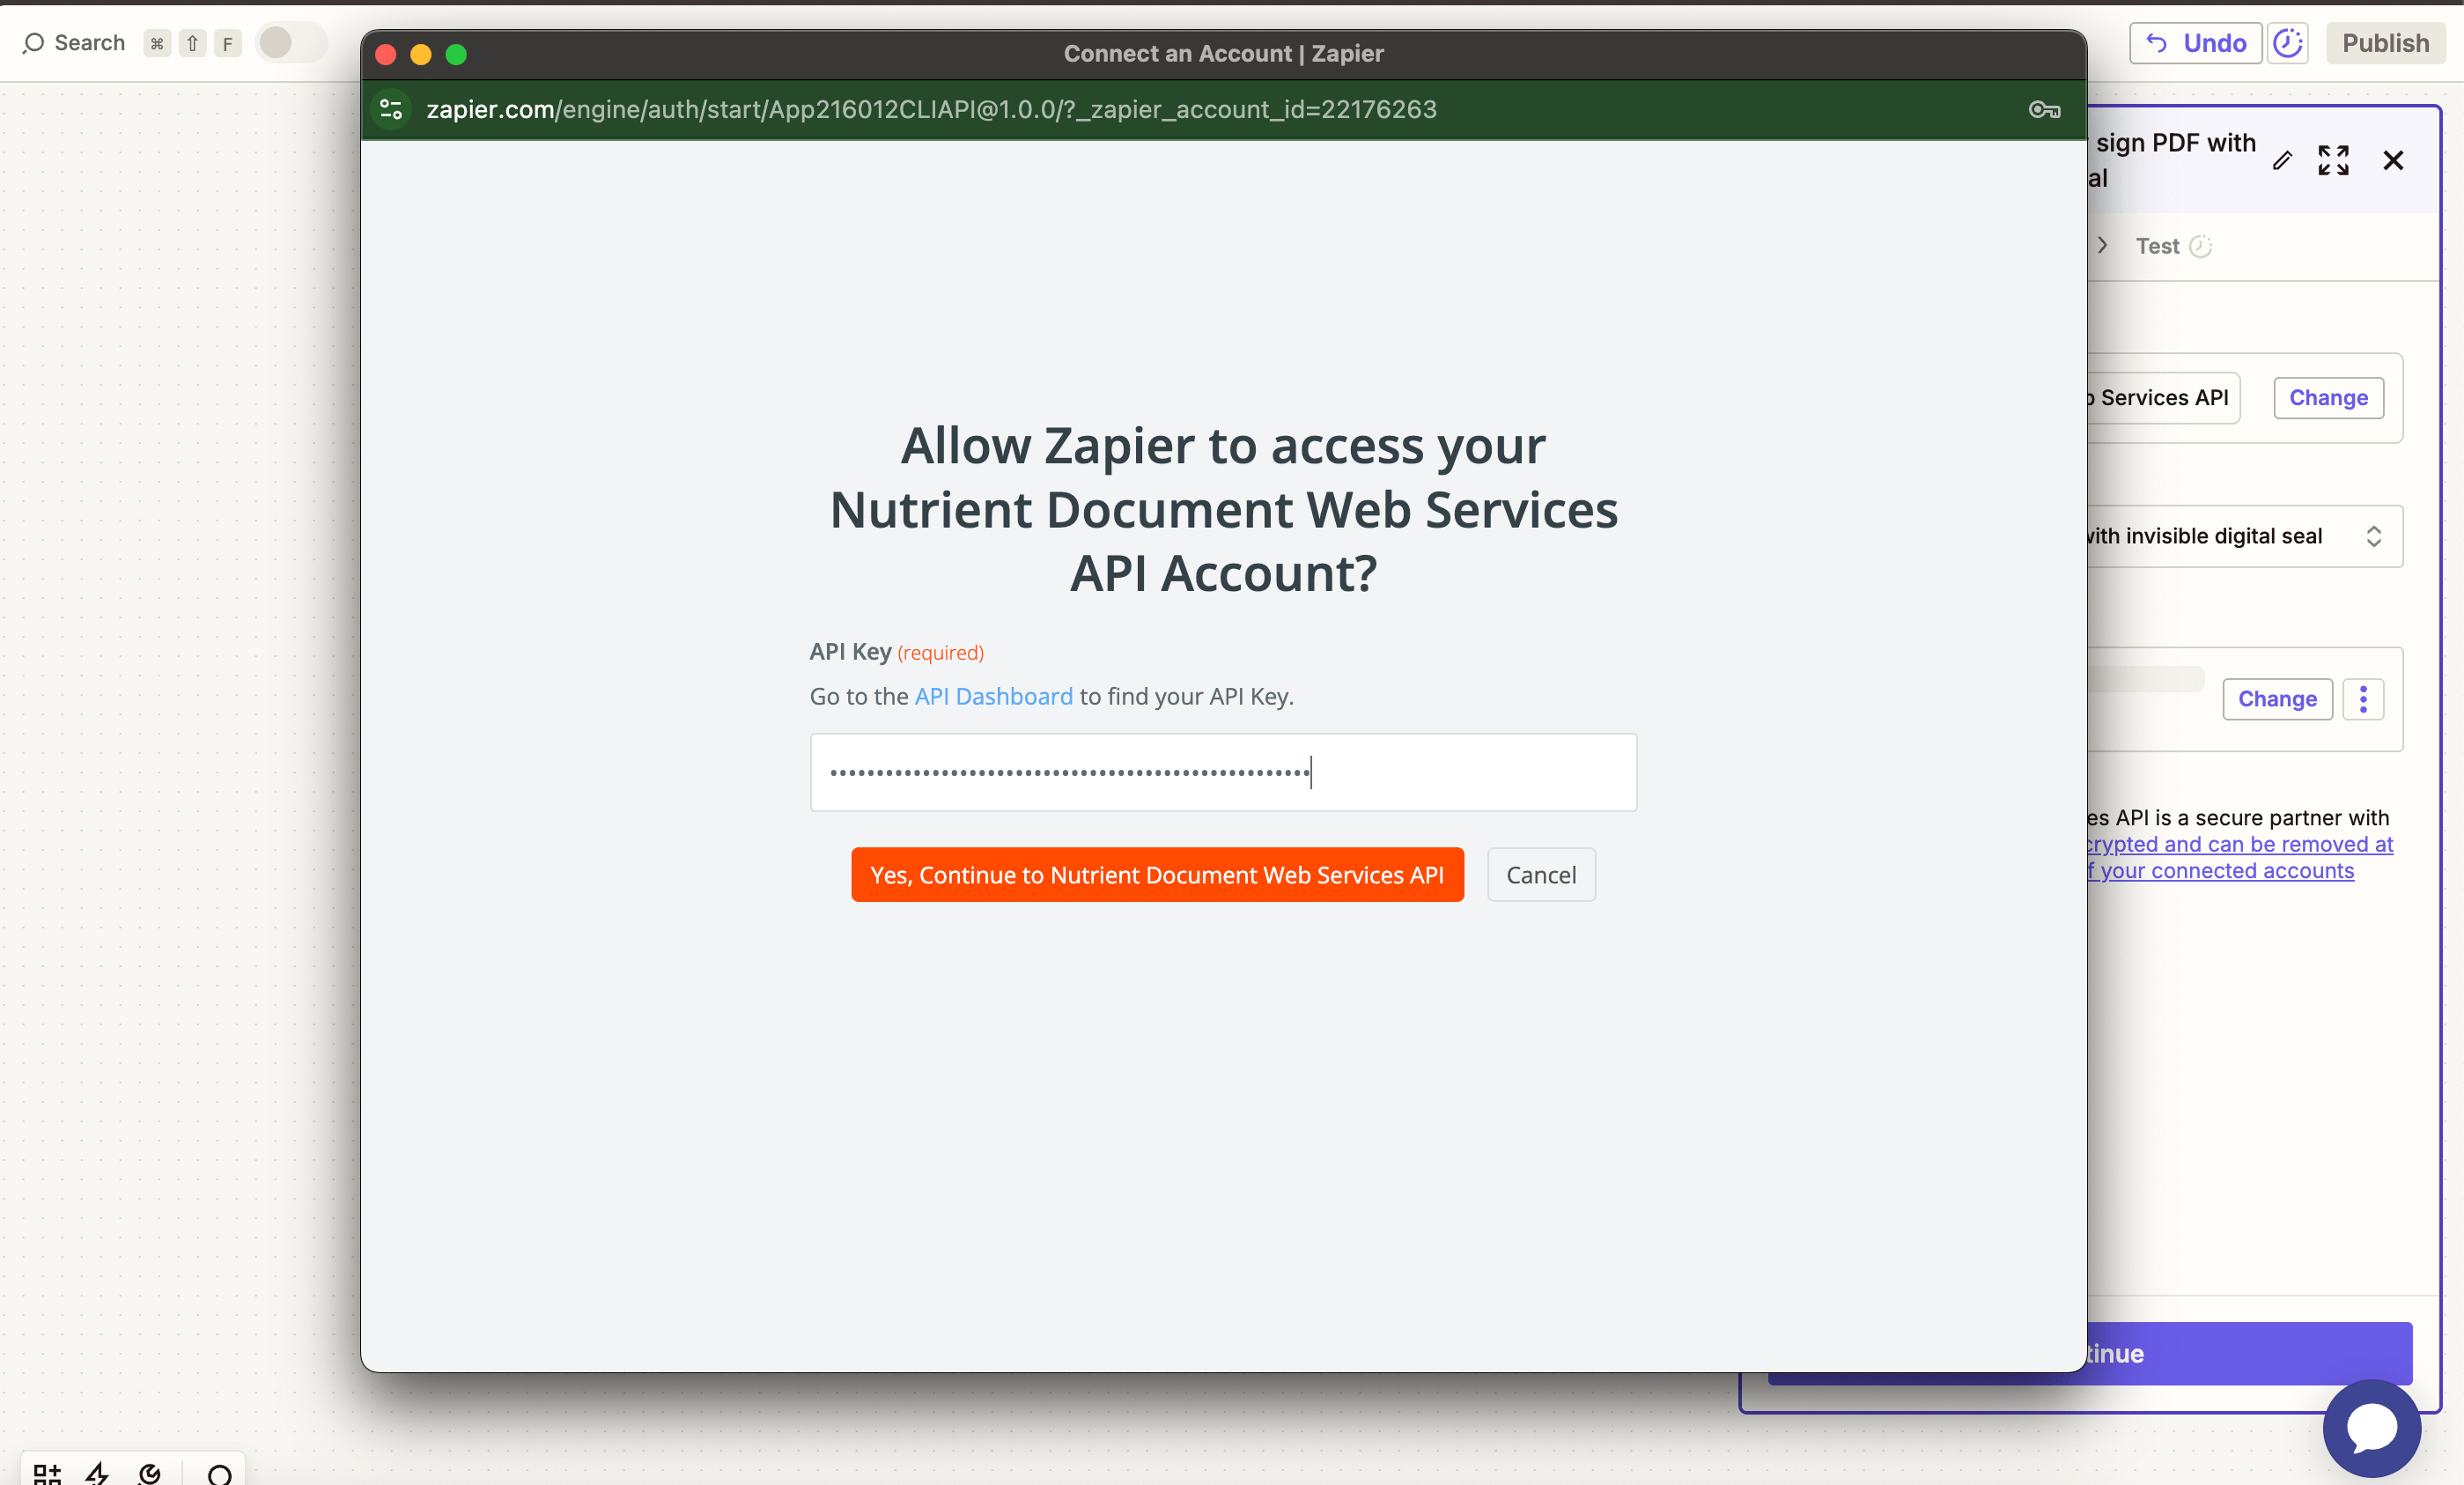
You can find your key in the Nutrient dashboard.
-
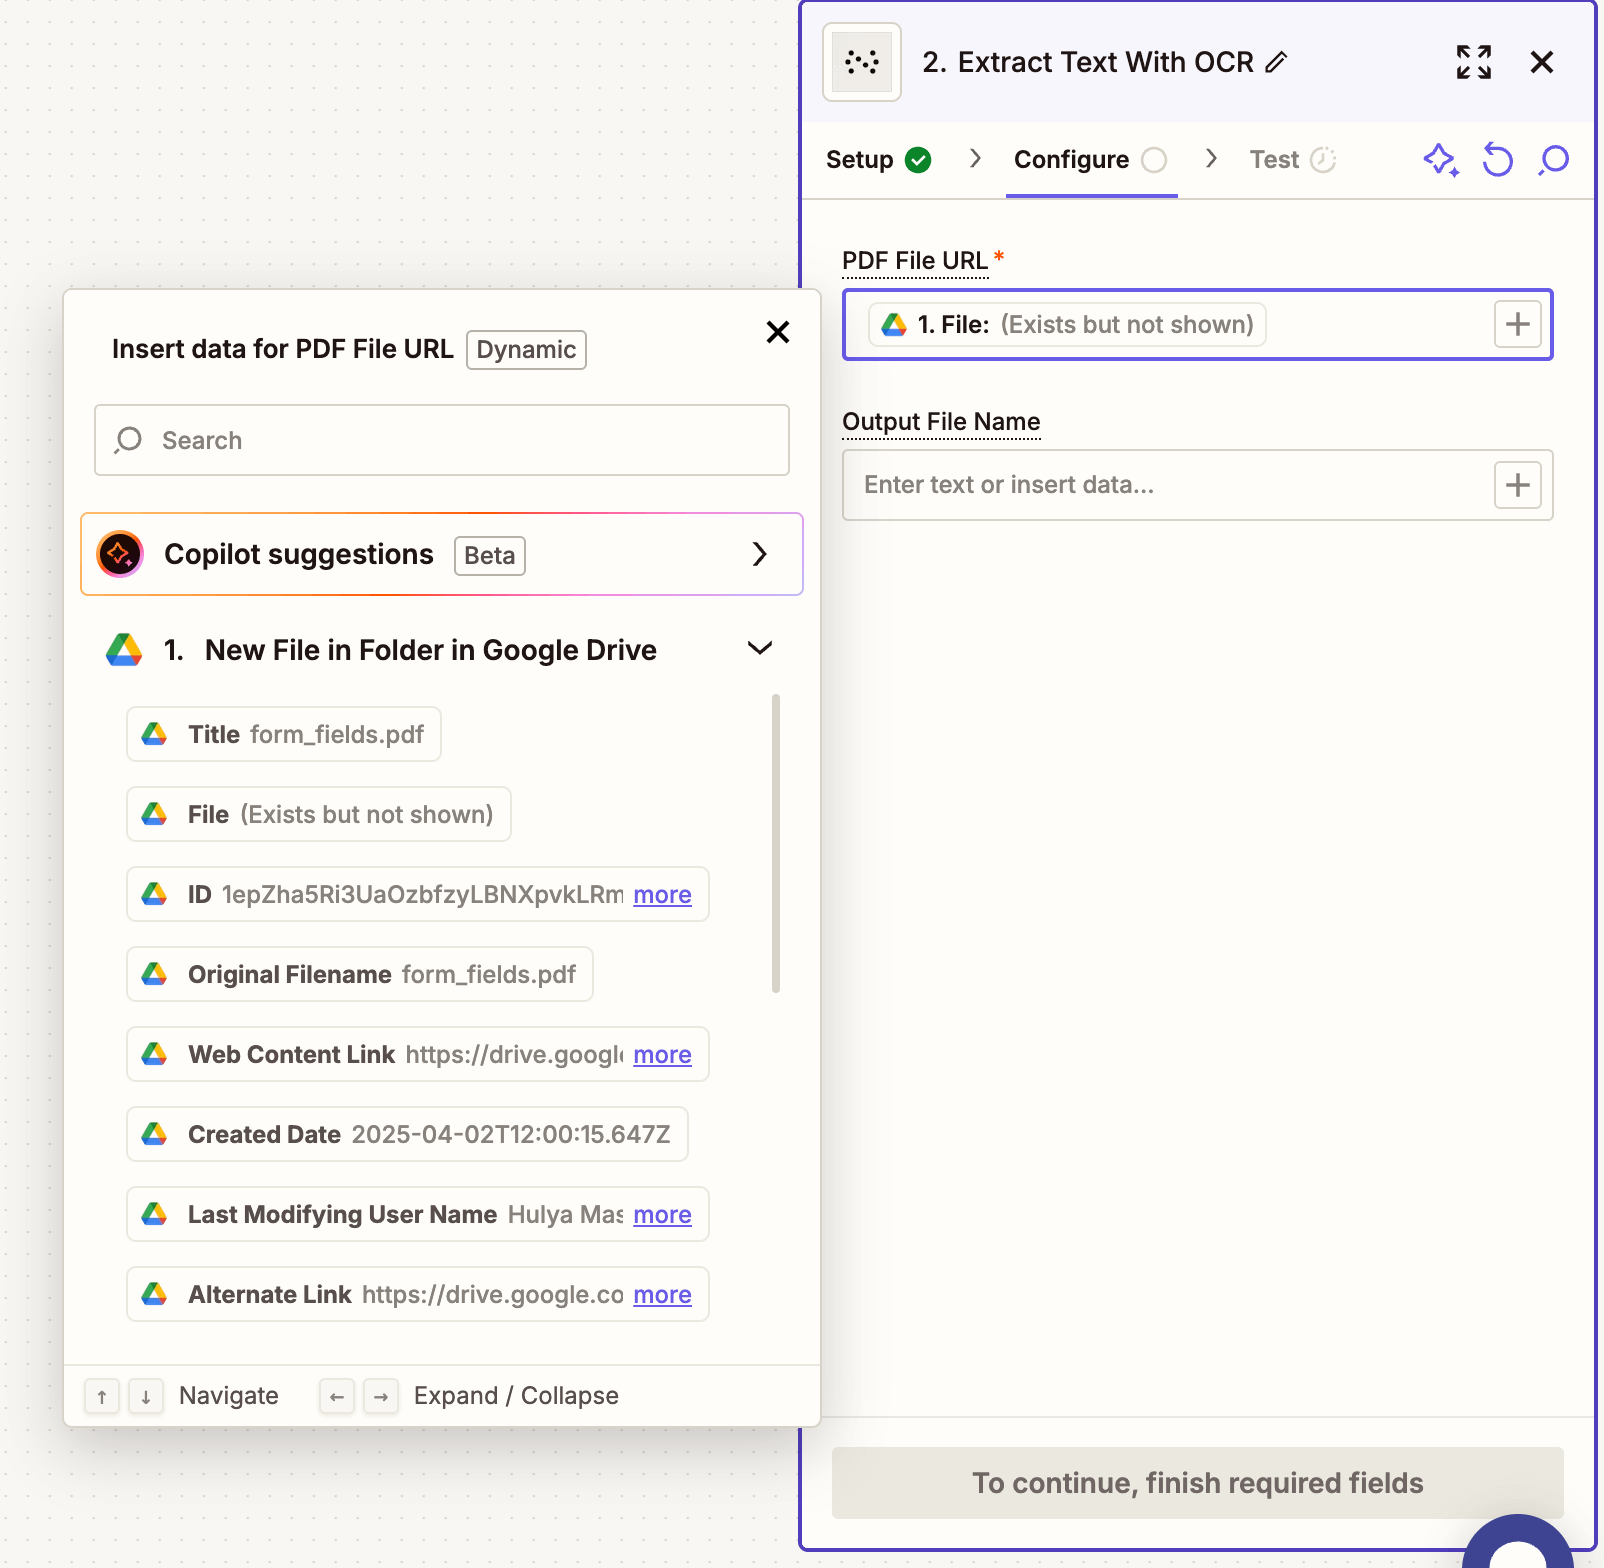
Fill out the fields:
-
PDF File URL — Use the file URL from step 1.
-
Output File Name — Optional (e.g.
invoice [OCR Processed].pdf).
-
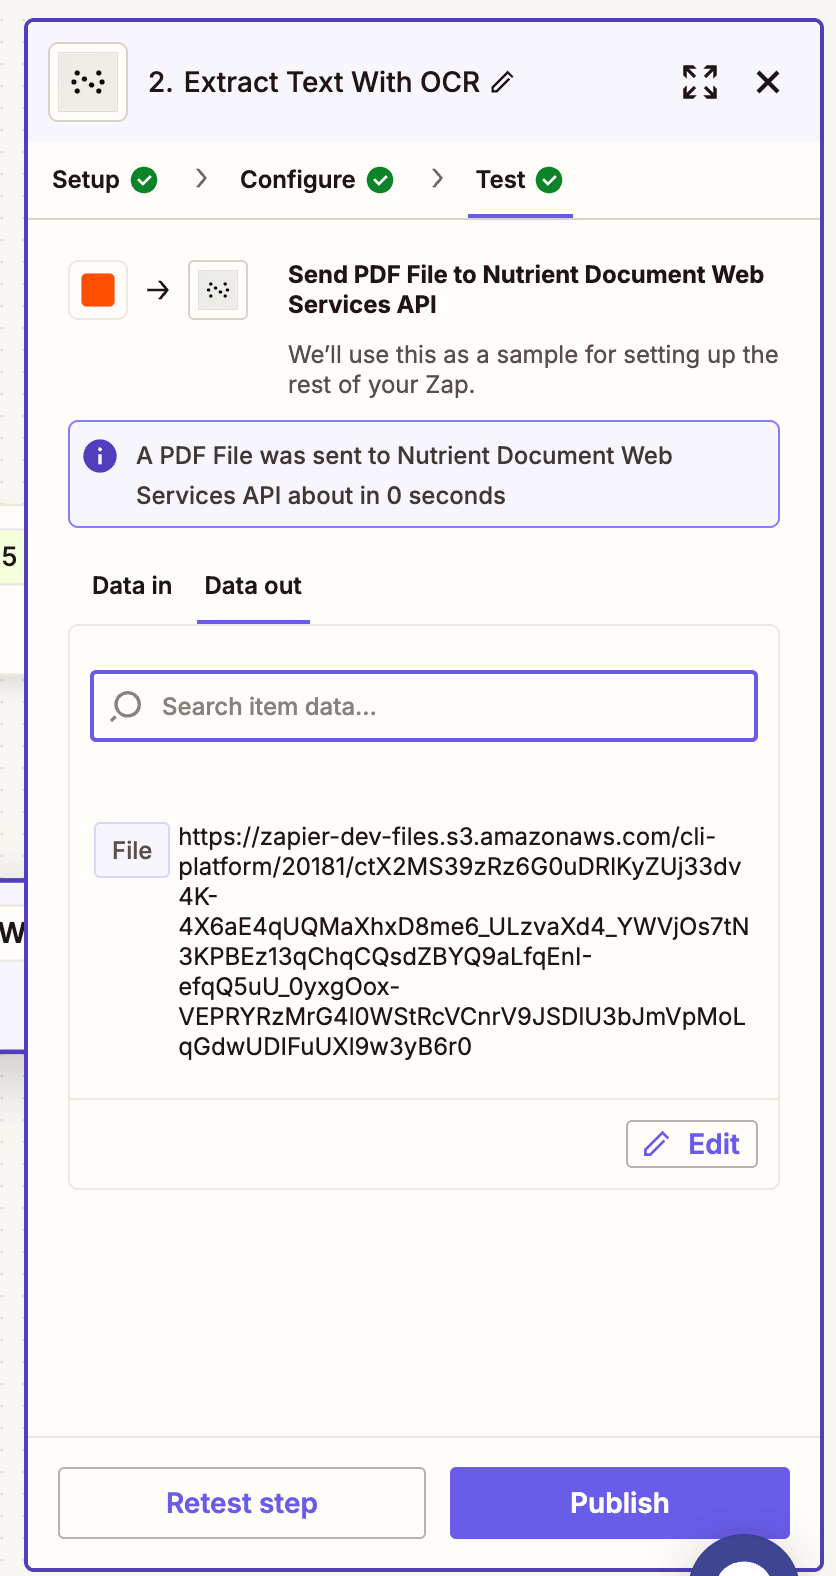
Your file must be publicly accessible or uploaded through Google Drive for Zapier to access it.
-
Test the step and confirm the OCR-processed file is returned.
Step 3 — Upload the searchable PDF to Google Drive
-
Add Google Drive again as the action app.
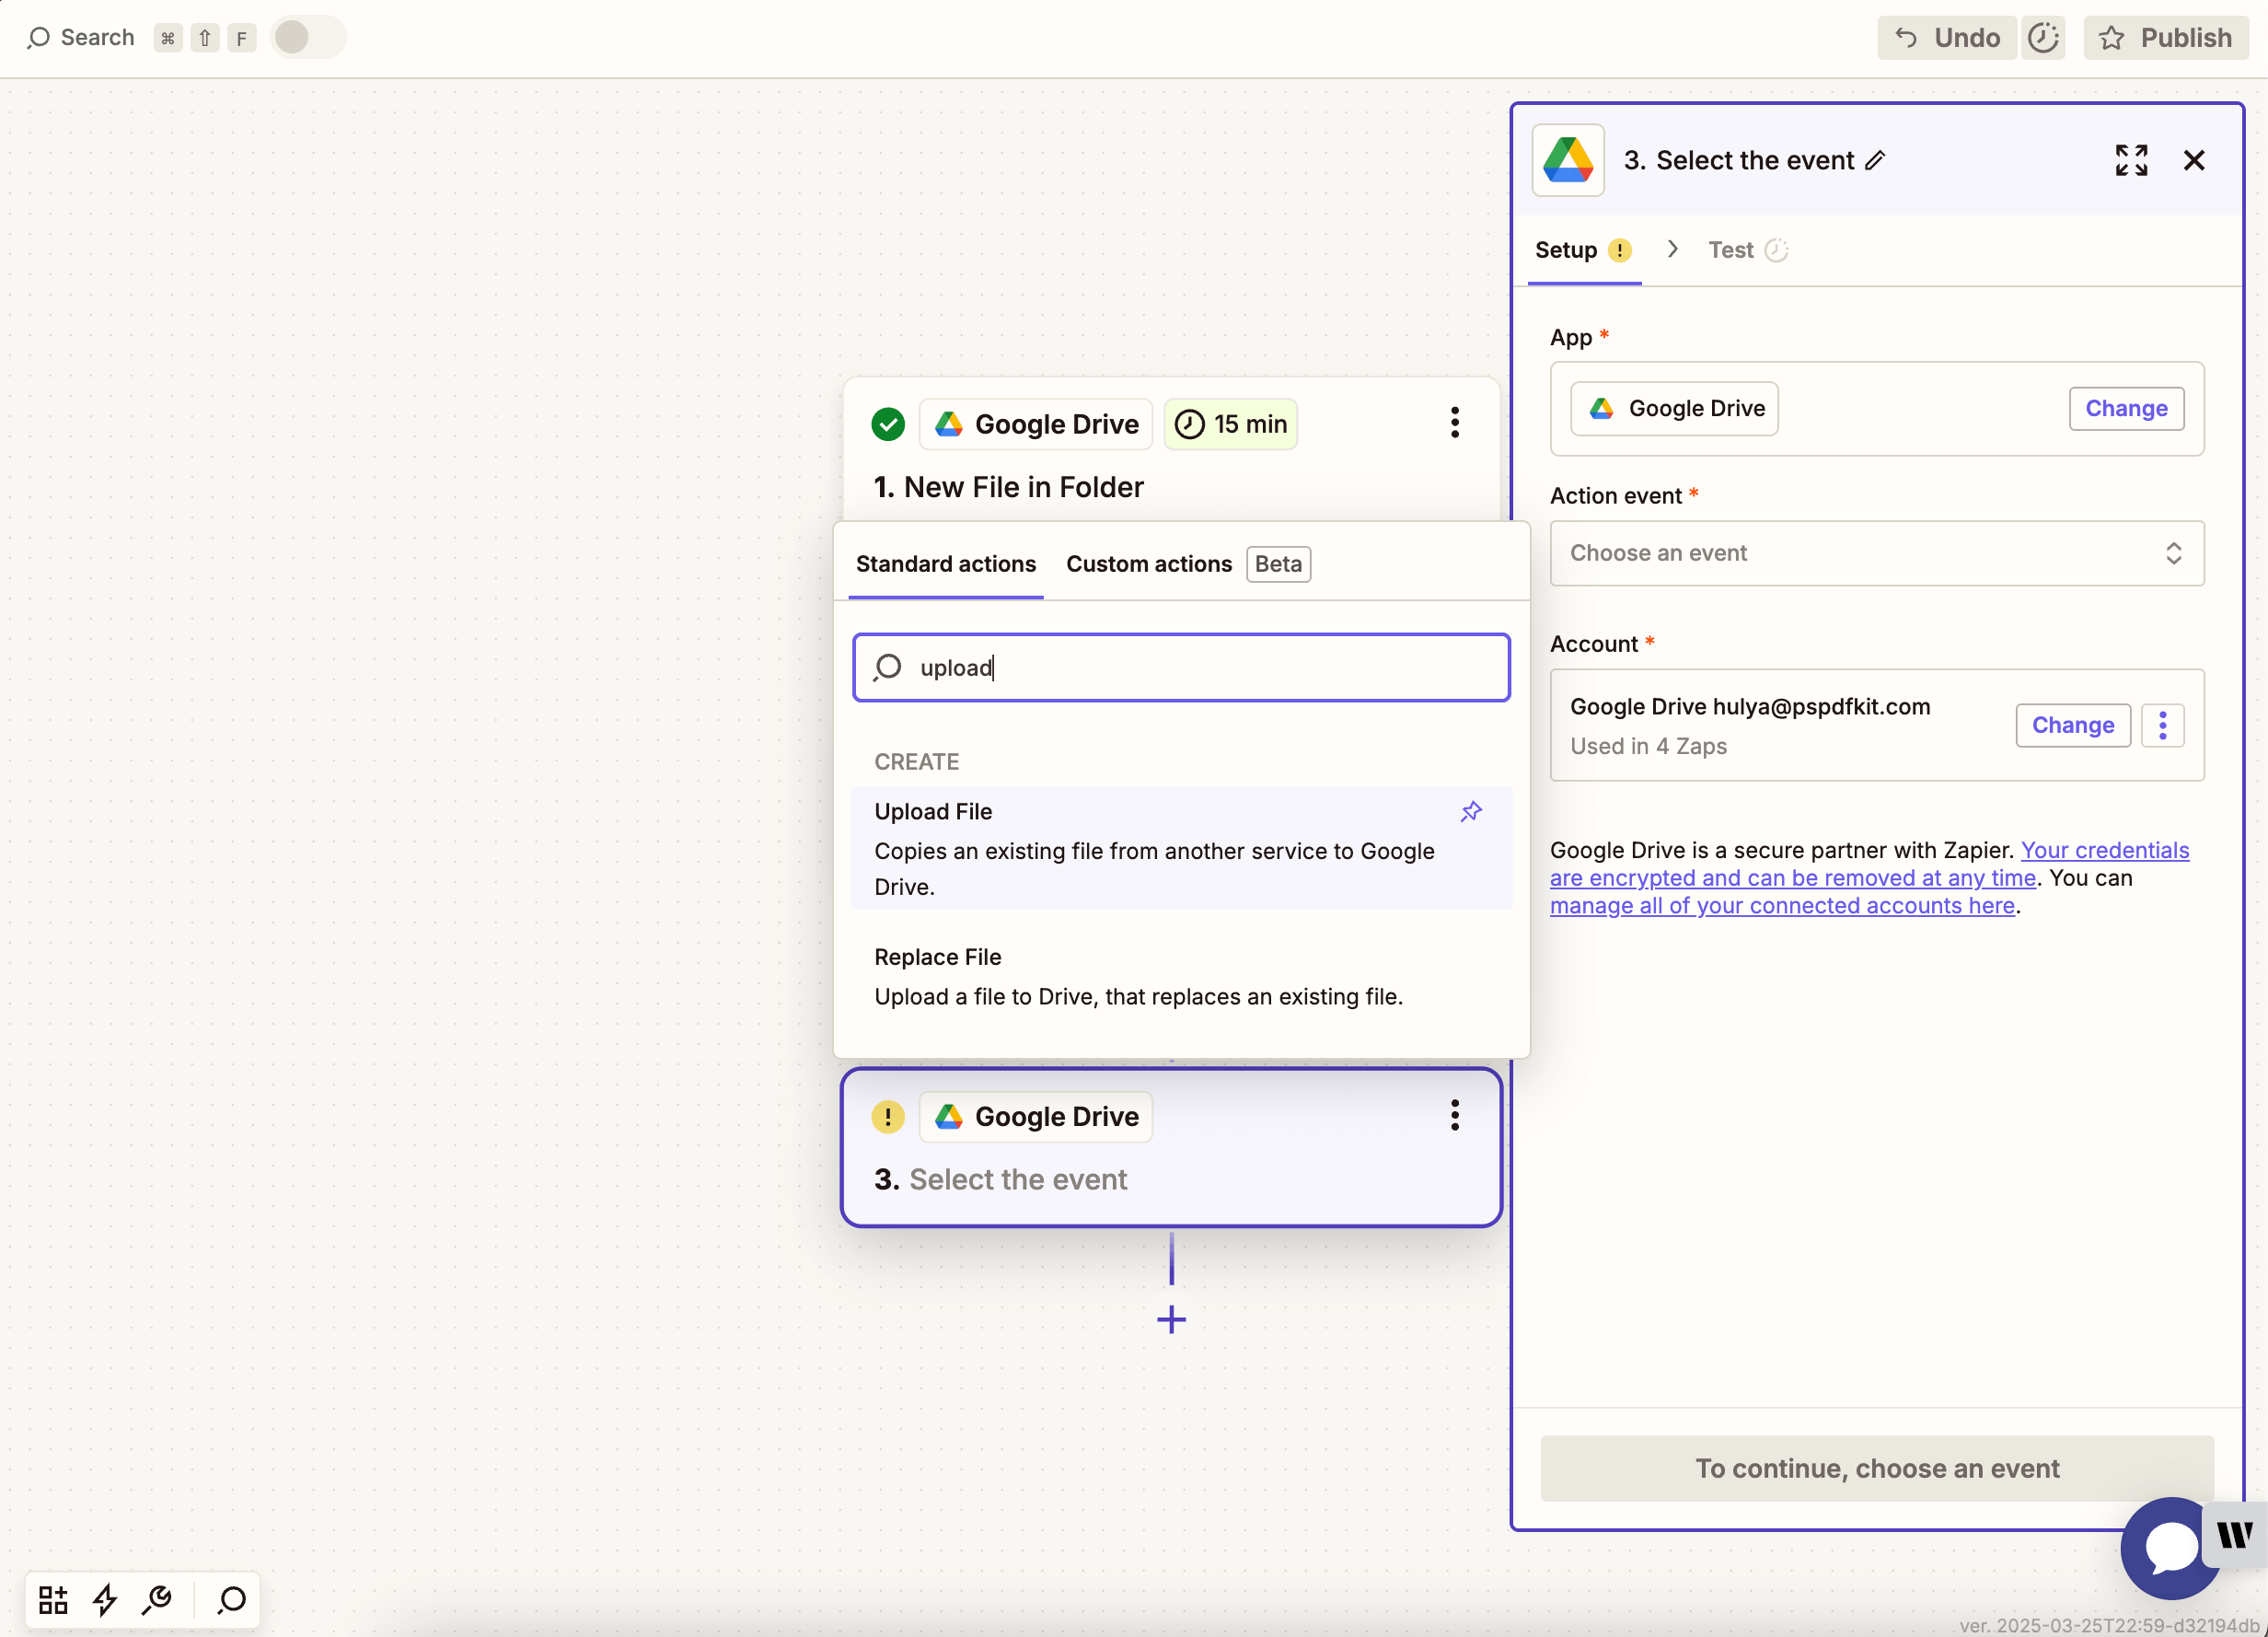
-
Choose the Upload File action.
-
Select the drive and a destination folder like
ocr-results. -
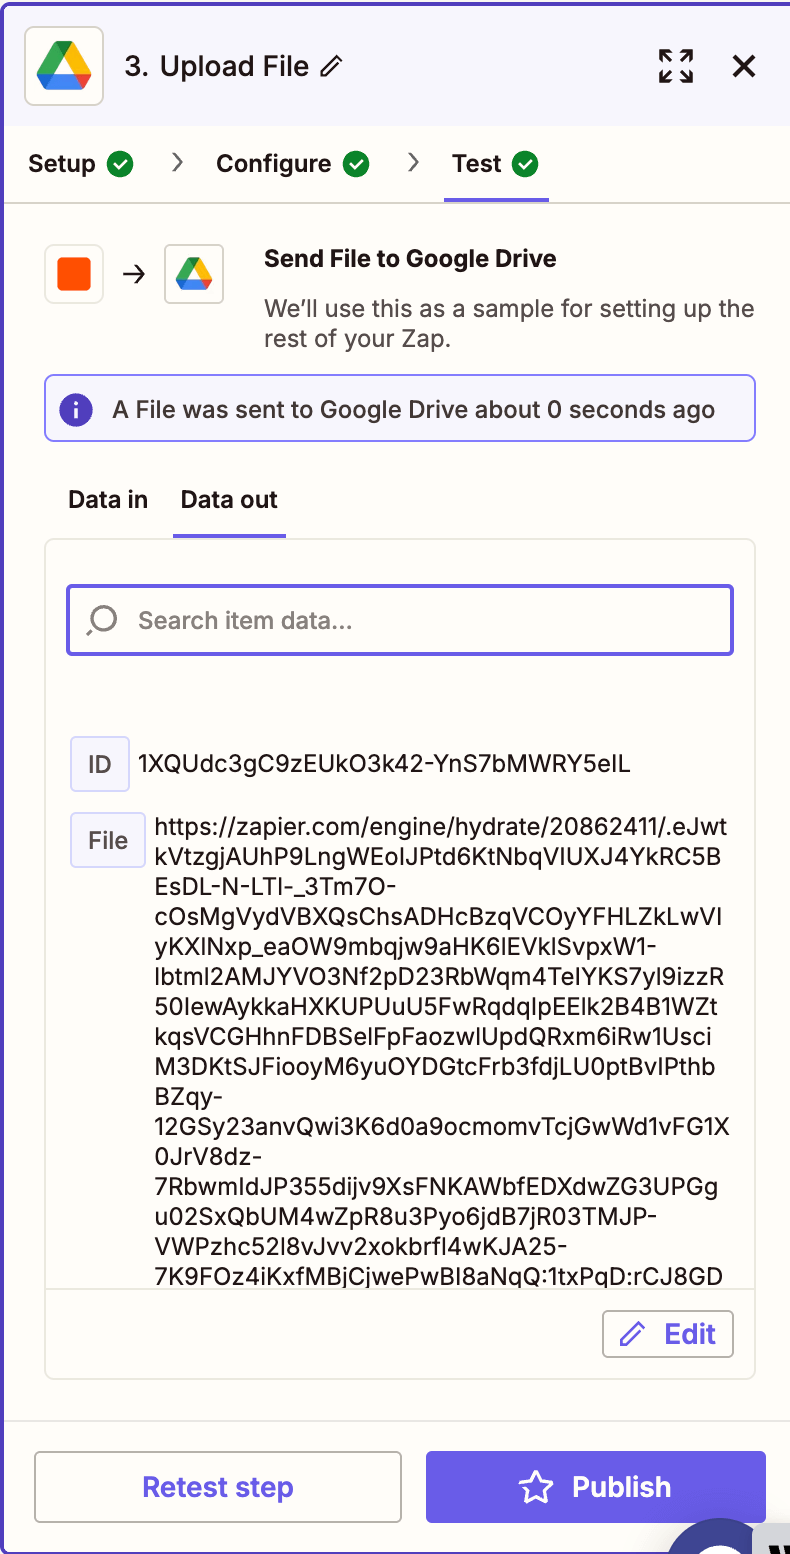
Map the OCR output from the previous step.
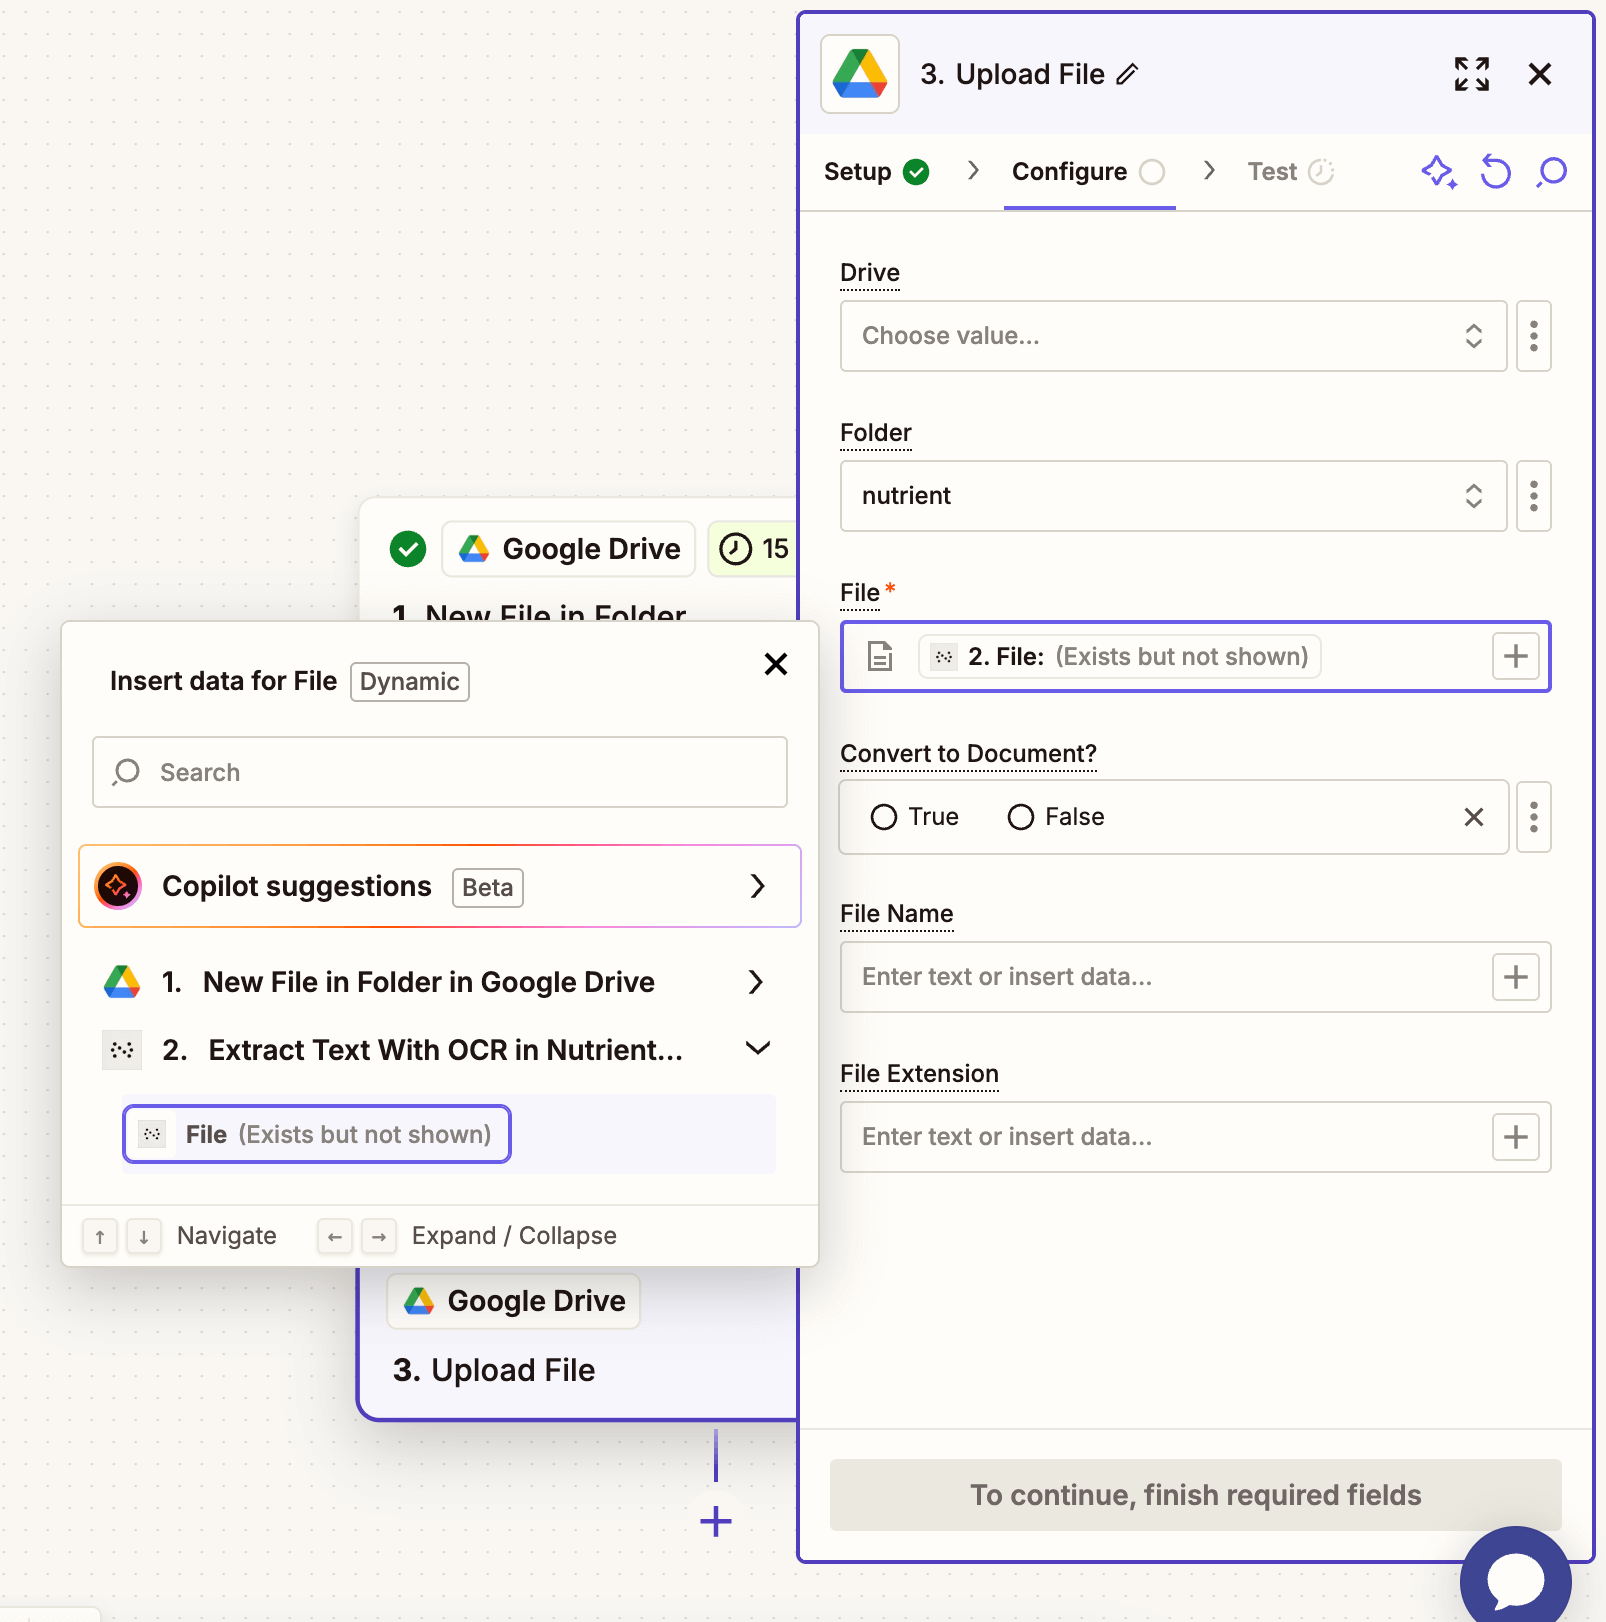
-
Test the step to confirm the processed file is uploaded correctly.
Conclusion
You’ve just built an automated OCR pipeline using Zapier and Nutrient API. This lets you convert scanned PDFs into searchable text documents — perfect for digitizing archives, extracting data, and automating back-office tasks.
Looking to expand? Try integrating this with PDF conversion or form creation in your document automation workflow.

Hulya is a frontend web developer and technical writer at Nutrient who enjoys creating responsive, scalable, and maintainable web experiences. She’s passionate about open source, web accessibility, cybersecurity privacy, and blockchain.