Convert images to PDF in Power Automate
In this guide, you’ll learn how to convert images such as JPG, PNG, TIFF, and GIF to PDF in Power Automate using Nutrient Document Converter for Power Automate. Our powerful solution makes image-to-PDF conversion seamless while supporting various file types. For a complete list of supported formats, refer to the guide on converting various file formats to PDF.
Steps to convert images to PDF in Power Automate:
-
Create a flow in Power Automate
-
Define your action
-
Create a file
-
Publish your workflow
The following example demonstrates how to use Power Automate to convert an image file into a PDF in SharePoint. You can save the converted PDF to destinations such as Dropbox, Google Drive, OneDrive, or other platforms supported by Power Automate. Additionally, you can extend your workflow by adding automations, such as sending the converted PDF via email.
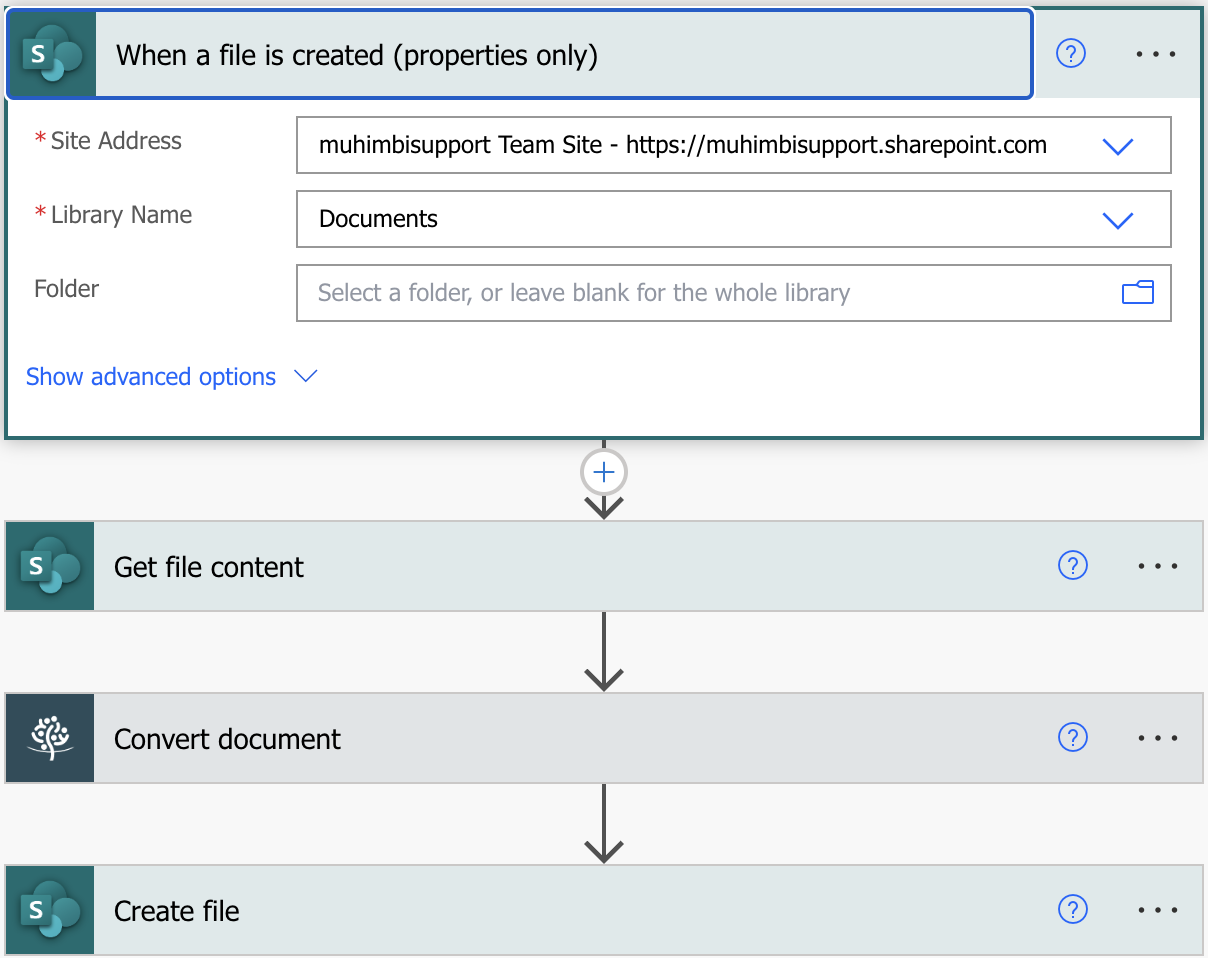
1. Creating a new flow in Power Automate
To start converting images to PDF, create a new flow in Power Automate and use the SharePoint Online trigger When a file is created (properties only). Enter the SharePoint Site Address and select the appropriate SharePoint Library Name from the dropdown.
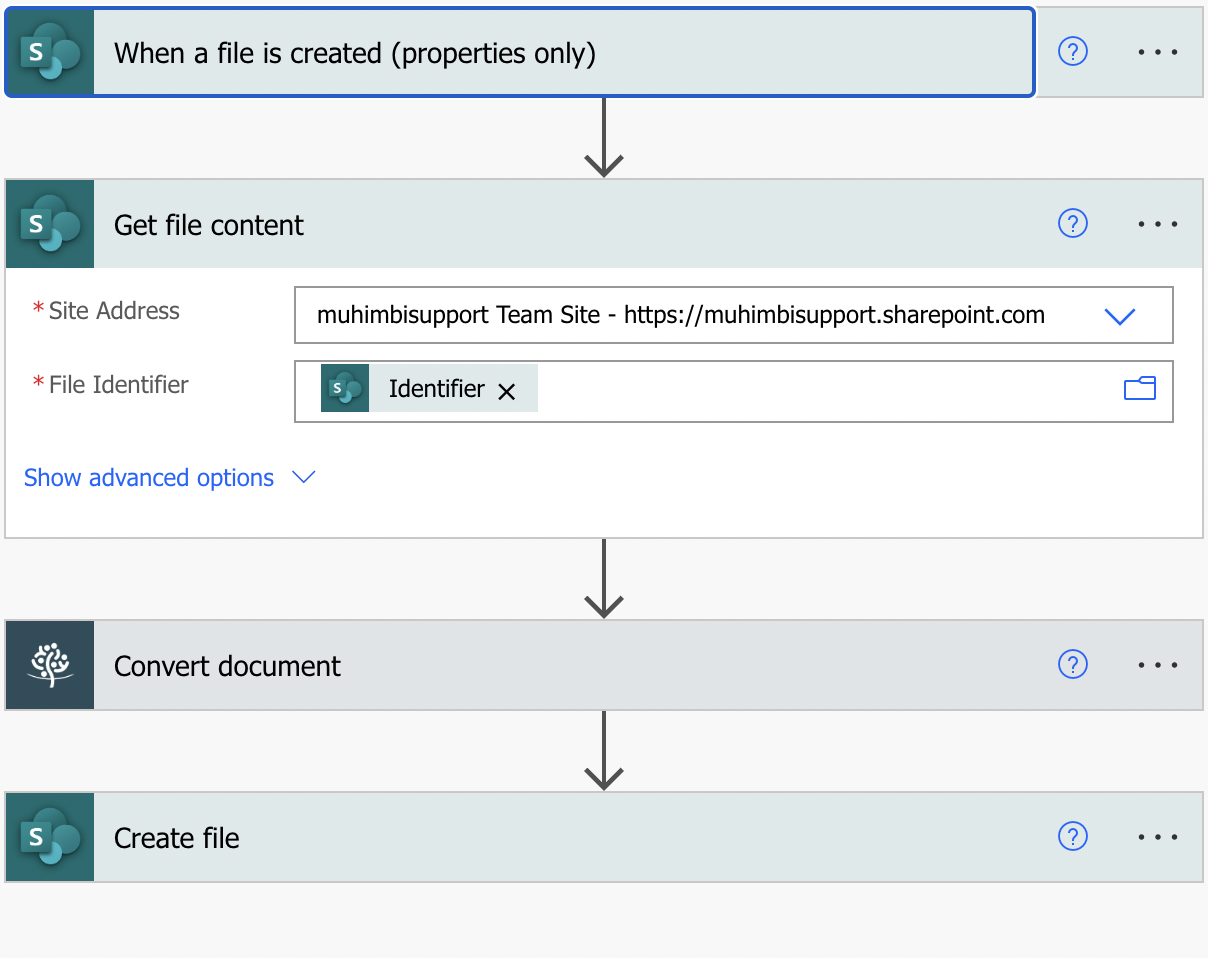
2. Getting the file content
Add the Get file content action in Power Automate to retrieve the image file. Enter the SharePoint Site Address, and in the File Identifier field, type Identifier to map the file.
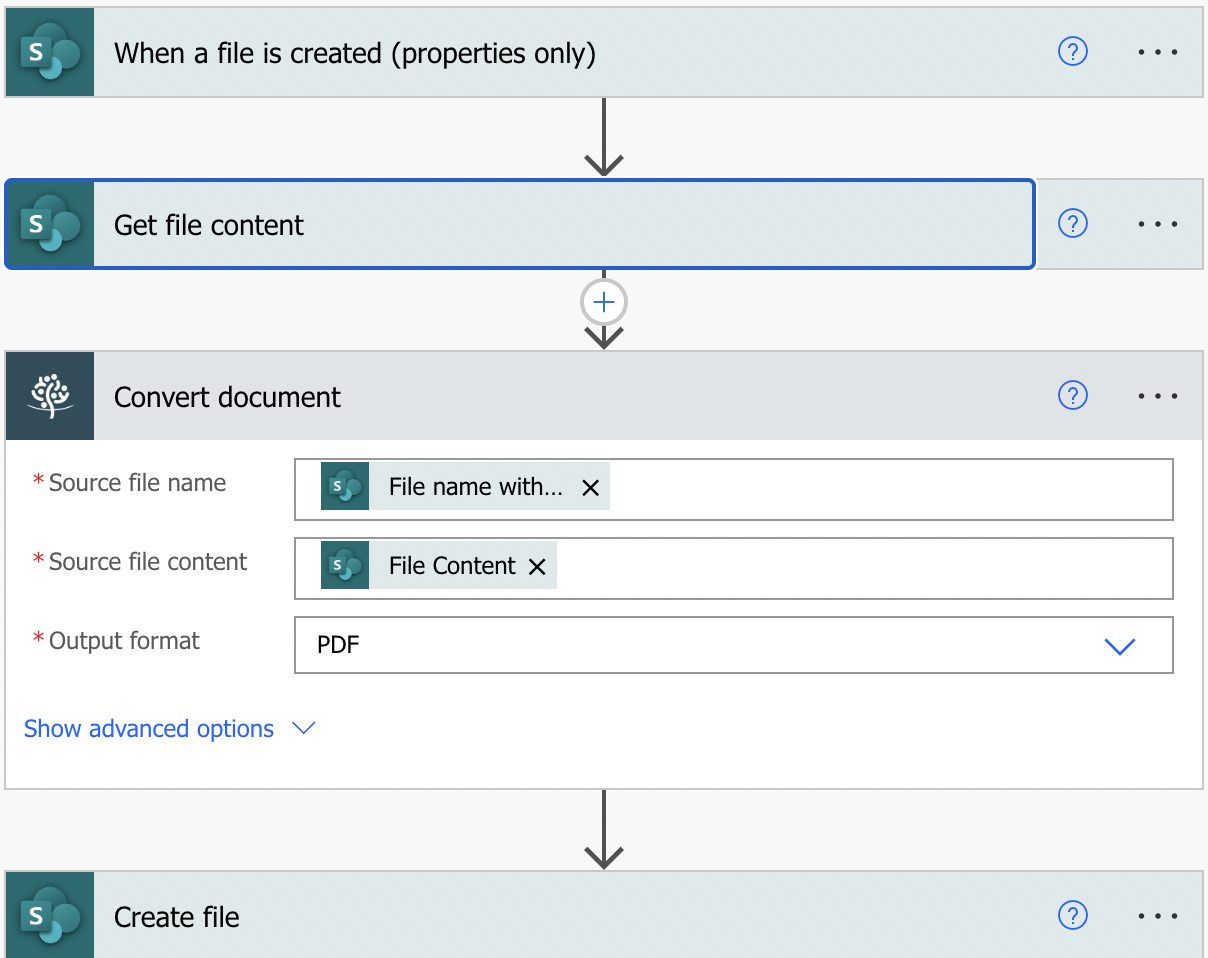
3. Converting the image to PDF
Insert Nutrient Document Converter’s Convert document action for the actual image-to-PDF conversion. Fill out the necessary fields by selecting the:
-
Source file name — Select File name with extension
-
Source file content — Select File content
-
Output format — Select PDF
Once saved and executed, the file will be converted to PDF format.
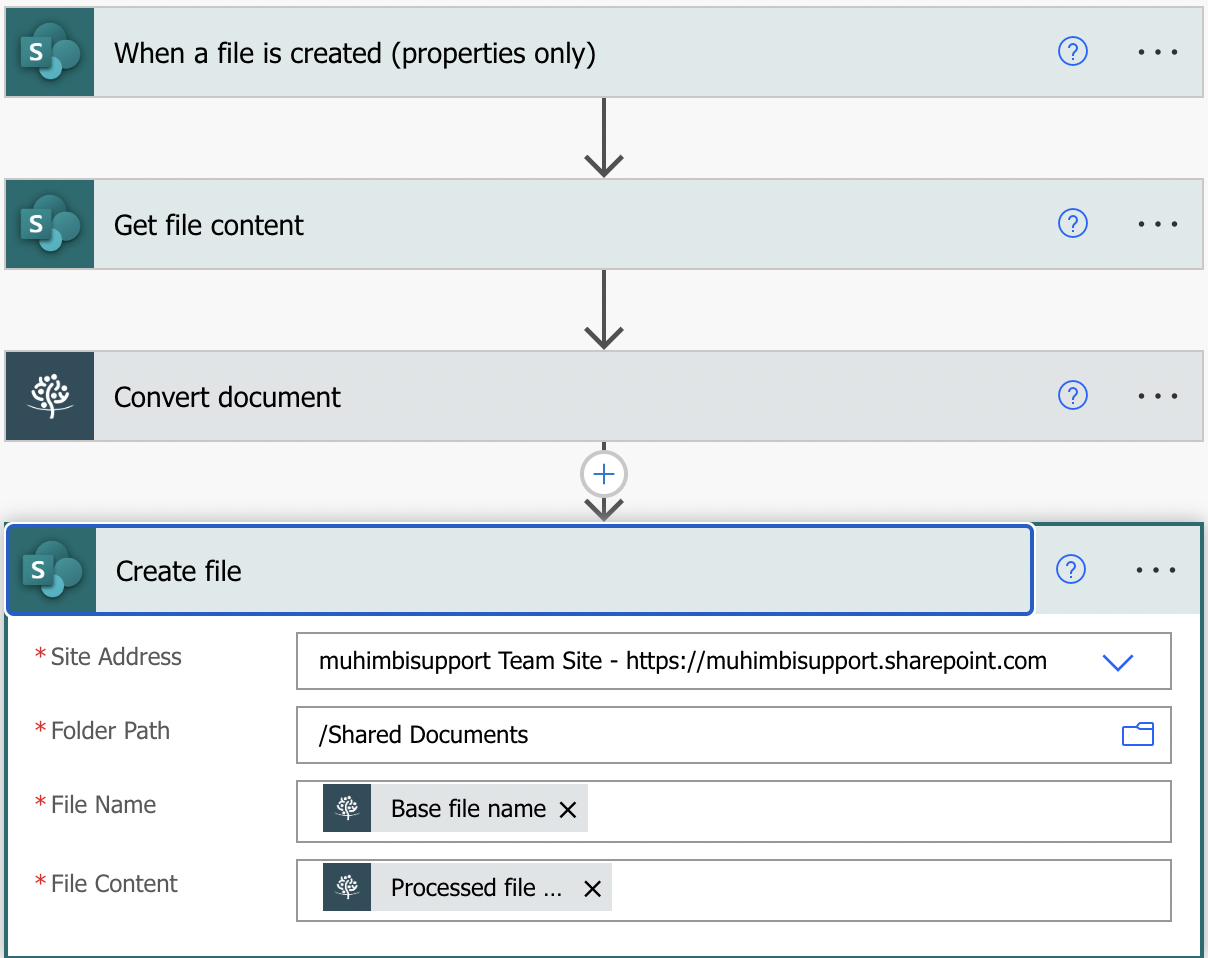
4. Creating a PDF file
Use the Create file action to save the converted PDF file back to SharePoint Online or another preferred destination. Fill out the necessary fields as follows:
-
Folder Path — Choose your target folder for storing the converted PDF
-
File Name — Select Base file name
-
File Content — Select Processed file content
5. Publishing the workflow
Publish the workflow in Power Automate to finalize your process. Create or update an item in the specified SharePoint list, and after a few seconds, the flow will trigger to generate and save the PDF file automatically.
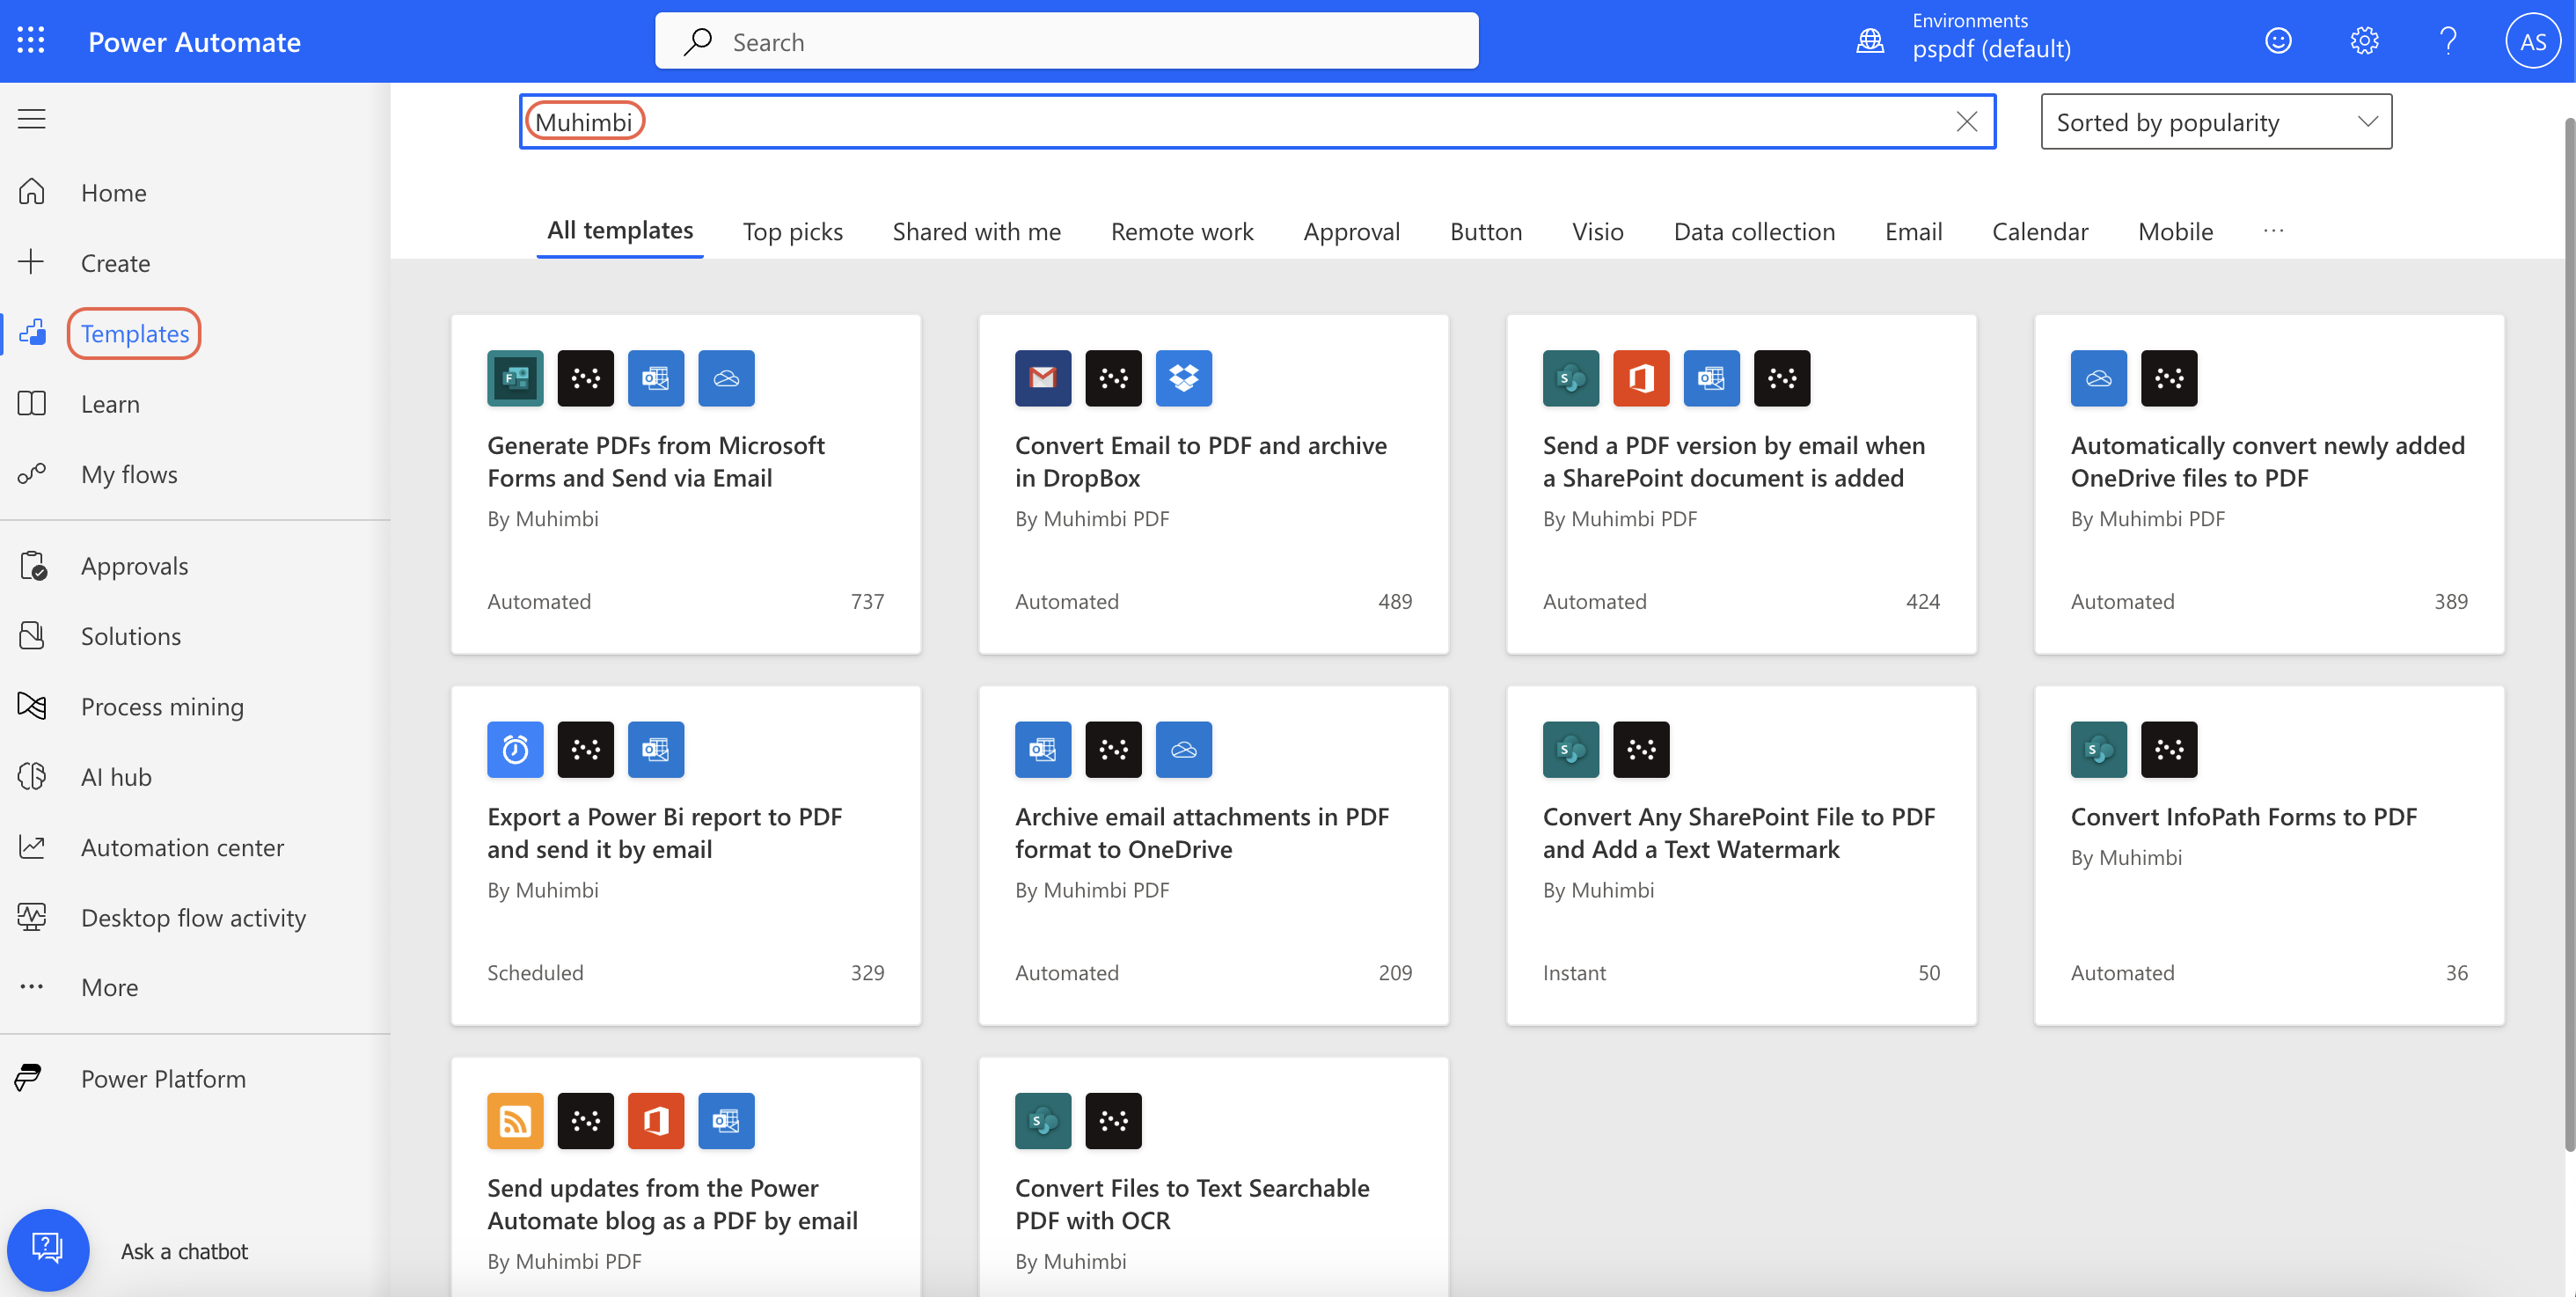
Expanding your automation capabilities: Prebuilt Power Automate templates
To accelerate your workflow, we’ve curated a selection of ready-to-use templates within Power Automate. Access these resources by logging in to your Power Automate account and searching for the templates listed below by their precise names:
-
Generate PDFs from Microsoft Forms and Send via Email
-
Convert Email to PDF and archive in DropBox
-
Send a PDF version by email when a SharePoint document is added
-
Automatically convert newly added OneDrive files to PDF
-
Export a Power Bi report to PDF and send it by email
-
Archive email attachments in PDF format to OneDrive
-
Convert Any SharePoint File to PDF and Add a Text Watermark
-
Convert InfoPath Forms to PDF
-
Send updates from the Power Automate blog as a PDF by email
-
Convert Files to Text Searchable PDF with OCR