Seamlessly install document converter for SharePoint
Microsoft announced the retirement of SharePoint Add-Ins, effective from 1 July 2024, meaning these add-ins can no longer be acquired from the public marketplace. To address this change, we transitioned to using the SharePoint Framework web parts and extension, combined with Microsoft Entra ID for authentication. Follow this guide to programmatically deploy the Muhimbi Document Converter for SharePoint Online SPFx (SharePoint framework) app in your SharePoint Online tenant.
Prerequisites before Deployment
Before deploying the Muhimbi SharePoint Framework Extension, ensure you have the following:
- Set the execution policy for external scripts:
Set-ExecutionPolicy -ExecutionPolicy RemoteSigned -Scope Process -Force. - To enable custom scripts, you need either the SharePoint Online Management Shell or the "Microsoft.Online.SharePoint.PowerShell" module (not both). This script requires the "Microsoft.Online.SharePoint.PowerShell" module.
- Windows Administrator Privileges — You need administrator privileges on your Windows machine to run the installer (EXE).
- Global Administrator Privileges — Ensure you have global administrator (or tenant administrator) privileges in your SharePoint Online tenant.
- App Catalog — Confirm your tenant has an app catalog. If you don’t have one, follow this guide(opens in a new tab) to create an app catalog.
Installing
To install Document Converter for SharePoint Online, follow the instructions outlined in the next sections:
- Download the installation archive(opens in a new tab) and unarchive it to the folder of your choice
- In that folder, find and run the
PDFConverterForSPOnlineInstallationScript.ps1file and themuhimbi-pdf-converter-spfx-app.sppkgfile.
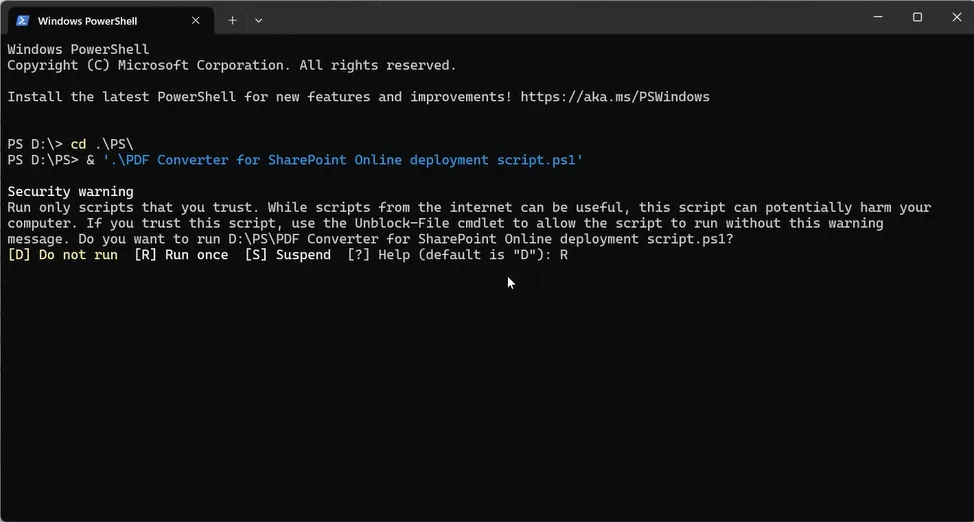
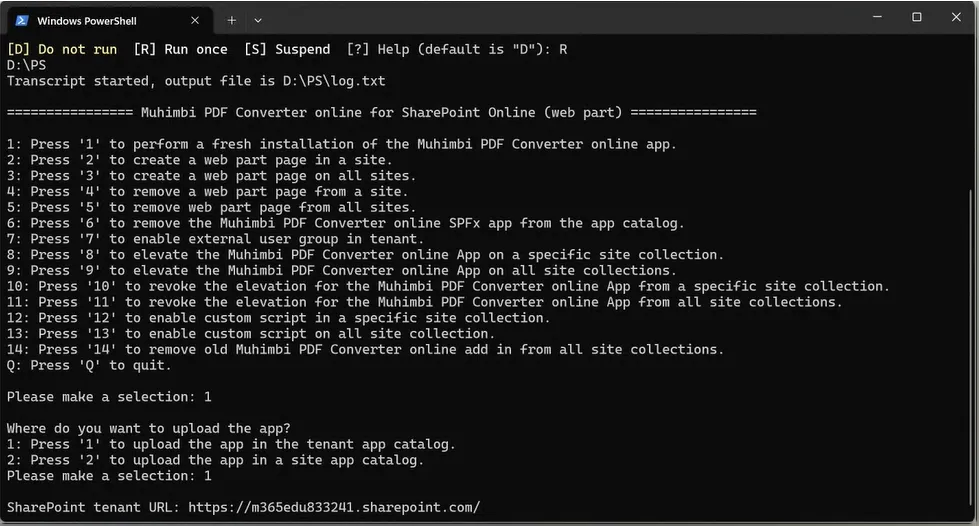
- In the PowerShell window, press 1 to perform a fresh installation.
- In the next step, the installer will ask where you want to upload the app.
- Press 1 to upload the app in the tenant app catalog.
- Press 2 to upload the app in a site app catalog.
- Select the appropriate option based on your deployment needs, and provide the corresponding URL to proceed. To follow along with this guide, press 1.
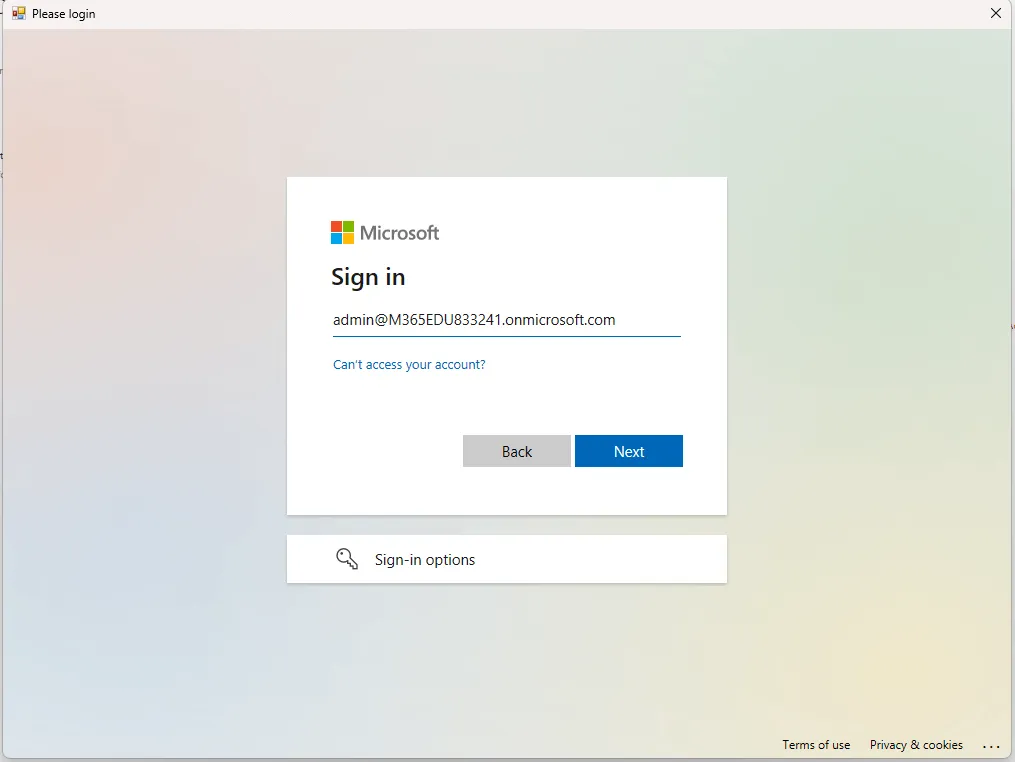
- You’ll then be prompted to authenticate to your Microsoft 365 tenant and grant consent on behalf of your organization to run PnP PowerShell. If you already have PnP PowerShell installed, you won’t receive the consent prompt.
- Note: If the admin presses Accept without granting consent on behalf of your organization, the installation will still complete without a problem.
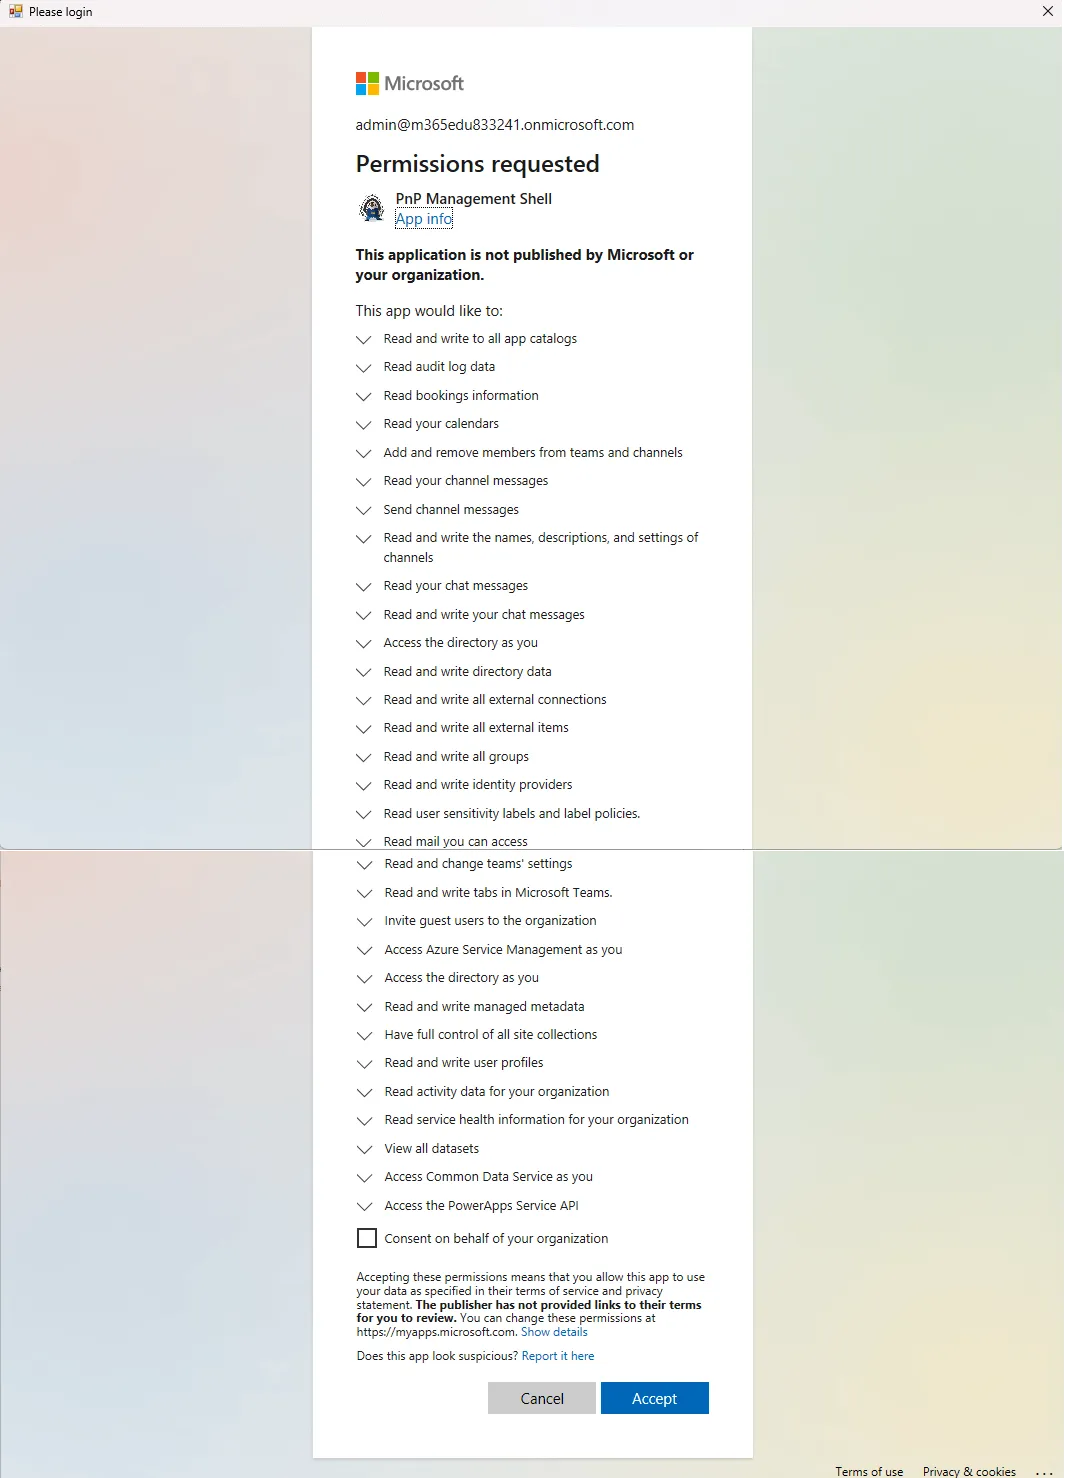
Once you’ve provided consent, the script will automatically upload the SPFx app to the tenant app catalog. You’ll then be prompted with the question Do you want to deploy the app to all sites in the tenant?
- To follow along with this guide, choose [Y] Yes to make the app available to all sites in the tenant.
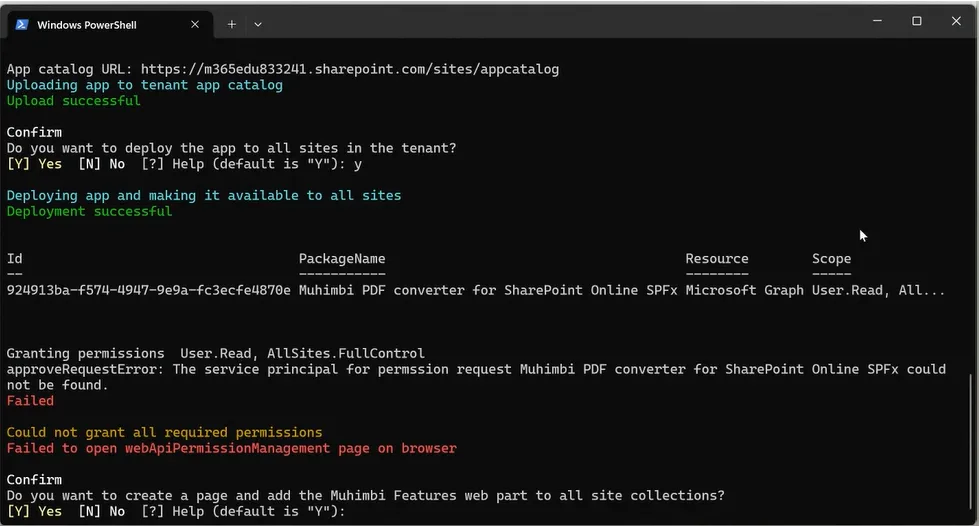
The error message you’ll see in the PowerShell prompt is a known issue(opens in a new tab).
- Navigate to
webApiPermissionManagementand grant the necessary permissions. - Navigate to the following URL and approve the permissions:
https://<yourtenant>-admin.sharepoint.com/_layouts/15/online/AdminHome.aspx#/webApiPermissionManagement.
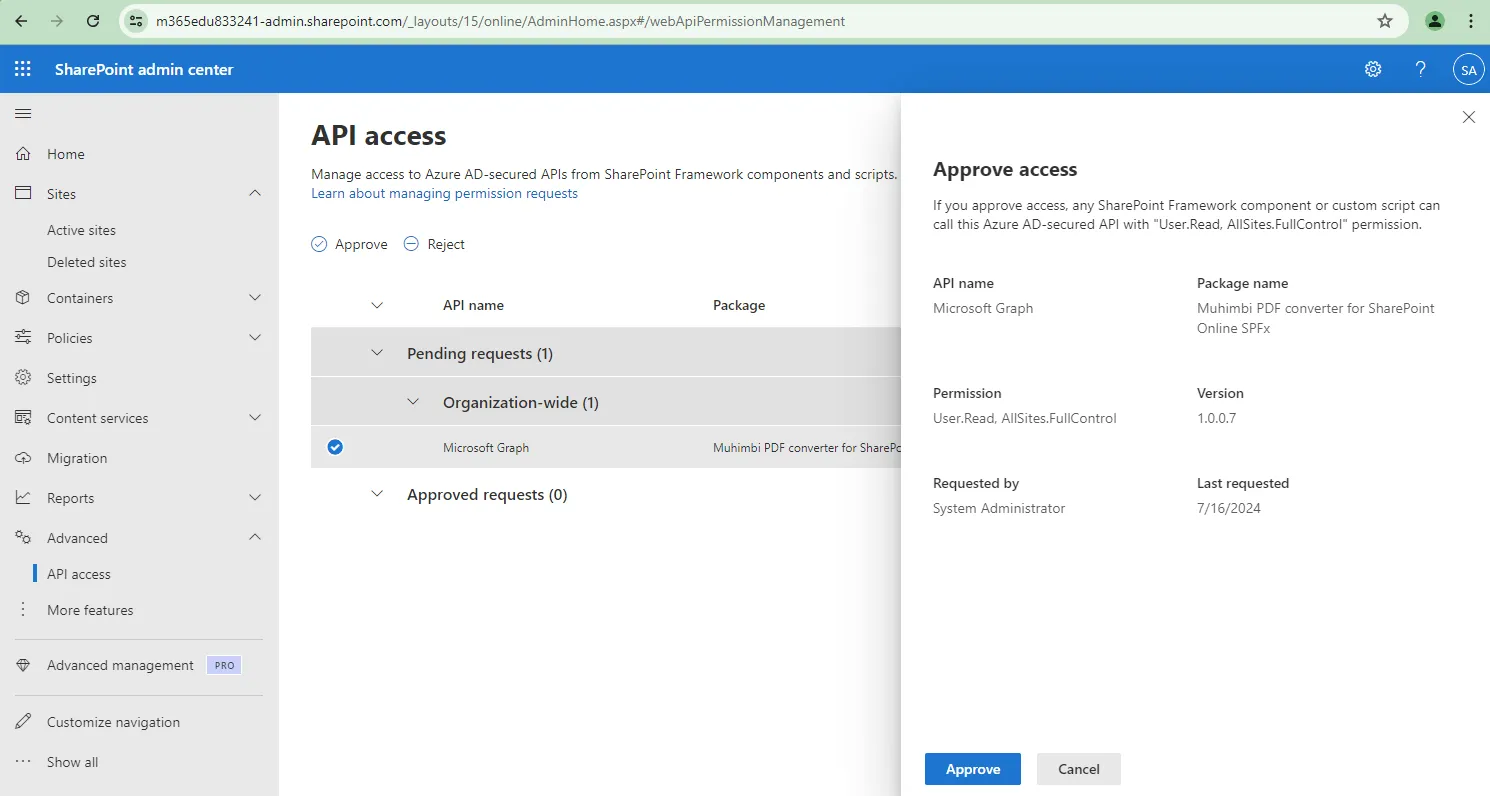
- Navigate to
You’ll then be prompted with the question Do you want to create a page and add the Muhimbi Features web part to all site collections?
- Select [Y] Yes It will add the WebPart to all the site collections.
Note: If you encounter the error message on some site collections
Failed to create web part page: Object reference not set to an instance of an object, there's no need to worry. This simply indicates that the web part cannot be added to a classic site collection.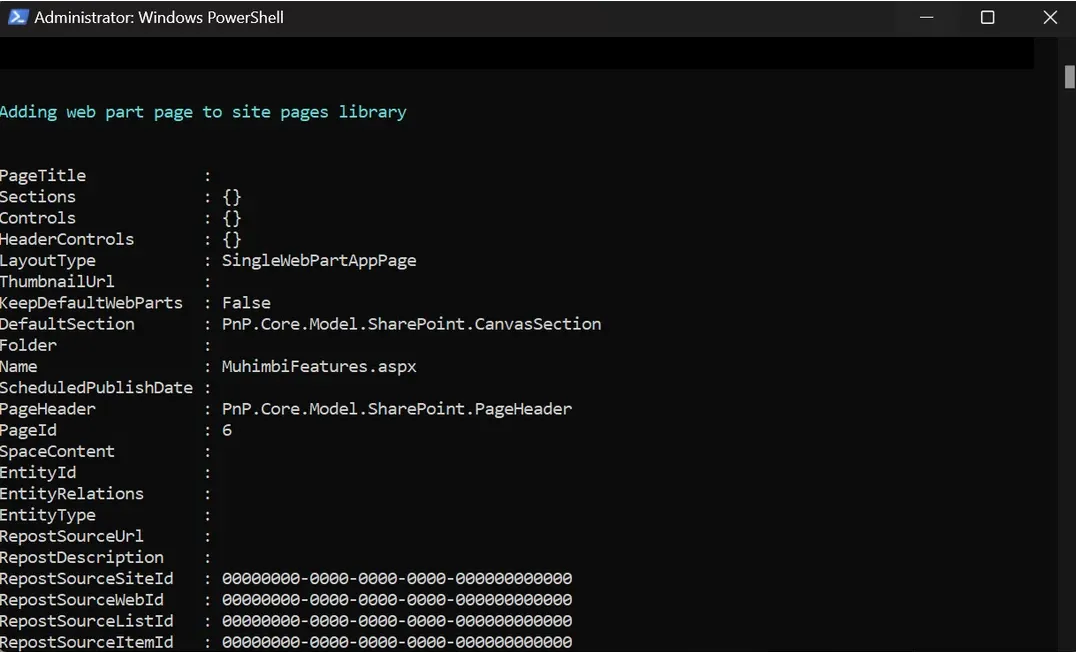
You’ll now have the Convert to PDF action available in your site collection.
- Select a document and click the Convert to PDF button in the list view command set or in the content menu.
- You’ll be prompted to provide consent on behalf of your organization. Press Accept.

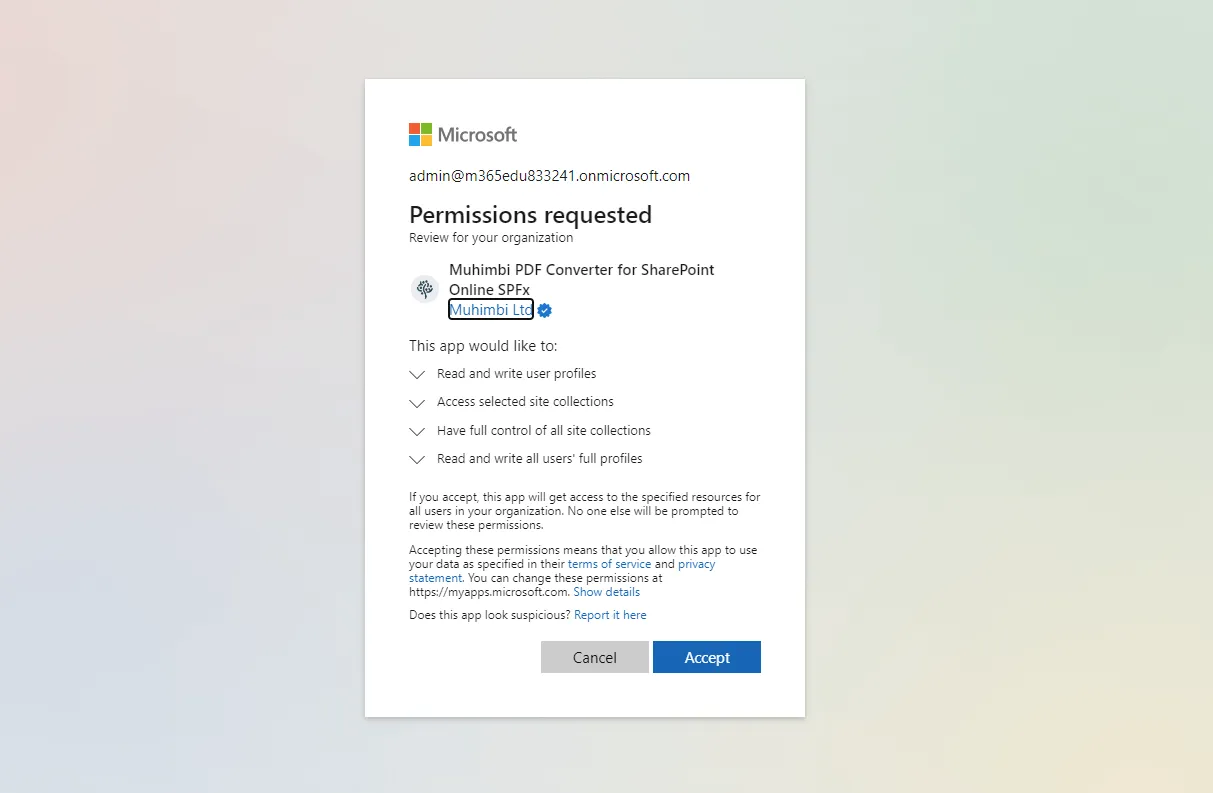
Once the permission is successfully granted, you’ll be prompted to sign up for the trial. After signing up, you’ll receive a confirmation email in your inbox to activate the trial.
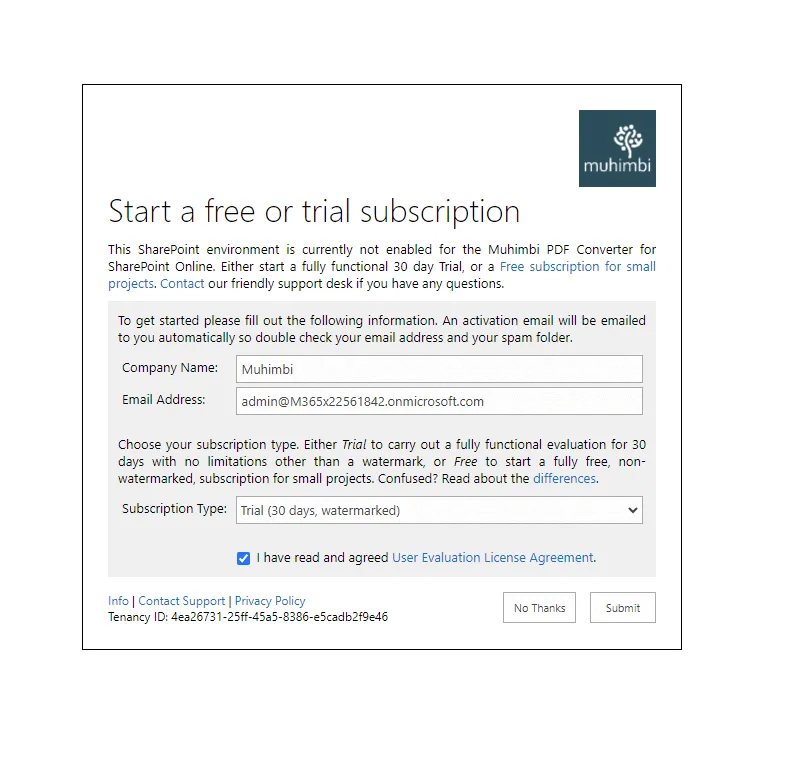
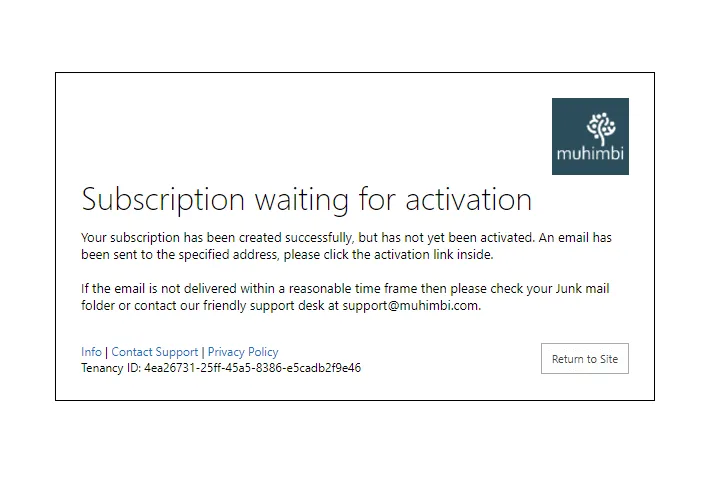
That’s it! Once activated, you’ll be able to convert, secure, watermark, and merge documents using the SharePoint user interface.