Redact sensitive PDFs in SharePoint
Nutrient Document Editor (formerly Muhimbi PDF Editor) enables you to permanently redact sensitive information in SharePoint without downloading PDF documents to your local device. Highlight specific text or select an area in a PDF document, and subsequently apply and save redactions directly in your SharePoint library. Additionally, customize the redaction color and add notes to describe the hidden information.
Difference between redacting and hiding content
Redacting sensitive or private information in PDFs using the Text Redaction or Area Redaction options of Nutrient Document Editor for SharePoint permanently removes the selected content, making it inaccessible.
Hiding text by highlighting it in black conceals the information, making it unreadable at first glance. However, this method doesn’t fully secure the information. Copying and pasting the hidden text into Word, Notepad, or other text processing programs can reveal it. Similarly, opening the document in a PDF editor and changing the background or text color can make the hidden text visible.
This is the key difference between true redaction and hiding text with color. Since color-based methods do not permanently remove sensitive information, redaction is the most secure option.
This guide provides step-by-step instructions on how to redact information in SharePoint using Nutrient Document Editor.
Prerequisites
Before you start redacting information in PDFs within SharePoint using Nutrient Document Editor, ensure the following:
-
Nutrient Document Editor for SharePoint is installed and configured within your SharePoint environment.
-
You have the necessary permissions to access and edit documents in the desired SharePoint libraries.
Access the PDF editor
Go to the SharePoint library and click Upload to import a PDF from your computer, or select an existing PDF from the library.
Open a PDF in SharePoint
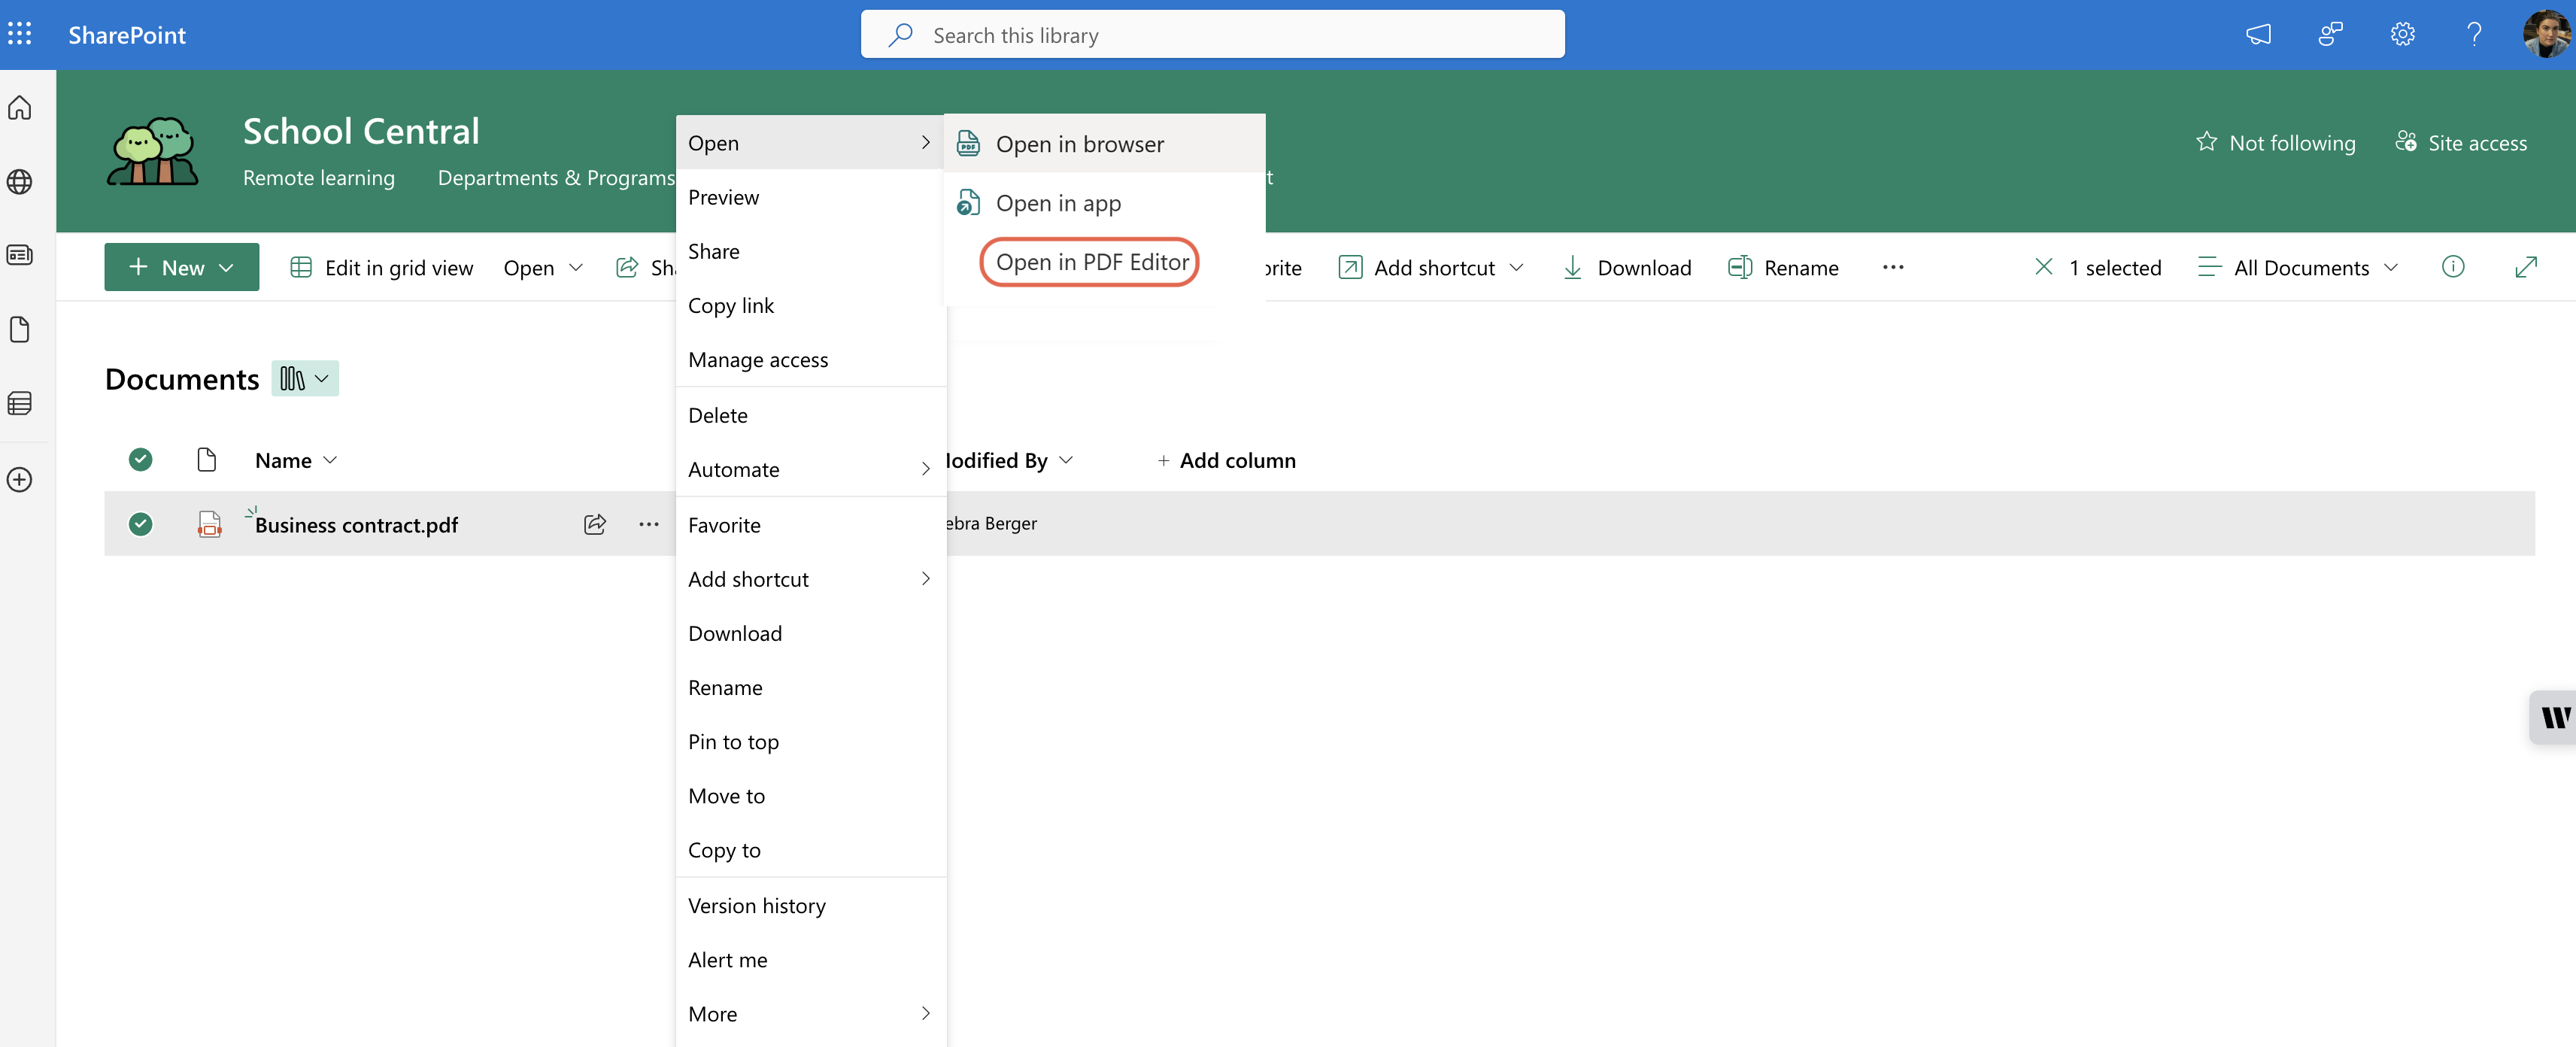
If you’re using a file handler installation, click Open from the dropdown and choose Open in PDF Editor. Otherwise, if you’re using other installations such as an online extension and web part, click Open from the dropdown and choose Edit in Nutrient Editor.
Mark items for redaction
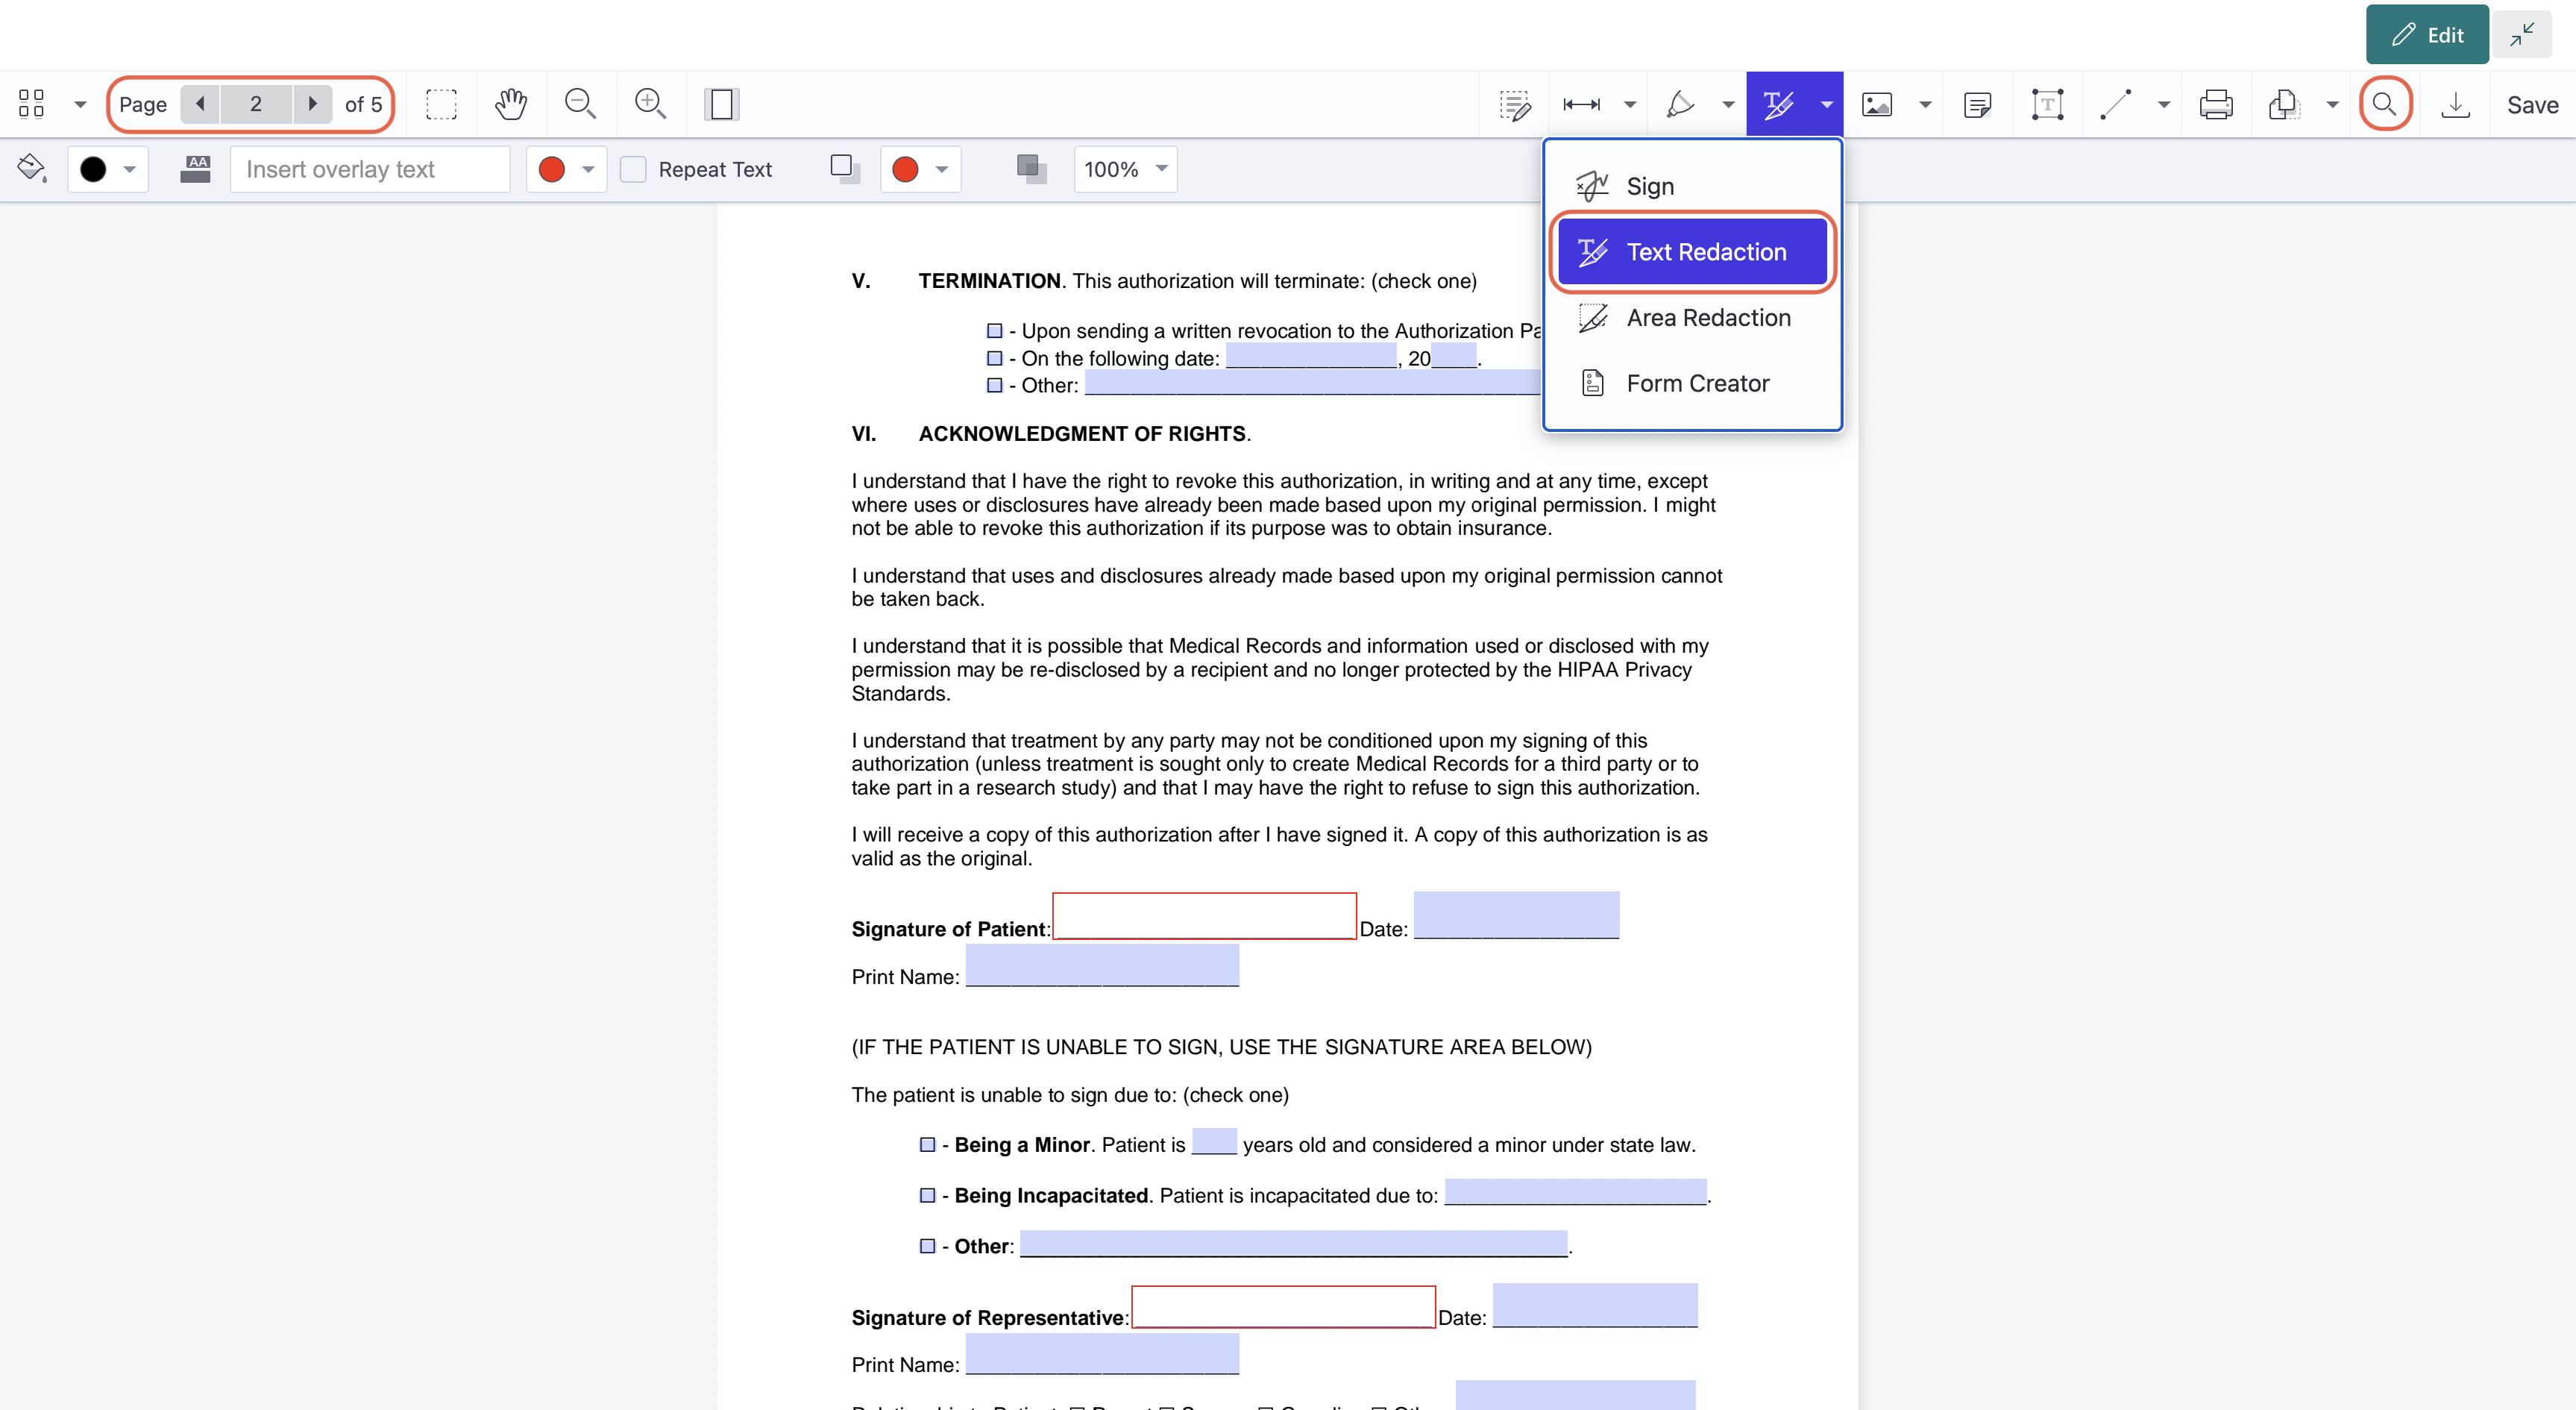
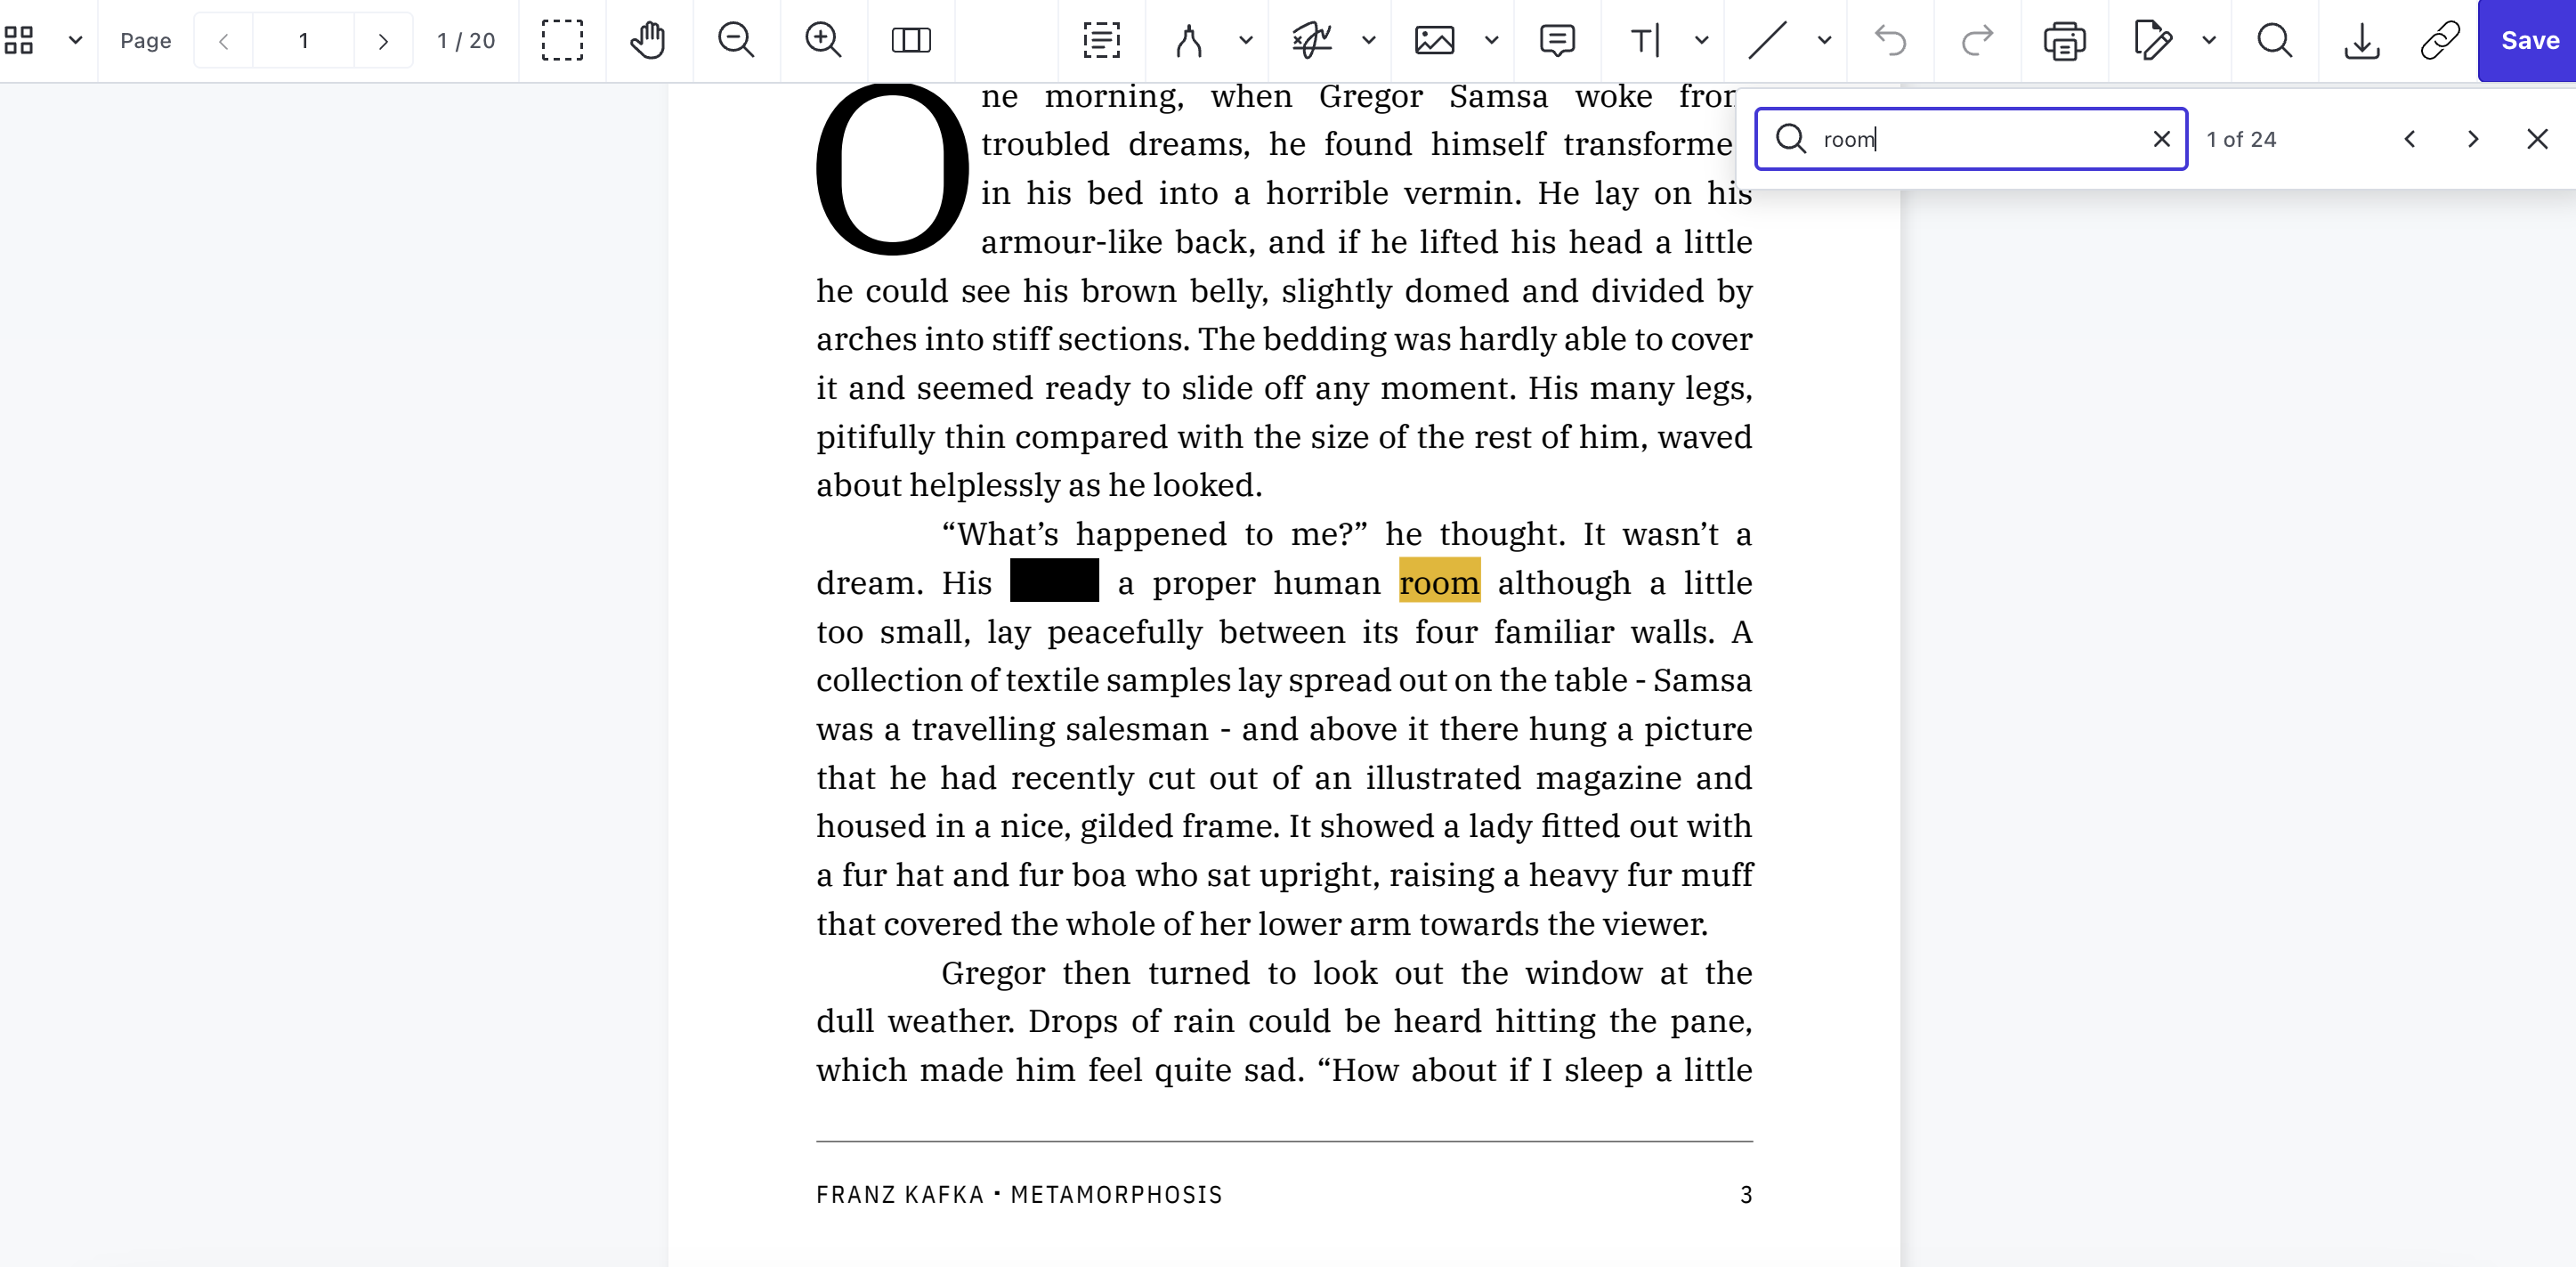
Use the Magnifying glass ![]() icon in the top-right corner of the toolbar to search for a word, phrase, or number you want to redact. Alternatively, scroll through the document or enter a page number in the top-left corner to locate the content.
icon in the top-right corner of the toolbar to search for a word, phrase, or number you want to redact. Alternatively, scroll through the document or enter a page number in the top-left corner to locate the content.
Select the text you want to redact, and a small widget will appear. Click the Redaction ![]() icon to mark the selected content for redaction.
icon to mark the selected content for redaction.
Alternatively, click the selected content and choose Text Redaction from the toolbar to mark it for redaction.
Apply redactions
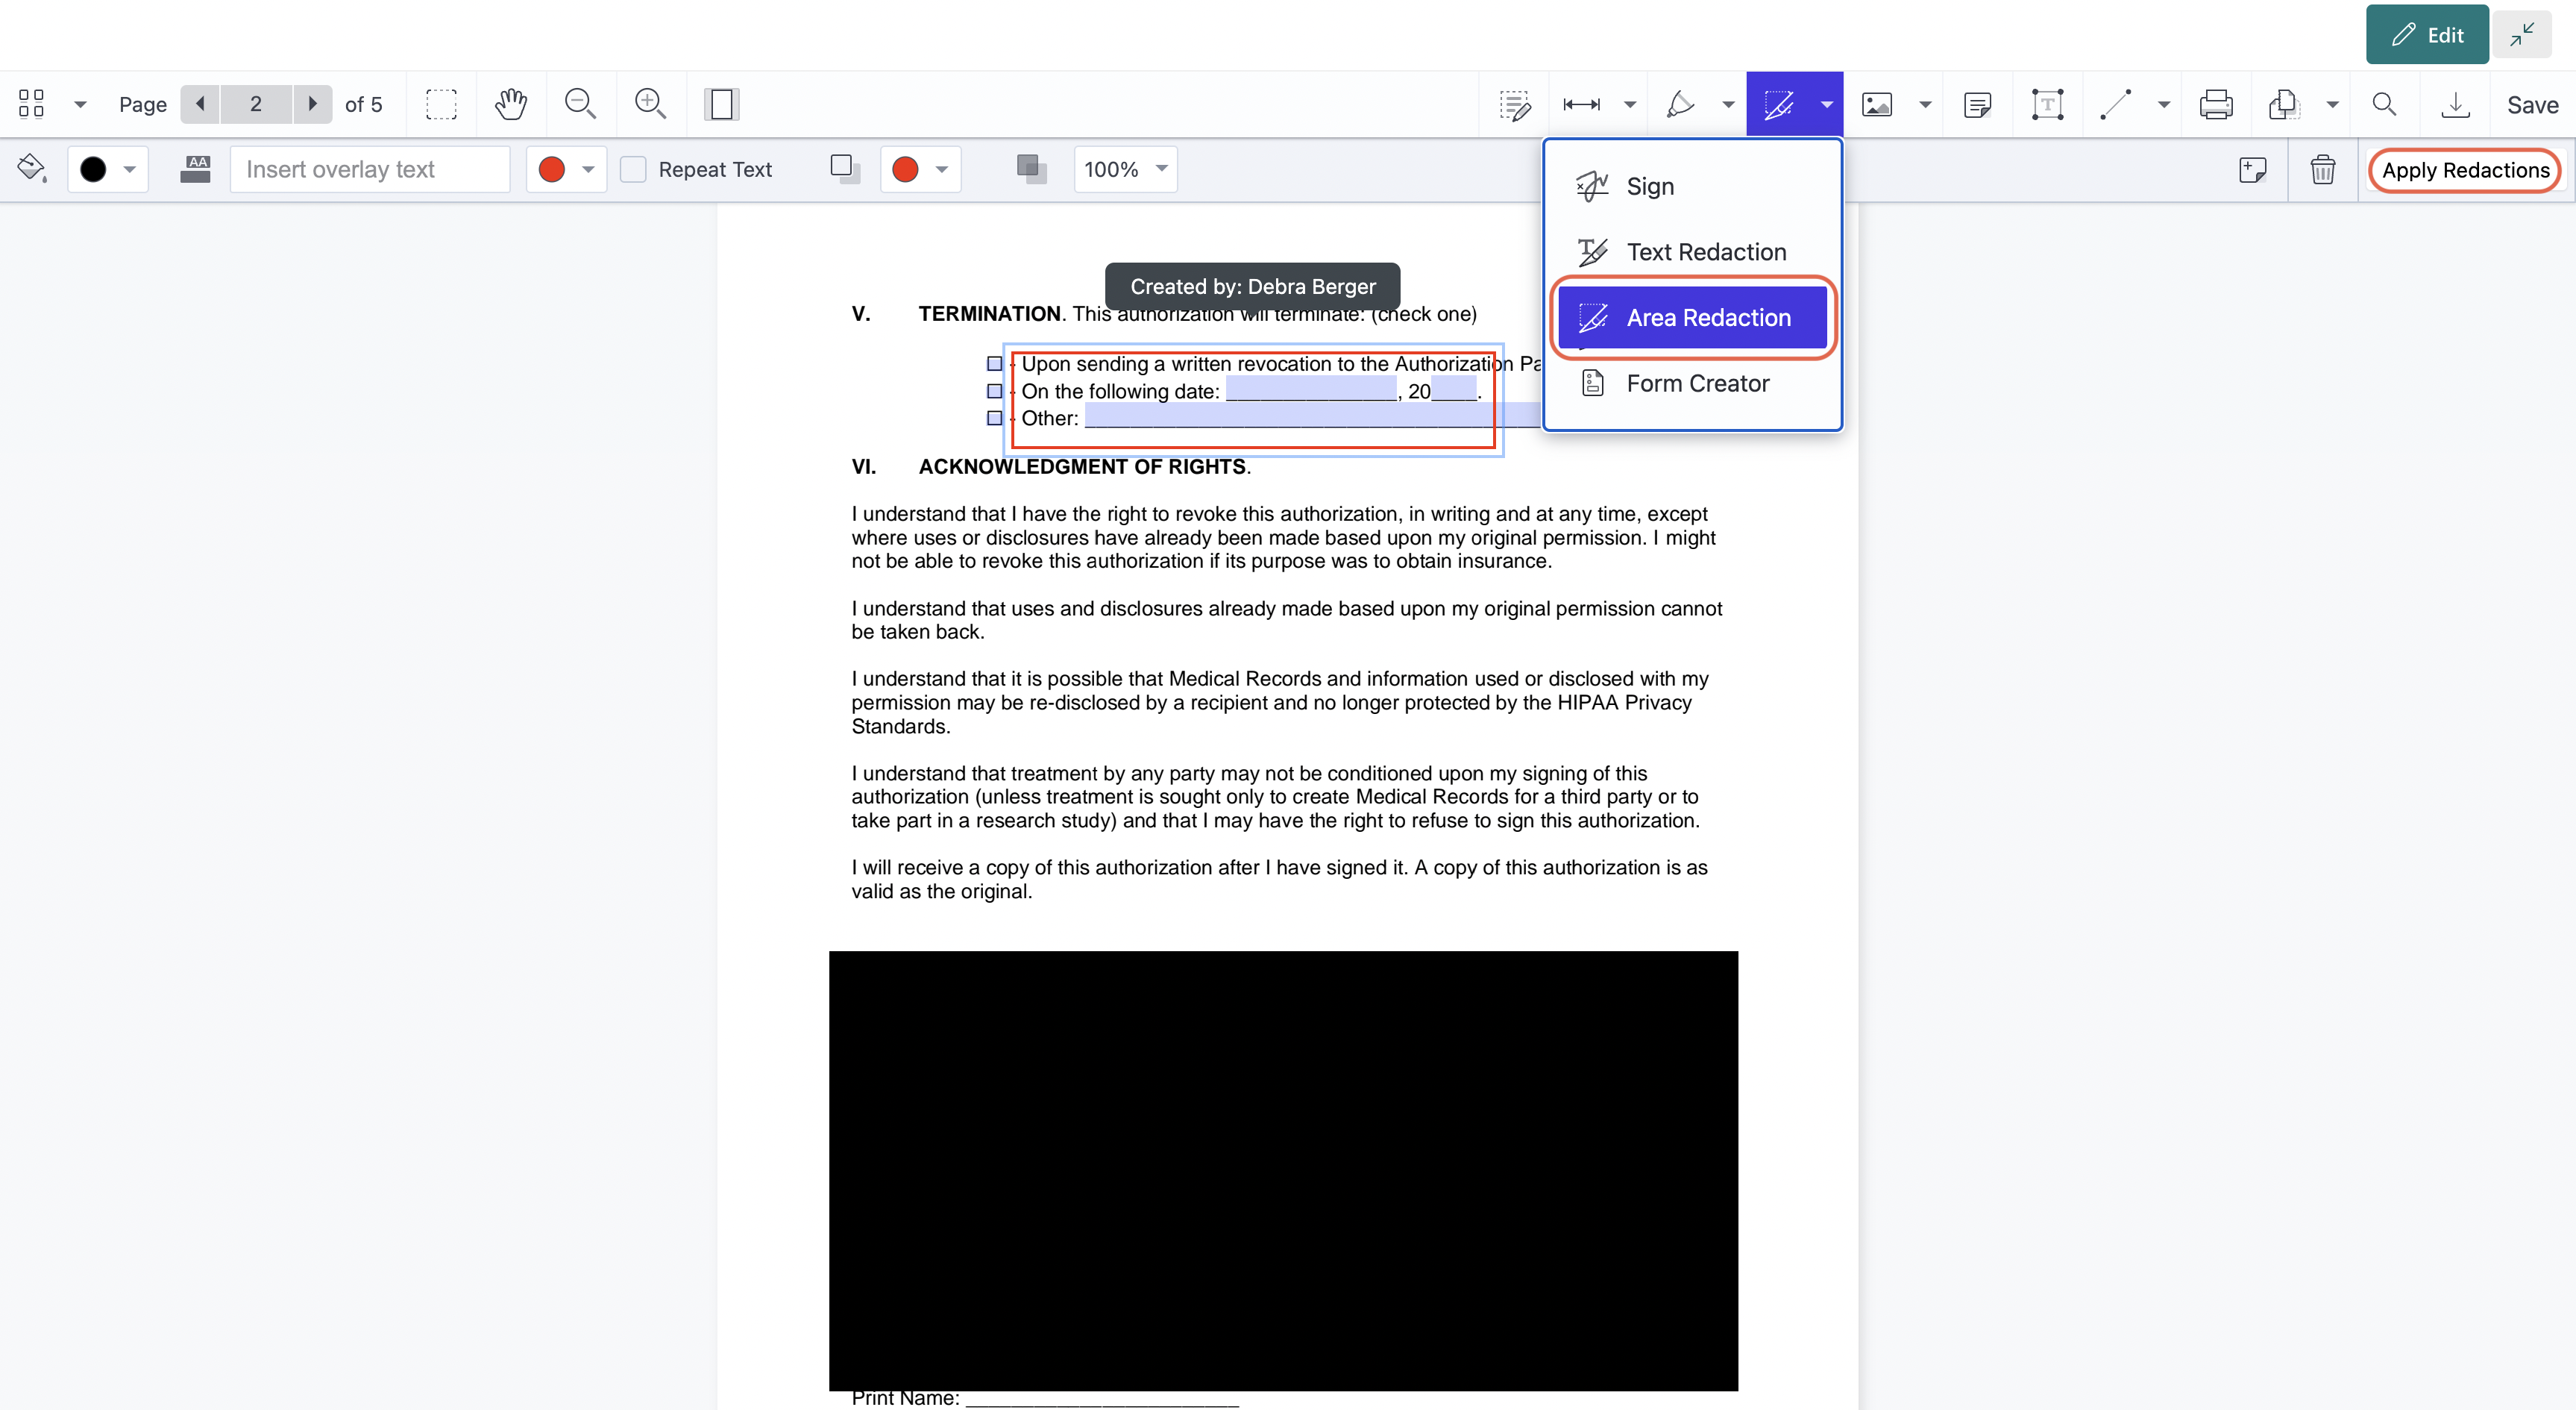
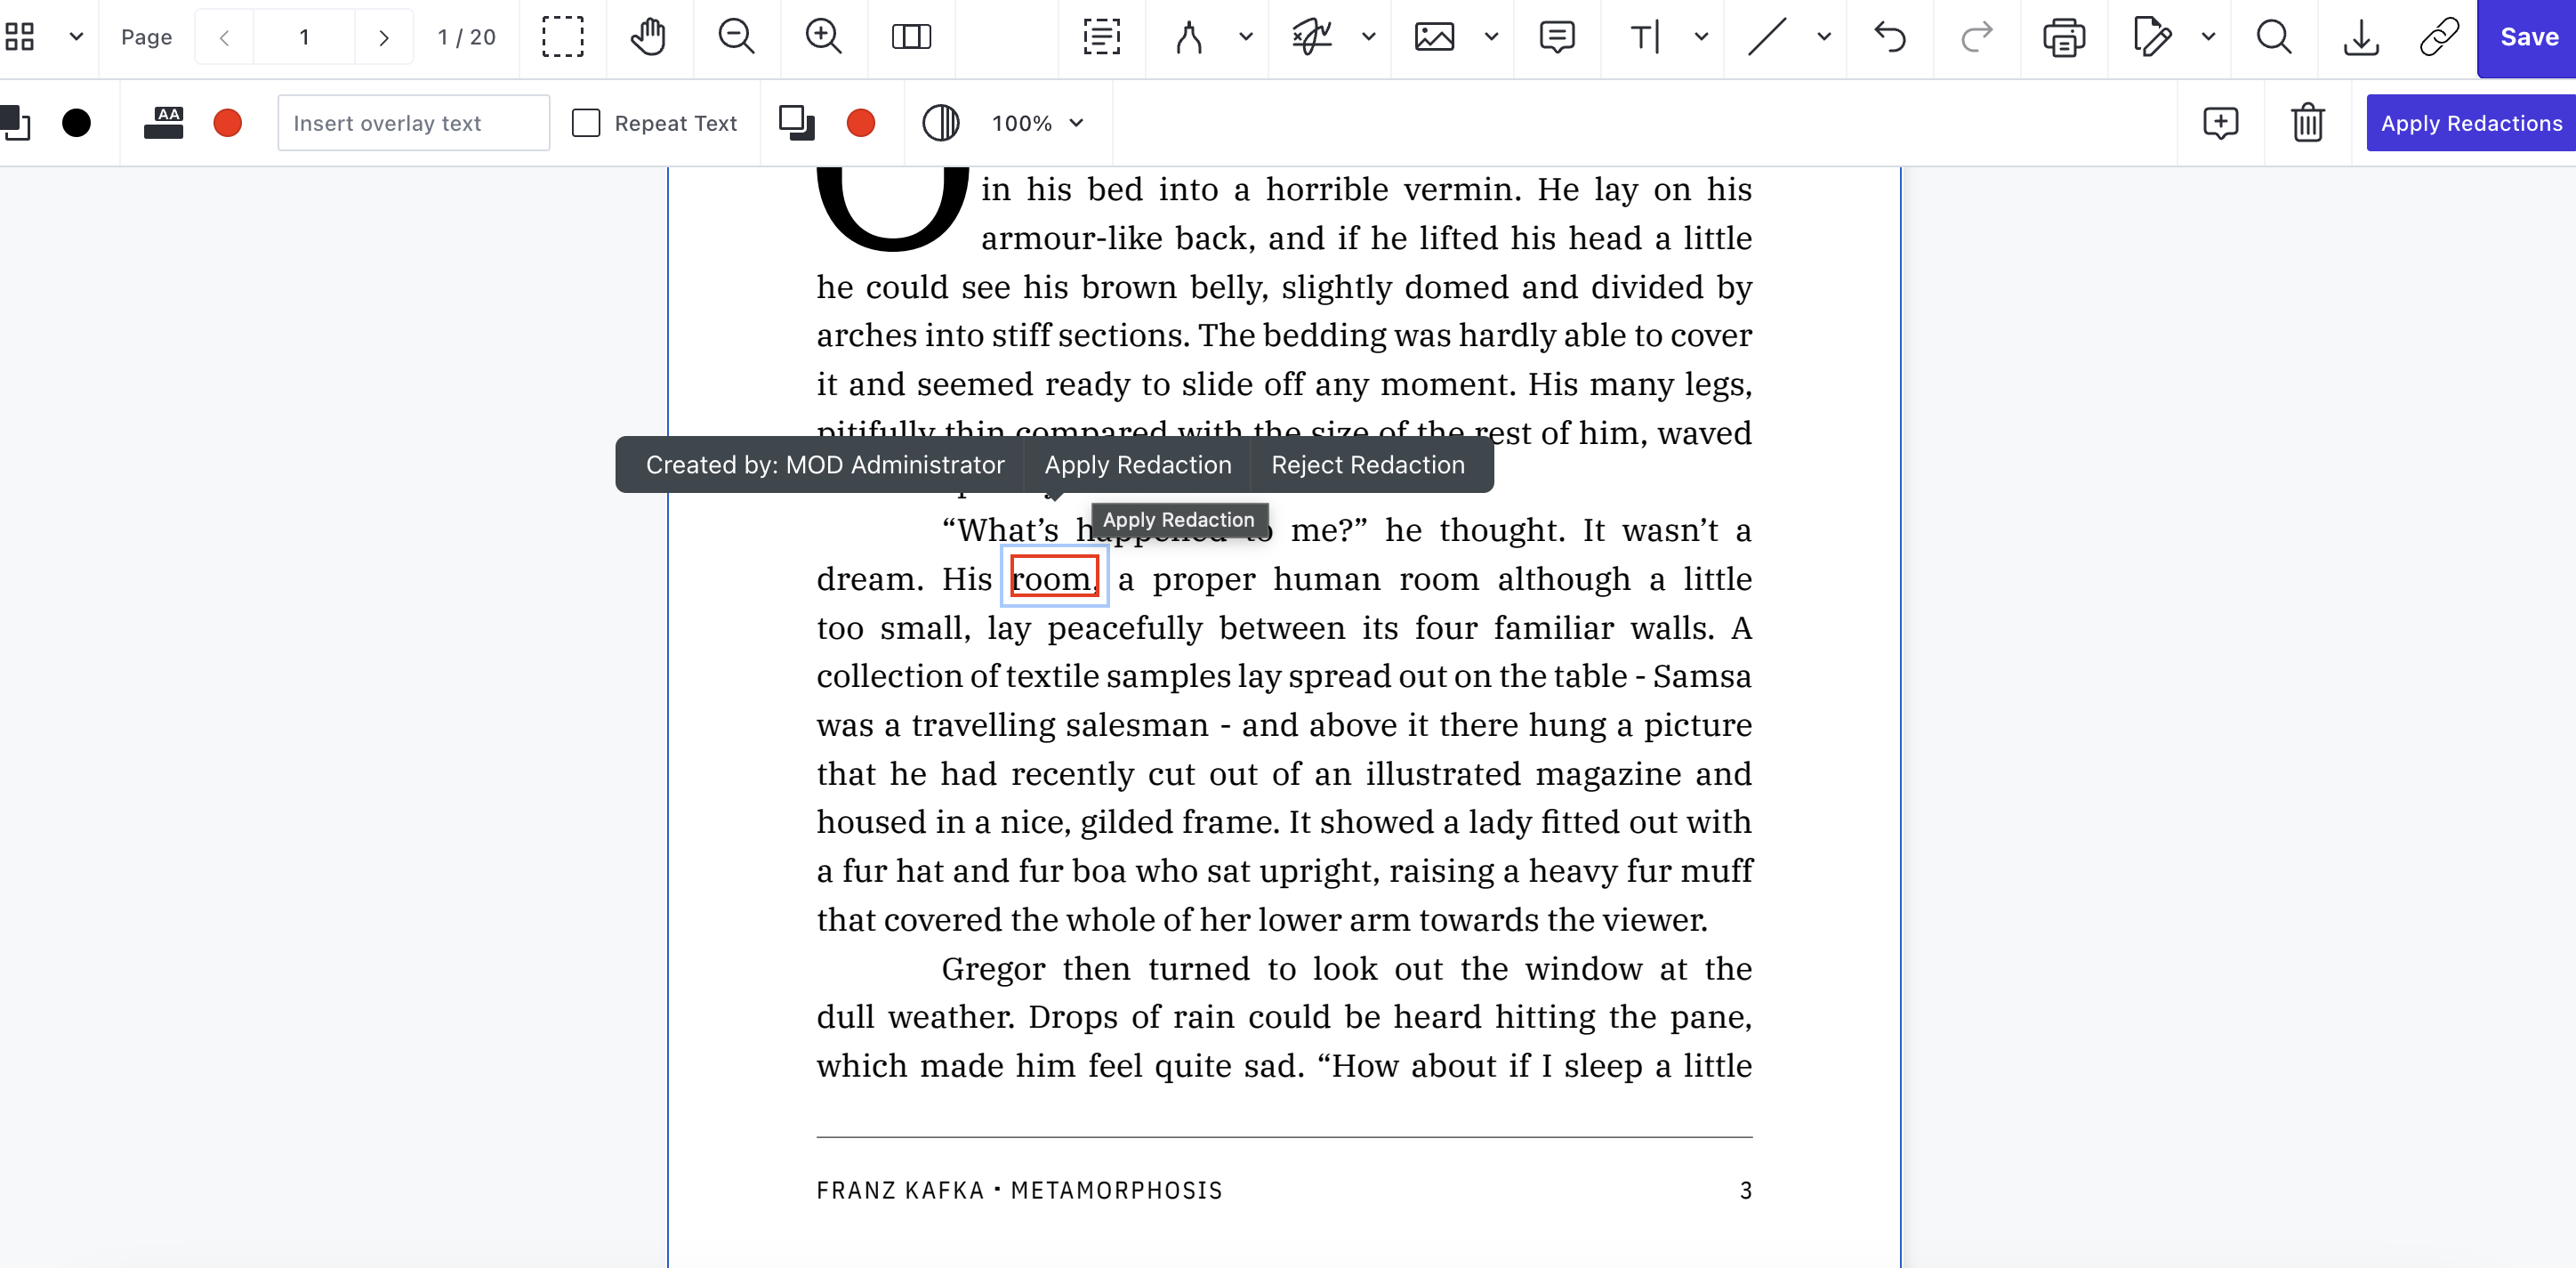
Once you mark the text for redaction, the Apply Redactions button will appear in the top-right corner, and additional PDF redaction options will be shown in the top-left corner.
By default, redacted content appears in black with a red outline. To customize the color or add overlay text before applying redactions, use the options in the top-left corner. The overlay text defaults to white, but you can change its color as needed.
Select the Repeat Text box to apply the same overlay text across all redaction boxes in the document. You can also adjust the fill opacity to make the redacted content more or less transparent.
Use the Recycle bin ![]() icon to discard the changes to your document.
icon to discard the changes to your document.
Redacting a PDF permanently removes the selected content. To keep a non-redacted version in SharePoint, export the redacted PDF to your computer and retain the original version in SharePoint. Instead of clicking Save, choose Export after applying redactions. This downloads the redacted version while keeping the original PDF unchanged in SharePoint.

Redact images and PDF form fields in SharePoint
To redact images and form fields in PDFs, use the Area Redaction option from the toolbar.
Drag the mouse cursor to select the area you want to redact. Click Apply Redactions.
Before applying the redaction, you can customize the redaction color, outline color, and the overlay text and its color. You can also adjust the fill opacity.
Add notes to the redacted PDF
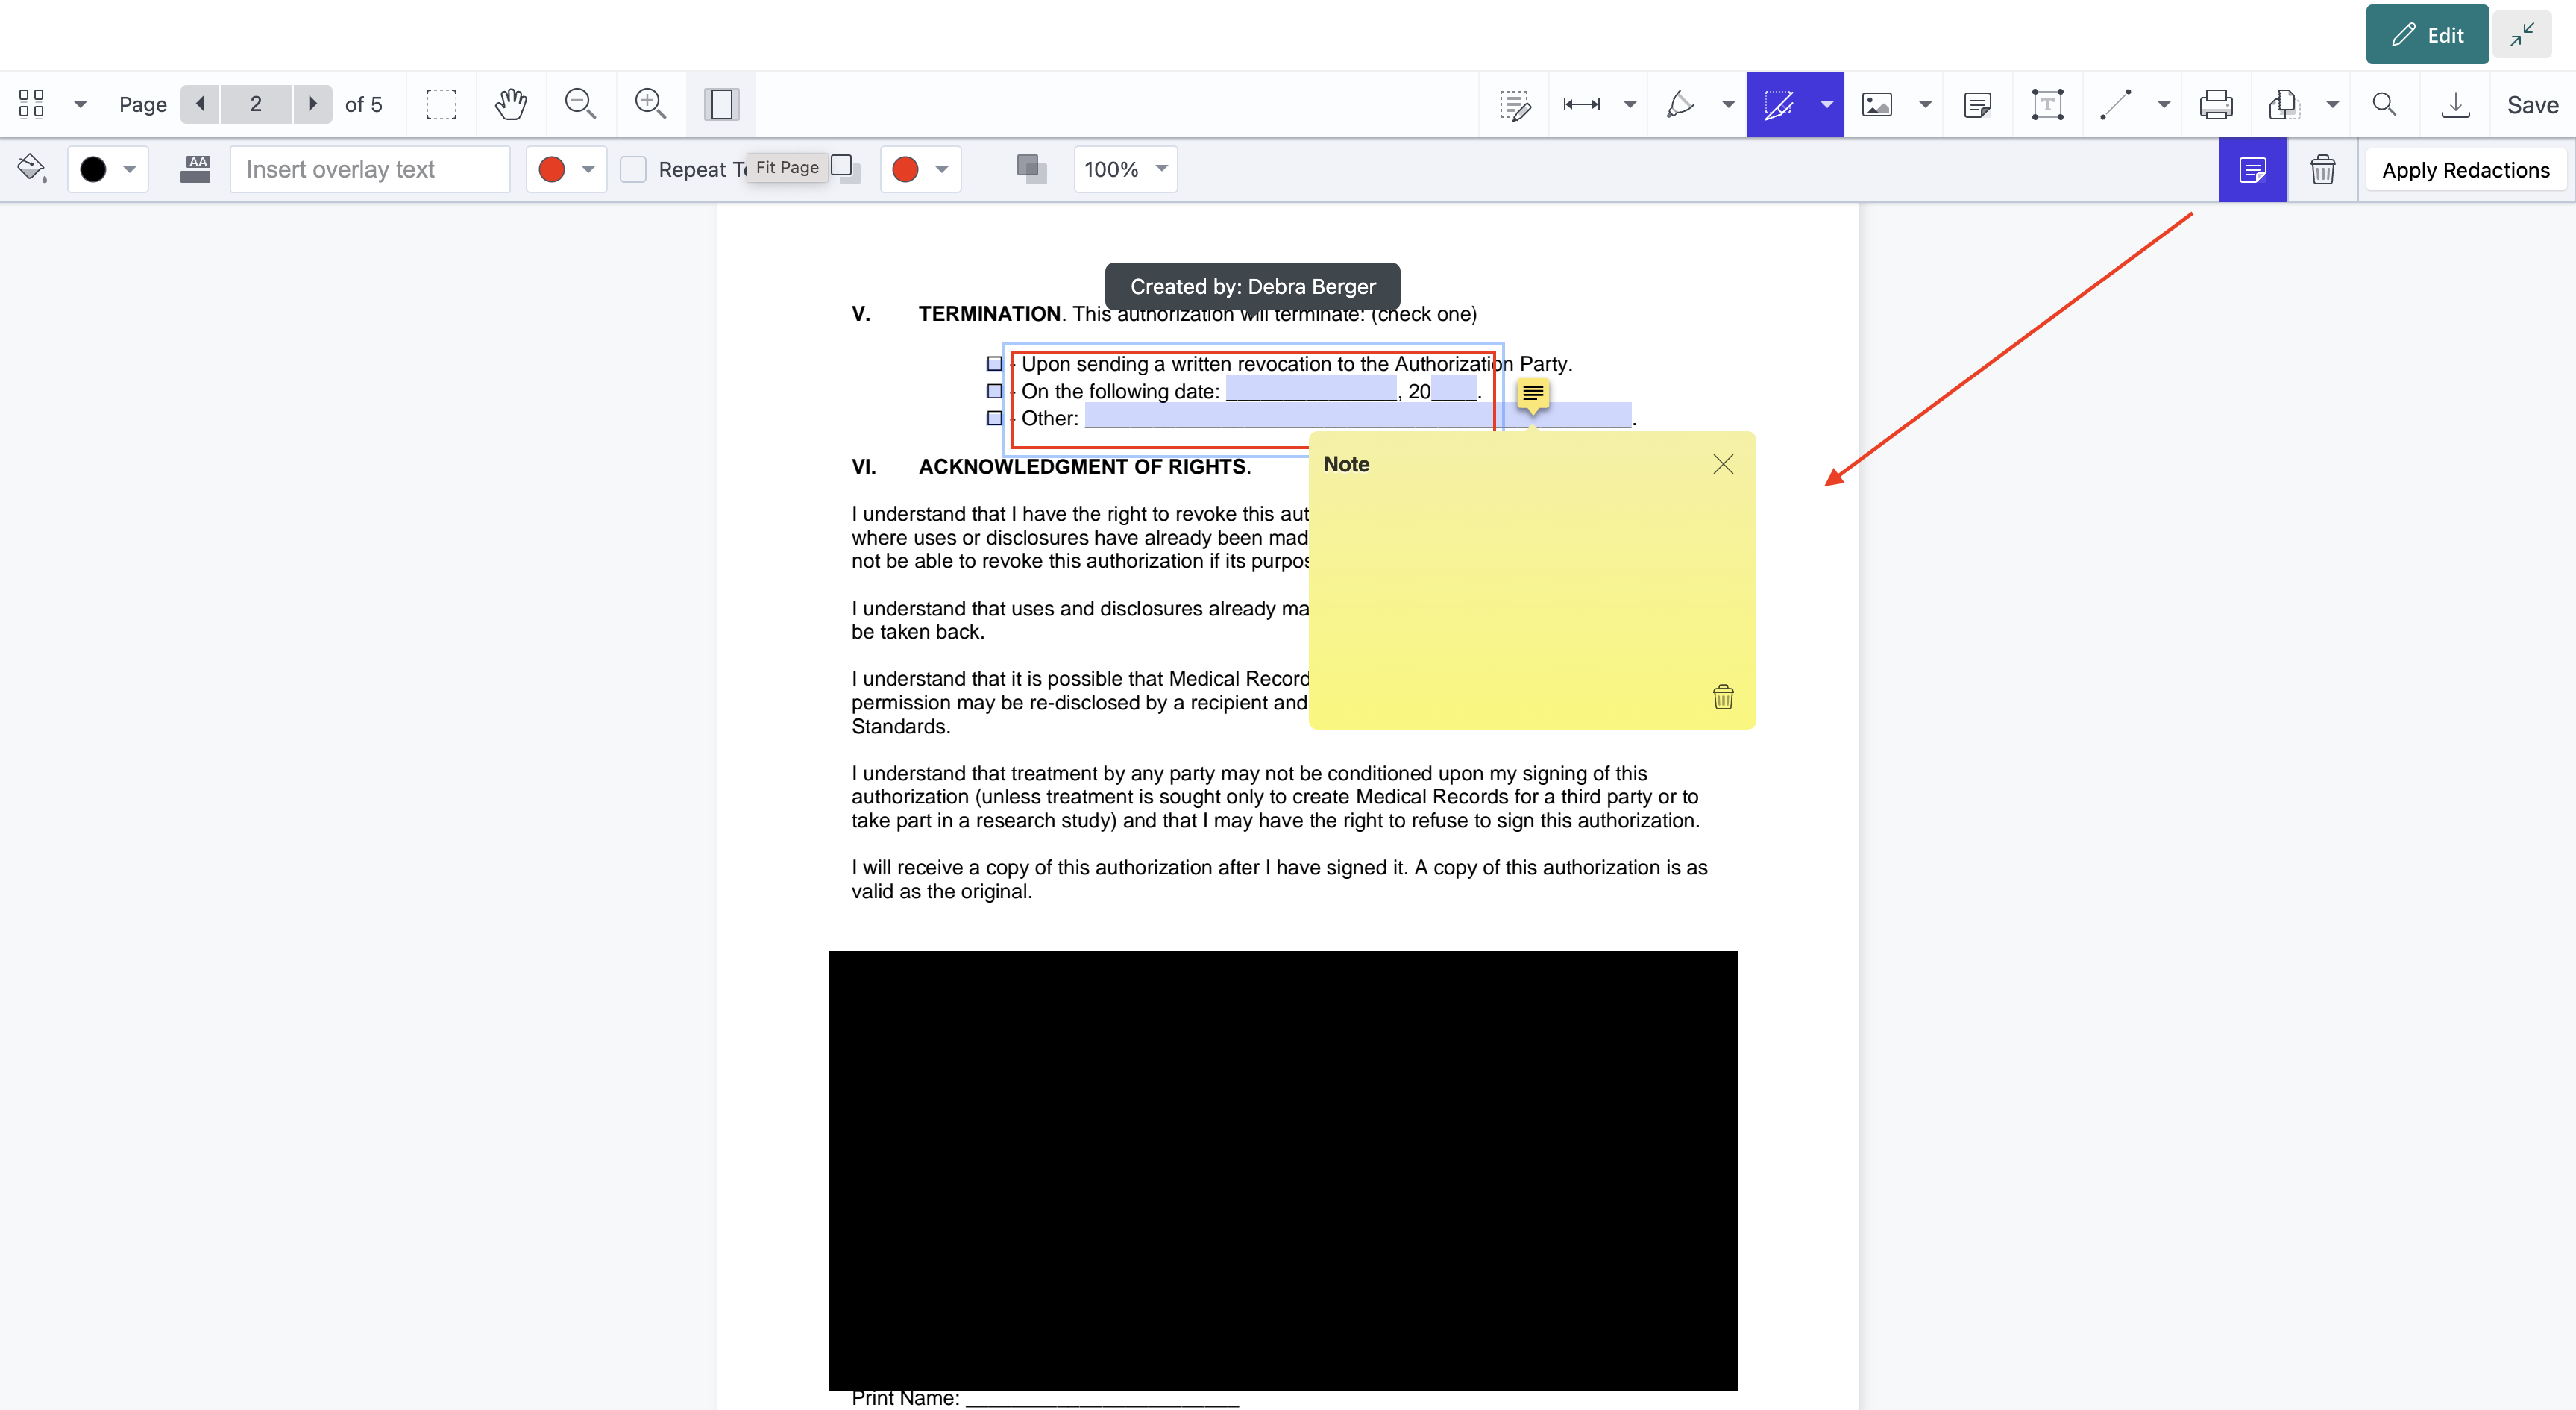
Add notes to redaction markups to facilitate collaboration and feedback. Click the Note ![]() icon in the top-right corner of the toolbar, enter your note, and click the X to save and close it. The note remains visible and accessible with a single click. The note’s position is fixed next to the redacted content and cannot be moved.
icon in the top-right corner of the toolbar, enter your note, and click the X to save and close it. The note remains visible and accessible with a single click. The note’s position is fixed next to the redacted content and cannot be moved.
Applying the redaction permanently removes any associated notes.
Applying selective redactions
For granular control, you can apply redactions selectively. This enables you to remove or reject individual redaction markups, one at a time.
Before applying selective redaction
After applying selective redaction
Free trial
Try Nutrient Document Editor for SharePoint Online free for 14 days by downloading the app directly from Microsoft App Source. This is a complete trial version, without watermarks, but limited in time. There’s an unlimited trial version, where all files are watermarked, and you can choose between three different installations:
Refer to the table on the free trial page to learn more about what’s included with each installation.
Document Editor for SharePoint On-Premises covers all different license types and SharePoint editions (2013, 2016, 2019, and SE). Its detailed installation guide is included with the download. During the free trial, all your documents will be watermarked.