Creating a single tenant app registration to use with PnP PowerShell to connect to SharePoint Online
The article provides detailed instructions on setting up a single-tenant app registration in Entra ID for use with PnP PowerShell to connect to SharePoint Online.
This is necessary following recent changes (effective 9 September 2024) due to the deletion of the multi-tenant Entra ID application previously used by PnP PowerShell. Read the announcement here.
It has always been a recommended practice to register your own Entra ID application to use with PnP PowerShell. This has now become a mandatory step.
Document Editor installers need to connect to your SharePoint Online environment, where you’ll be asked for a client ID, certificate path, certificate password, and tenant domain. If you’ve already created an app registration in your tenant, you can use its credentials. If not, read on to learn how you can create the app registration and obtain the required credentials.
How to create the app registration
-
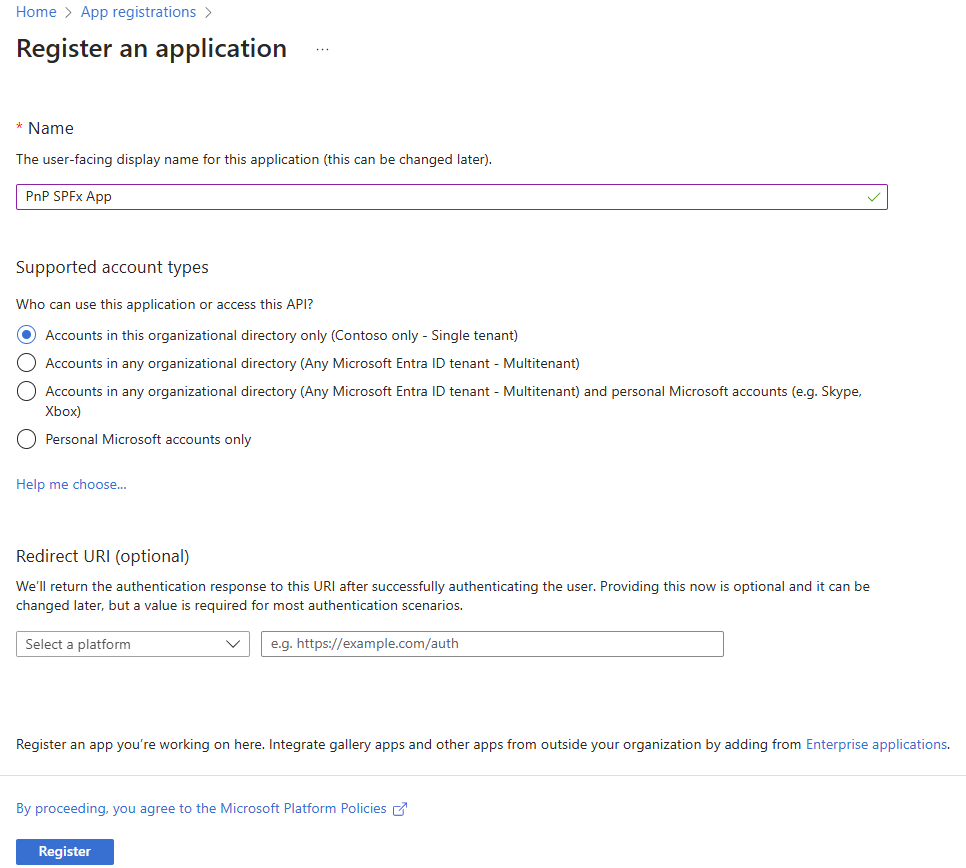
Start by registering a new single tenant app registration in Entra ID.
-
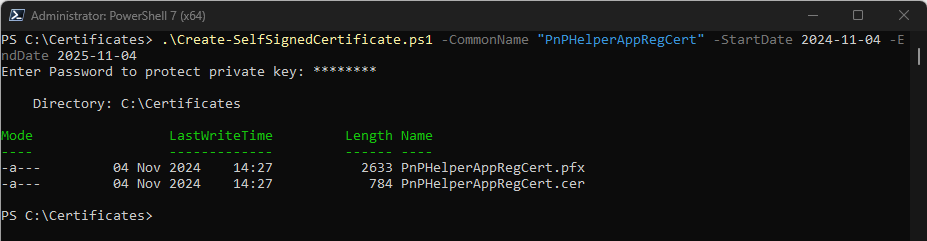
Create a self-signed certificate on your local machine using the PowerShell script found here. Copy the script linked above, and paste it into a text editor — for example, Notepad. Save it as a
.ps1file, e.g.Create-SelfSignedCertificate.ps1. Start Windows PowerShell as an administrator and navigate to the script location. Then, execute the following command:
.\Create-SelfSignedCertificate.ps1 -CommonName "MyCompanyName" -StartDate 2024-09-19 -EndDate 2025-09-18
You’ll be asked to give a password to encrypt your private key. Then, both the .pfx file and the .cer file will be generated and exported to the current folder.
Don’t use special characters in the encryption password.
Be sure to provide your company name or domain in -CommonName.
For more information on creating self-signed certificates, see this Microsoft article.
-
Associate the self-signed certificate (
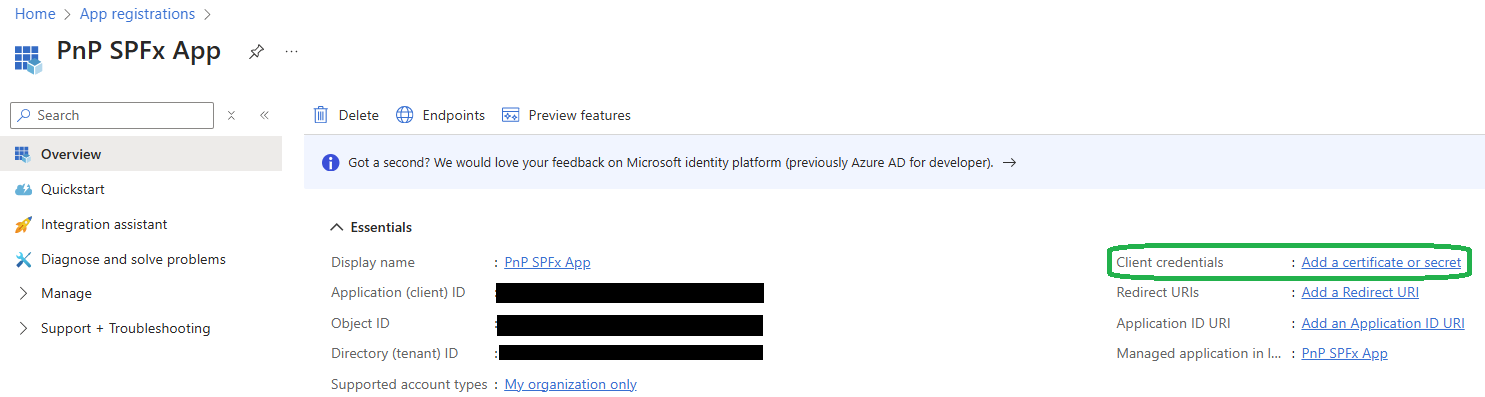
.cer) with the app registration created in the first step above. In Entra ID, go to App registrations. If you don’t see this in your Owned applications, go to All applications.
Open the app registration you created and click Add a certificate or secret.
Click Certificates > Upload certificate. Use the folder button to the right of the Upload field to bring up the Open dialog box, navigate to where your .cer file is located, and click Open.
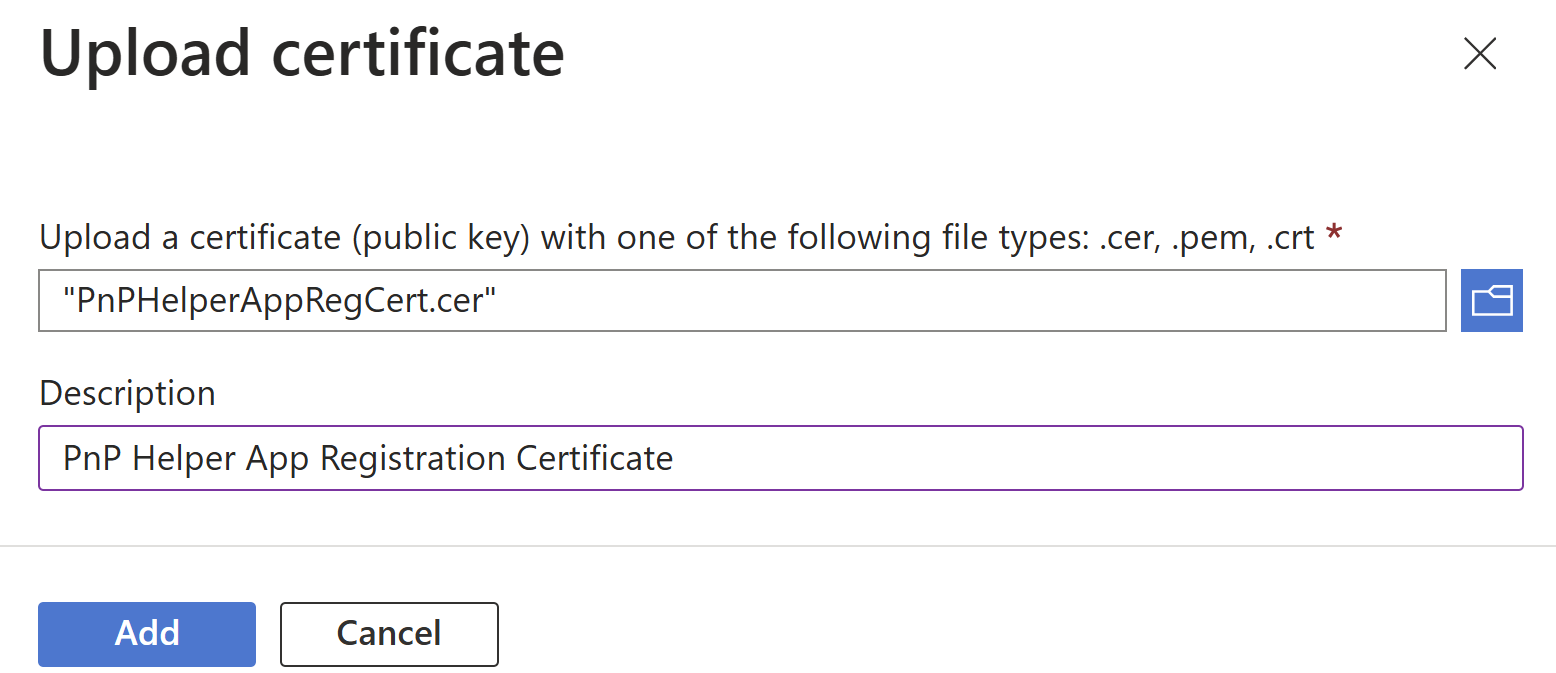
After selecting your certificate and entering a description (optional), click Add.
-
Add the permissions for the app. After adding the certificate, select API permissions from the left-hand menu to grant the required permissions for the app.
Go to Add a permission > Microsoft Graph > Application permissions. Add the permissions for Sites.FullControl.All and User.Read.All. Then click to add or update permissions.
Go to Add a permission > SharePoint > Application permissions. Add the permissions for Sites.FullControl.All and User.Read.All. Then click to add or update permissions.
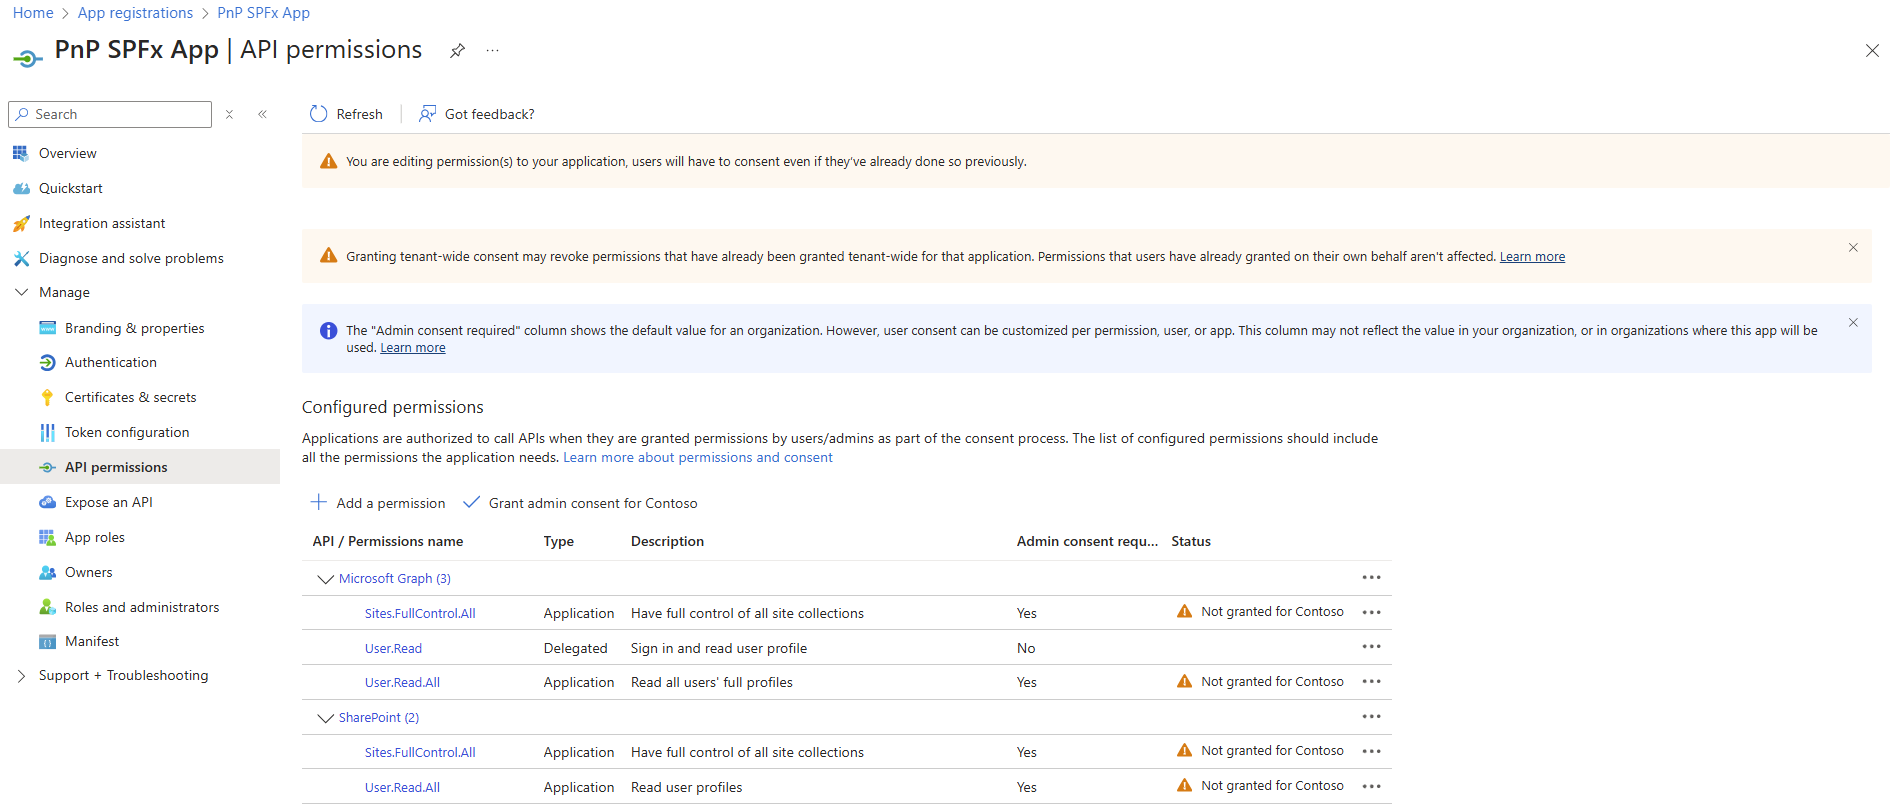
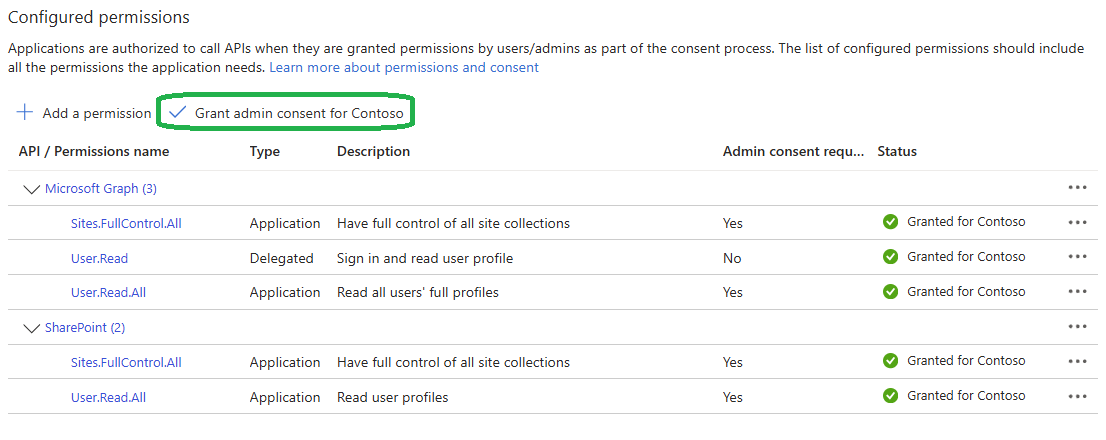
The status of all permissions will show a warning that it needs admin consent. Click Grant admin consent and the status should all show green checkmarks.
-
Run the installer to create or update the SPFx app in your tenant. The script requires the following parameters:
-
The client ID of the app registration created in the first step.
-
The full path to the
.pfxself-signed certificate, e.g.C:\folderName\certificateName.pfx. -
The password used to create the certificate.
-
Your tenant domain. To retrieve it, click the gear icon in
portal.azure.comand check the Domain field.

If you encounter any issues, contact our customer support.