Create and manage document libraries effectively
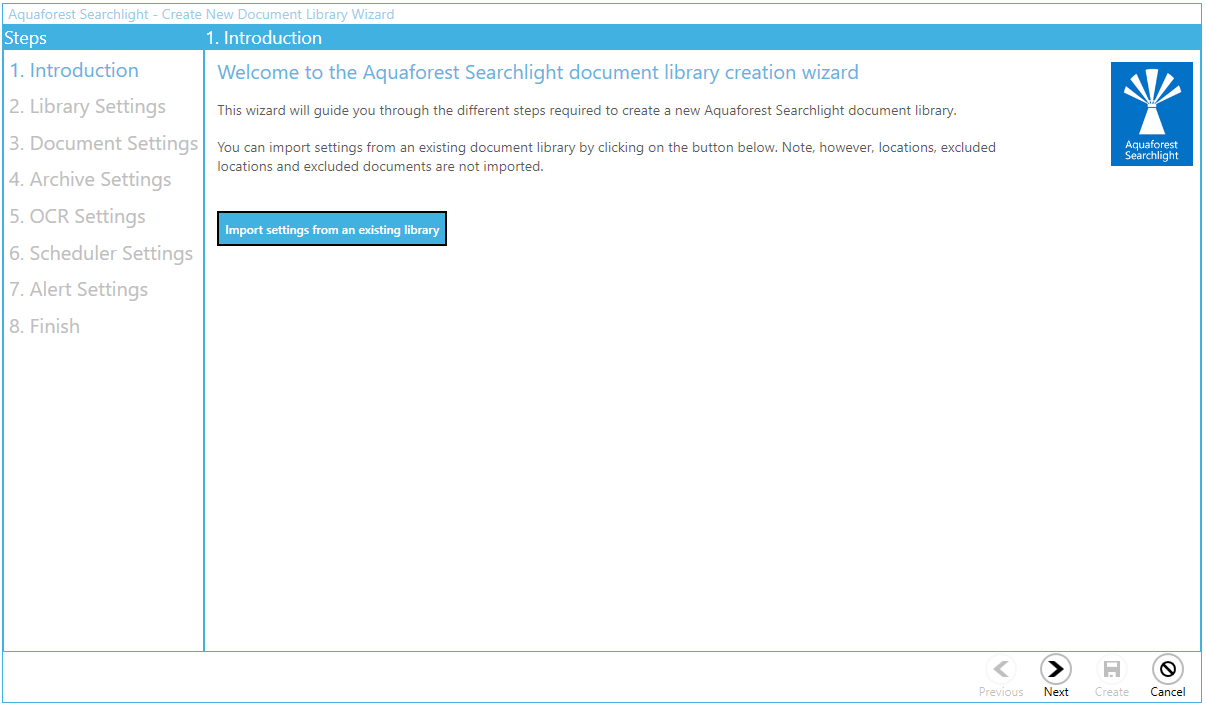
Creating Document Libraries in Nutrient Document Searchability is managed by a wizard. This wizard can be launched by clicking the Add new library button on the Dashboard.

The wizard provides helpful information throughout the different stages of the document library creation process which aids in better understanding the various steps and settings involved. Refer to section 6.3 for detailed description of each of the settings in each page.
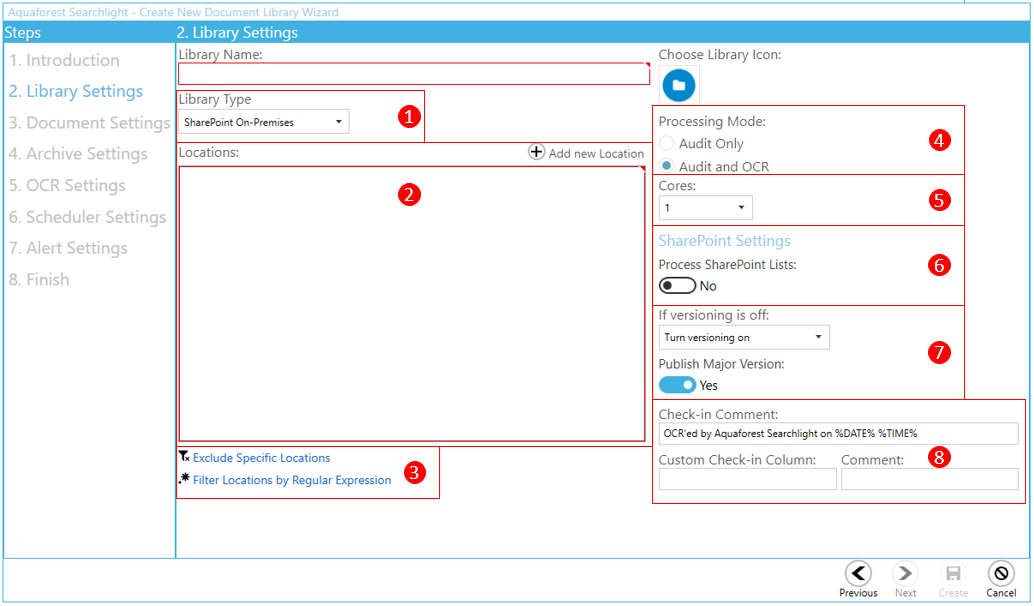
Library Settings
-
Select the document source from the following: File System; SharePoint on-Premises; SharePoint Online (Office 365); Azure Blob Storage; Azure File Storage
-
Add new location(s) (depending on library type)
-
SharePoint On-Premises and SharePoint Online (Office365) locations can include one or more from:
-
SharePoint site collections
-
SharePoint sites
-
SharePoint document libraries
-
SharePoint lists.
-
-
one or more File System paths
-
one or more Azure Blob Storage paths
-
one or more Azure File Storage paths
-
There are 2 ways to filter locations:
-
Excluding specific locations – locations that match the specified site or library URL(s) are excluded.
-
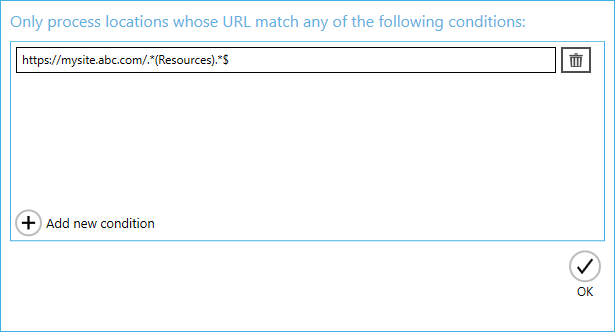
By regular expressions – locations (site and library URLs) that match the specified regular expressions are included.
-
This is useful if you are processing a whole site collection and want to excluded specific locations and/or include only specific sites or libraries. For instance, you may want to only process sites and libraries containing the word “Resources” in their URL:
Below are a few useful resources to get you started with regular expressions:
-
Do you only want to Audit Only, or Audit and OCR? Audit means that Document Searchability will analyse the searchability of the documents and report how many searchable, partially searchable, and image-only documents are found in the location(s) specified, while Audit and OCR will find the non-searchable documents, and then make them searchable.
-
The number of cores to use to process documents in parallel. For instance, if 8 cores are specified, Document Searchability will process 8 documents simultaneously, which will significantly reduce the total processing time. The hardware and license will have to support multiple cores.
-
Choose whether to process SharePoint Lists or not. If this is turned on, Document Searchability will process the attachments in each list item. Note, however, that processing SharePoint lists can be extremely time consuming if they are very large.
-
Turn versioning on if you want to have a ‘backup’ of the original documents, otherwise the documents will be overwritten with new searchable ones (see also the Archive Settings step).
-
You can choose to add a check-in comment to the OCRed files once they are uploaded to SharePoint. Optionally, you can also add a custom comment to a custom SharePoint column. However, the custom SharePoint column must be either of ‘Text’ or ‘Date’ type.
Document Settings
This page enables the user to specify rules and criteria for the selection of documents to be processed.
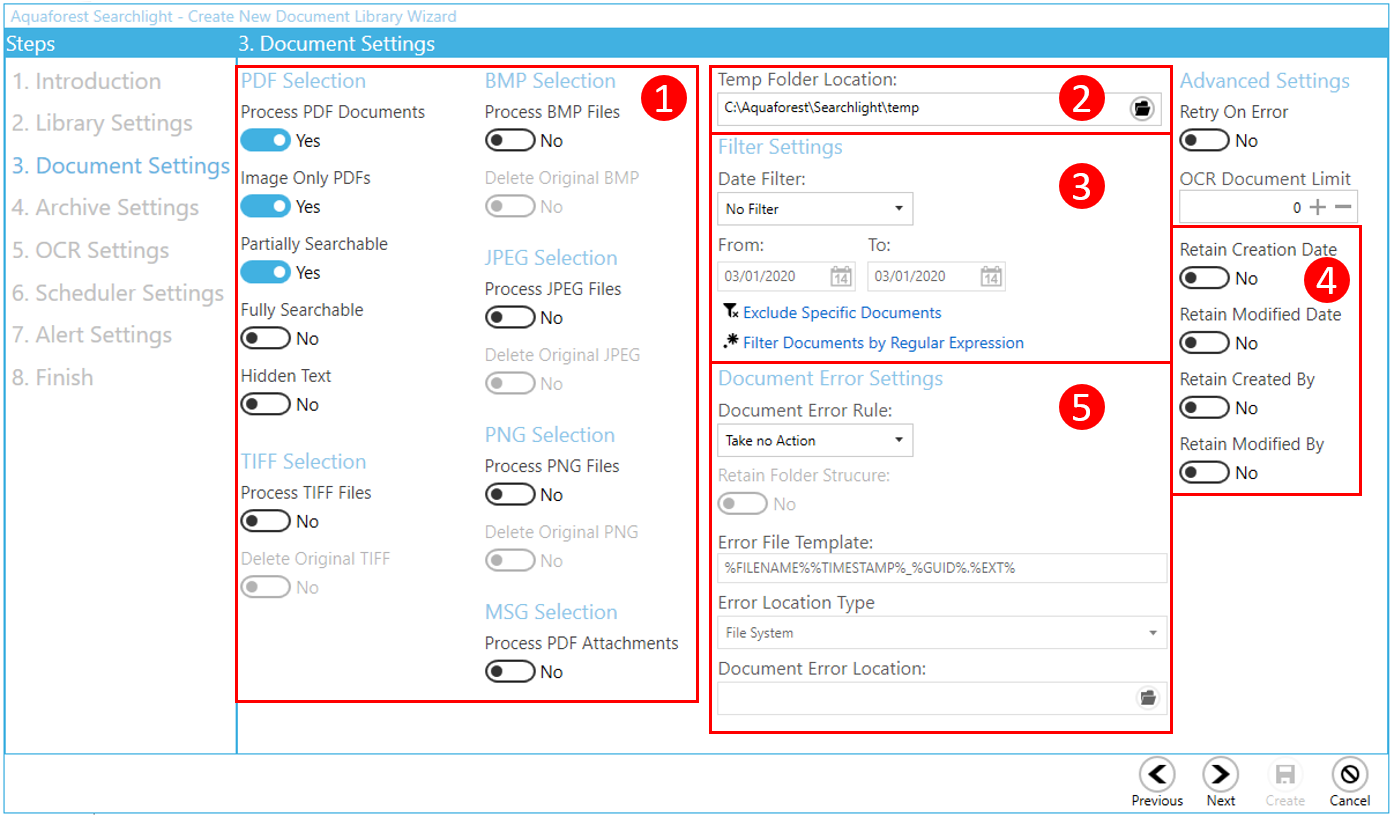
-
Select the document types to process. For image files, there is an option to delete the original images from the source location after they have been converted to searchable PDFs.
-
The Temp Folder Location is where Document Searchability temporarily stores downloaded files as well as files created during OCR.
-
There are different options to filter documents:
-
By modified or creation date – documents that fall within the specified range are excluded.
-
By document paths – documents that match the specified paths are excluded.
-
By regular expressions - documents whose properties match the specified regular expressions are included
-
For instance, you may want to only process documents with the name format “ABCD-1234”:

-
There is also the option of retaining the original metadata on the document and in SharePoint so that even after uploading the searchable PDF these columns will not be changed.
-
If there is an error while processing a document, there are options to copy or move the file to an Error location. The folder structure of the source file can be retained.
Document Archive Settings
This page provides the option of archiving source files before OCR is applied to them, so there is a backup. The source folder structure can be retained in the archive folder.
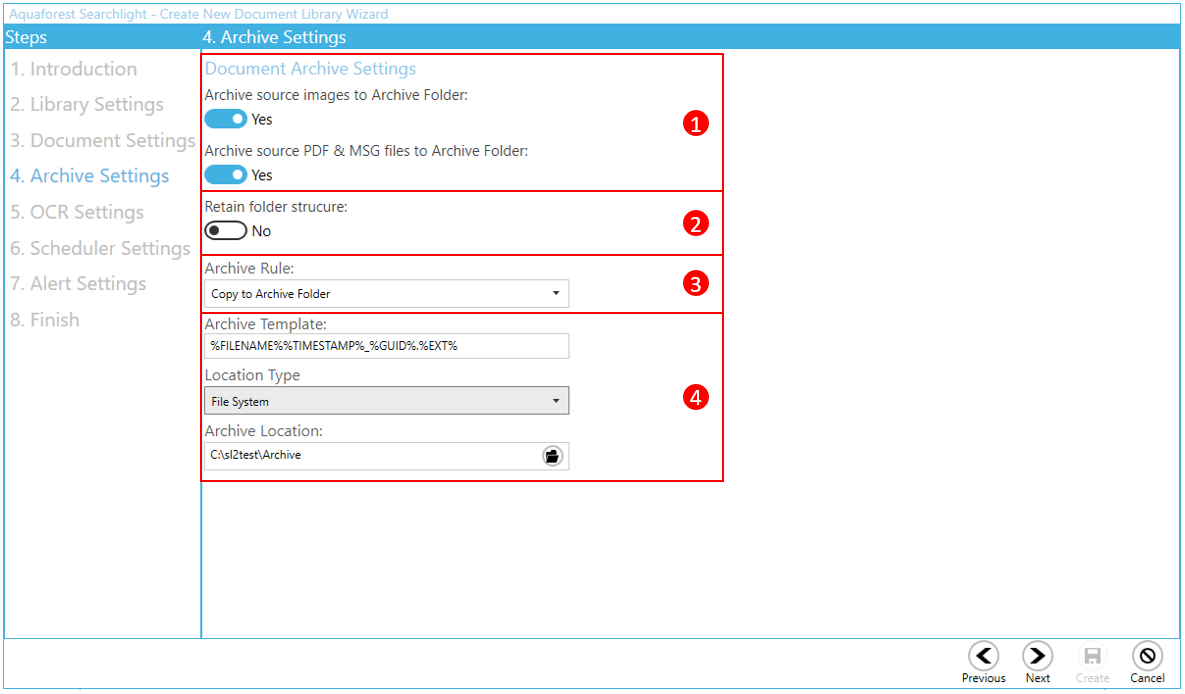
-
Select whether you want to archive just image files (TIFF, BMP, JPG and PNG) or PDF and MSG files.
-
Select if you want to retain the existing folder structure within the archive.
-
Select the archive rule – Copy to Archive Folder
-
Select the archive filename format, storage type (File System, SharePoint On-Premises, SharePoint Online, Azure Blob Storage, Azure File Storage) and location.
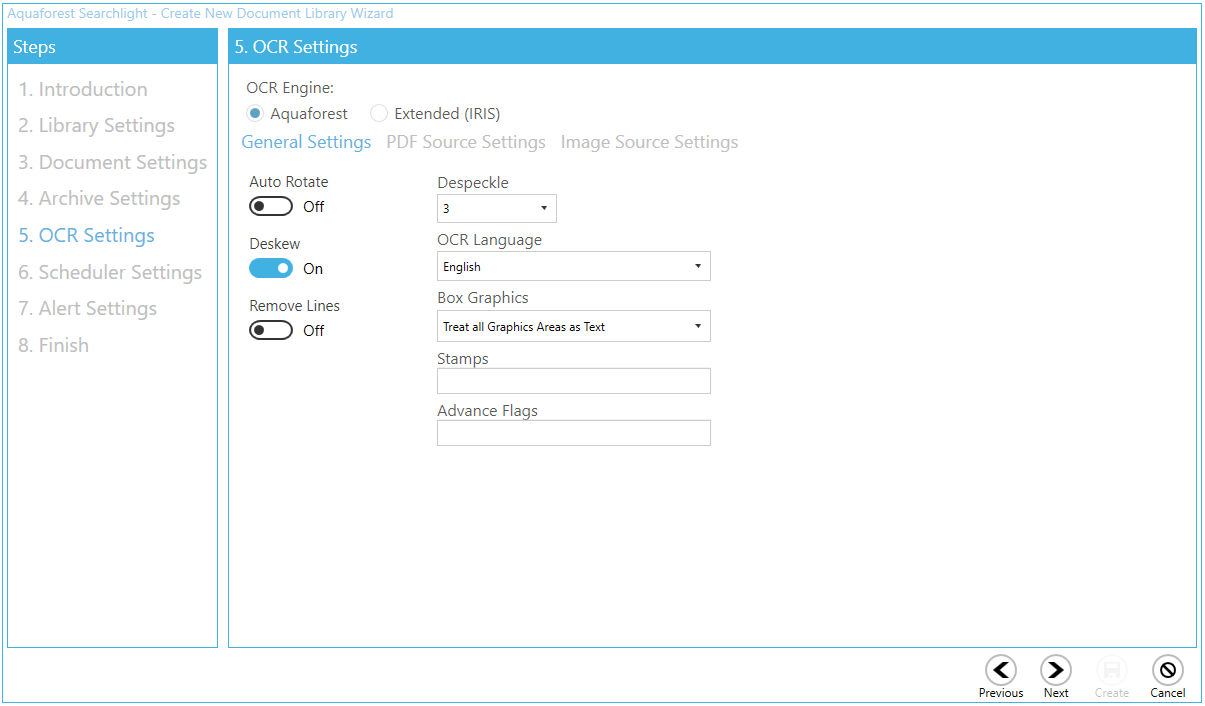
OCR Settings
In this section, you can set the OCR settings. Document Searchability comes bundled with two OCR Engines: Standard OCR engine and the Extended IRIS (Canon) OCR engine . The Extended OCR is the default engine and supports more languages (120+) than the Standard OCR engine. The Extended OCR engine can also process documents that have pages in different languages. See section 3.2 for more information about the OCR engines.
Extended OCR Engine Settings

Standard OCR Engine Settings
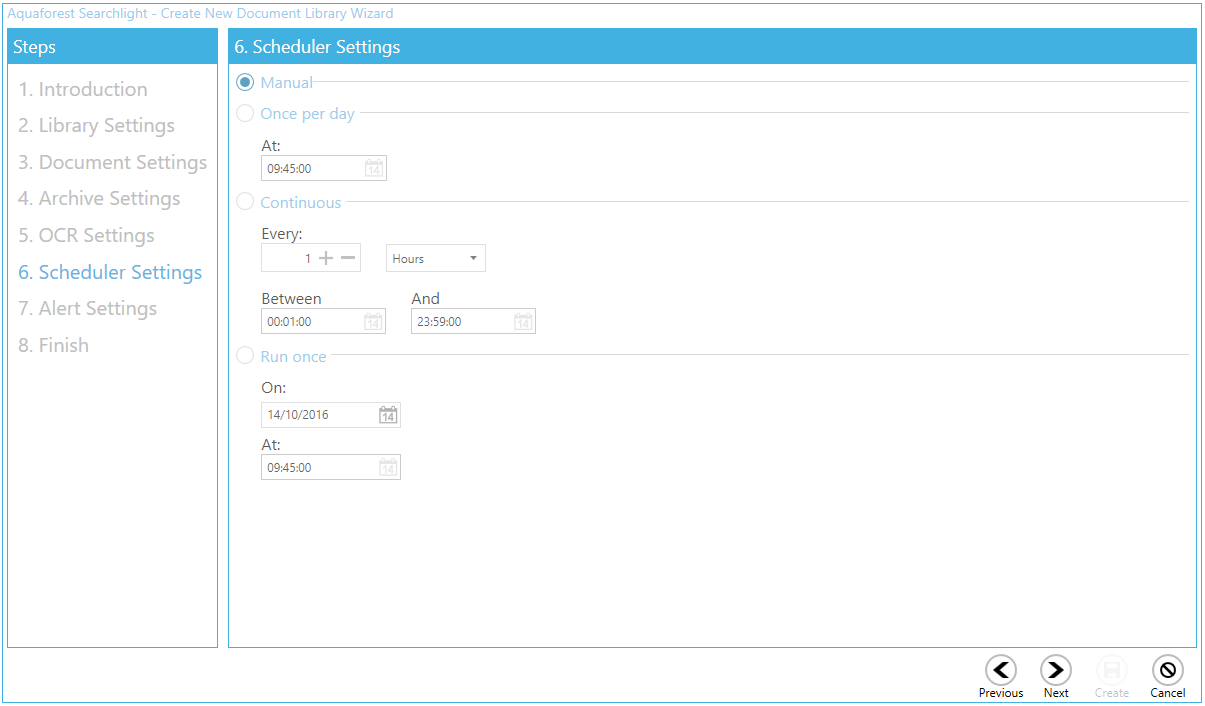
Scheduler
The scheduler allows Document Searchability to automate the running of document libraries. You can either run it manually, or run periodically, every day at a specified time or every hour etc.
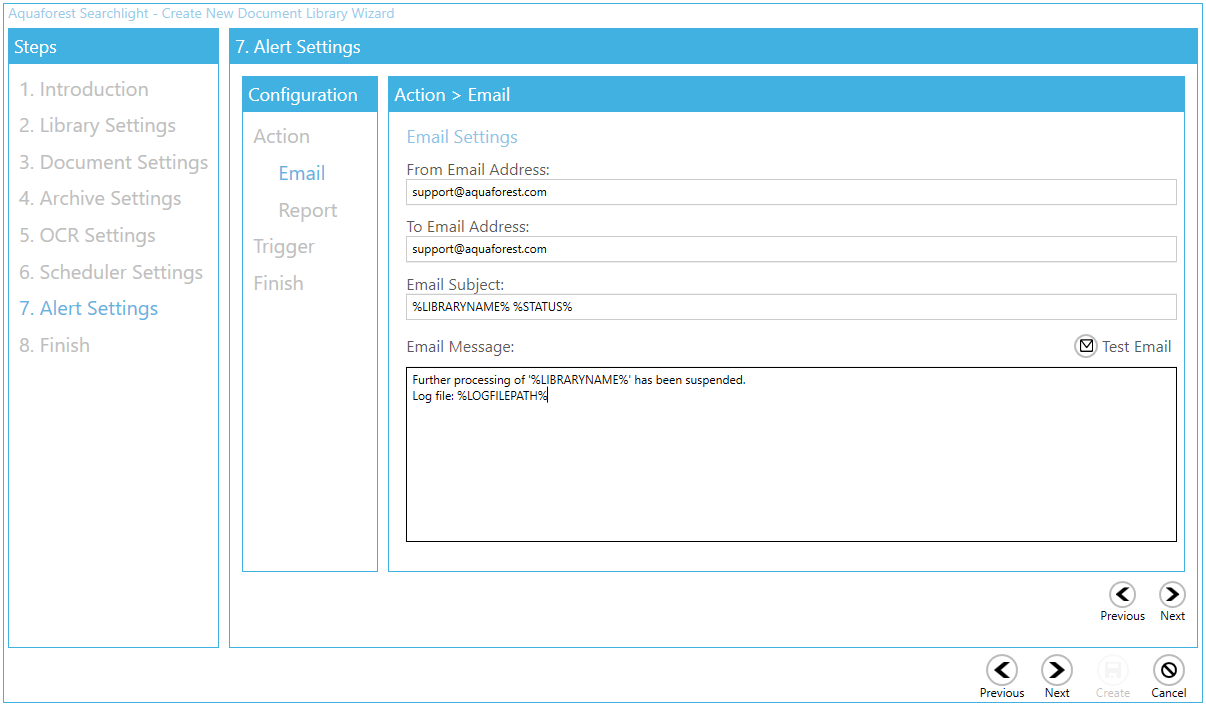
Alert Settings
The alert settings provide you with the option of periodically sending email alerts as well as generating reports of job runs within a specified date range. Creating alerts is managed by another wizard within the library creation wizard.
-
Select the action(s) you want to perform.

-
Select the email settings.
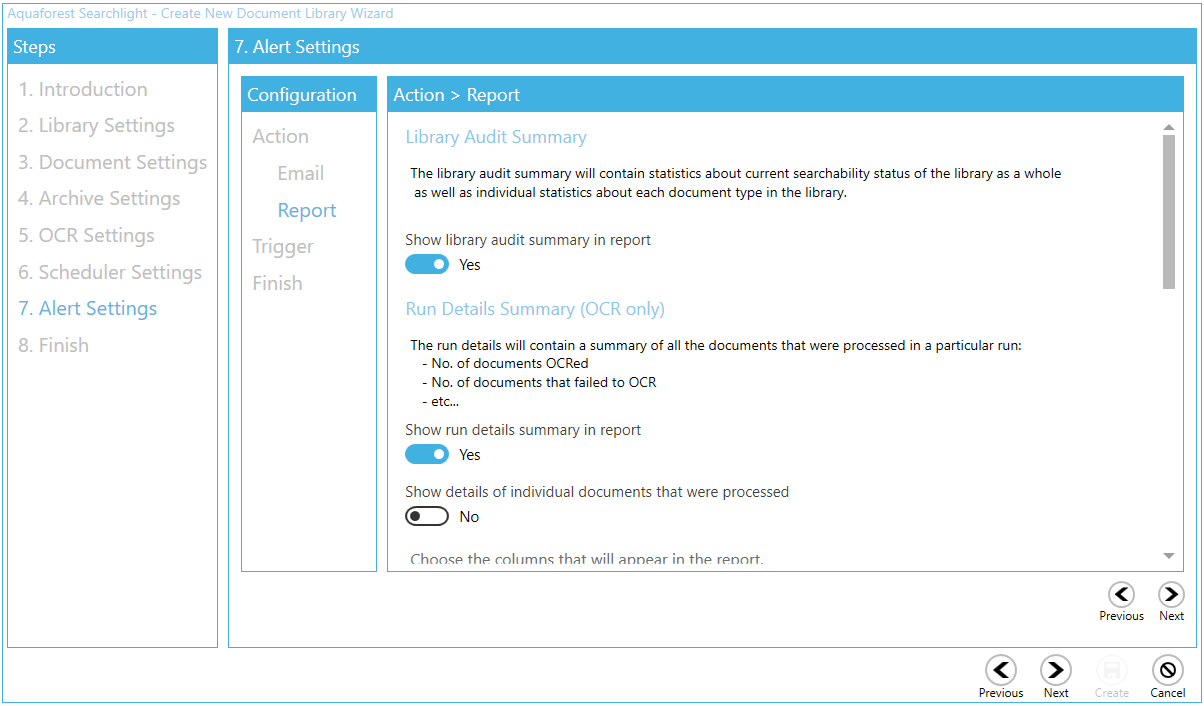
-
Select the report settings. You can choose to get a summary of the library status as a whole and/or details about specific runs.
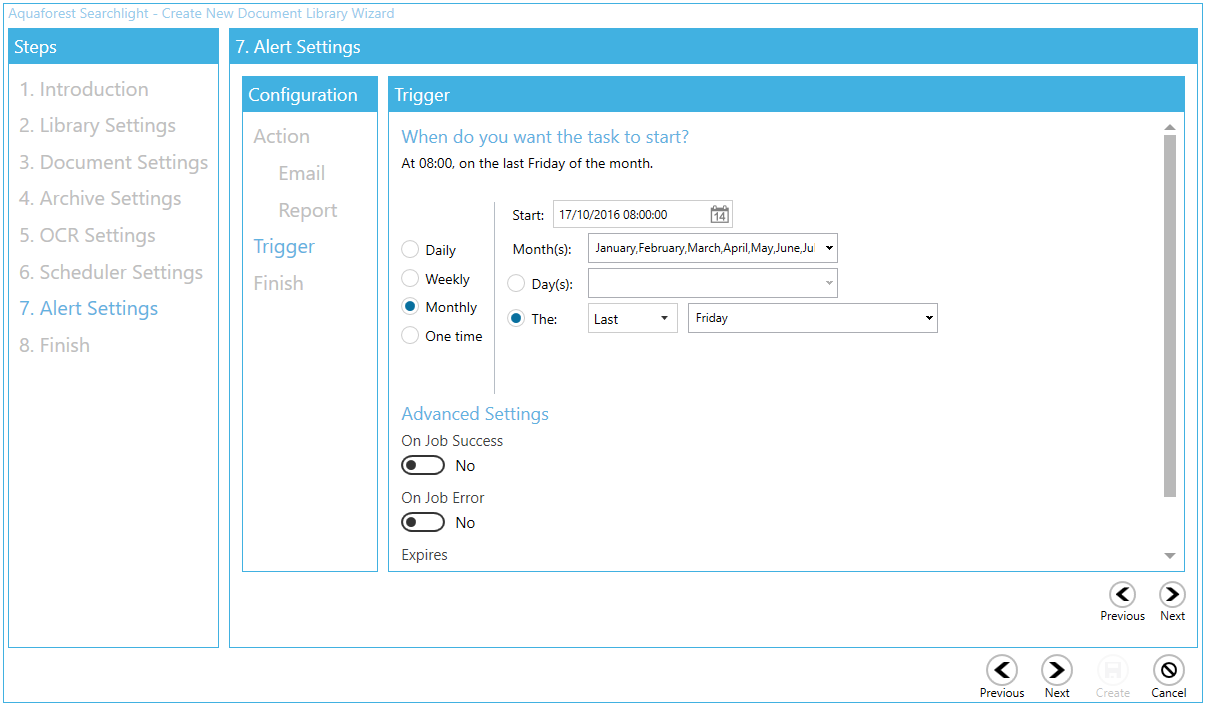
-
Select when you want the task to run. Based on the current settings, you will get an email with the report attached sent to the recipient every last Friday of the month at 8 am.
Finish
On the Finish page, you will get a summary of all the settings you selected for this library. You could review them to see if you missed anything. If not, click on the Create button at the bottom of the wizard to create the library.
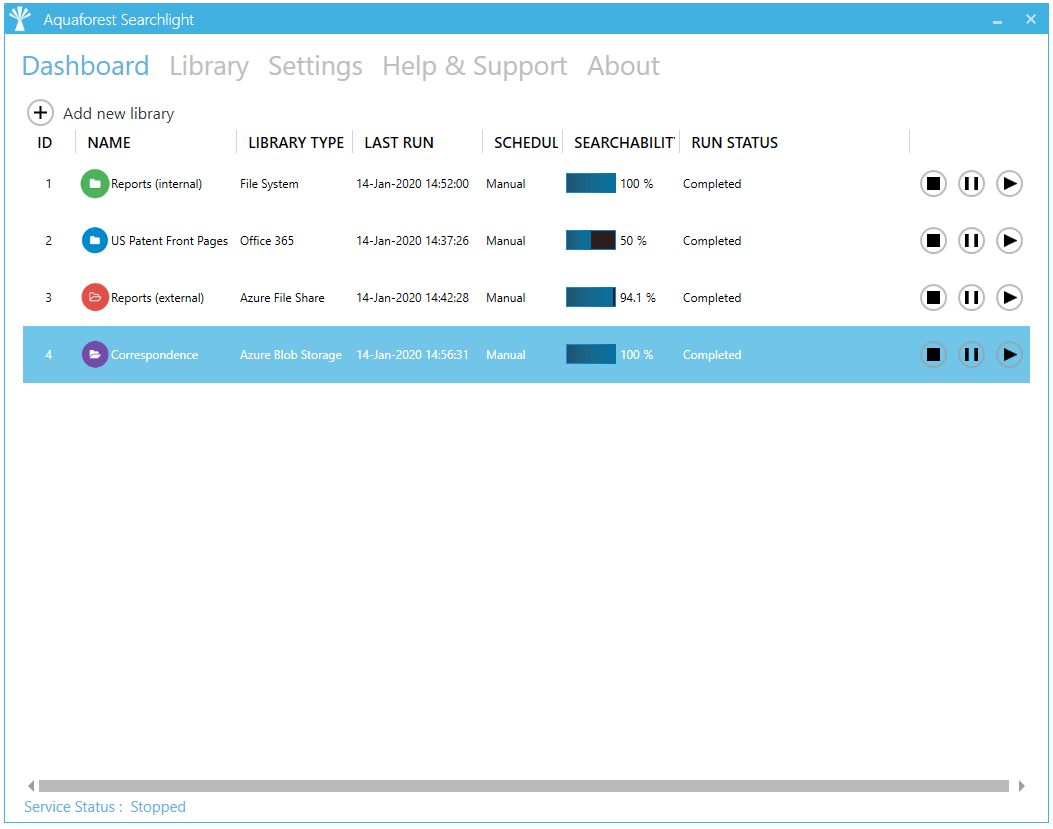
The new library will be added to the dashboard. As the library is set to run manually, click on the Run button to start processing.