Managing SharePoint columns in tagging
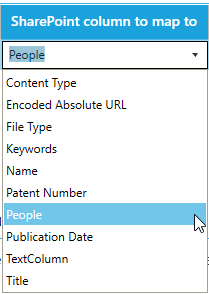
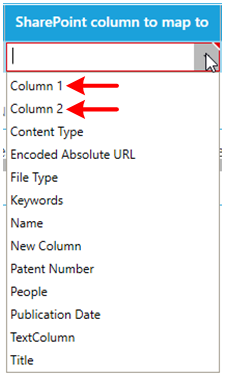
Anywhere in Tagging where you are required to enter a SharePoint column, you will be provided with a drop-down menu.
For instance:
If you want to specify a column that is not present in the drop-down menu, you can type it in the column name.
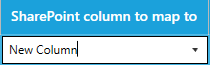
NOTE: SharePoint column names are case-sensitive
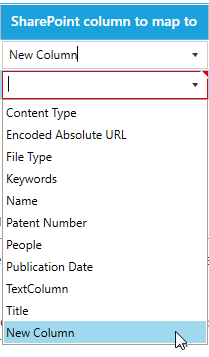
Once the drop-down menu loses focus (e.g. you click on another control), the new SharePoint column becomes available for future selection on the current setting and once saved, it is available on all settings where a SharePoint column name is required.
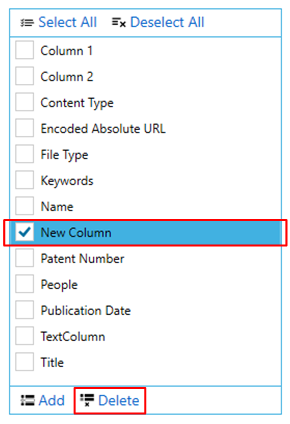
Another way to add SharePoint columns that are not present in the drop-down menu is to go to Settings > Enums tab.
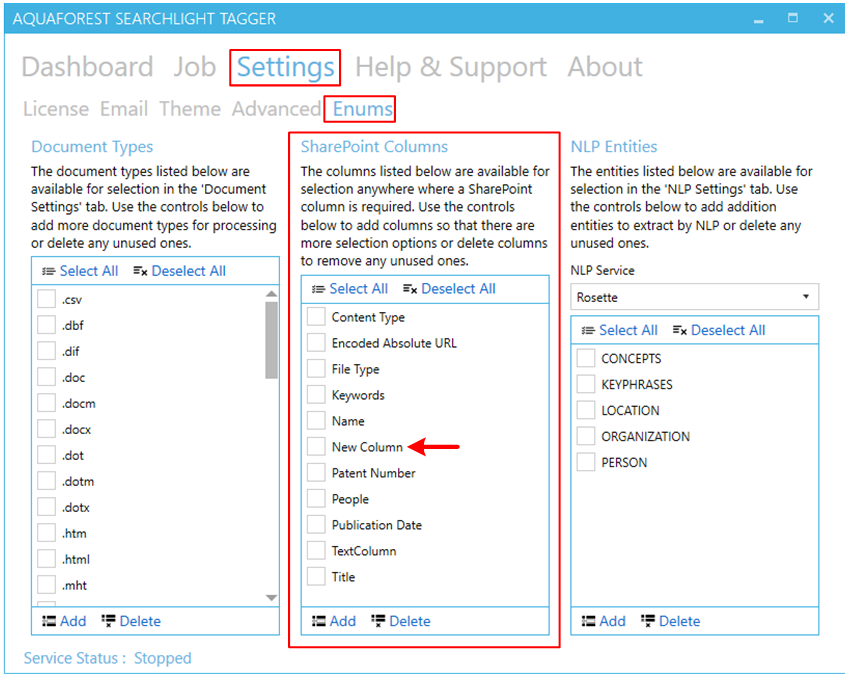
(The red arrow shows the column that was added by typing it in the drop down menu)
-
Click on the
 button
 -
A popup dialog will appear. Enter the name(s) of the SharePoint column(s).
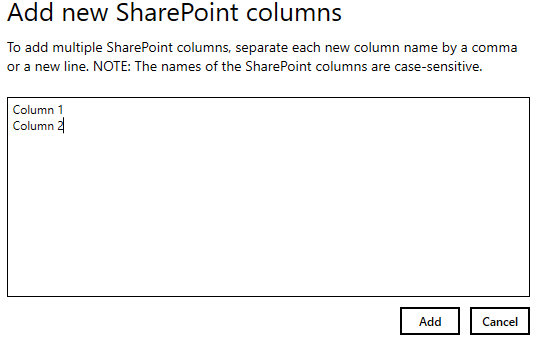
With this method, you can add multiple SharePoint columns in one go. Separate each new SharePoint column name by a comma or a new line.
Click the Add button after adding all the SharePoint columns.
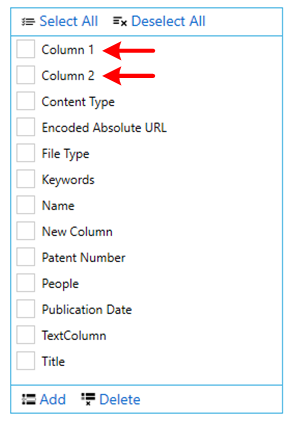
Now these columns will be available on all drop-down menus where a SharePoint column is required.
You can also delete any unused SharePoint columns. Select the column(s) you want to delete and click on the ![]() button
button
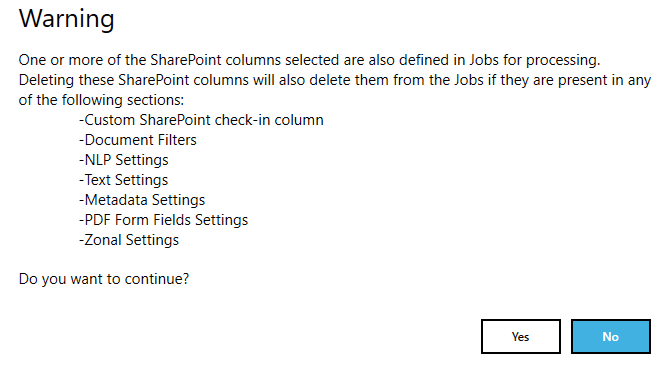
However, make sure that the columns you are deleting are not defined in a setting. If it is, you will get a warning message: