Streamline SharePoint library setup with Tagging
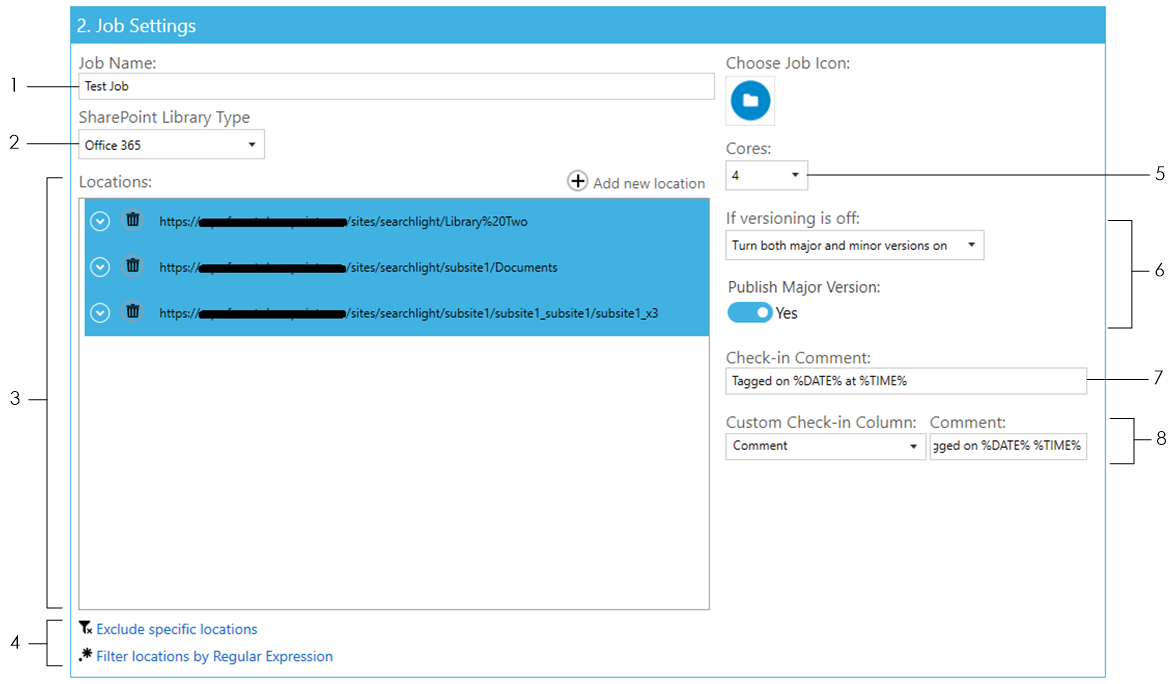
1. Enter a name for the job 
2. Select the SharePoint Library Type 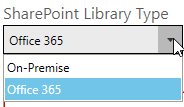
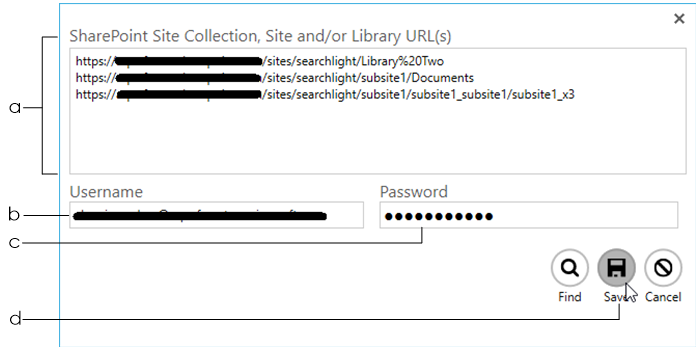
3. Add the SharePoint location(s) by clicking the Add new location button. This will open a window as shown below.
-
Enter the location(s) of the SharePoint site(s) and/or library (ies) you want to process. To enter multiple locations, add each one in a new line.- Enter the username to use to access the SharePoint locations. The user should have permissions to modify the locations.- Enter a valid password- Click on Save.
4. You can also filter the locations further by only including or excluding certain locations. This is useful if you are processing a whole site collection and want to excluded specific locations and/or include only specific sites or libraries.
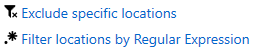
There are 2 ways to filter locations:
-
Exclude specific locations: locations that match the specified URL(s) are excluded
-
Filter locations by Regular Expressions: locations (URLs) that match the specified regular expressions are included.
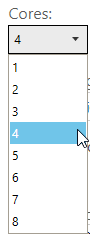
5. Select the number of cores to use to process documents in parallel. For instance, if 4 cores is specified, Tagging will process 4 documents simultaneously.
NOTE: The maximum number of cores you can select is limited by your license and the number of processors in the computer where Tagging is installed. To see the amount of cores your license allows, go to Settings > License tab and check the value for Max Cores.
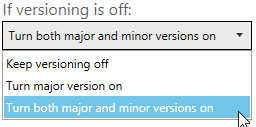
6 Choose whether to turn on versioning if it is turned off on any of the locations.
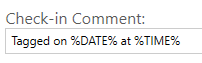
7 You can choose to add a check-in comment to the documents after they are tagged. You can specify the templates %DATE% and %TIME%, which will be replaced by the date and time the document was tagged.
8 Optionally, you can also add a custom comment to a custom SharePoint column. The custom SharePoint column must be either of ‘Text’ or ‘Date’ type.
