Redacting PDFs in our Flutter viewer
This guide covers how to redact a document via the built-in user interface (UI).
Creating redactions via the user interface
You can create and customize redactions via the UI Nutrient provides.
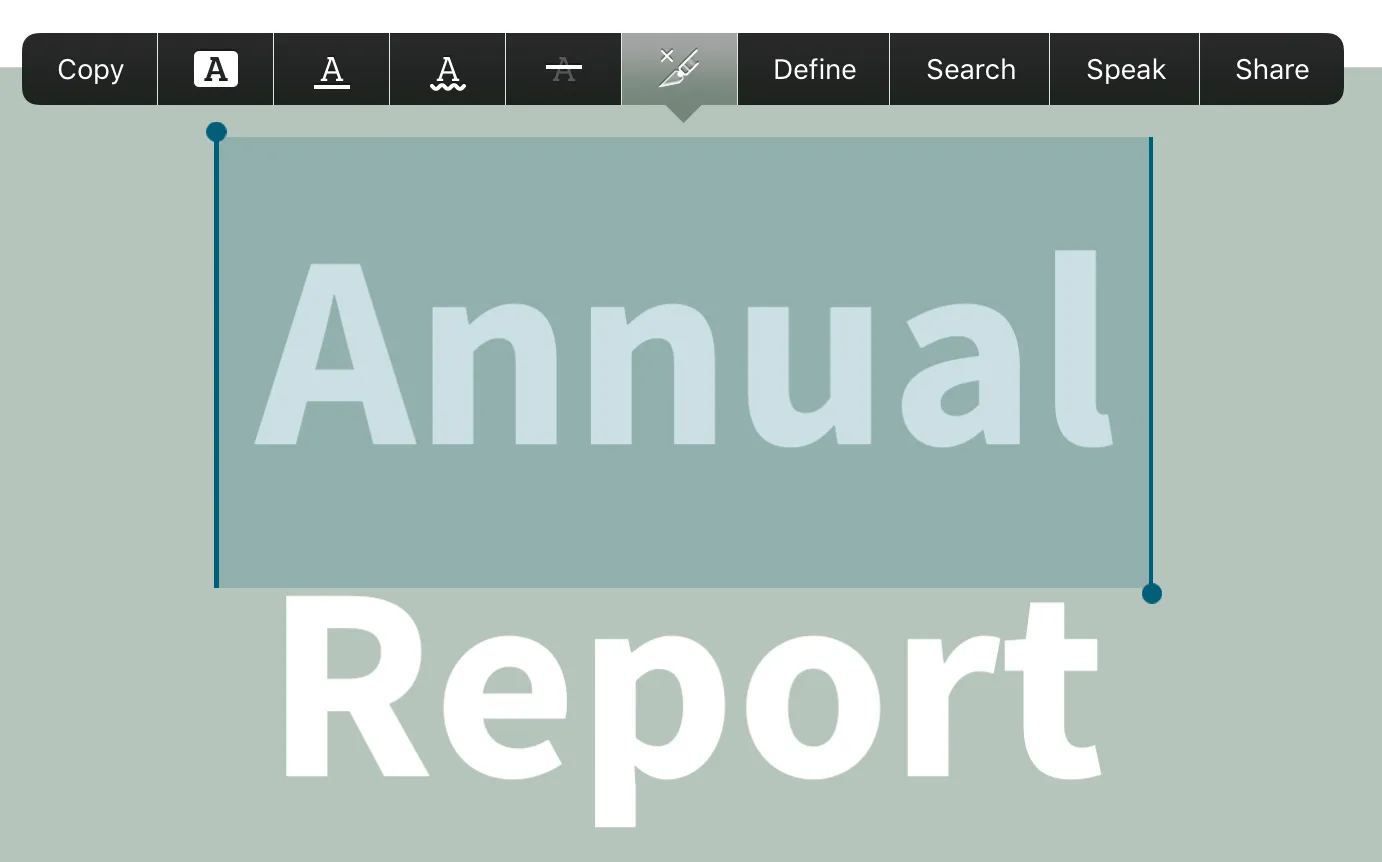
Adding a redaction to a document can be done by selecting the redaction tool on the annotation toolbar. This will enable the redaction mode and allow you to select the redaction area by either tapping on a word, dragging over some text, or dragging to create a rectangle over an arbitrary area. Depending on where the drag gesture started, either text selection or free-form selection is used until the gesture is complete. A redaction annotation will be created once you lift your finger.
Another way of creating a text redaction is by first selecting text and then tapping the redaction item on the menu. Note that when using the standard configuration, the redaction tool in the text selection menu is, by default, only shown in regular, horizontal-size class environments.

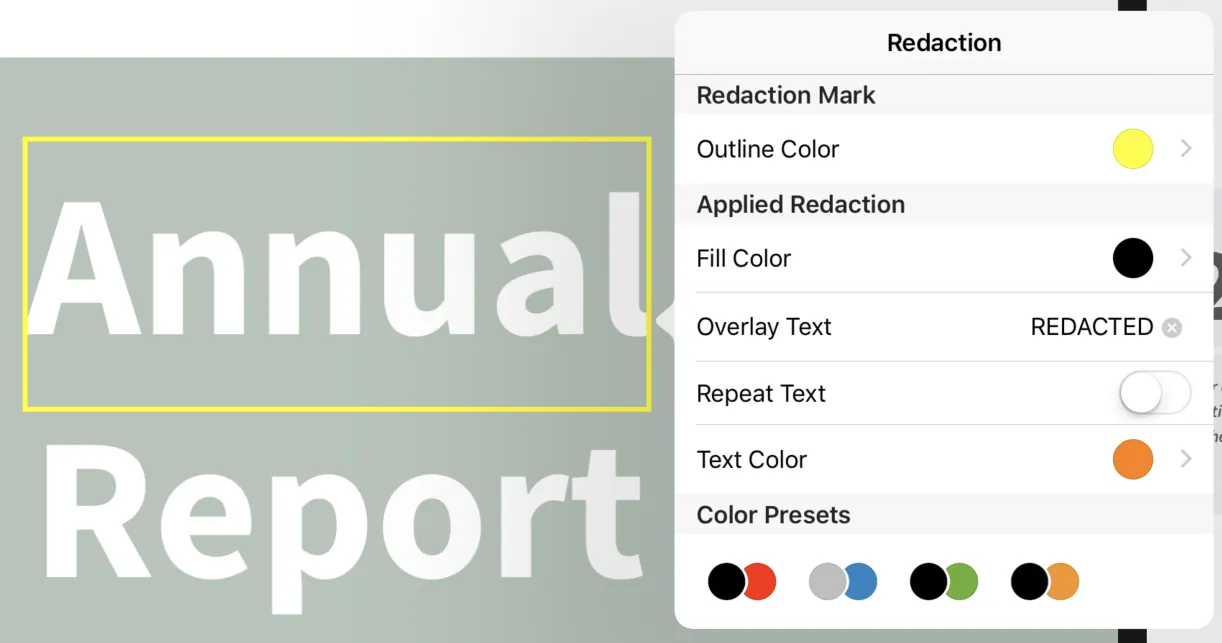
Once a redaction is added to the document, its properties and appearance can be customized via the annotation inspector.
Applying redactions via the user interface
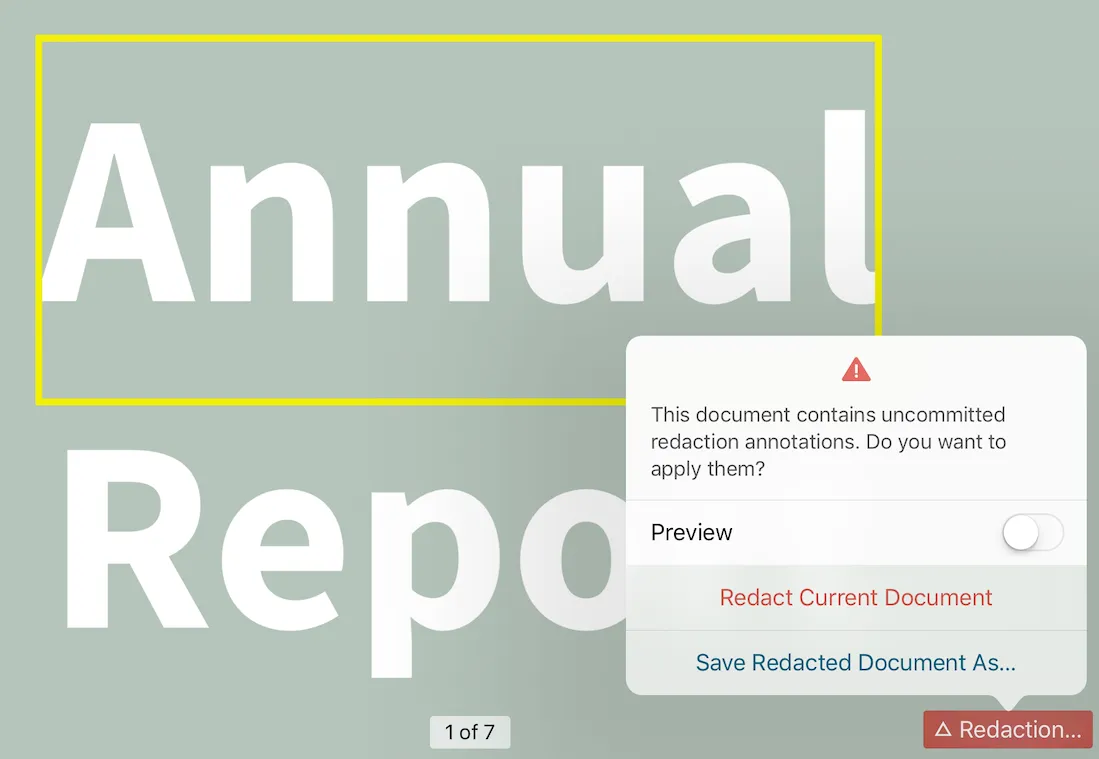
Once there are redactions in the document, a floating redaction information button is shown in the UI view. Tapping this button reveals a UI for applying redactions in the document. Tapping the Redact Current Document button will overwrite the current document and remove the content in the area of the redaction annotations irreversibly. In the process of redacting the content, all redaction annotations are removed from the document. Additionally, any cached page images and indexed full-text search content will be removed so that none of the redacted content is referenced in any stale cache. The Redact Current Document button will only be visible if the current document is writable and not stored at a read-only location.
If you want to keep the current document as is and only redact content in a new document, you can choose the Save Redacted Document As… option, which will allow you to pick a location where the new redacted document should be stored.

Note that there may be cases where this floating button isn’t always shown when opening a document with existing redactions, since this would require parsing the entire document upfront. It’s best to avoid this, since it can have some serious performance implications, especially with larger documents. You can manually trigger parsing the entire document by tapping the redaction tool in the annotation toolbar.
Previewing redactions via the user interface
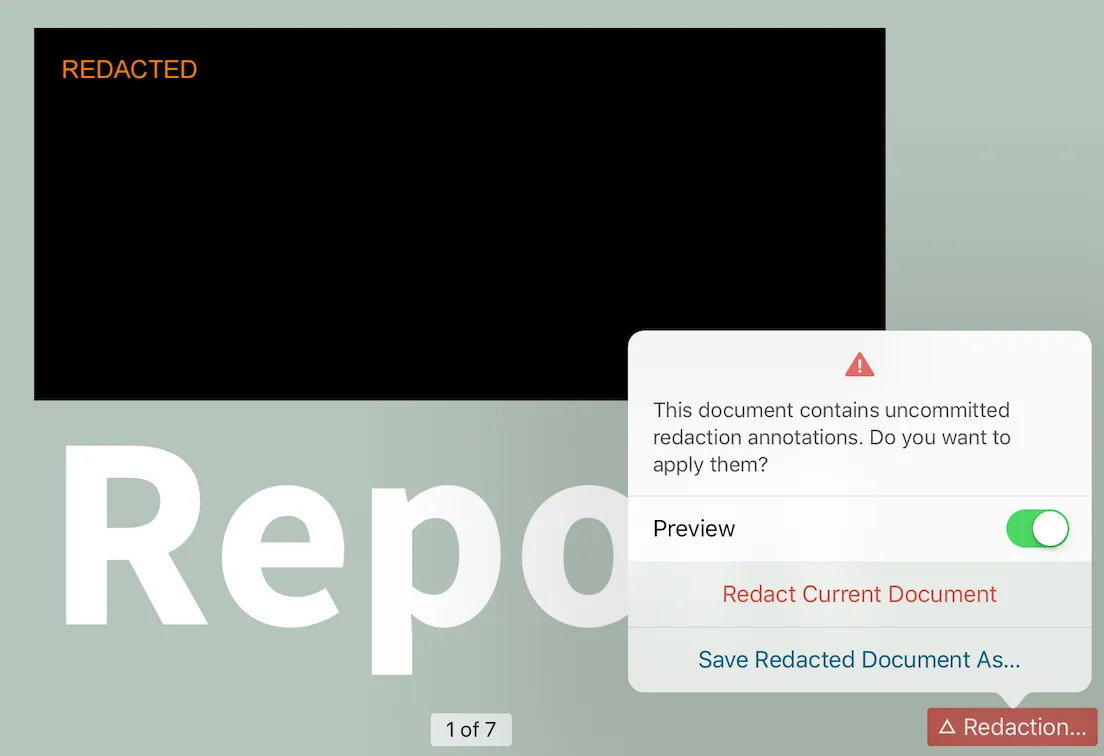
Redactions can be previewed by tapping on the floating redaction information button. When flipping the Preview switch, all redaction annotations in a document will be rendered in their redacted state appearance (as opposed to the marked state that’s otherwise always shown by default). This can be done without having any content removed from the document; it’s just for previewing purposes, and the actual removal of the document content will only happen when using one of the redaction buttons.

