Customize your Nutrient Workflow logo with ease
Initially, your Nutrient Workflow instance is branded with the Nutrient Workflow logo. However, you can customize your instance of Nutrient Workflow with your own custom logo that will display for all users.
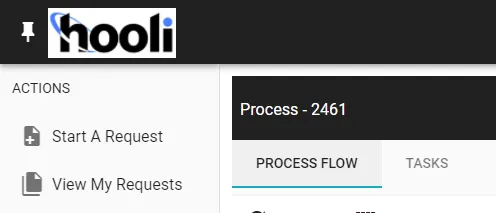
Your custom logo will be used for above the left navigation:

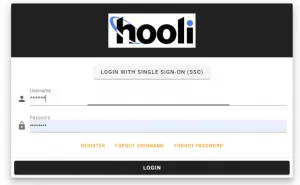
as well as the login screen:

The left navigation logo will display at 150 pixels wide by 50 pixels high. You can use larger or smaller files from a pixel perspective, but you must keep the pixel ratios the same. For instance, you could use an image that is 300 pixels wide by 100 pixels high.
Adding a logo
Hover over the Settings gear icon in the upper right of the top navigation.
Select "System Settings" from the menu.
Scroll down to the "Logo" setting, which will initially show the Nutrient Workflow logo. Click on the pencil icon on the right.
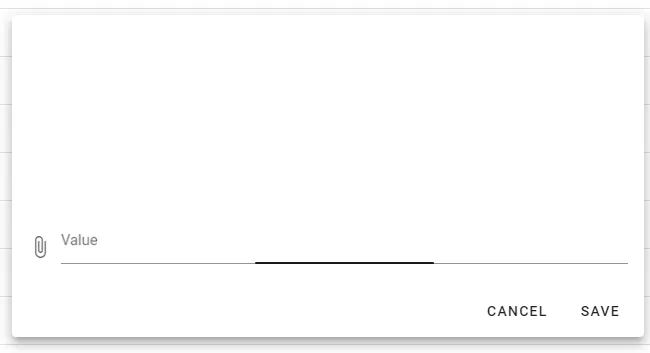
You will now see an image upload box.

Click on the paperclip icon to attach an image. The image will be displayed in an are with a ratio of 3:1. The main application's logo area is 150 pixels by 50 pixels and the logo area for the logon screen is 600 pixels by 200 (as noted above this means you could also use an image that is 300 pixels by 100 pixels, 450 pixels by 150 pixels, etc.).
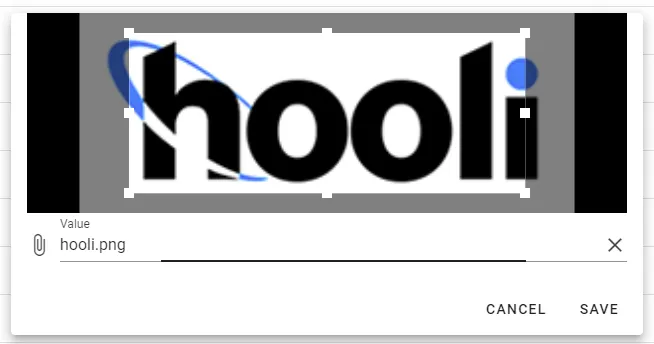
Once you attach the image, you can crop it as needed by dragging the square handles that appear over the image.

When you have cropped the image to your liking, you can click the Save button to apply it. This will display the logo for everyone using Nutrient Workflow at their next login.
