Streamline decision-making with approval tasks
The Approval task is used to provide users with approval options such as approve, deny, re-work, etc. It provides a structured way to streamline approvals and ensure efficient decision-making.
Video demo
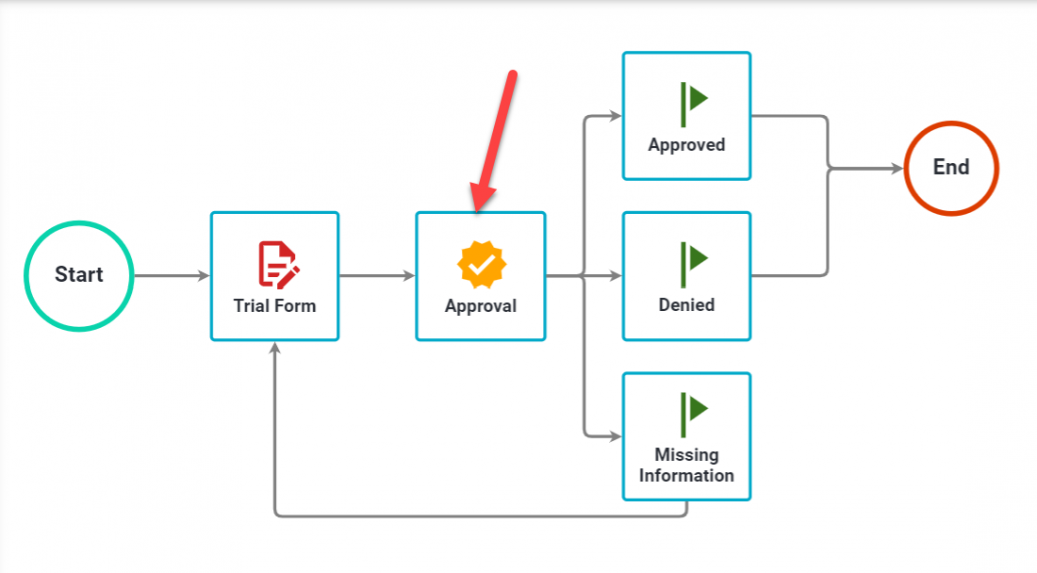
Configuring the approval task
The task can be used by one-to-many users, provides an excellent way for group collaboration in decision making, and a logical decision point within your process.
When an approval task is assigned, end users will see approval options configured by the Process Administrator.

The option selected by a user in an Approval task will always be displayed in the Request Detail for a request but it won’t necessarily update the status of the request itself (see Milestone task configuration).
Basic configuration
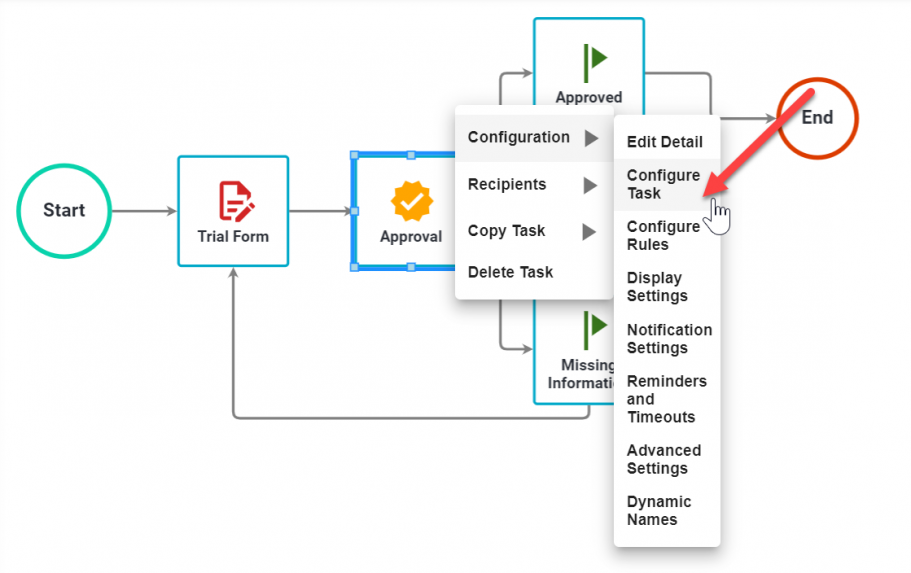
After adding an Approval task to your process, hover over the task and select the Configure Task option.
Approval options
On the page that appears, select Add Option to add a new option.
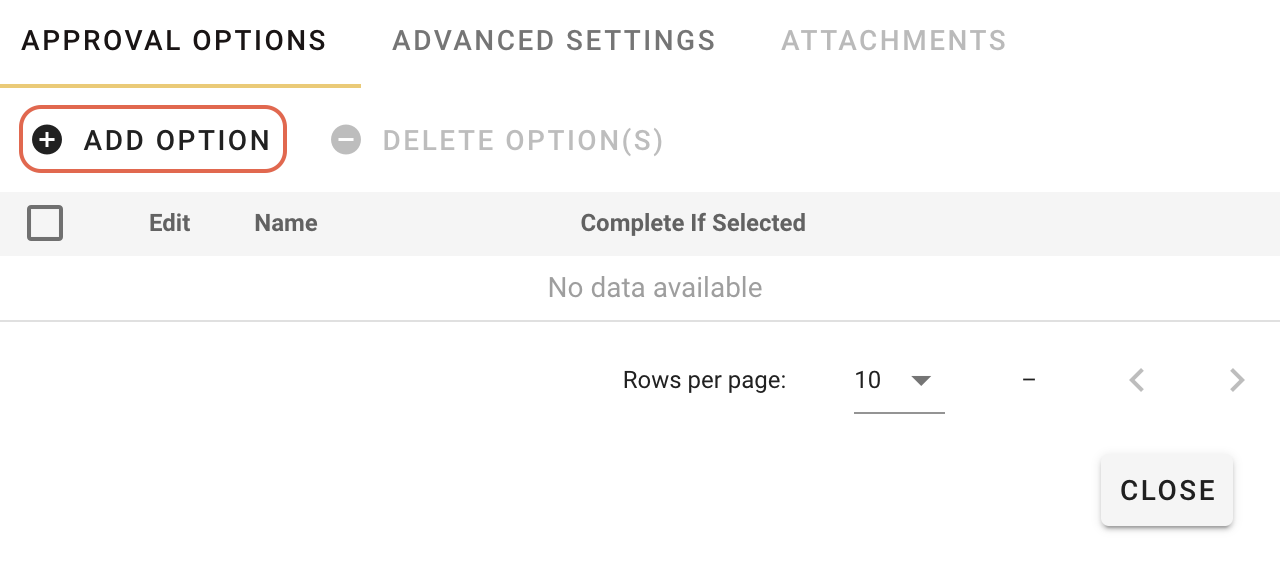
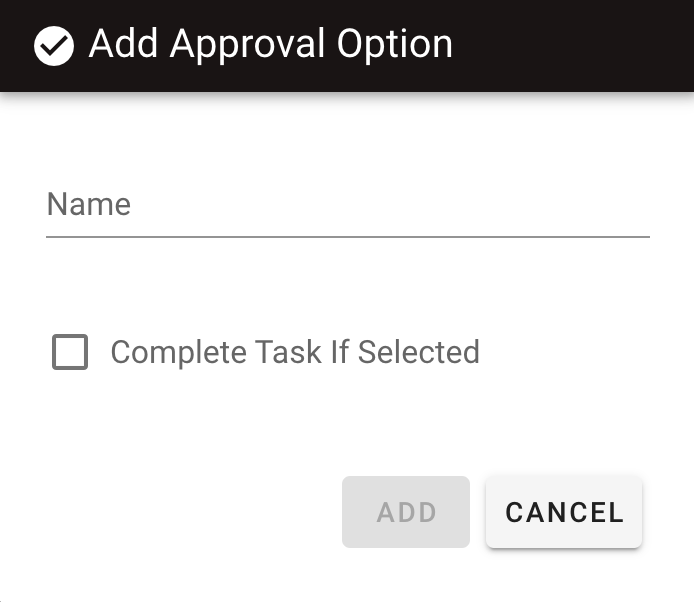
On the pop-up that appears, enter the option name and click Add.
The Complete Task If Selected option for an Approval task option is used only in cases when multiple recipients are required to complete the task (see Task recipient configuration and process rules). In most approval scenarios, if multiple recipients are assigned to an approval, it will require that all people assigned to the task select an “approve” option for the task to complete but it will only require one person to select “denied” for the approval to be complete.
By marking an approval task option with a “Yes” in the Complete Task If Selected option, it is informing the workflow engine that if one person selects that option (even if the task is assigned to ten recipients) the task will end immediately.
Advanced settings
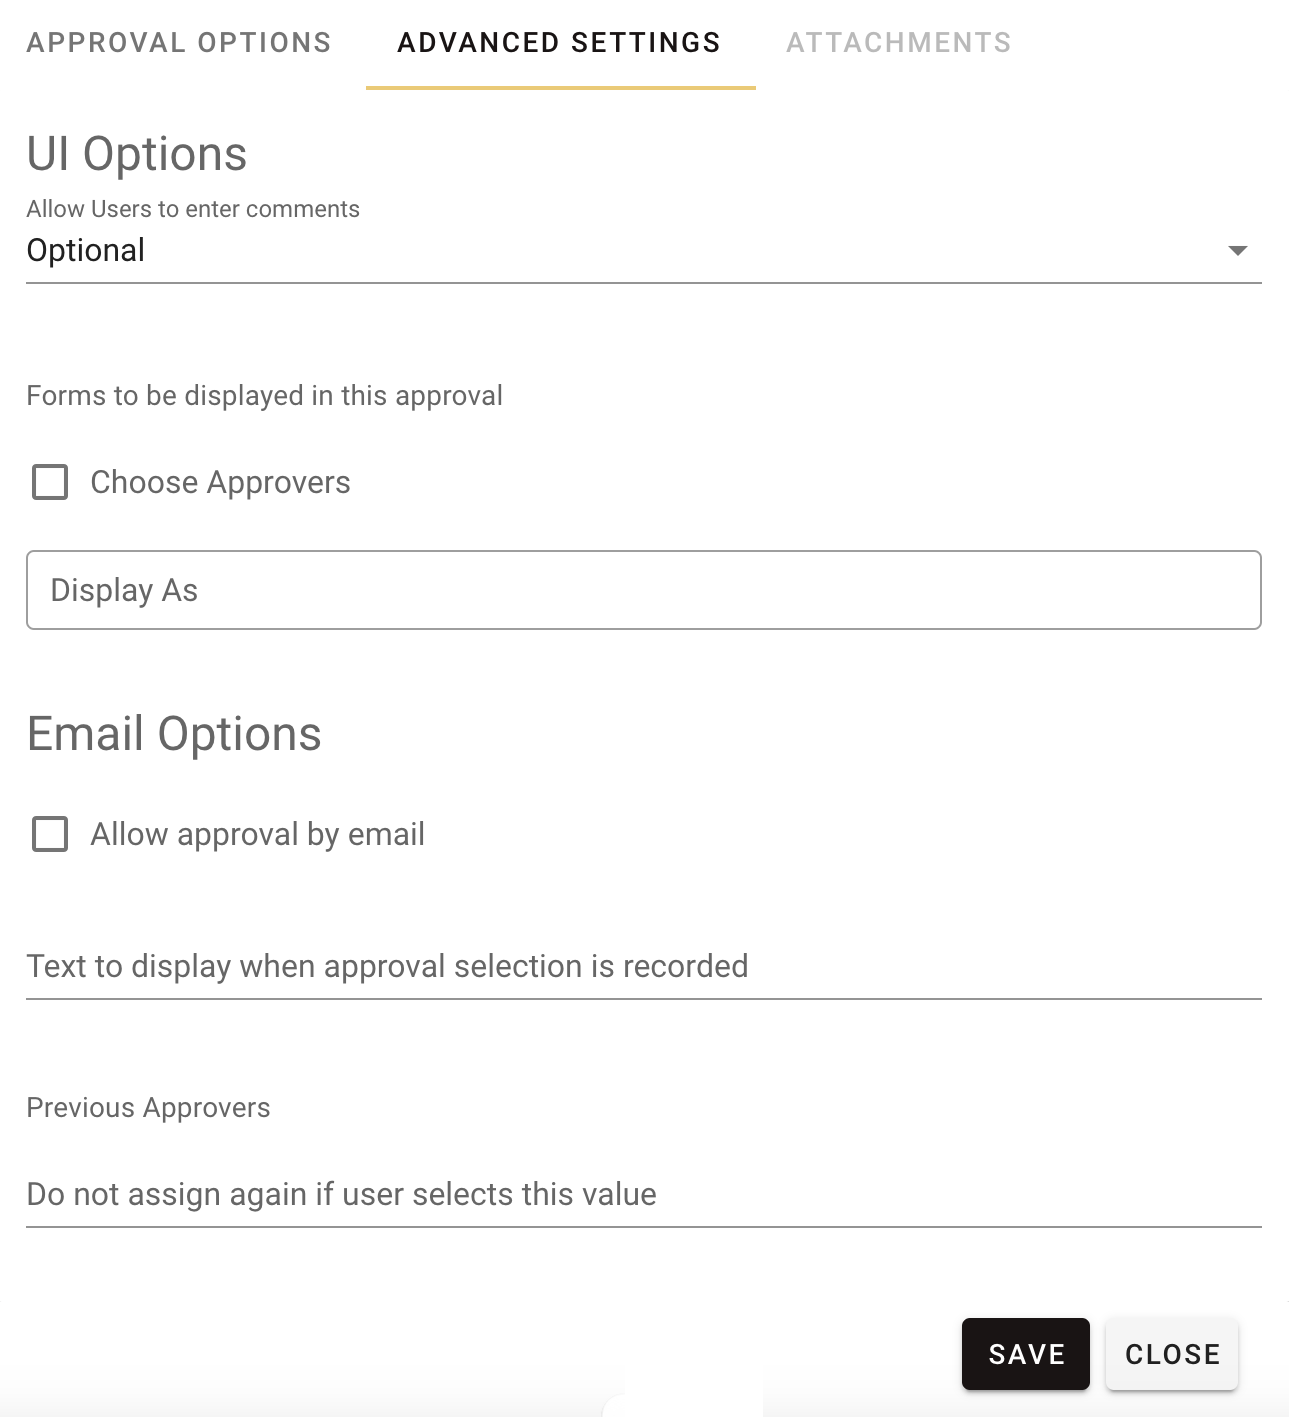
Click the Advanced settings tab to configure advanced options such as:
-
UI options
-
Choose to allow users to enter comments
-
Choose approvers
-
-
Email options
-
Choose to allow approval by email
-
Choose previous approvers
-
Click Save to proceed.
Attachments
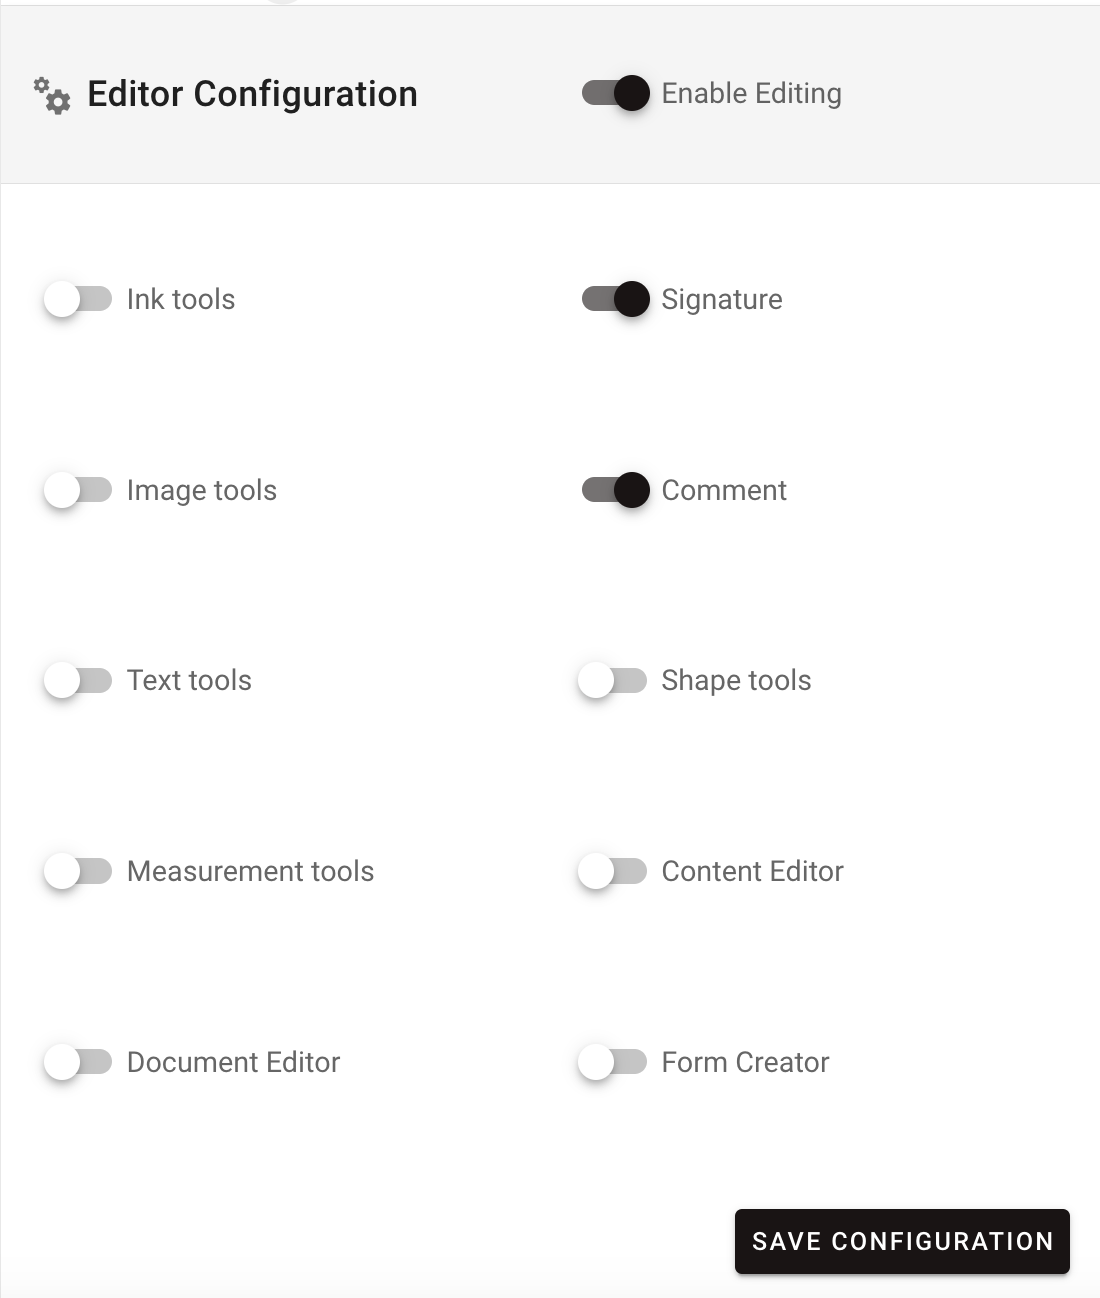
Click the Attachments tab to add or remove file attachments from other tasks, or configure editing tools.
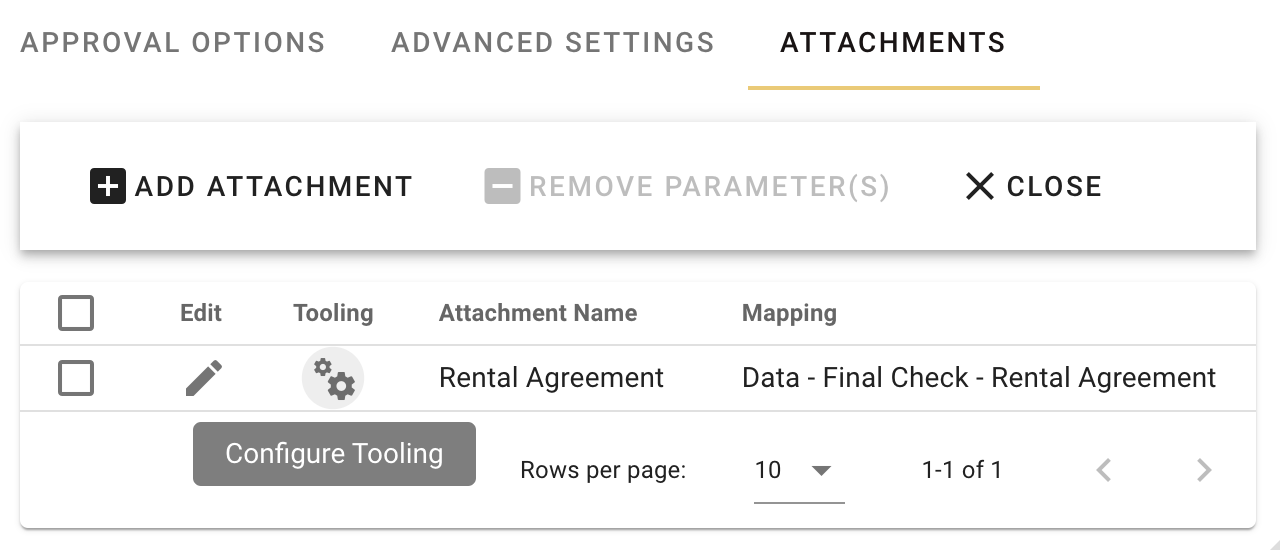
For an attachment, click the Configure Tooling ![]() icon to enable editing and select from the following options the tools that you want to allow to be displayed when editing file attachments:
icon to enable editing and select from the following options the tools that you want to allow to be displayed when editing file attachments:
-
Ink tools
-
Image tools
-
Text tools
-
Measurement tools
-
Document Editor
-
Signature
-
Comment
-
Shape tools
-
Content Editor
-
Form Creator
Turn the toggle on for the tool(s) that you want to include and click Save Configuration in the lower-right corner to proceed.
To use these editing tools, the Document Editor component must be enabled in your license. Contact our Sales team for more information.
To learn more about all the editing tools available in the Document Editor, refer to our Web SDK documentation.