Manage user groups in Integrify for automation
By adding groups of users to Integrify, they may be used as recipients of tasks, granted permissions to administrative roles, given access to view reports and also assigned to Dashboards.
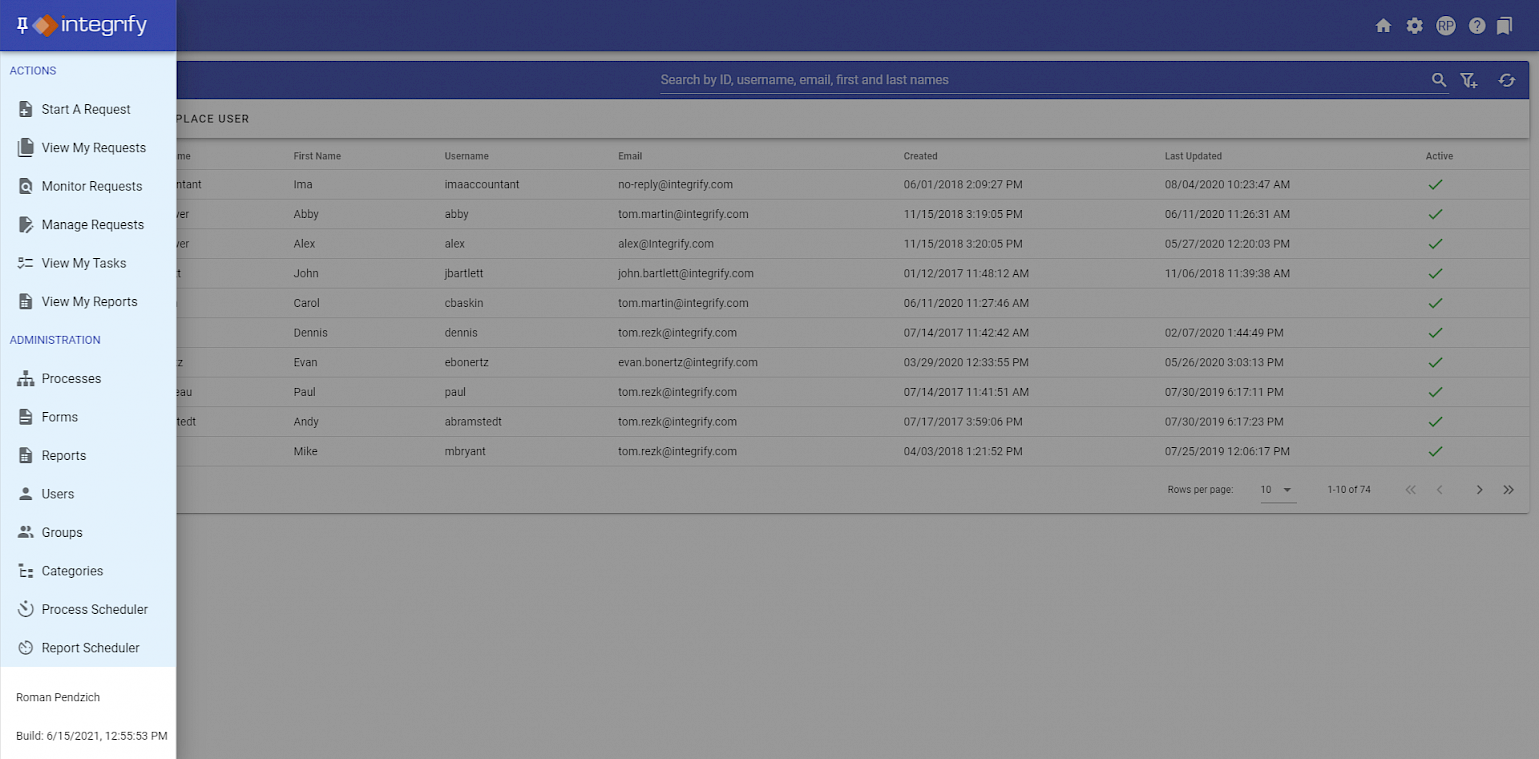
To add a new Group , select Administration > Groups from the Administration left navigation menu:

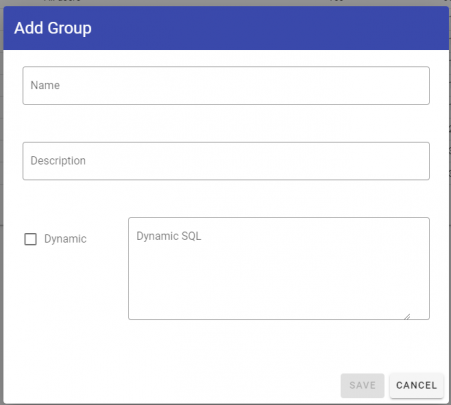
Then click “Add Group”:

Give the group a Group Name , optionally add a Description , or select this group to beDynamic :

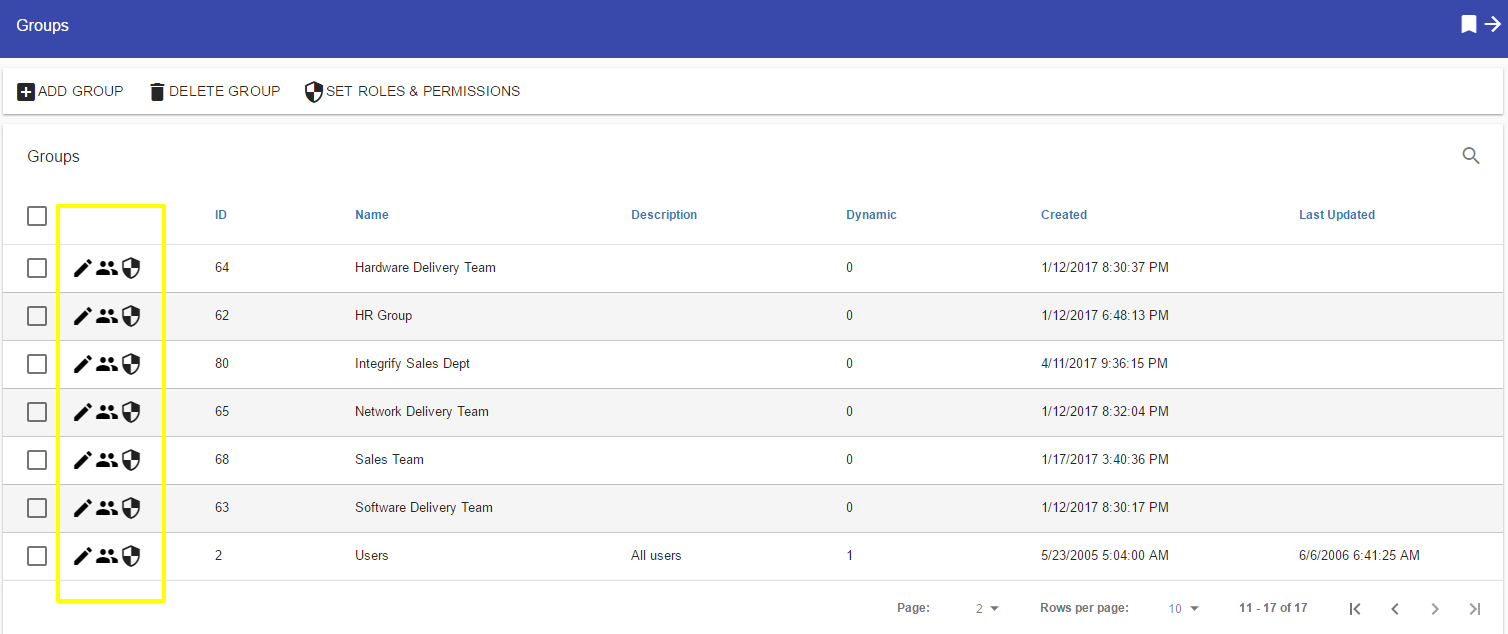
Once you have added your group, you can immediately add members to your new group or come back and click the “Manage Members” icon to add or remove members of a group:

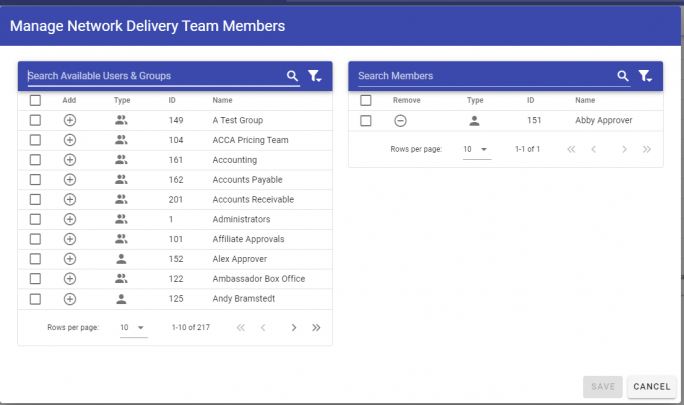
In the example below, we have a created a standard (non-dynamic group) and we have added a member to this group based on individual users already created in Integrify.
It is possible to add both individual users or groups as a members of a group.
Just like adding recipients to a task, simply select the ’+ ’ icon next to the members you want to add:

A secondary option when adding groups is to make it dynamic. In the following example, the Dynamic option was set to “yes” and the Dynamic SQL box is enabled:

This particular group will retrieve all users with a title that equals Reviewer whenever the group is referenced. What is constructed in the Dynamic SQL text box is the essentially the WHERE criteria of a SQL statement that is executed the group is referenced.
The Dynamic option allows you to filter on almost any contact profile attribute for a user(s) within Integrify.
Note: If using multiple attributes in your Dynamic SQL, enclose the SQL statement in parentheses ( ).
The list below is the list of names of fields in the Integrify contact table, which you can use to help construct dynamic groups.
-
CONTACT_ID
-
NT_ID
-
FIRST_NAME
-
MIDDLE_NAME
-
LAST_NAME
-
EMAIL
-
PHONE
-
TITLE
-
DEPARTMENT
-
COST_CENTER
-
DIVISION
-
REPORTS_TO_GUID
-
C_FIELD_1
-
C_FIELD_2
-
LOCATION
-
ADDRESS1
-
ADDRESS2
-
CITY
-
STATE
-
ZIP
-
COUNTRY