


How to build a JavaScript image viewer with Viewer.js
Table of contents

In a world that’s increasingly becoming digital, the ability to display images is fundamental to any web application. So too is learning to build and integrate an image viewer.
This post provides you with a step-by-step guide outlining how to build a JavaScript image viewer with the Viewer.js(opens in a new tab) library.
The first part will walk through how to render and customize an image viewer in the browser with Viewer.js. The second part will look at how to build a fully featured image viewer with the Nutrient image viewer library. Our image viewer library provides some additional benefits, including:
- A prebuilt and polished UI for an improved user experience
- 15+ prebuilt annotation tools to enable document collaboration
- Browser-based text editing, page cropping, merging, rotating, and more
- Support for more file types with client-side PDF, MS Office, and image viewing
- Dedicated support from engineers to speed up integration
Viewer.js a JavaScript image viewer library that lets you render and view image documents in a web browser. It gives you the ability to zoom in and out, rotate, and flip images. It also supports keyboard shortcuts for navigating through images.
Installing Viewer.js
You can install Viewer.js as an npm package(opens in a new tab) or via a CDN from cdnjs(opens in a new tab).
A CDN is a content delivery network or a server that hosts libraries, like Bootstrap.
In this tutorial, you’ll use the CDN method. Copy the JavaScript and CSS files from the CDN(opens in a new tab).
Create a blank index.html file and paste the following:
<!DOCTYPE html><html lang="en">  <head>    <meta charset="UTF-8" />    <meta http-equiv="X-UA-Compatible" content="IE=edge" />    <meta name="viewport" content="width=device-width, initial-scale=1.0" />    <title>Viewer.js</title>
    <script      src="https://cdnjs.cloudflare.com/ajax/libs/viewerjs/1.10.5/viewer.min.js"      integrity="sha512-i5q29evO2Z4FHGCO+d5VLrwgre/l+vaud5qsVqQbPXvHmD9obORDrPIGFpP2+ep+HY+z41kAmVFRHqQAjSROmA=="      crossorigin="anonymous"      referrerpolicy="no-referrer"    ></script>    <link      rel="stylesheet"      href="https://cdnjs.cloudflare.com/ajax/libs/viewerjs/1.10.5/viewer.css"      integrity="sha512-c7kgo7PyRiLnl7mPdTDaH0dUhJMpij4aXRMOHmXaFCu96jInpKc8sZ2U6lby3+mOpLSSlAndRtH6dIonO9qVEQ=="      crossorigin="anonymous"      referrerpolicy="no-referrer"    />  </head></html>
Creating the markup
Now, create a container div for an image gallery and create a list for the images:
<body> <div id="gallery"> <ul class="images"> <li> <img src="image-1.png" alt="blue background" /> </li> <li> <img src="image-2.png" alt="gray background" /> </li> <li> <img src="image-3.png" alt="black background" /> </li> <li> <img src="image-4.png" alt="green background" /> </li> <li> <img src="image-5.png" alt="red background" /> </li> <li> <img src="image-6.jpeg" alt="pink background" /> </li> </ul> </div> <script src="script.js"></script></body>You can now interact with the viewer library. Create a script.js file and add the following code:
const gallery = document.getElementById("gallery");const viewer = new Viewer(gallery);Here, you accessed the gallery container and created a new instance of the Viewer class, which enables you to start interacting with the viewer library.
Launching the website locally
Use the Visual Studio Code Live Server extension(opens in a new tab) to serve your website. Right-click the HTML file and choose the Open with Live Server option from the context menu.

Serving the website locally
Another option is to use the serve(opens in a new tab) package as a simple HTTP server. If you want to use that option, follow the steps below.
Install the
servepackage:Terminal window npm install --global serveServe the contents of the current directory:
Terminal window serve -l 8080 .Navigate to http://localhost:8080 to view the website.
Customizing the toolbar
You can customize the toolbar by passing options to your viewer instance. You can view all the toolbar options in the Viewer.js documentation(opens in a new tab):
const viewer = new Viewer(gallery, { options });For the custom toolbar, use the following options:
const gallery = document.getElementById("gallery");const viewer = new Viewer(gallery, {  // Custom toolbar.  toolbar: {    oneToOne: true,
    prev() {      viewer.prev(true);    },
    play: true,
    next() {      viewer.next(true);    },
    download() {      const a = document.createElement("a");
a.href = viewer.image.src; a.download = viewer.image.alt; document.body.appendChild(a); a.click(); document.body.removeChild(a); }, },});- Setting
oneToOnetotrueshows the aspect ratio of the image. - The
prevandnextfunctions show the previous and next image. - The
playfunction shows the image in fullscreen mode. - The
downloadoption helps you download the image.
Nutrient JavaScript image viewer
We offer a commercial JavaScript image viewer library that can easily be integrated into your web application. Our JavaScript viewer supports rendering JPEG, PNG, TIFF, and PDF files in any modern browser and on any mobile device without any plugins.
Example of our JavaScript image viewer
To see our image viewer in action, upload a JPG, PNG, or TIFF file by selecting Choose Example > Standalone > Open Document. Once your image is displayed in the viewer, you can try drawing freehand, adding a note, or applying a crop or an eSignature.
Requirements to get started
- The latest stable version of Node.js(opens in a new tab).
- A package manager compatible with npm(opens in a new tab). This guide contains usage examples for Yarn(opens in a new tab) and the npm client(opens in a new tab) (installed with Node.js by default).
Adding Nutrient to your project
Install the
@nutrient-sdk/viewerpackage fromnpm. If you prefer, you can also download the Nutrient Web SDK manually:To make the Nutrient Web SDK work, copy the required library artifacts to your
assetsdirectory:Terminal window cp -R ./node_modules/@nutrient-sdk/viewer/dist/ ./assets/
Make sure your assets folder includes:
nutrient-viewer.js- A
nutrient-viewer-lib/directory containing the runtime dependencies
Integrating into your project
Add the image you want to display to your project directory. You can use our demo image as an example.
Add a
<div>where the Nutrient viewer will be mounted:<div id="nutrient" style="height: 100vh;"></div>Include
nutrient-viewer.jsin your HTML:import "./assets/nutrient-viewer.js";Initialize the Nutrient viewer by calling
NutrientViewer.load():<script type="module">import "./assets/nutrient-viewer.js";const baseUrl = `${window.location.protocol}//${window.location.host}/assets/`;NutrientViewer.load({container: "#nutrient",document: "image.png", // Path to your image.baseUrl,}).then((instance) => {console.log("Nutrient Viewer loaded", instance);}).catch((error) => {console.error(error.message);});</script>
Example index.html file
<!DOCTYPE html><html>  <head>    <title>Nutrient Image Viewer</title>    <meta name="viewport" content="width=device-width, initial-scale=1.0" />  </head>  <body>    <div id="nutrient" style="height: 100vh;"></div>
    <script type="module">      import "./assets/nutrient-viewer.js";
      const baseUrl = `${window.location.protocol}//${window.location.host}/assets/`;
      NutrientViewer.load({        container: "#nutrient",        document: "image.png",        baseUrl,      })        .then((instance) => {          console.log("Nutrient Viewer loaded", instance);        })        .catch((error) => {          console.error(error.message);        });    </script>  </body></html>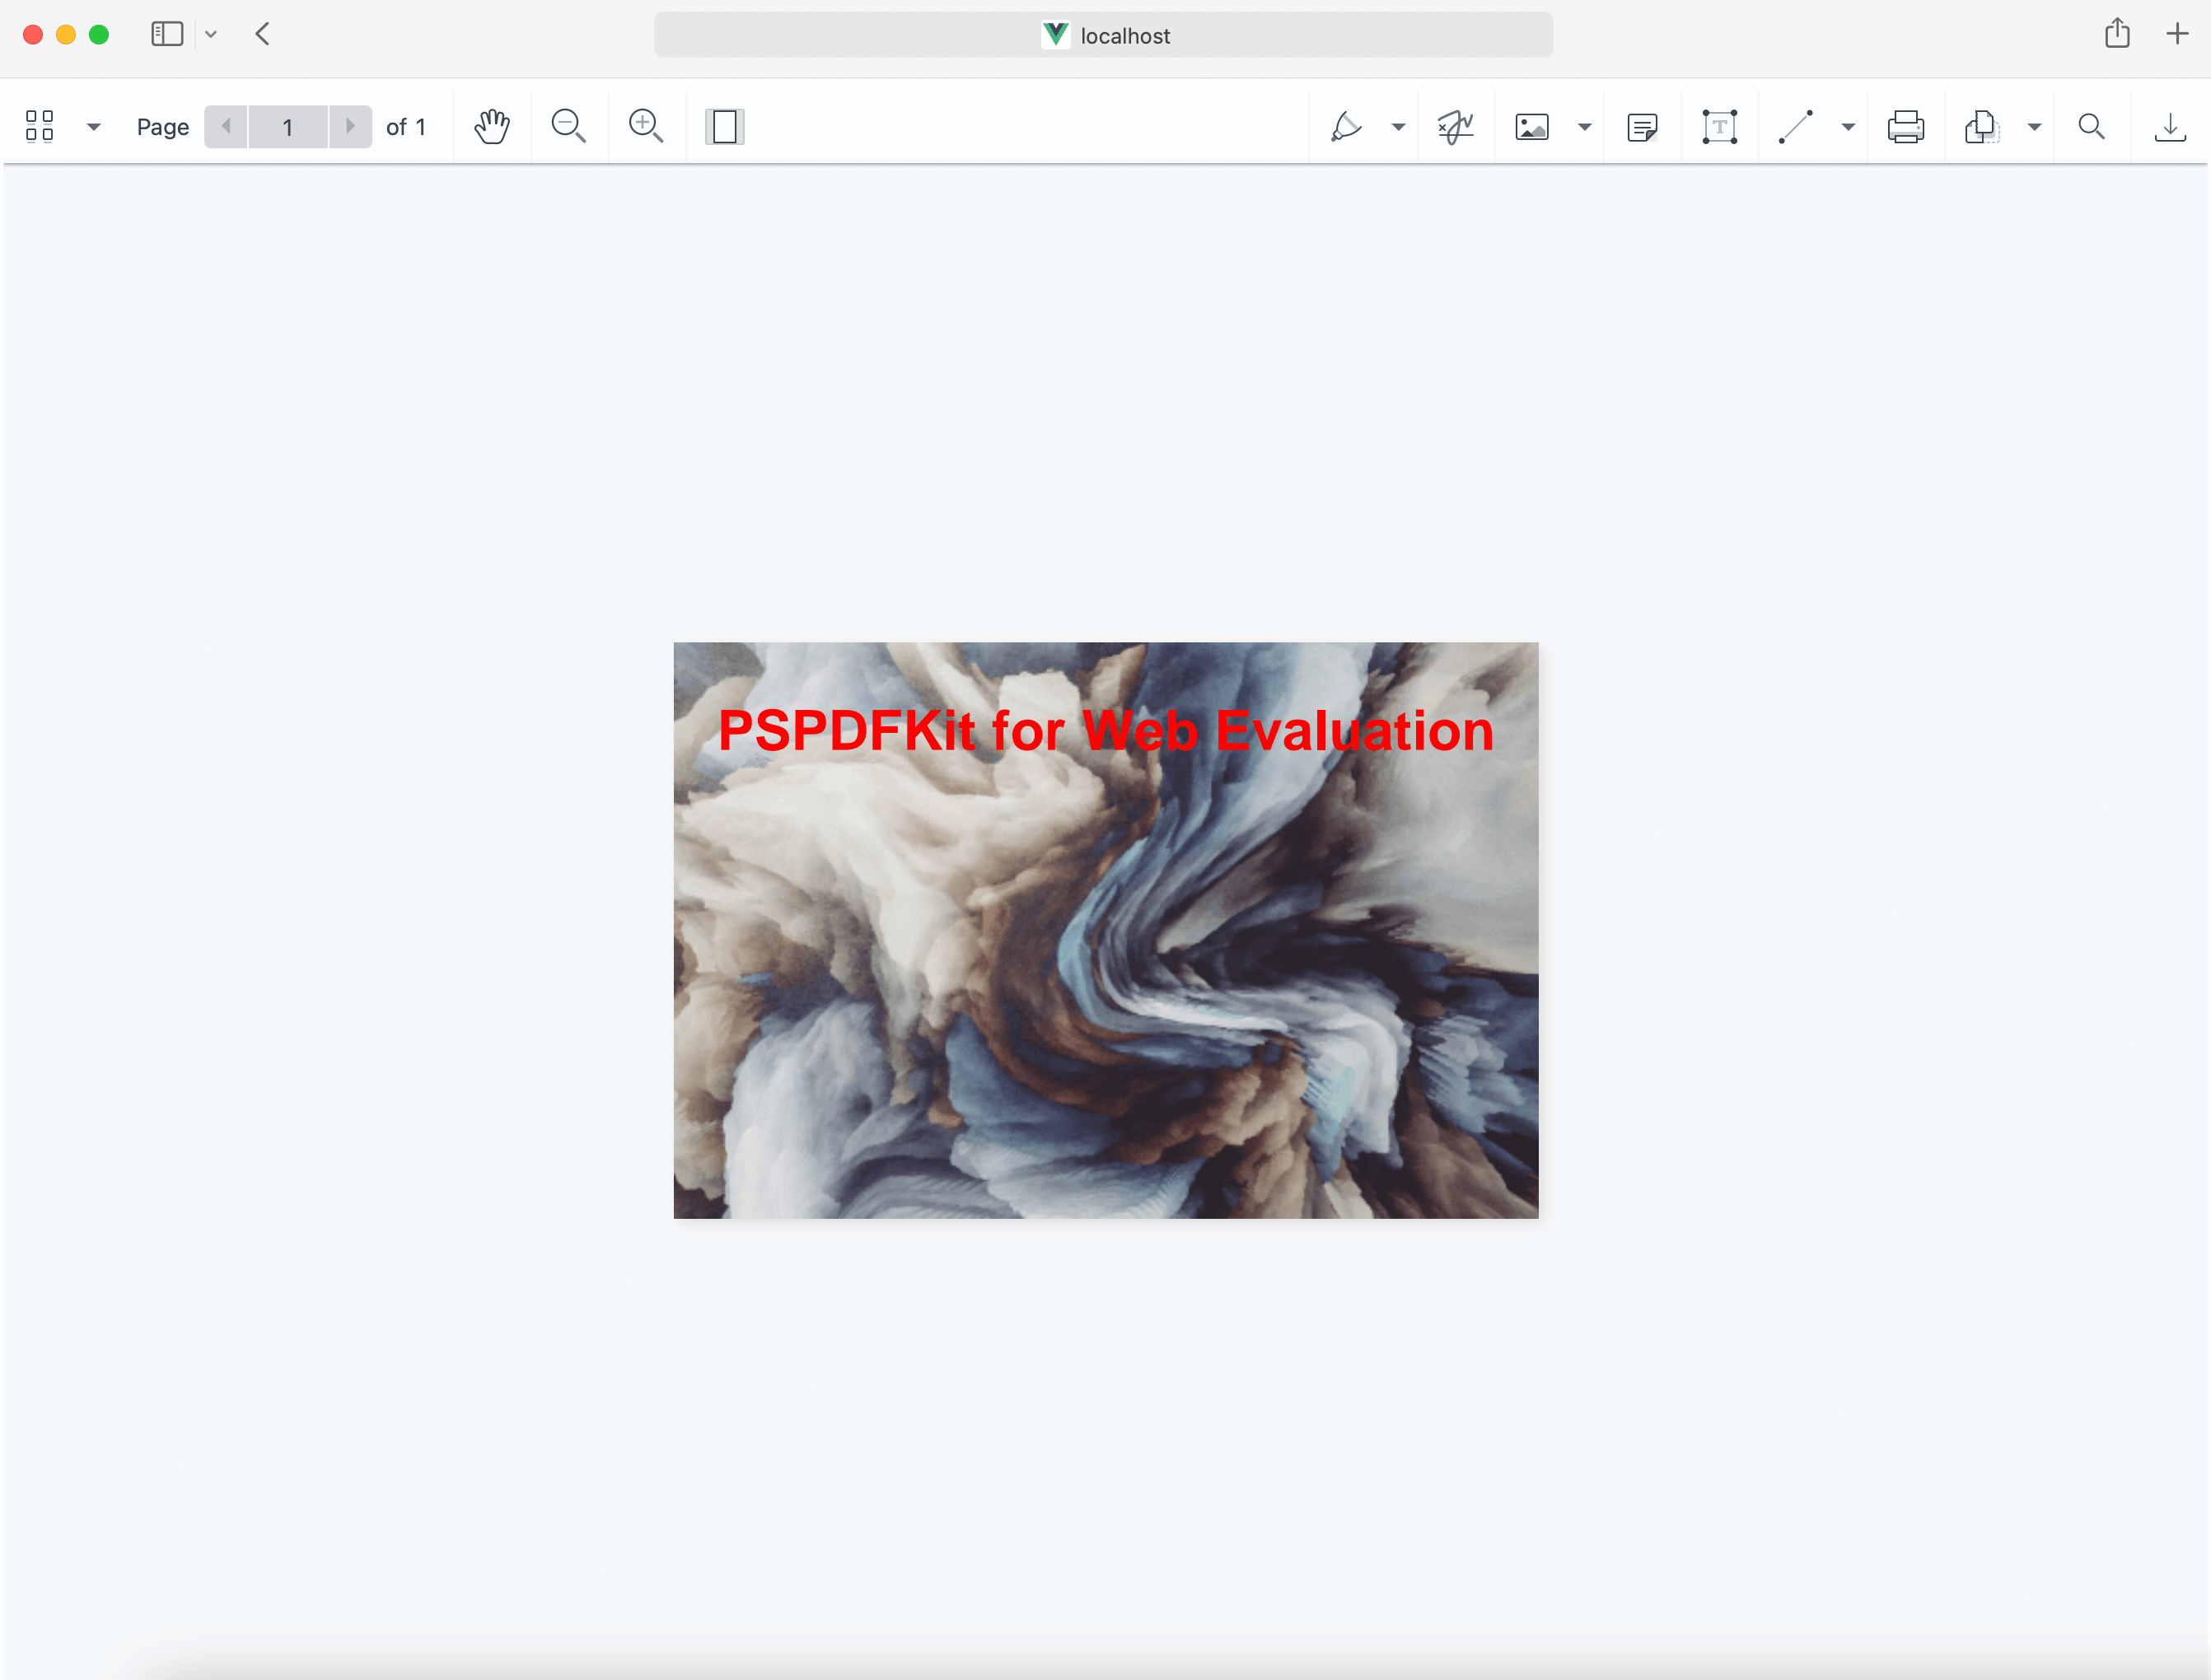
Adding even more capabilities
Once you’ve deployed your viewer, you can start customizing it to meet your specific requirements or easily add more capabilities. To help you get started, here are some of our most popular JavaScript guides:
- Adding annotations
- Editing documents
- Filling PDF forms
- Adding signatures to documents
- Real-time collaboration
- Redaction
- UI customization
Conclusion
In this article, you first learned how to build an image viewer with the Viewer.js library. In the second part, you walked through how to create an image viewer with Nutrient Web SDK. If you hit any snags, don’t hesitate to reach out to our Support team for help.
At Nutrient, we offer a commercial, feature-rich, and completely customizable JavaScript image viewer library that’s easy to integrate and comes with well-documented APIs to handle advanced use cases. Try it for free, or visit our demo to see it in action.
FAQ
Viewer.js is a JavaScript library for displaying and interacting with images in a web browser, offering features like zooming, rotating, and navigating images.
You can install Viewer.js using npm, or include it via a CDN.
Install Viewer.js, set up your HTML structure, and initialize the viewer instance using JavaScript.
Yes. You can customize the toolbar by passing options to the viewer instance when initializing it.
Nutrient provides a comprehensive solution with additional features like a polished UI, annotation tools, and support for various file types.
Install Nutrient via npm, copy the necessary files, and initialize it using PSPDFKit.load() in your JavaScript.


