How to build a Salesforce PDF viewer with Nutrient
Table of contents

This step-by-step tutorial demonstrates how to build a Salesforce PDF viewer by integrating Nutrient Web SDK into your Salesforce organization. It covers deployment using Salesforce CLI, setting up permissions, configuring security settings, and enabling users to view PDF, JPG, PNG, and TIFF files within a custom Nutrient tab.
In this post, you’ll learn how to build a Salesforce PDF viewer by integrating Nutrient Web SDK into your Salesforce(opens in a new tab) organization. By the end of this post, you’ll be able to open PDF, JPG, PNG, and TIFF files in a custom Nutrient tab inside Salesforce.
Nutrient Salesforce SDK integration
The Nutrient Salesforce SDK integration uses Nutrient Web SDK as a static resource(opens in a new tab). When the integration is deployed to a Salesforce organization, the static resources are automatically created. The static resources are then used to load the Nutrient Web SDK library in the Salesforce organization.
Nutrient Salesforce SDK shares the same APIs as Nutrient Web SDK, so use the web documentation when customizing your Salesforce application.
Getting started
To get started, you’ll need to:
- Set up a Salesforce Developer Edition account(opens in a new tab).
- Install the Salesforce CLI(opens in a new tab).
- Install the latest stable version of Node.js(opens in a new tab).
- Install a package manager compatible with npm(opens in a new tab). This post contains usage examples for the npm client(opens in a new tab). The npm client is installed with Node.js by default.
Deploying the package
To deploy the Nutrient package to your Salesforce organization, follow these steps.
- Download the Nutrient Salesforce SDK project(opens in a new tab) from GitHub and then unpack the ZIP file.
Alternatively, run the following terminal command to clone the Nutrient Salesforce SDK repository(opens in a new tab) from GitHub:
git clone https://github.com/PSPDFKit/salesforce.git- Navigate to the
salesforcedirectory and run the following commands to install the dependencies and log in to your Salesforce organization:
npm install
sfdx force:auth:web:login --setalias vscodeOrg --instanceurl https://login.salesforce.com --setdefaultusername- In the browser window that opens, log in to your Salesforce organization and authorize the Salesforce CLI.
- In the terminal, run the following command from the root folder:
sfdx force:source:deploy -x manifest/package.xmlEnabling users to use Nutrient
To enable users of your Salesforce organization to use Nutrient, follow these steps:
- In Salesforce, go to Users > Permission Sets.
- Find PSPDFKit Admin Access in the list and click it.

- Click Manage Assignments.
- Click Add Assignment.
- Select the users you want to authorize to use Nutrient.
- Click Next, and then click Assign.
Changing the security settings
Nutrient Salesforce SDK requires Lightning Locker to protect Lightning web components, but Salesforce uses Lightning Web Security by default. To change the default security settings, follow these steps:
- In Salesforce, go to Security > Session Settings.
- Deselect Use Lightning Web Security for Lightning web components.

- Scroll down and click Save.
Using the Nutrient Salesforce SDK integration
To use Nutrient in your Salesforce organization, follow these steps:
- Ensure you’re logged in as a user authorized to use Nutrient.
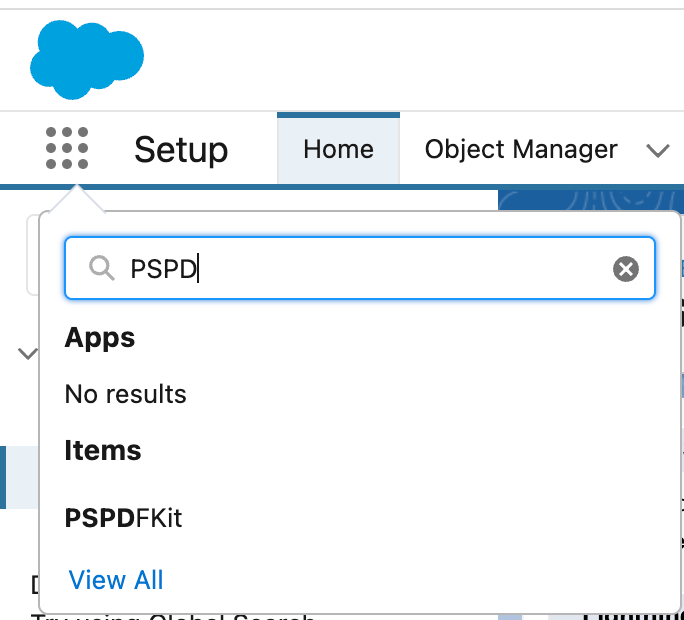
- In the top-right corner, open the App Launcher.
- Search for and click PSPDFKit.

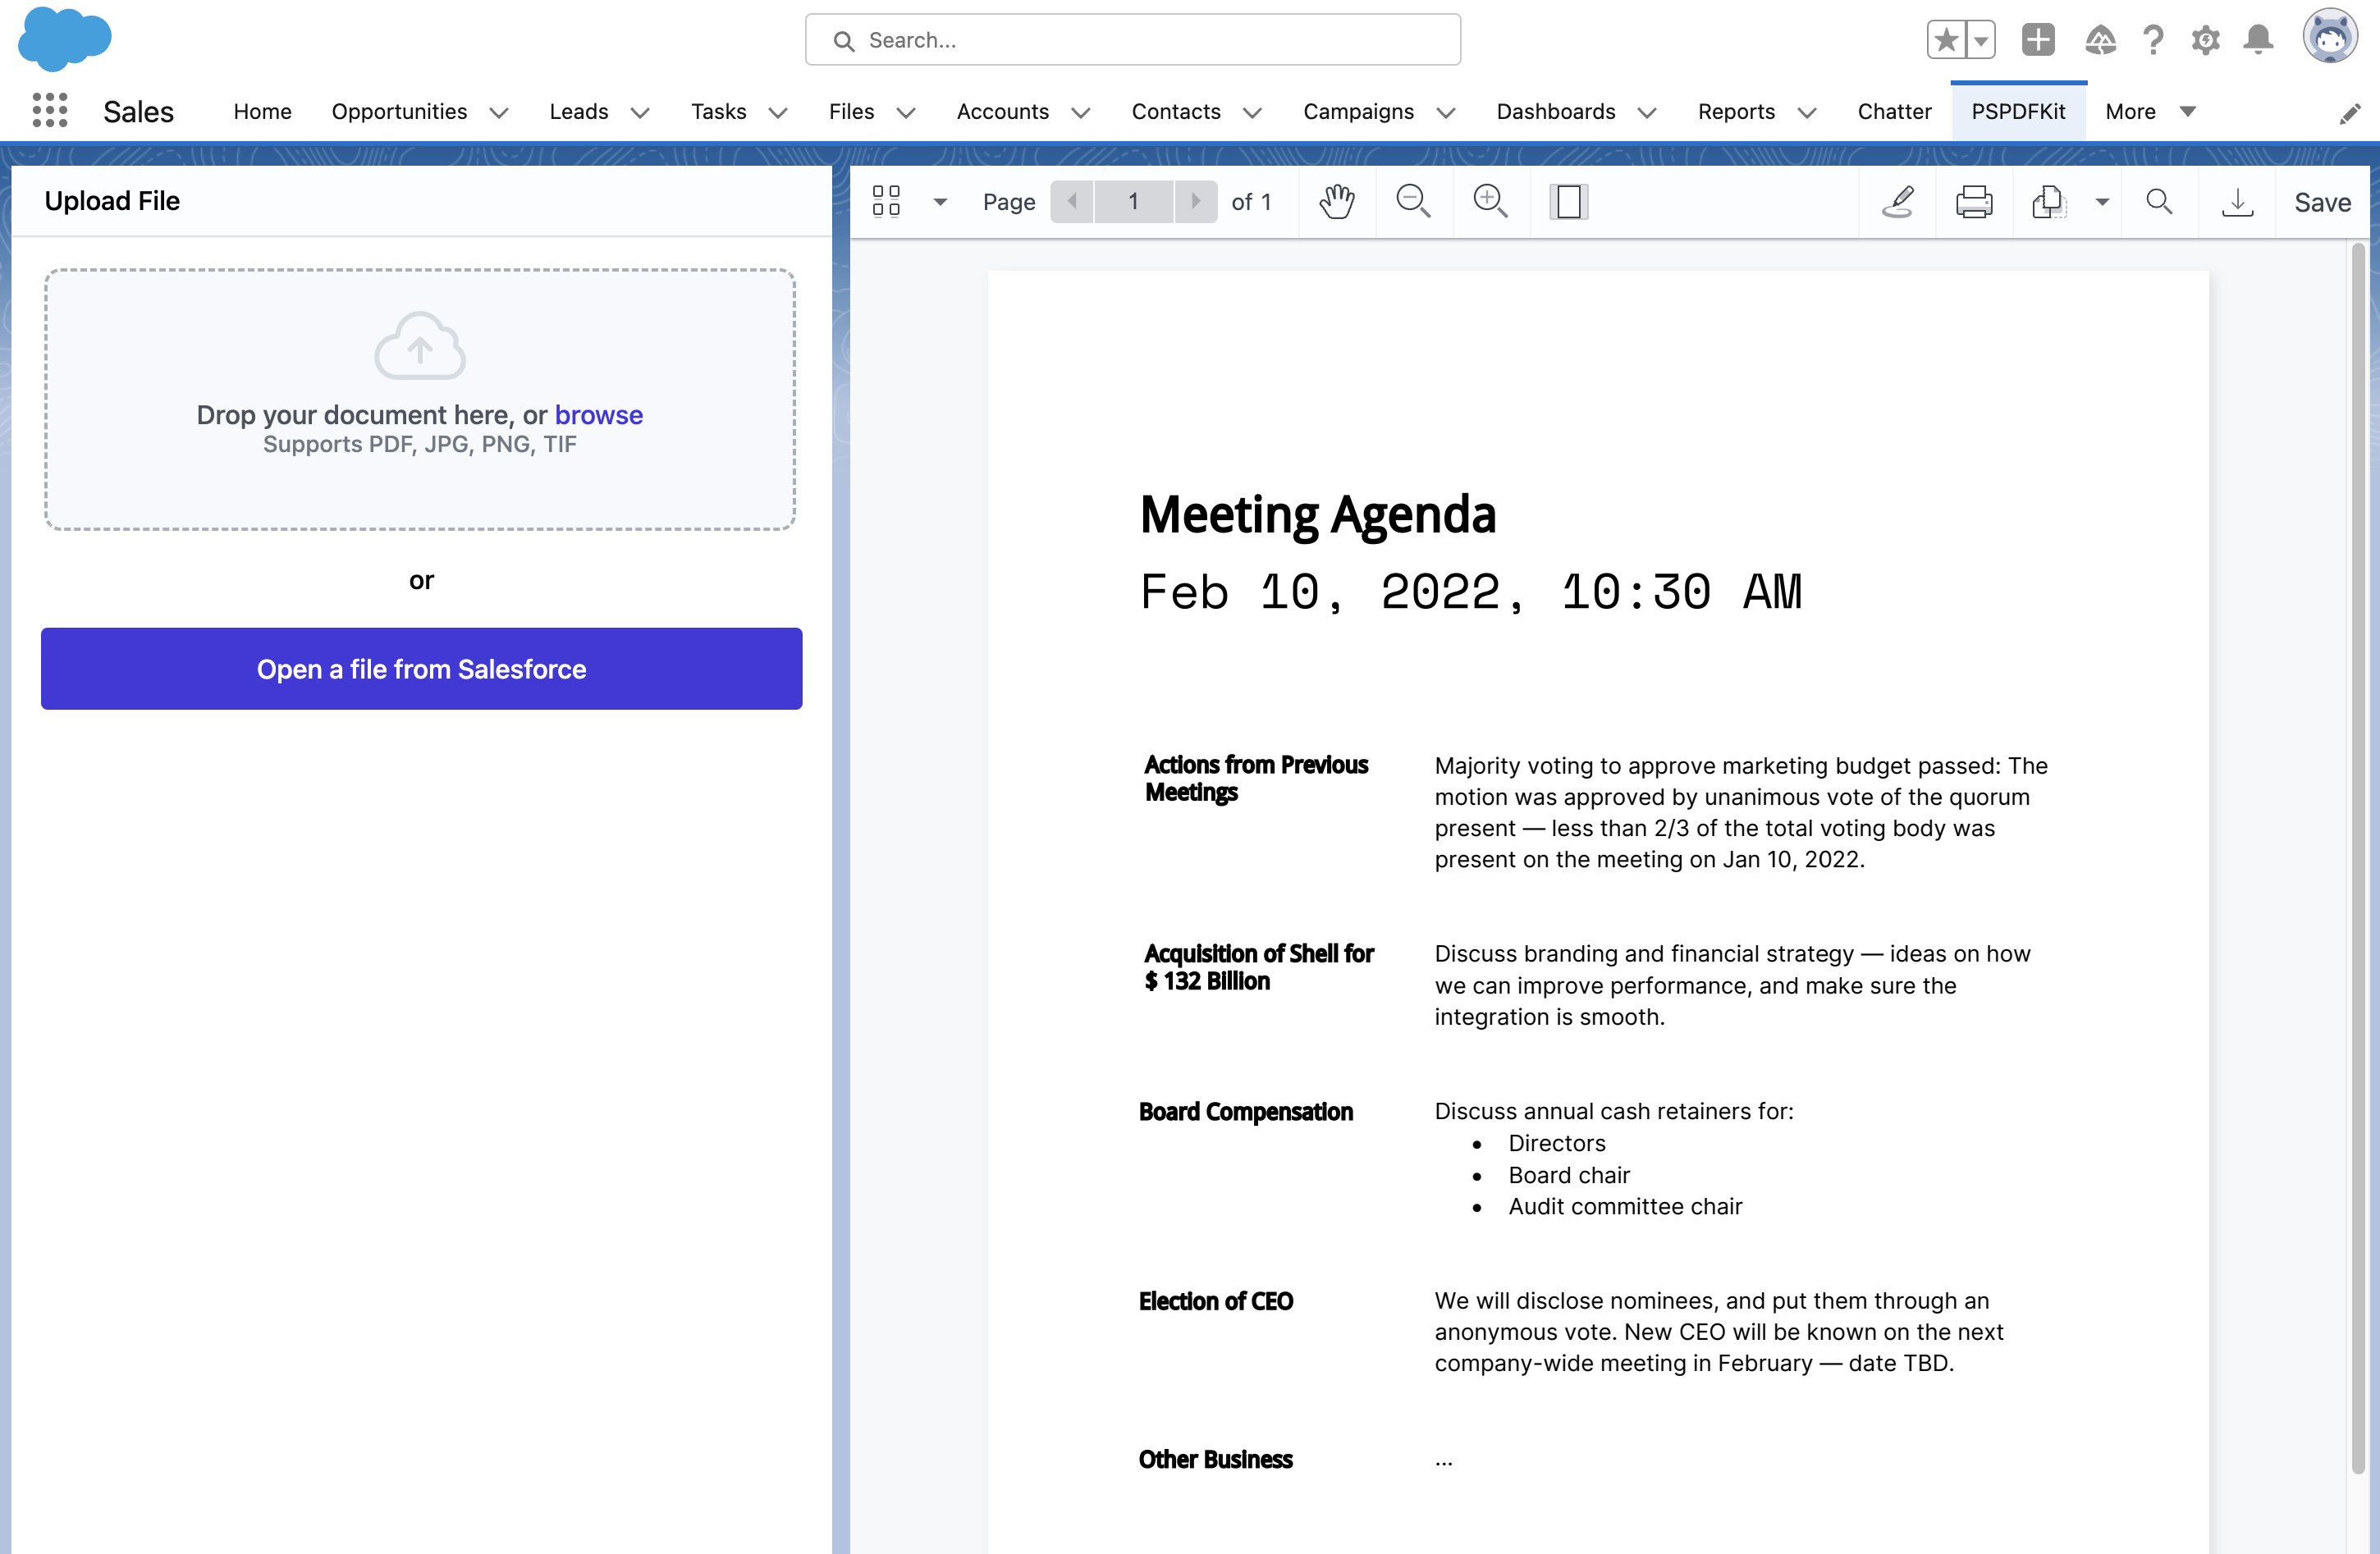
- Click browse to upload local PDF files, or open a file from Salesforce.

Adding even more capabilities
Once you’ve deployed your viewer, you can start customizing it to meet your specific requirements or easily add more capabilities. To help you get started, here are some of our most popular Salesforce guides:
Conclusion
You should now have our Salesforce integration up and running. If you hit any snags, don’t hesitate to reach out to our Support team(opens in a new tab) for help.
You can also deploy our vanilla JavaScript PDF viewer or use one of our many web framework deployment options like Vue.js, React.js, and Angular. To see a list of all web frameworks, start your free trial. Or, launch our demo to see our viewer in action.
If you’re interested in Nutrient Salesforce SDK, you can contact our Sales team.


