Create and manage content extraction jobs easily
To create a new Document Automation Server (DAS) Content Extraction job, go to the Dashboard.
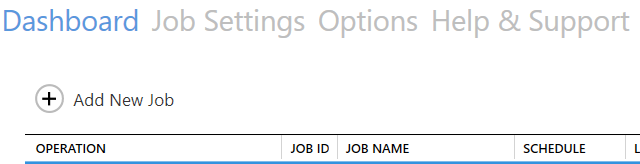
Click the Add New Job button to launch the new job wizard as shown below:
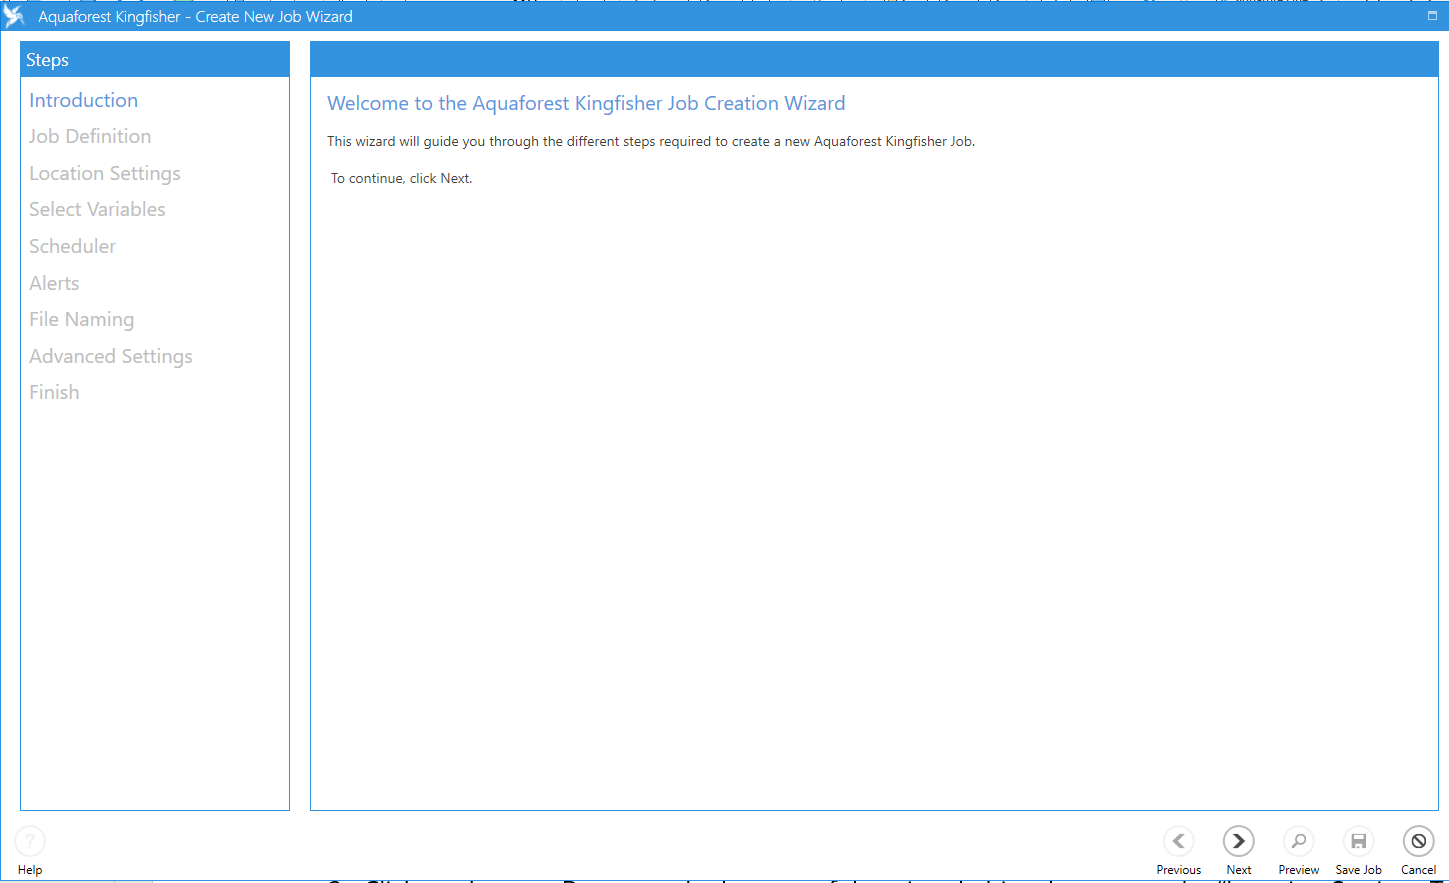
Follow the steps below to create a new job:
Click the Next button at the bottom of the wizard. This takes you to the Job Definition tab.
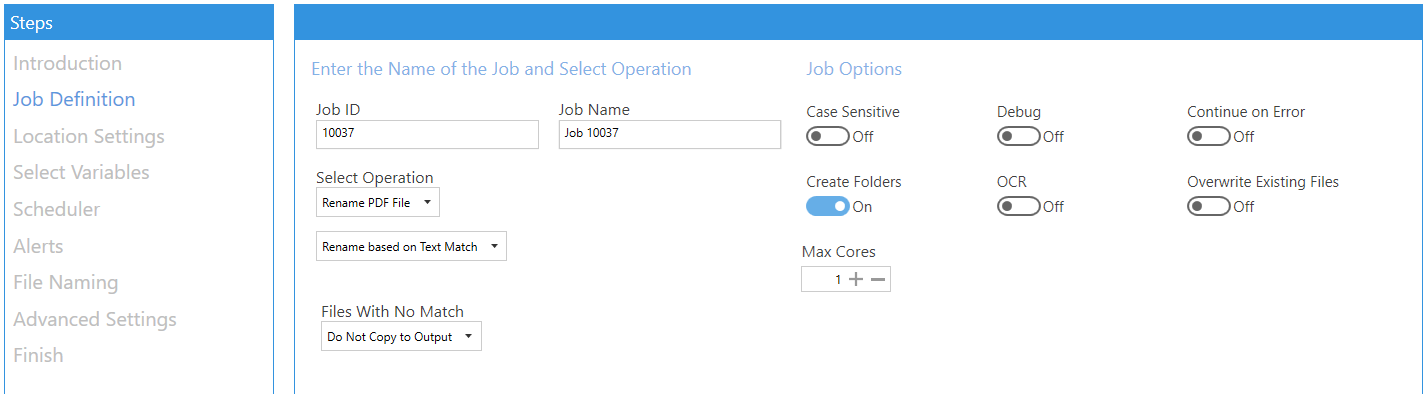
See Job Definition for explanation of the fields in this window. Choose the suitable options for the job.
Click the Next button at the bottom of the wizard. This takes you to the Location Settings tab.
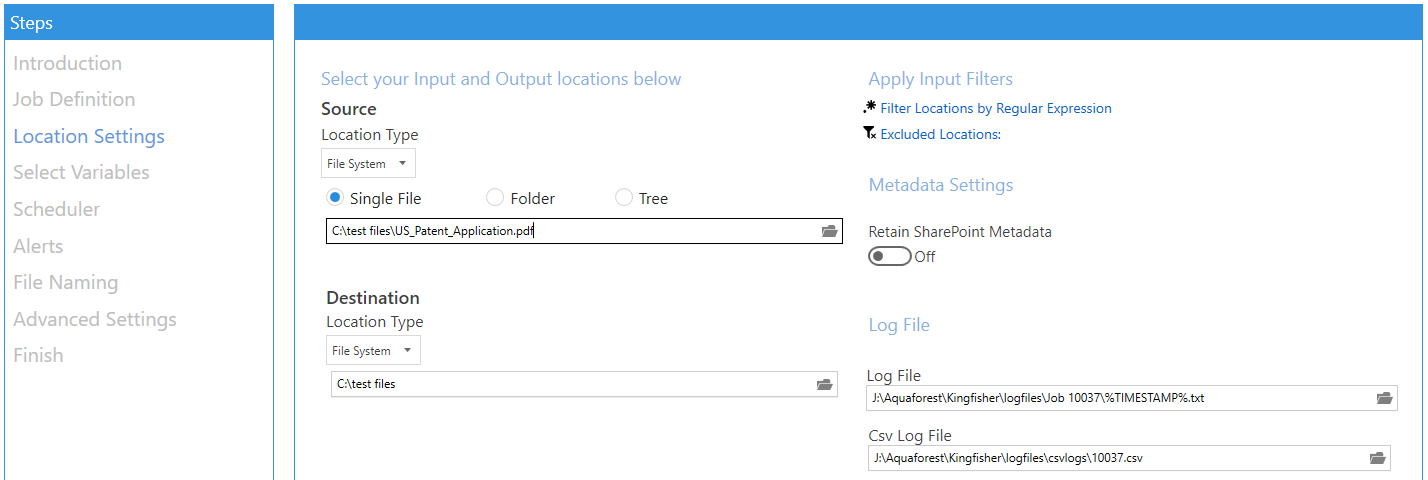
See Location Settings for explanation of the fields in this window. Choose the suitable options for the job and click Next.
One of the main advantages of DAS Content Extraction is the ability to process pdf files based on the file content. A Zone Definer allows the user to select areas on the pdf page to extract text or barcode values.
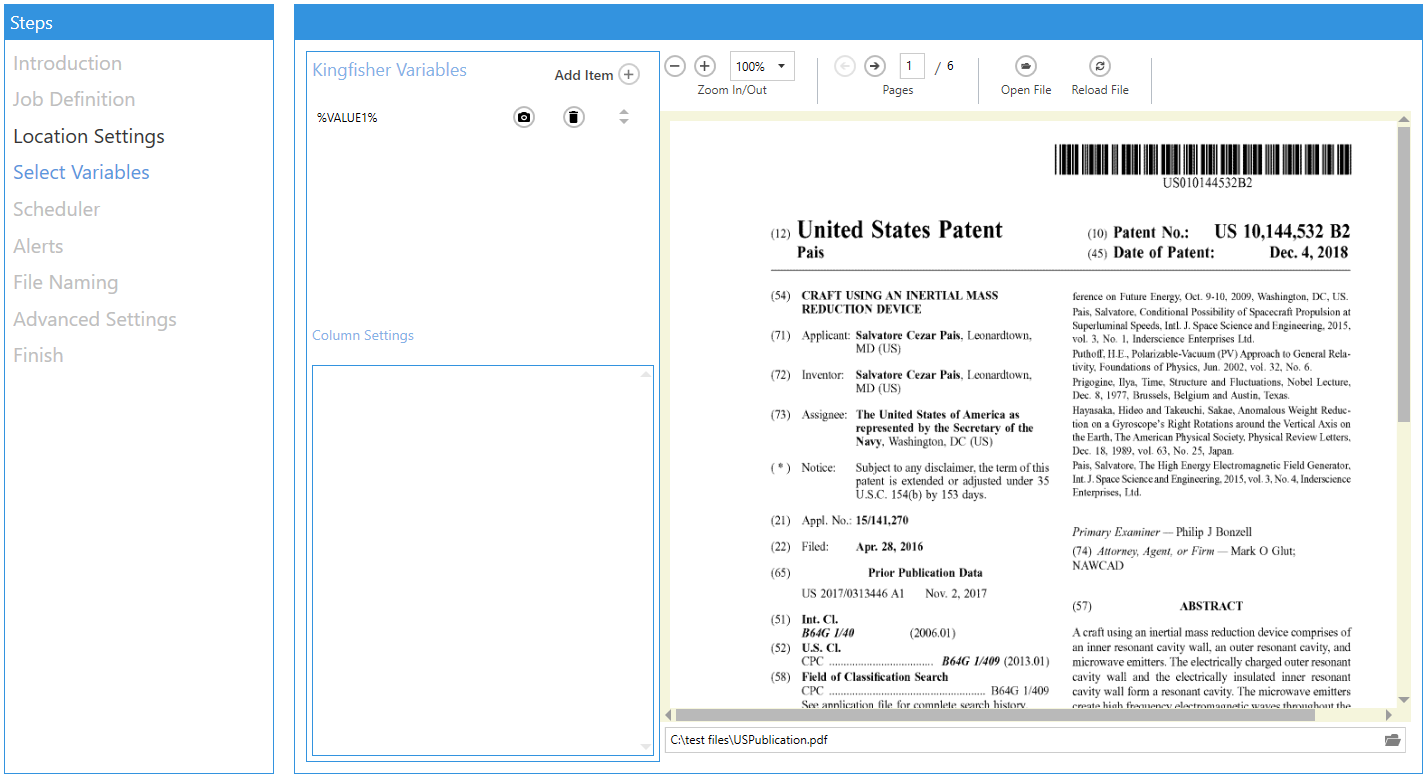
Initially there is one variable (
%VALUE1%). If there is no variable, click the Add Item button.Draw on the image of the PDF on the right-hand side by starting at one corner of the area required, holding down the left mouse button, and moving it to cover the area.
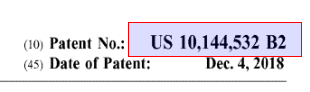
If the area is not correct, repeat the above procedure.
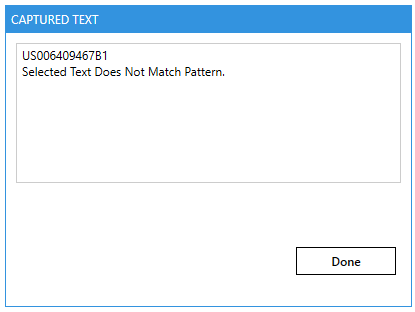
Once the area is selected, click the Camera icon.
This will display the captured text.
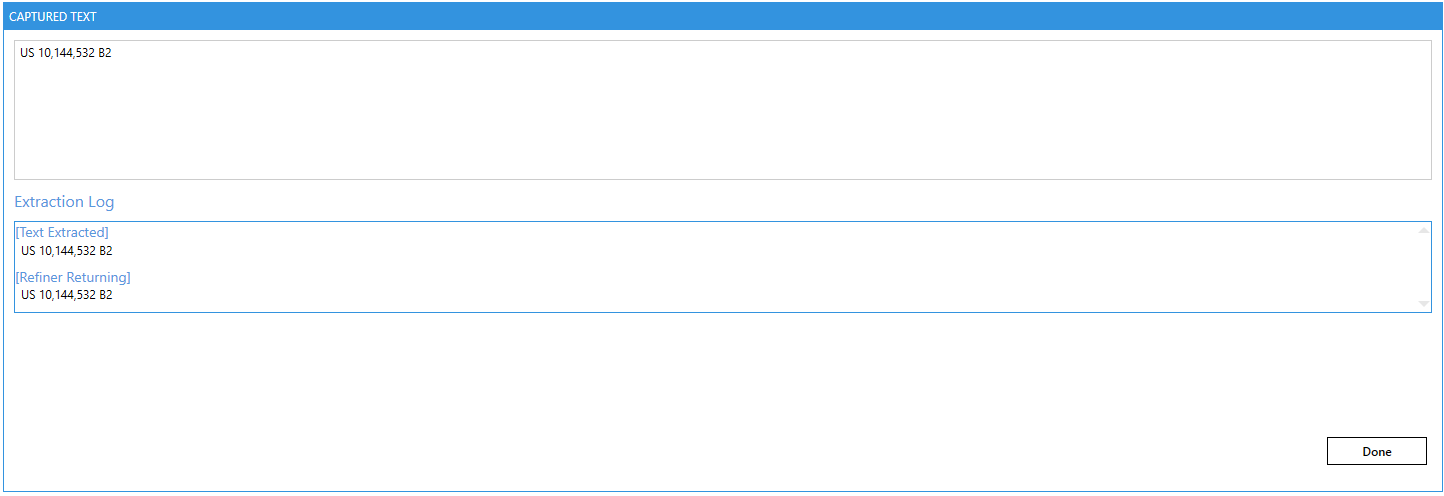
Initially the Extraction Log will just show the same text in the Text Extracted and Refiner Returning sections. The Refiner can be used to remove extraneous text, spacing and punctuation.
Click Done.
Details of the area will be shown in the Column Settings area.
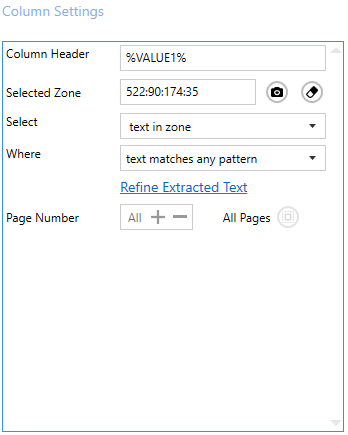
The Selected Zone is the area displayed on the PDF viewer.
The Select option determines how the text is handled:
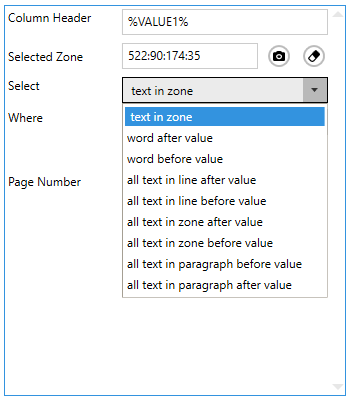
For this example, select text in zone.
Click the Camera icon. You will see the below text:
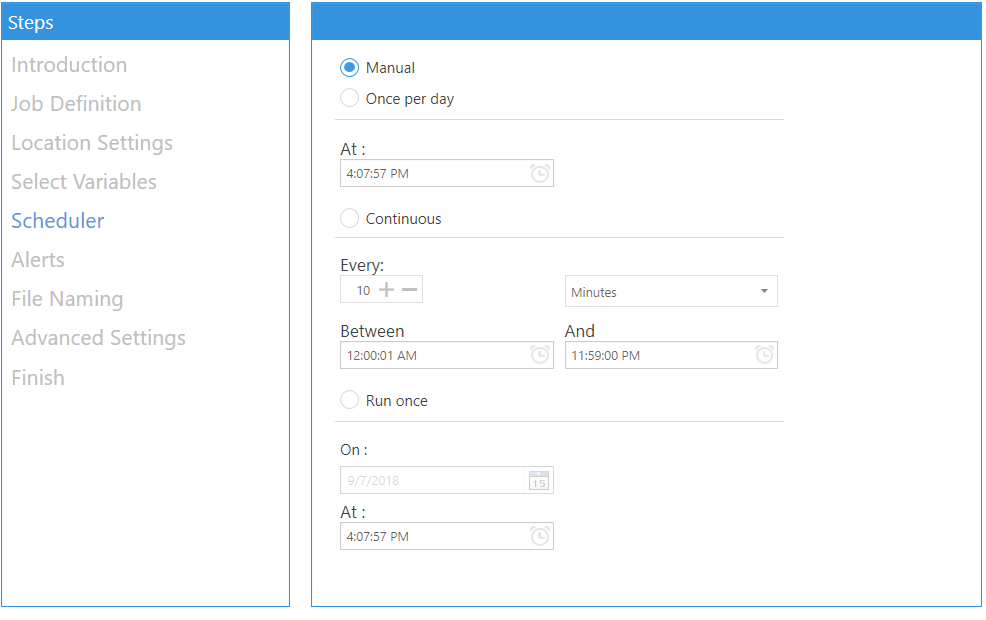
Set up the scheduler. We will use Manual for this test.
Click Next to skip the Alerts for this example.
Click Next to skip the Schedule for this example.
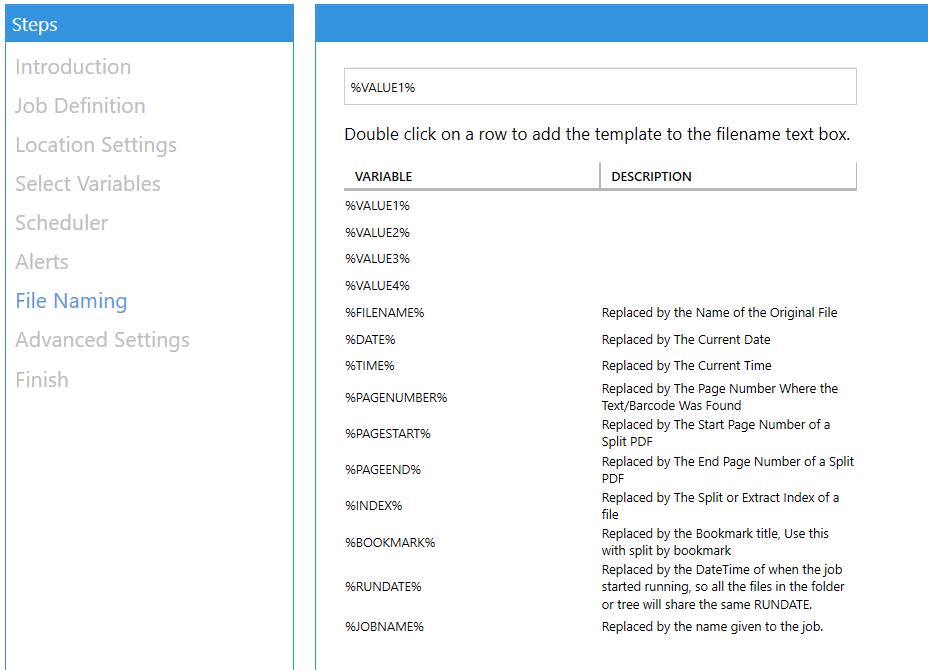
The File Naming tab allows the definition of a template for the output filename.
The Advanced Settings tab allows the user to provide properties of the output PDF file, OCR settings, and post-processing script execution. For more information, see Advanced Settings.
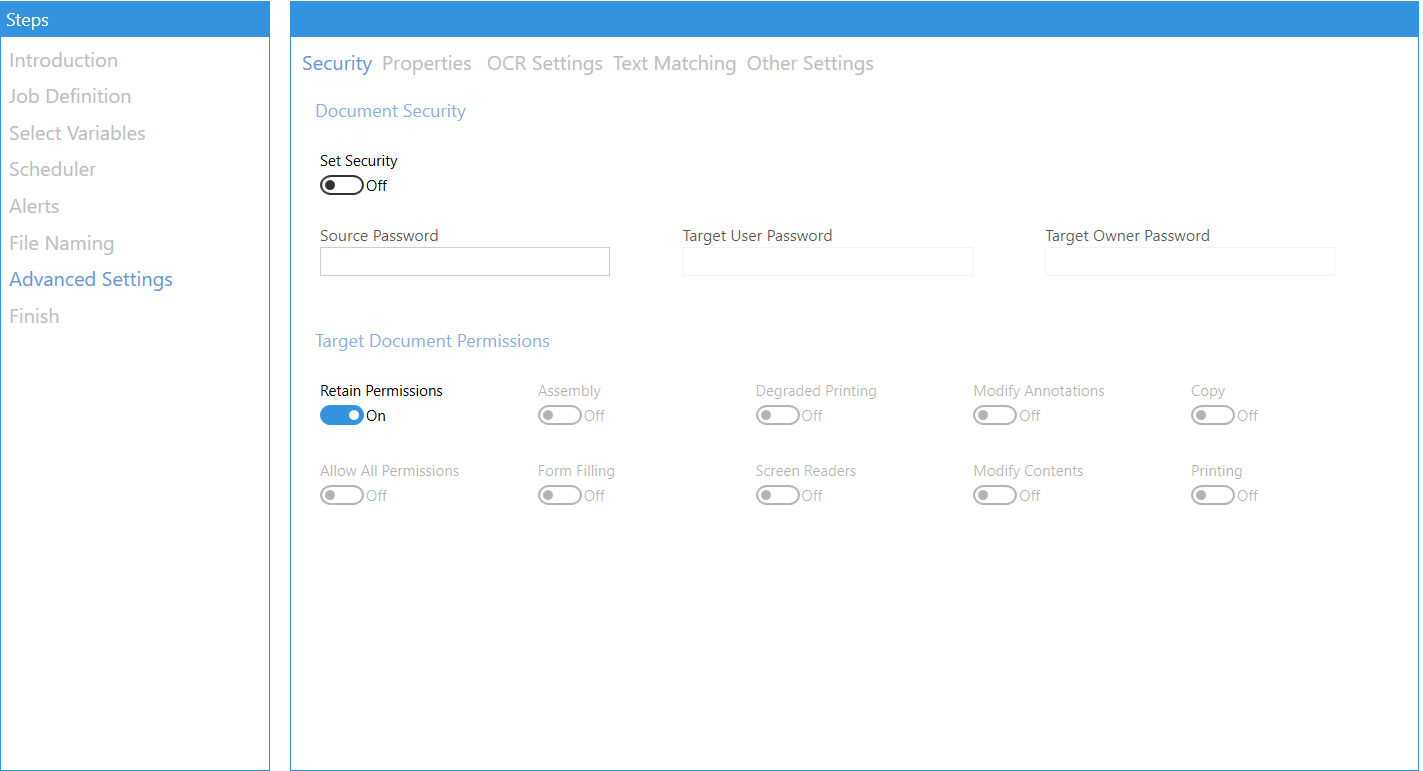
For this example, leave the default settings, click Next.
The Finish tab will show you a summary of the job you set up:
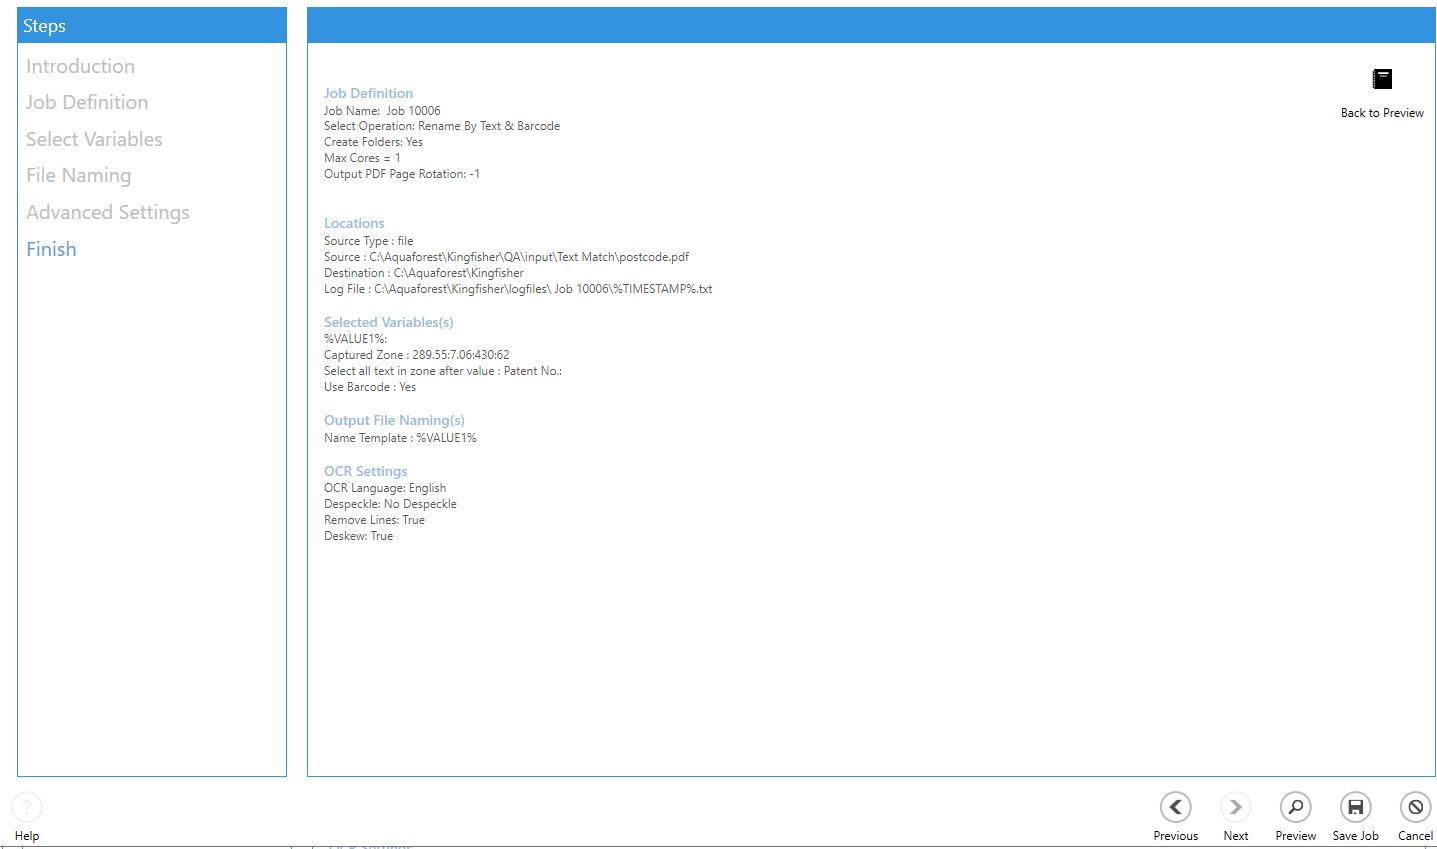
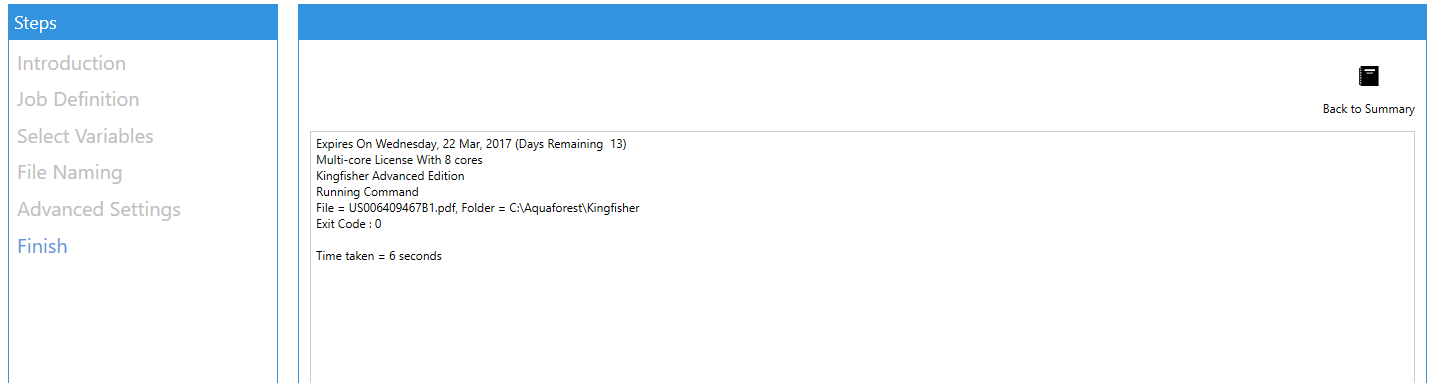
To confirm that you are happy with the job, click the Preview button to see what the outputs generated will look like.
This does not execute the Extract PDF Contents step.
Click the Create button to create the new job.
Error codes
| Error code | Description |
|---|---|
| 0 | Job executed successfully |
| 1 | Error executing job. See log and support section for more details. |
| 2 | License related error. See log and support section for more details. |
| 3 | Server error: Contact our support team. |
| 4 | Trigger file not present |