Understanding entity extraction and its benefits
Entity extraction is the process of automatically extracting named entities such as people, places, companies, etc. from unstructured contents in documents using Natural Language Processing (NLP).
Say, for example, we have the following text:
US entrepreneur Elon Musk has launched his new rocket, the Falcon Heavy, from the Kennedy Space Center in Florida. The SpaceX CEO said the challenges of developing the new rocket meant the chances of a successful first outing might be only 50-50.
For this experimental and uncertain mission, however, he decided on a much smaller and whimsical payload — his old cherry-red Tesla sports car. A space-suited mannequin was strapped in the driver’s seat, and the radio set to play a David Bowie soundtrack on a loop. The Tesla and its passenger have been dispatched into an elliptical orbit around the Sun that reaches out as far as the Planet Mars.
The Falcon Heavy is essentially three of SpaceX’s workhorse Falcon 9 vehicles strapped together. And, as is the usual practice for SpaceX, all three boost stages — the lower segments of the rocket — returned to Earth to attempt controlled landings. Two came back to touchdown zones on the Florida coast just south of Kennedy. Their landing legs made contact with the ground virtually at the same time.
This is the result of passing it to an NLP service:
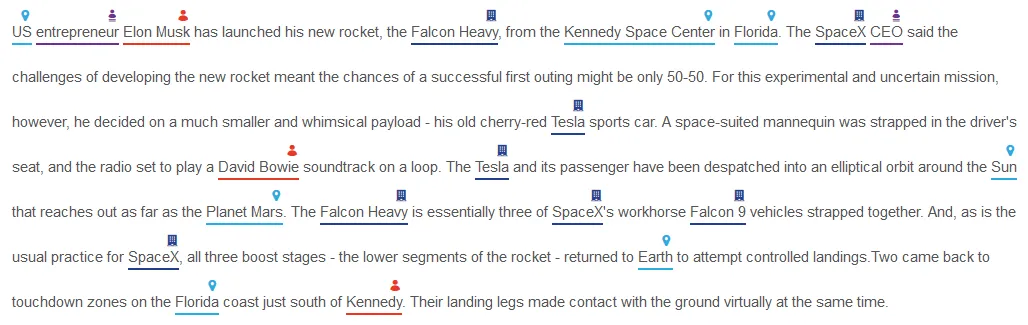
The NLP service automatically identified Person, Organization, Location and Title from the text. If the text had other entity types, they would’ve been extracted too. Without NLP, the identification of these entities would’ve had to be done manually, which isn’t feasible for large numbers of documents in businesses.
The benefits of automated entity extraction for businesses are numerous — from improving the finding of documents through faceted search (by categorizing documents based on the entities) to unlocking valuable business-related information that may otherwise be hidden.
Entity extraction in Tagging
Nutrient Document Searchability Tagging can harness the power of automated entity extraction by using external third-party NLP service providers. To put it briefly, it achieves this by first extracting the text from documents and then sending them over to the NLP service for processing. The results are then sent back to Tagging where they are processed further and eventually added to SharePoint as metadata. Refer to our entity extraction guide for a diagrammatic representation of this.
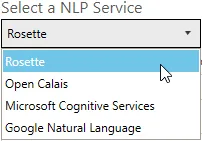
In the current version, the following NLP services are supported:
- Rosette(opens in a new tab)
- Open Calais(opens in a new tab)
- Microsoft Cognitive Services(opens in a new tab)
- Google Natural Language(opens in a new tab)
At the time of writing, all of the above NLP services offer free usage of their service. However, they come with certain restrictions as shown below.
| NLP service (free version) | Max API calls | Text limit per call |
|---|---|---|
| Rosette | 10,000 calls per month, 1,000 calls per day | 600KB (50,000 characters), more info(opens in a new tab) |
| Open Calais | 5,000 calls per day | 100KB |
| Microsoft Cognitive Services | ||
| Google Natural Language | 5,000 calls per month | 1,000 characters, more info(opens in a new tab) |
Text limit
Since the free versions of each NLP service restrict the amount of text they can process at any one time, before sending a document’s contents to the NLP service, Tagging splits them into chunks of 50,000 characters. From our test, this seems to work for most NLP services currently supported. However, you can increase this value if you’ve purchased their premium service. The following setting in Tagging under Job -> Metadata -> NLP Settings controls this:

API calls
For every chunk that is sent to the NLP service, one API call is consumed. You should schedule and limit the amount of documents processed to avoid going over the limit based on the selected NLP service.
Entities
Each NLP service has its own entities that can be extracted. Tagging has the most common ones for each service.
| NLP service | Default entities in Tagging |
|---|---|
| Rosette | LOCATION, ORGANIZATION, PERSON, CONCEPTS, KEYPHRASES |
| Open Calais | Country, Company, Person |
| Microsoft Cognitive Services | Keywords |
| Google Natural Language | LOCATION, ORGANIZATION, PERSON |
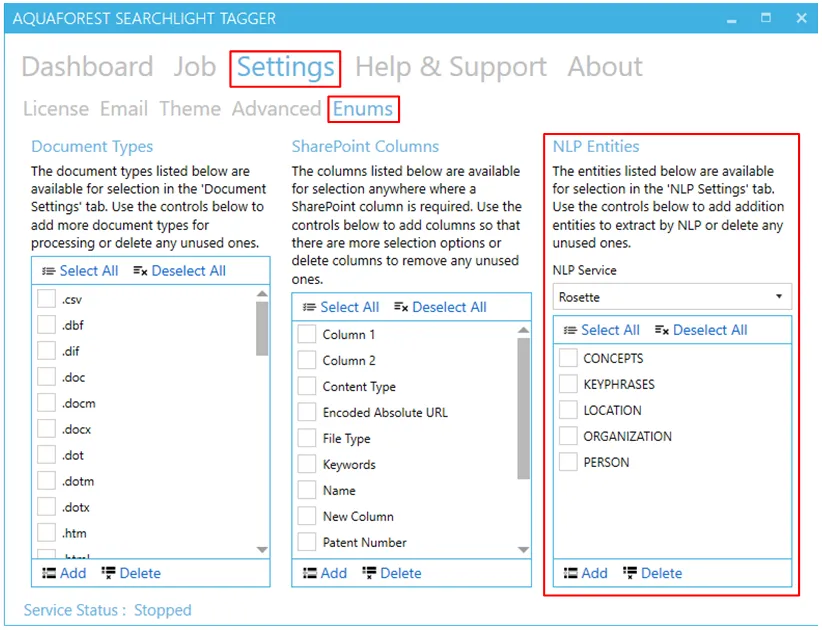
To view the NLP entities currently defined in Tagging, go to Settings > Enums tab.
To add new entities:
- Select the NLP Service for which you want to add entities.

- Click on the
 button.
 - A popup dialog will appear. Enter entity name(s).
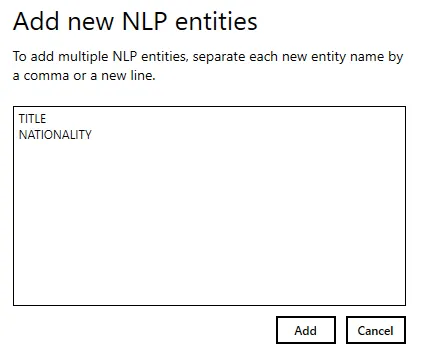
You can add multiple entities by separating each new entity by a comma or a new line. Click the Add button after specifying all the new entity names.
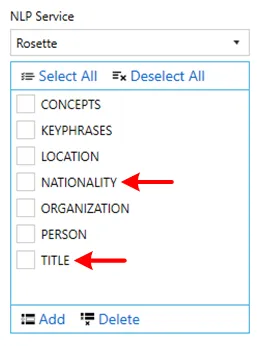
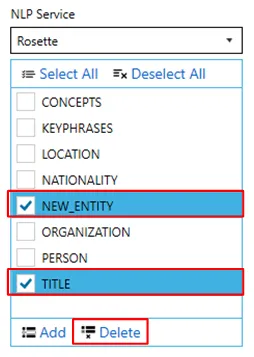
Now these entities will be available for selection under Job > Metadata > NLP Settings.
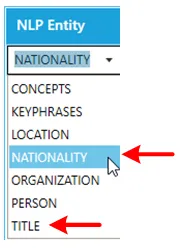
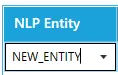
Another way to add a new entity is to type it in directly in the dropdown menu.
You can also delete any unused entities. Select the entity(ies) you want to delete and click on the ![]() button.
button.
Generating API keys
To extract entities from documents in Tagging, you need to create a free account with the NLP service you wish to use and generate an API key.
- Go to Job > Metadata > NLP Settings.
- Select the NLP service you want to use.
- Click on
 link next Token/API Key to access NLP Service.
This will open the registration page for the selected NLP service in your default web browser. Complete the signup process:
Rosette: developer.rosette.com/signup(opens in a new tab)
Open Calais: opencalais-api(opens in a new tab)
Microsoft Cognitive Service: project-entity-linking(opens in a new tab)
Google Natural Language: console.cloud.google.com/freetrial(opens in a new tab)
Once you’ve received the API key, enter it in the Token/API Key to access NLP Service textbox in Tagging.
Entity extraction demo
To test if the API key is valid and working, click on the Demo button under Job > Metadata > NLP Settings.

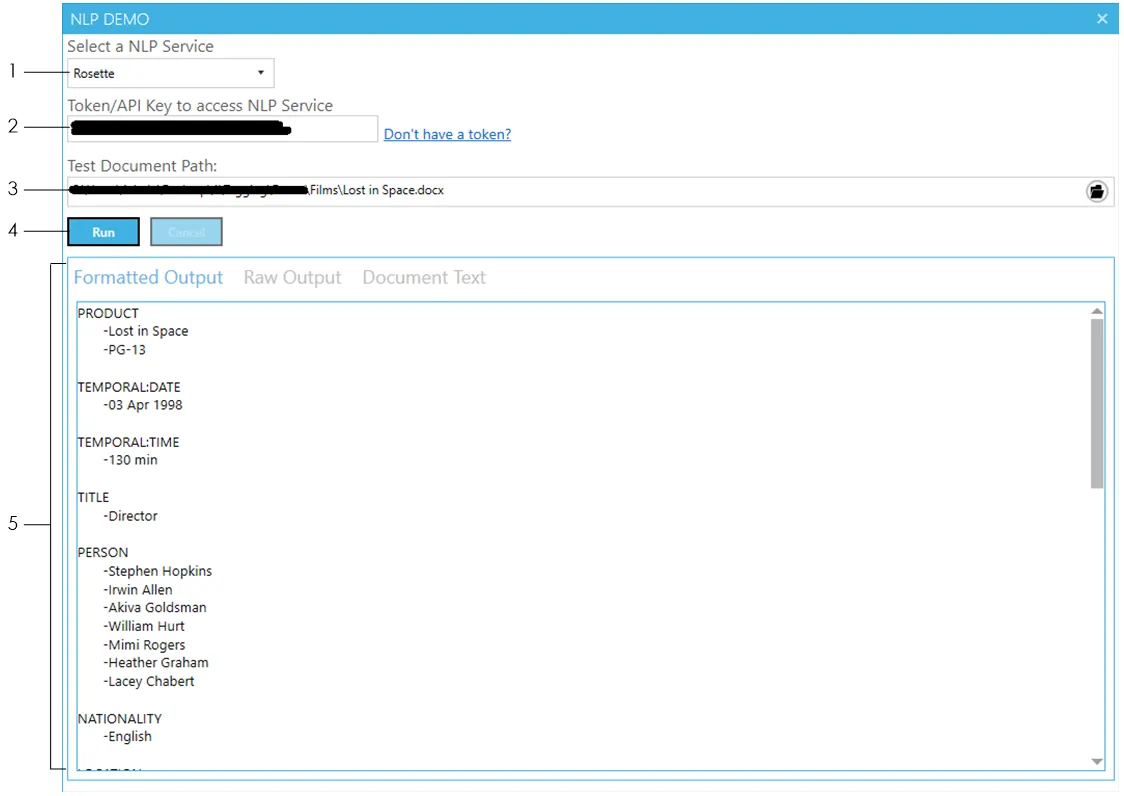
Select the NLP service you want to demo.
Enter the API key to access the selected NLP service. If you don’t have an API key, generate one.
Select a sample file to use for the demo.
Click the Run button and wait for the NLP service to return the results.
![]()
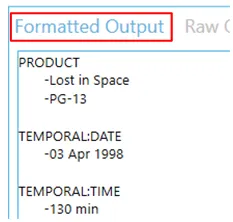
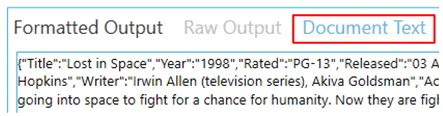
- The Formatted Output tab shows the extracted entities after Tagging has formatted them.
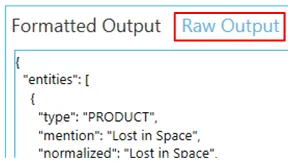
- To view the raw output as returned by the NLP service, click on the Raw Output tab
- To view the text (from the document) that was sent to the NLP service, click on the Document Text tab
When using the demo, all entities supported by the NLP service are retrieved. This can be useful if you want to extract entities that are not part of the default ones provided and do not know the names of the other entities.
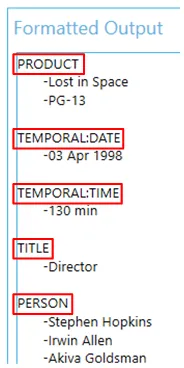
To view all the entities extracted from the document go to the Formatted Output tab.
The names of the entities are shown in red in the image. To add them:
- Make a note of the ones you want to add.
- Close the Demo window.
- Go to Settings -> Enum tab.
- Add them by following the instructions explained in this section.
Running the demo will also use up your API calls. So, be careful not to demo too many times and make sure to limit the number of chunks that is processed if you are testing large documents because they will be split into chunks and each chunk will consume one API call.