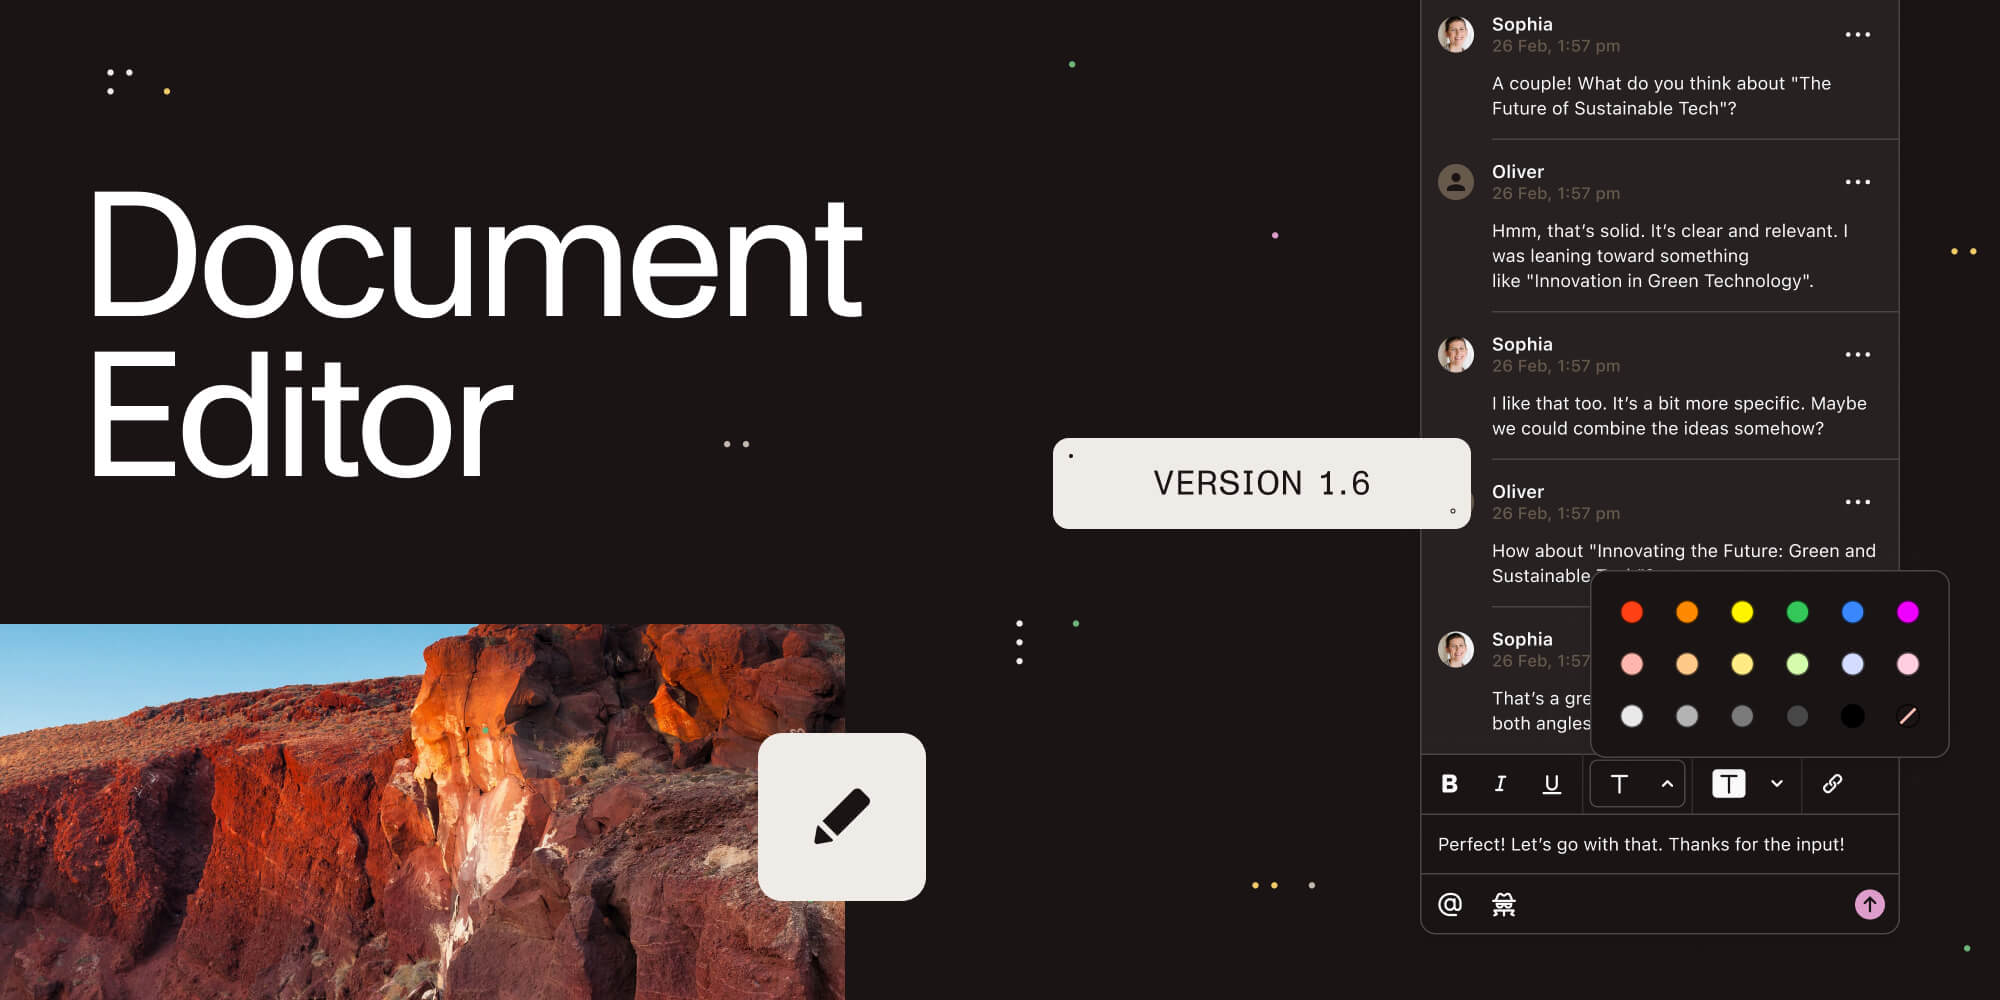
Starting a construction project is like solving a puzzle with lots of detailed plans. But this post will show you how easy it is to sign and add notes to PDF files in SharePoint using Document Editor. More specifically, it’ll demonstrate how our editor makes managing papers in construction projects a breeze.
Challenges in annotating and signing project documents
Construction projects are notorious for their intricate documentation requirements, often involving large-scale blueprints and numerous stakeholders. Traditional methods of annotating and obtaining signatures on these crucial documents present substantial challenges. Version control issues, delays in approvals, and difficulties in maintaining the integrity of annotations across various platforms are among the hurdles faced by construction teams. The need for a streamlined, collaborative, and secure solution becomes paramount to ensure the accuracy and efficiency of project documentation.
How Document Editor for SharePoint addresses challenges
Document Editor empowers construction professionals to annotate blueprints collaboratively in real time, ensuring all stakeholders are on the same page, both figuratively and literally. Electronic signatures seamlessly replace the cumbersome process of manual signatures, reducing approval timelines significantly. Version control becomes a thing of the past, as the SharePoint editor facilitates a centralized platform where annotations and signatures are securely stored and easily accessible.
Benefits of Document Editor for SharePoint for document collaboration and signing
-
Enhances communication among team members
-
Fosters a more efficient decision-making process
-
Expedited approval workflows
-
Ensures the security and authenticity of signed documents
-
Centralized document repository
-
Streamlined process (from document creation to approval, reduces project timelines, enhances overall project efficiency)
How to sign a PDF in SharePoint
Document Editor for SharePoint lets you add eSignatures to your PDFs directly in SharePoint Online or on-premises. To sign a PDF in SharePoint, open your document in SharePoint and draw, type, or upload an image of your signature. There’s no need to download documents from SharePoint to your local environment or open a third-party eSignature tool.
If you haven’t installed Document Editor yet, you can get it on Microsoft App Source. If you need help with installation, check out the video tutorial.
Step 1: Opening PDFs
Select a PDF from the SharePoint library and right-click the three dots menu. Click Edit with PDF Editor.
Step 2: Creating electronic signatures
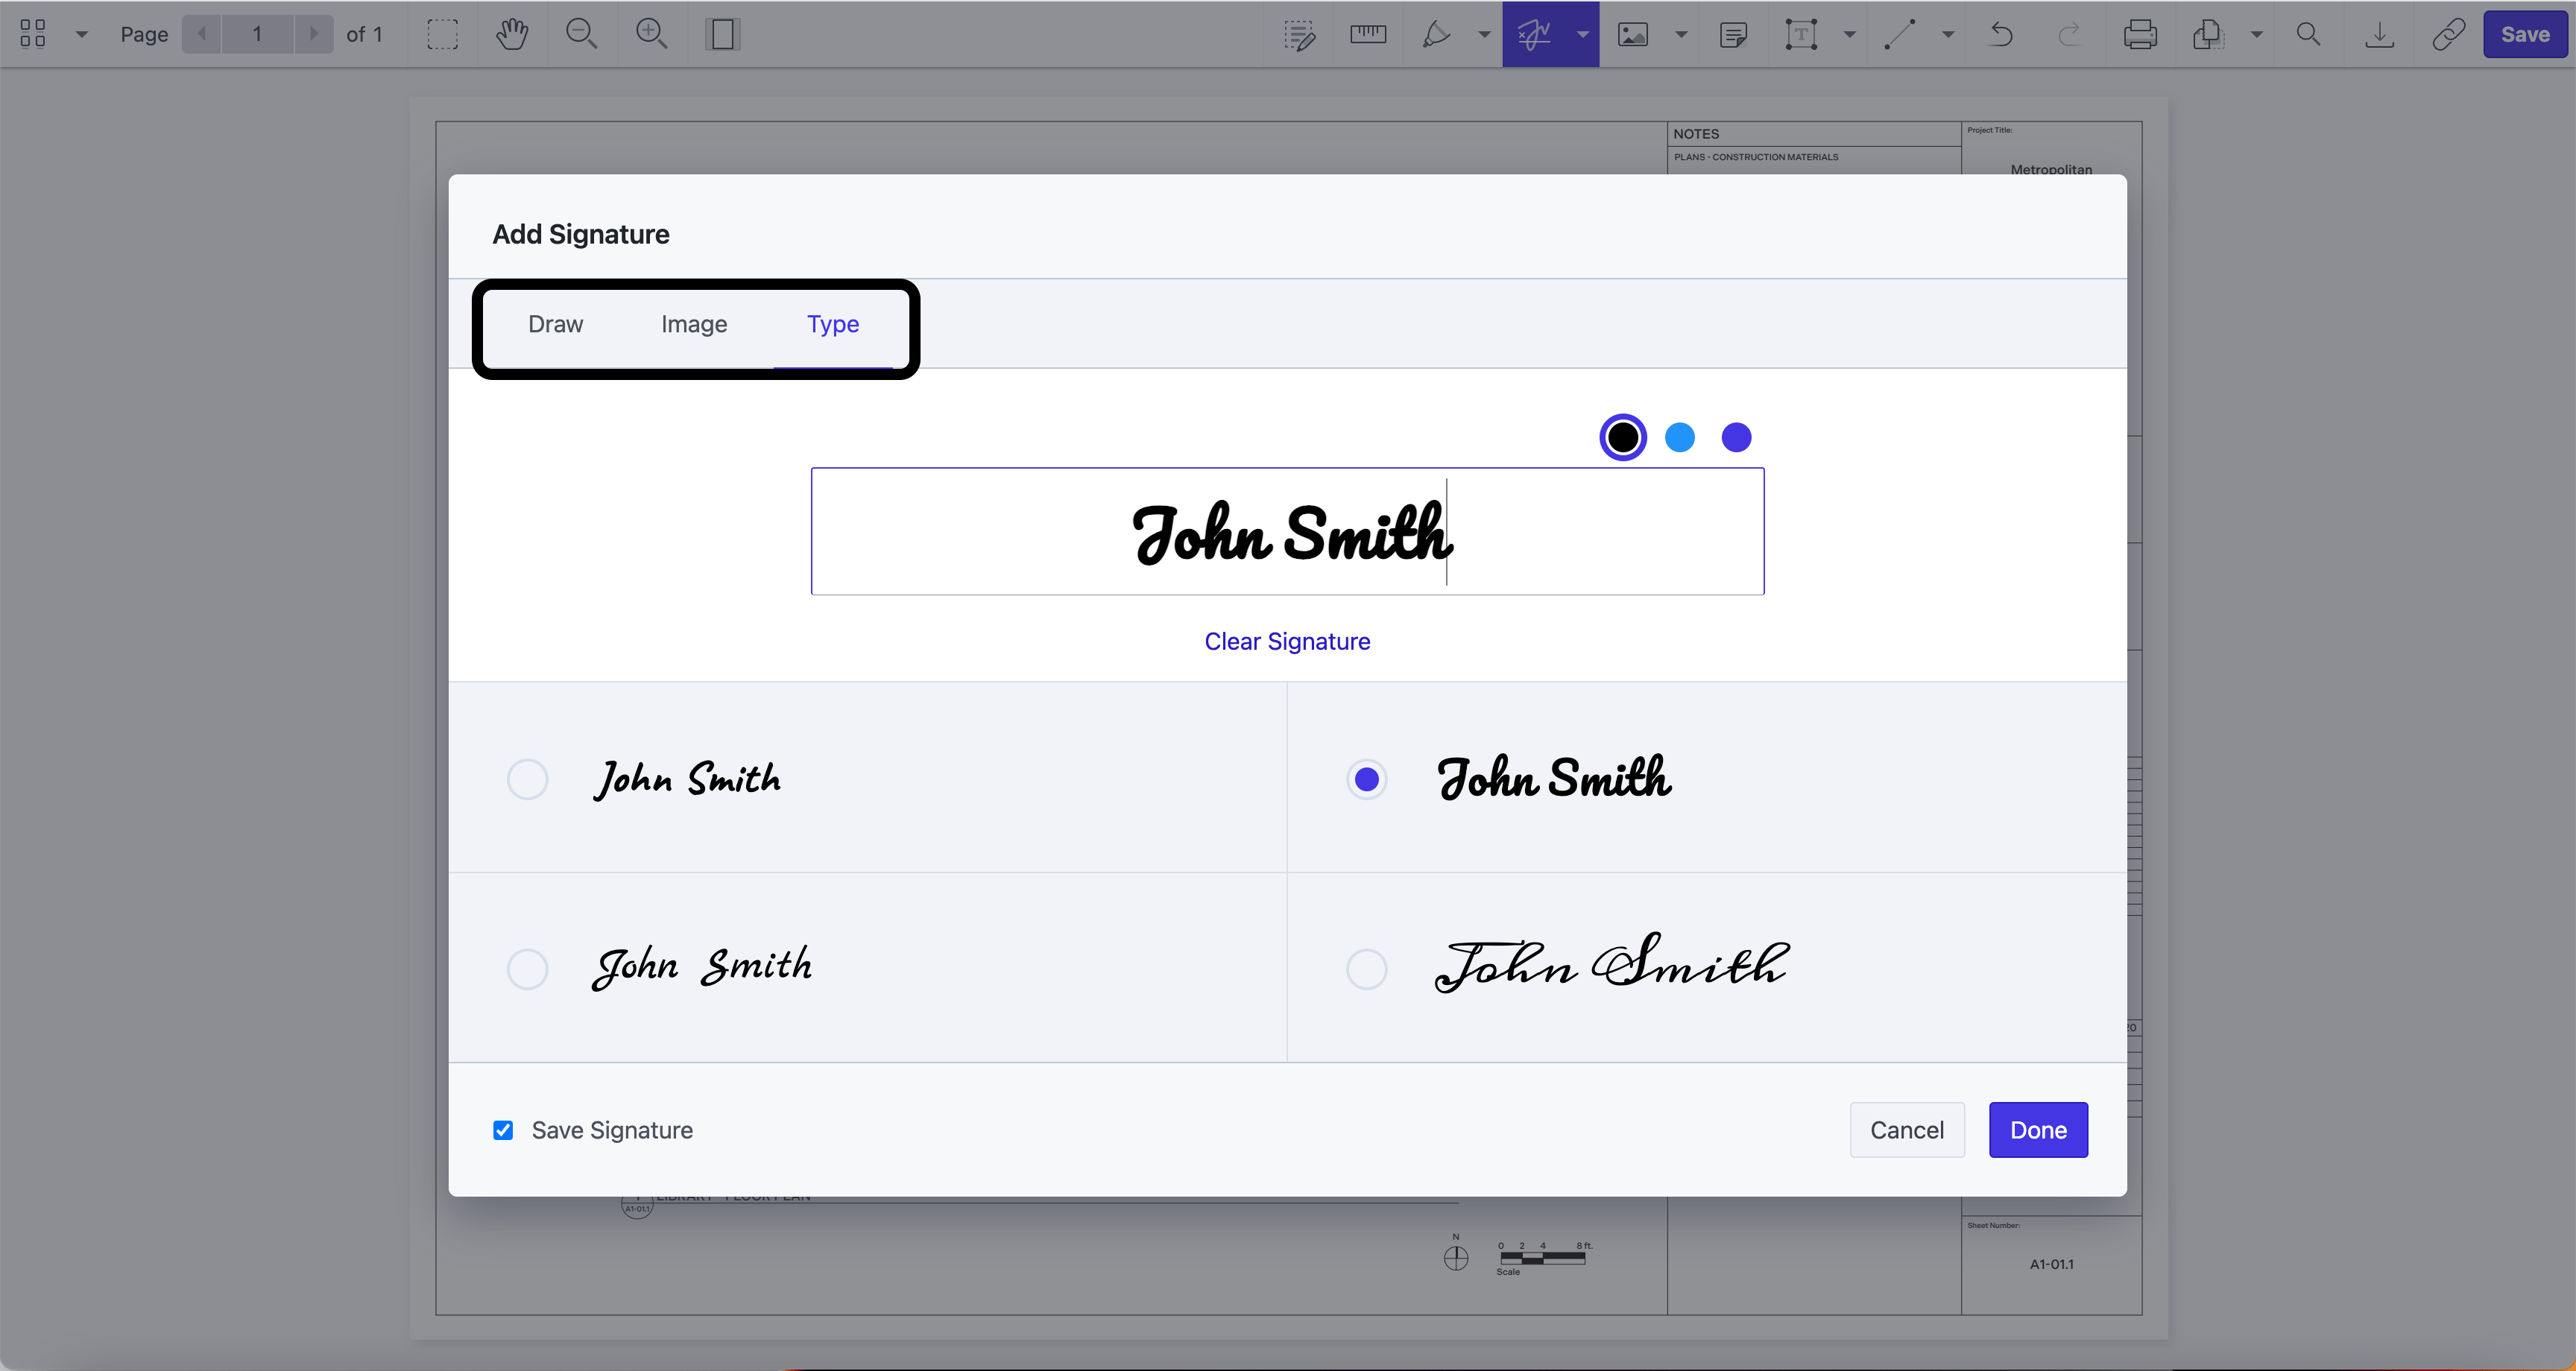
Select the Sign icon in the main toolbar of Document Editor to sign a PDF in SharePoint. Signing a PDF document in SharePoint with Document Editor can be done in three different ways: by drawing a signature, typing a signature, or adding an image of an electronic signature.
Using the Draw option requires drawing your signature by pulling the cursor in the right direction.
Click Type to quickly generate a signature in a PDF. Choose the style and the color of the font, type your name, and click Done.
To insert an image of a signature into a PDF, click Image and upload an image file from your computer. To confirm, click Done.
Step 3: Adding signatures in PDFs
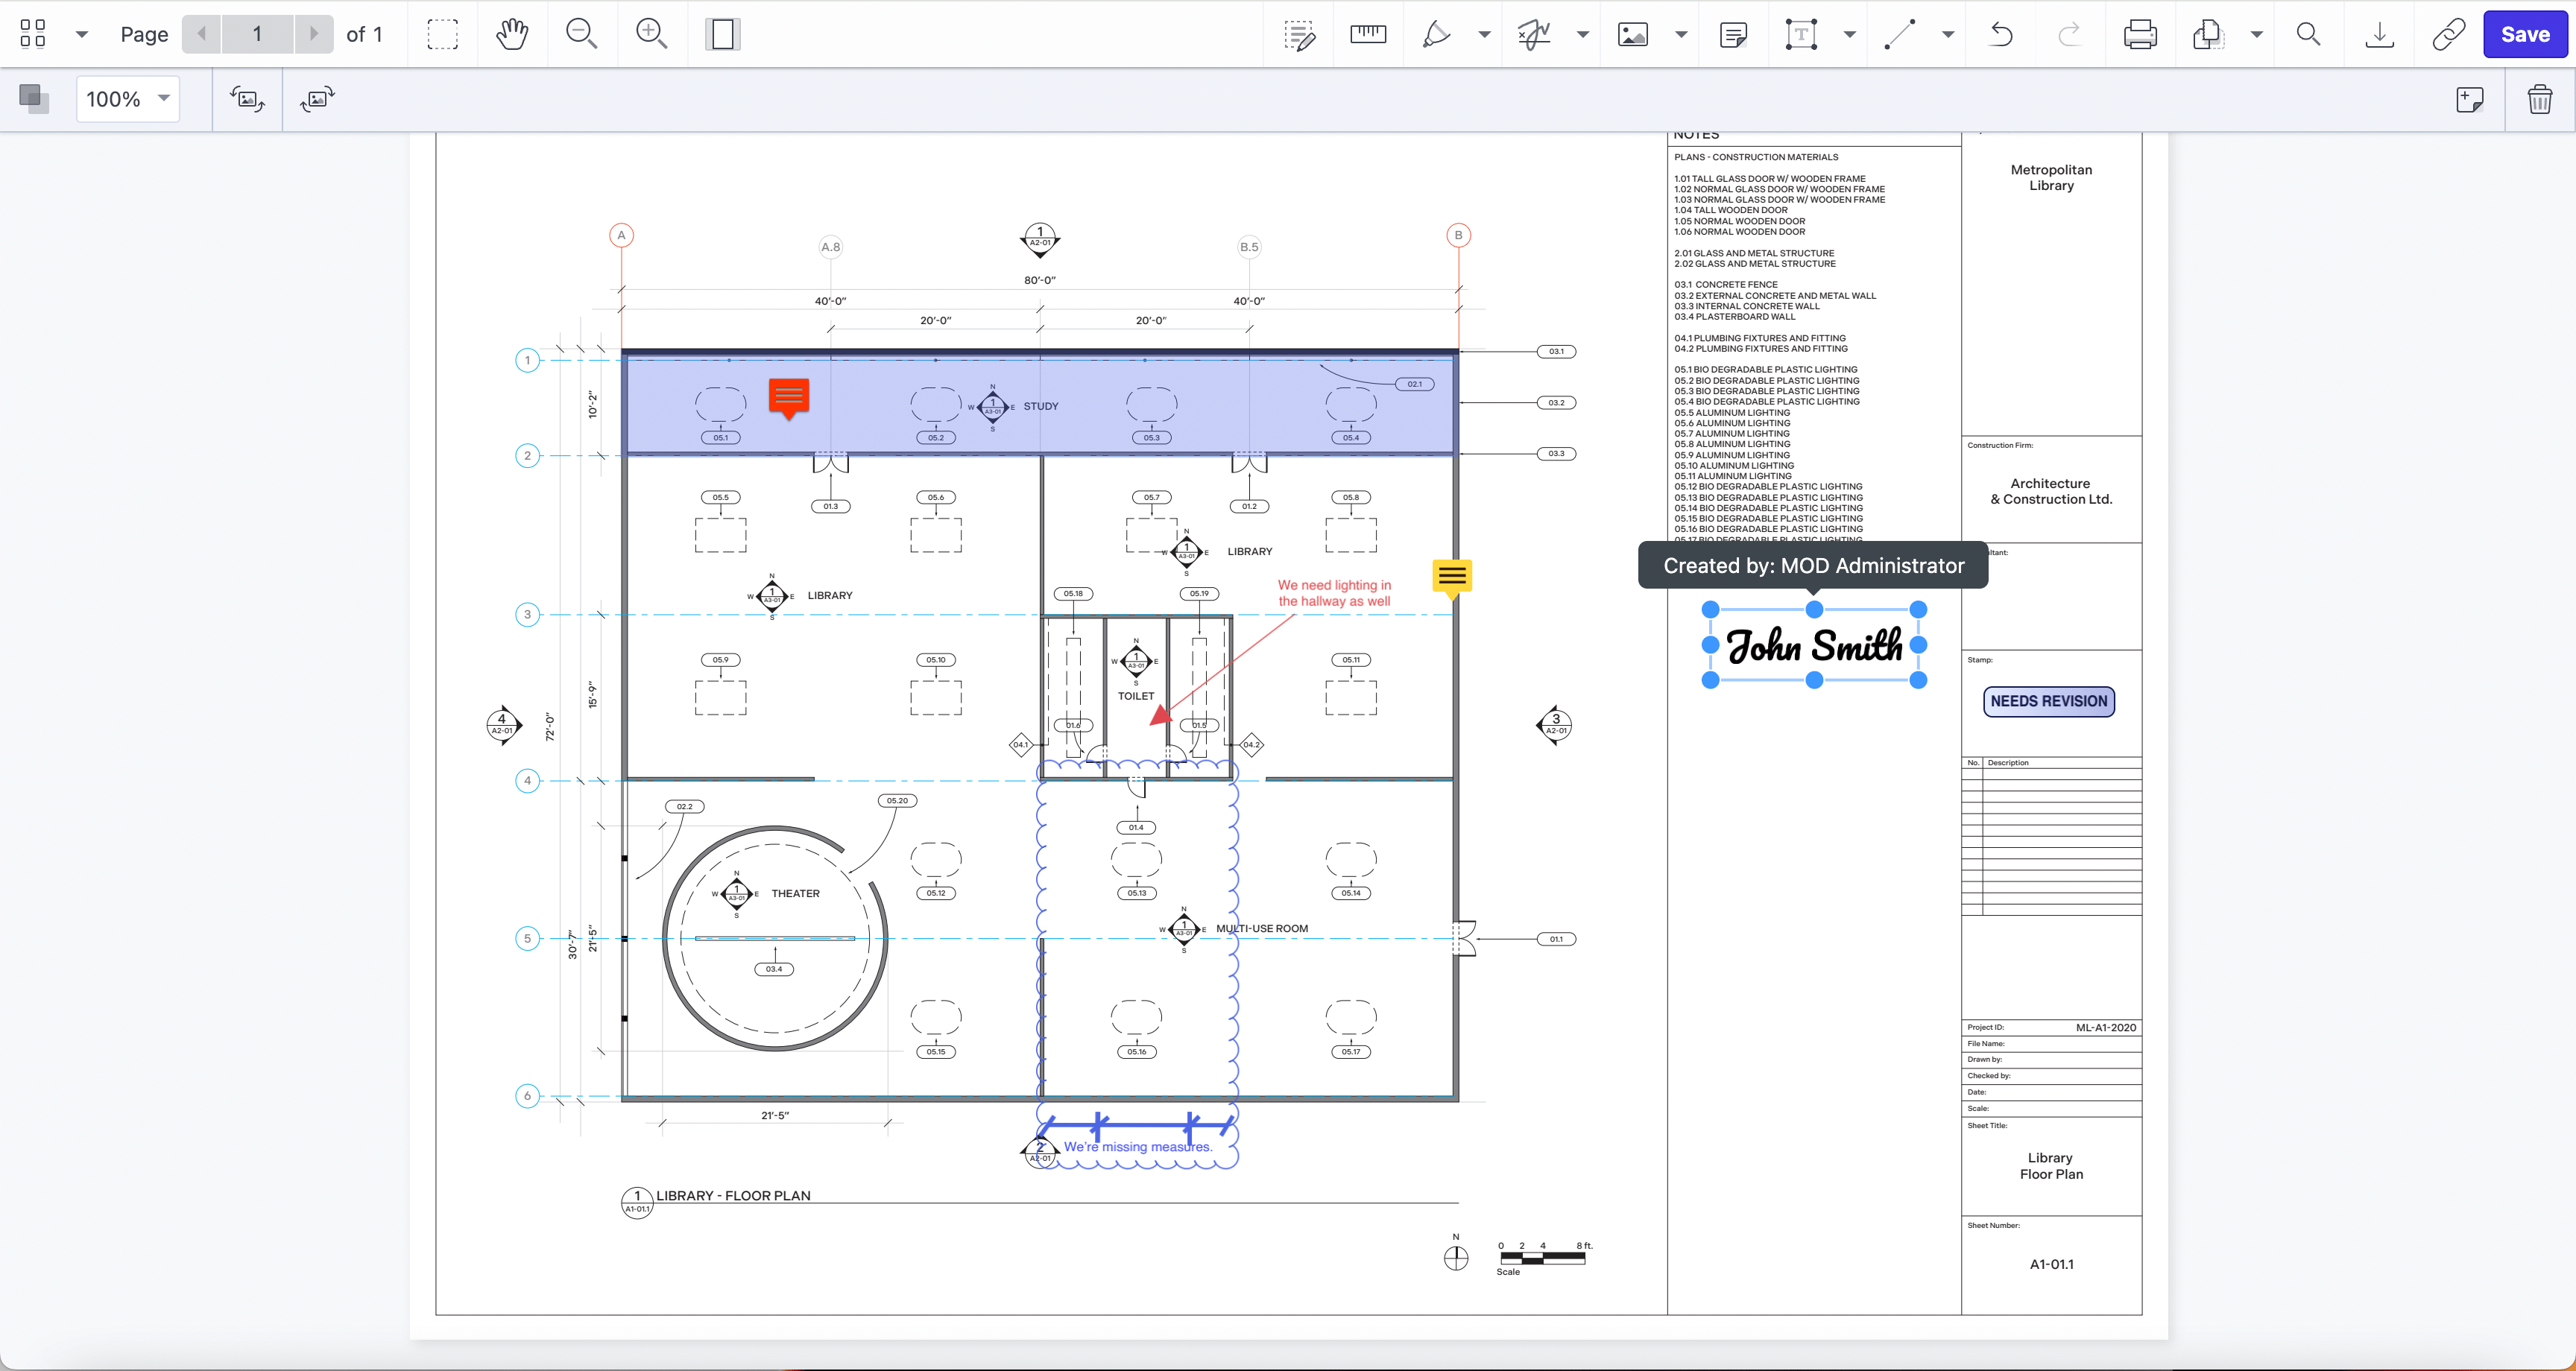
Once you create a signature, it will show up in the PDF document. You can move it and place it where you want, and you can also resize it by adjusting the edges of the signature borders.
How to add comments to PDF in SharePoint
Document Editor for SharePoint lets you annotate and collaborate on documents in SharePoint Online and on-premises. Add sticky notes, comments, shapes, highlights, underlines, strikethroughs, and stamps. Customize the color, opacity, and thickness of your annotations. Automatically add user information for each new annotation to help track feedback in documents.
Start by adding your comment to a specific location in your document, and then customize its colors to make it stand out. Comments can also include a user’s name to help you identify who left specific feedback on a document after multiple users have added comments.
Step 1: Opening PDFs
Select a PDF from the SharePoint library and right-click the three dots menu. Click Edit with PDF Editor.
Step 2: Adding comments to PDFs
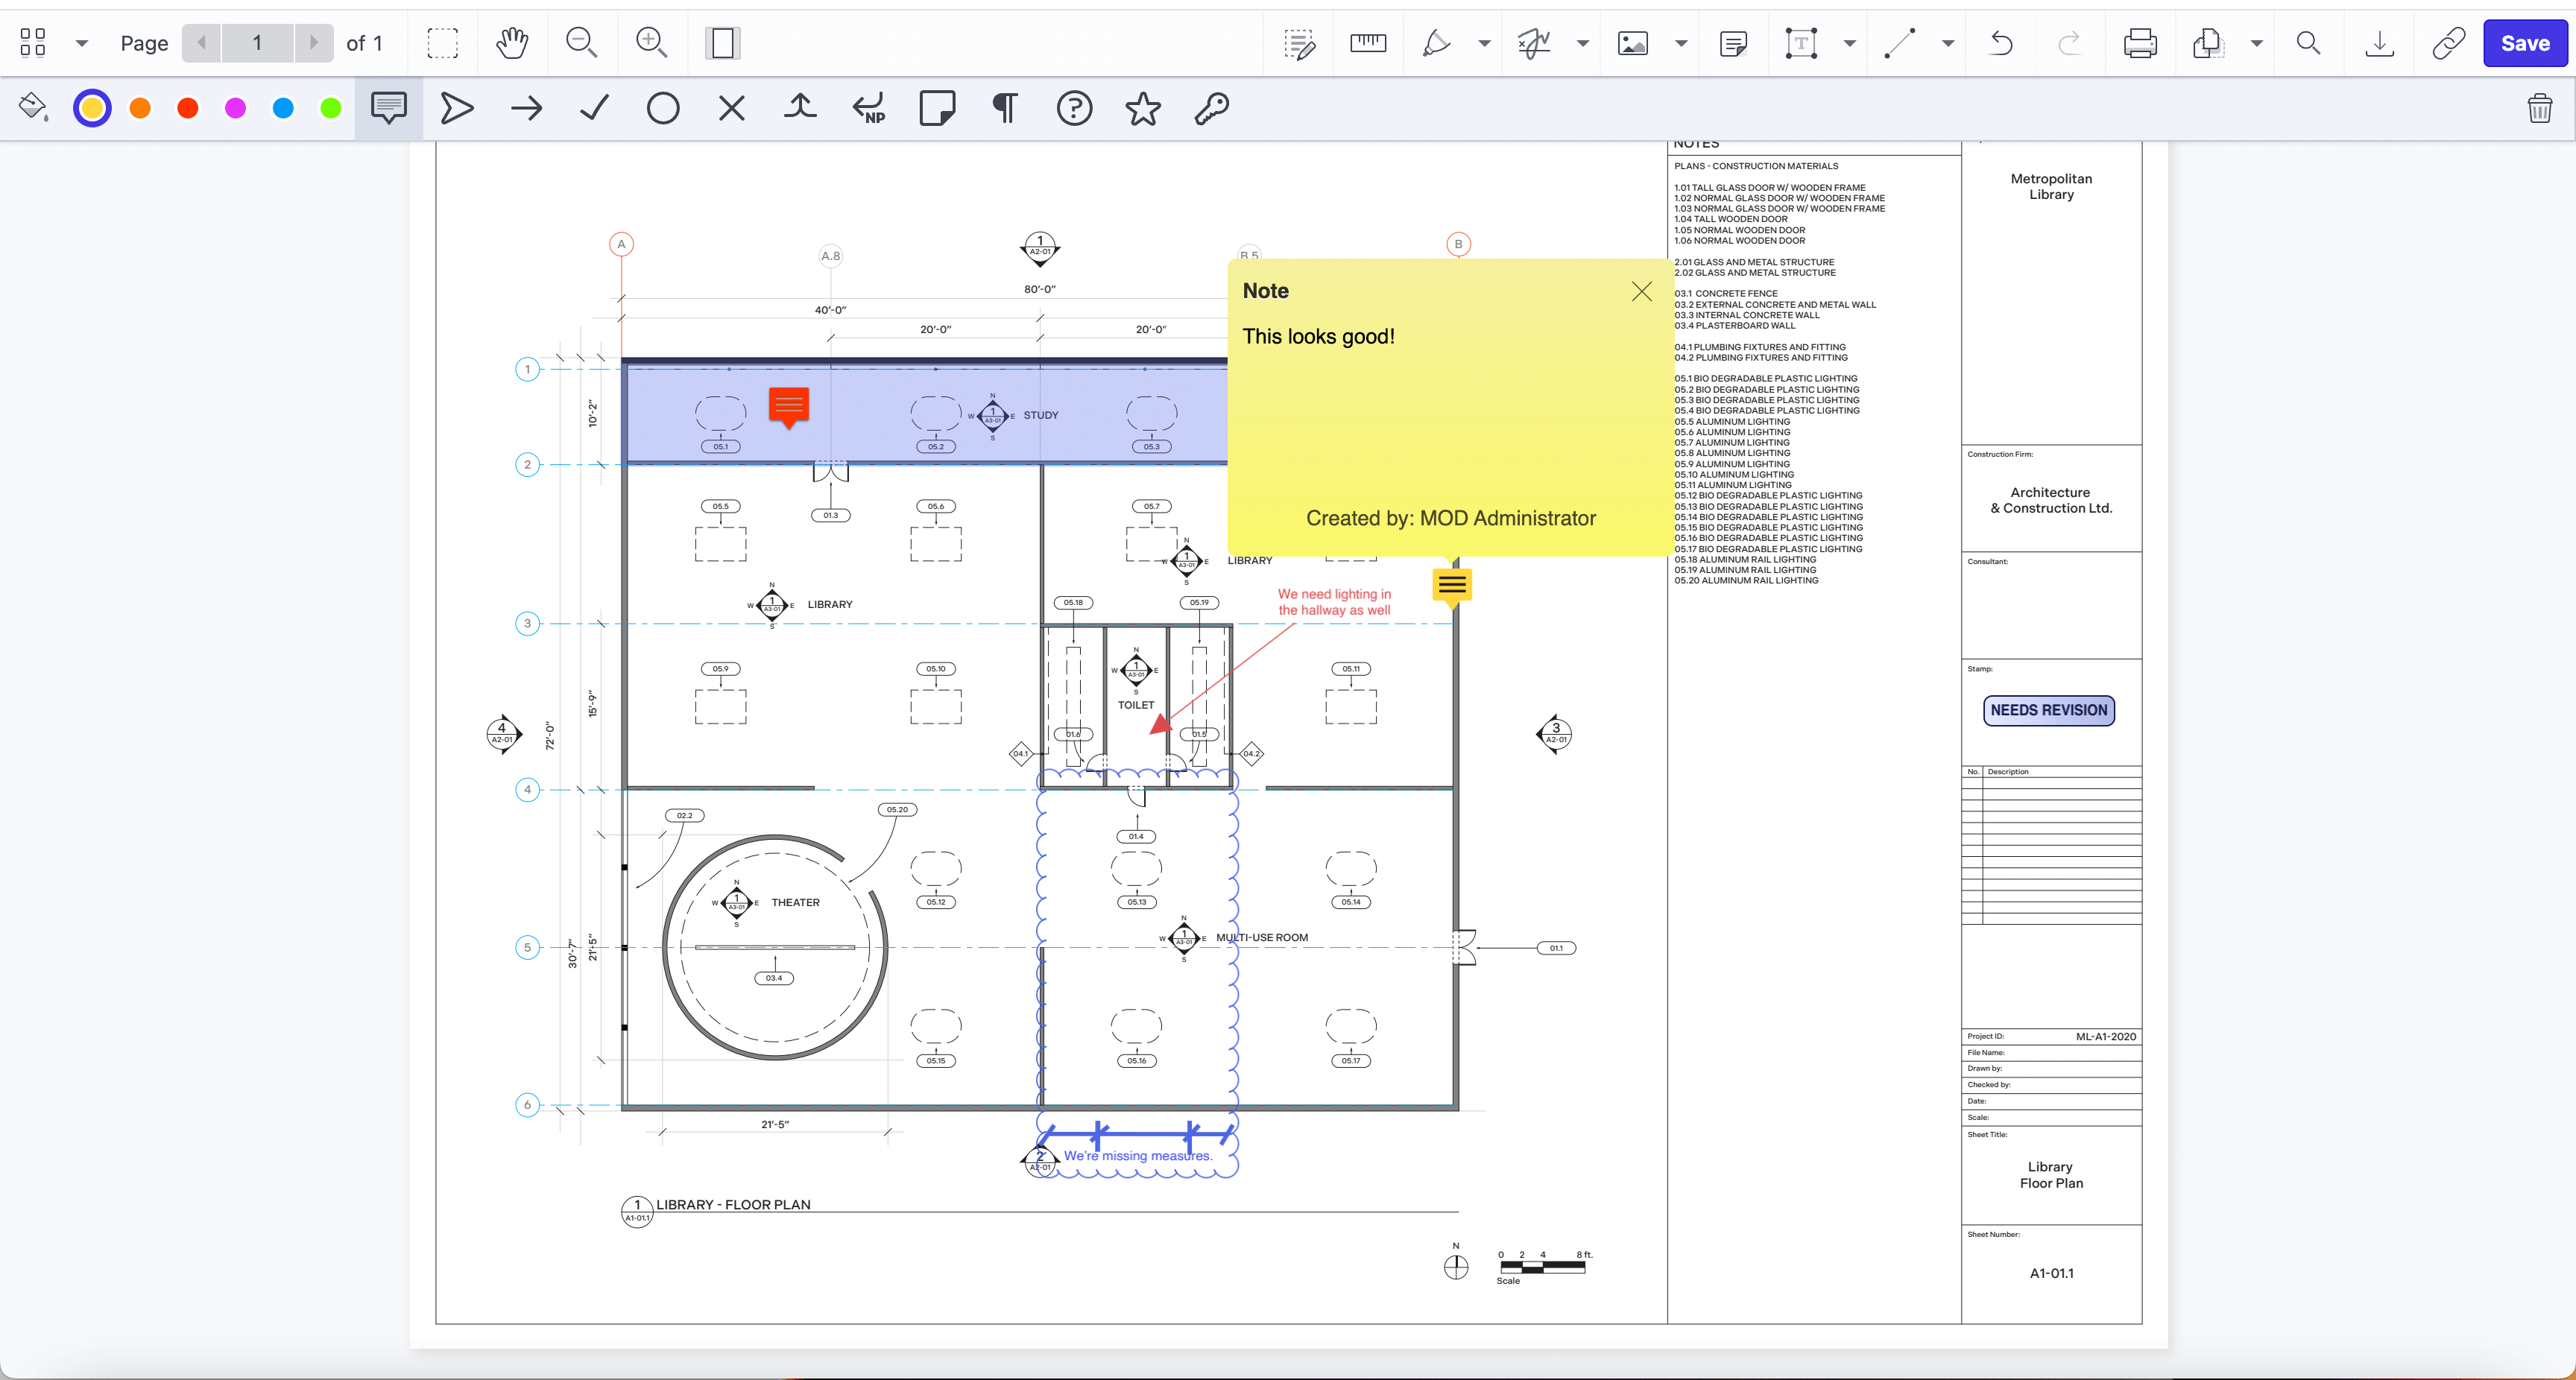
Open the PDF annotation tool by clicking the Note icon.
Select the exact area in the PDF document where you want to add comments and click to open the note field. Type the comment and close the dialog. The PDF annotation will be saved, and you can drag it to another place within the document.
In the top-left corner of the screen, there’s a wide range of options to change the look of your annotations. The default color of the note field is yellow, but there are five other colors to choose from. You can also change the look of the icon of the closed annotation, depending on the type of comment added to the PDF document.
To delete annotations in a PDF, click the recycle bin icon in the top-right corner. Click Save to save the changes to your PDF document.
Conclusion
Construction paperwork challenges are simplified with Document Editor for SharePoint. From streamlining real-time collaboration and decision-making, to expediting approval workflows through electronic signatures, this tool offers an efficient and secure document management solution. Get instant access to Document Editor for SharePoint by downloading it directly from Microsoft AppSource. See how you can easily edit, sign, redact, and annotate PDF files in SharePoint.

Marija is a product marketing manager who likes to launch new products and features and target the right people with them. Outside of work, she likes spending time outdoors with her family and dogs.