


Adding JavaScript digital signatures in PDFs: A full guide
Table of contents

This tutorial demonstrates how to add digital signatures to PDFs using JavaScript with Nutrient Web SDK and the Forge library for cryptography. The implementation involves generating a self-signed certificate with OpenSSL, creating a PKCS#7 signature using public-key infrastructure, and applying it to a PDF document. While self-signed certificates work for testing, production environments should use certificates from trusted authorities. The guide covers the complete workflow — from certificate generation to signature verification — highlighting the security benefits of digital signatures: authentication, integrity, and non-repudiation.
In this post, you’ll learn how to insert a digital signature in a PDF using JavaScript with Nutrient’s JavaScript PDF signature library. You’ll also explore the importance of digital certificates, how to create a self-signed certificate, and how to use it to sign a PDF.
By the end of this tutorial, you’ll be able to:
- Generate a self-signed digital certificate.
- Insert a digital signature in a PDF using JavaScript.
- Verify the signature in tools like Adobe Acrobat Reader.
Why use digital signatures in JavaScript for PDFs?
Digital signatures provide authentication, integrity, and non-repudiation for PDFs. Unlike traditional signatures, digital signatures ensure that a document hasn’t been tampered with and verify the signer’s identity using cryptographic techniques. By using JavaScript, you can automate the signing process and integrate it seamlessly into web applications. Unlike traditional signatures, digital signatures ensure that a document hasn’t been tampered with and verify the signer’s identity using cryptographic techniques. By using JavaScript, you can automate the signing process and integrate it seamlessly into web applications.
Benefits of digital signatures in PDFs
- Authentication — Verifies the identity of the document signer, ensuring the document’s origin is legitimate.
- Integrity — Ensures the document hasn’t been modified after it was signed, offering confidence in the content’s accuracy.
- Non-repudiation — Protects against disputes by preventing signers from denying their signature once it has been applied.
- Automation — Facilitates seamless integration into web applications, streamlining document workflows and enhancing efficiency.
What are eSignatures and digital signatures?
eSignatures (electronic signatures) refers to a broad category that includes any electronic method of signing a document. They can be as simple as typing a name in a digital form or using a scanned image of a handwritten signature.
Digital signatures, on the other hand, are a subset of eSignatures that use cryptographic methods to ensure document integrity and signer authenticity. They rely on public-key infrastructure (PKI)(opens in a new tab) and provide stronger security features than simple eSignatures do.
Distinctions between eSignatures and digital signatures
| Feature | eSignature | Digital signature |
|---|---|---|
| Security | Basic, can be a typed or scanned signature | Uses cryptographic encryption (PKI) |
| Verification | May require manual validation | Automatically verified with public keys |
| Integrity protection | No tamper detection | Detects any modifications |
| Legal validity | Accepted in most cases | More legally robust and compliant |
| Use case | General document signing | Secure and legally binding agreements |
What are digital certificates and why are they important for digital signatures?
Traditionally, signatures are used to verify identity. For example, consider bank checks, which require physical signatures to confirm ownership. If a signature is forged, a check can’t be deposited.
Digital signatures are an enhanced version of a regular signature. You can digitally sign a document and confirm that it belongs to you, and anyone who then opens the document will be able to see that you signed it. It can also alert the viewer if someone has tried to tamper with the document after it was signed.
To achieve this, digital signatures rely on public-key cryptography. To digitally sign a document, a user needs to generate a public and private key pair (unless they already have one). This can easily be done using a tool like OpenSSL. One key (the private key) is used to sign the document, and the other key (the public key) is used to verify that the signature is valid and the data hasn’t been tampered with.
After a document has been digitally signed, you’ll see something like what’s shown below in Adobe Acrobat Reader (or any other tool that supports digital signatures).
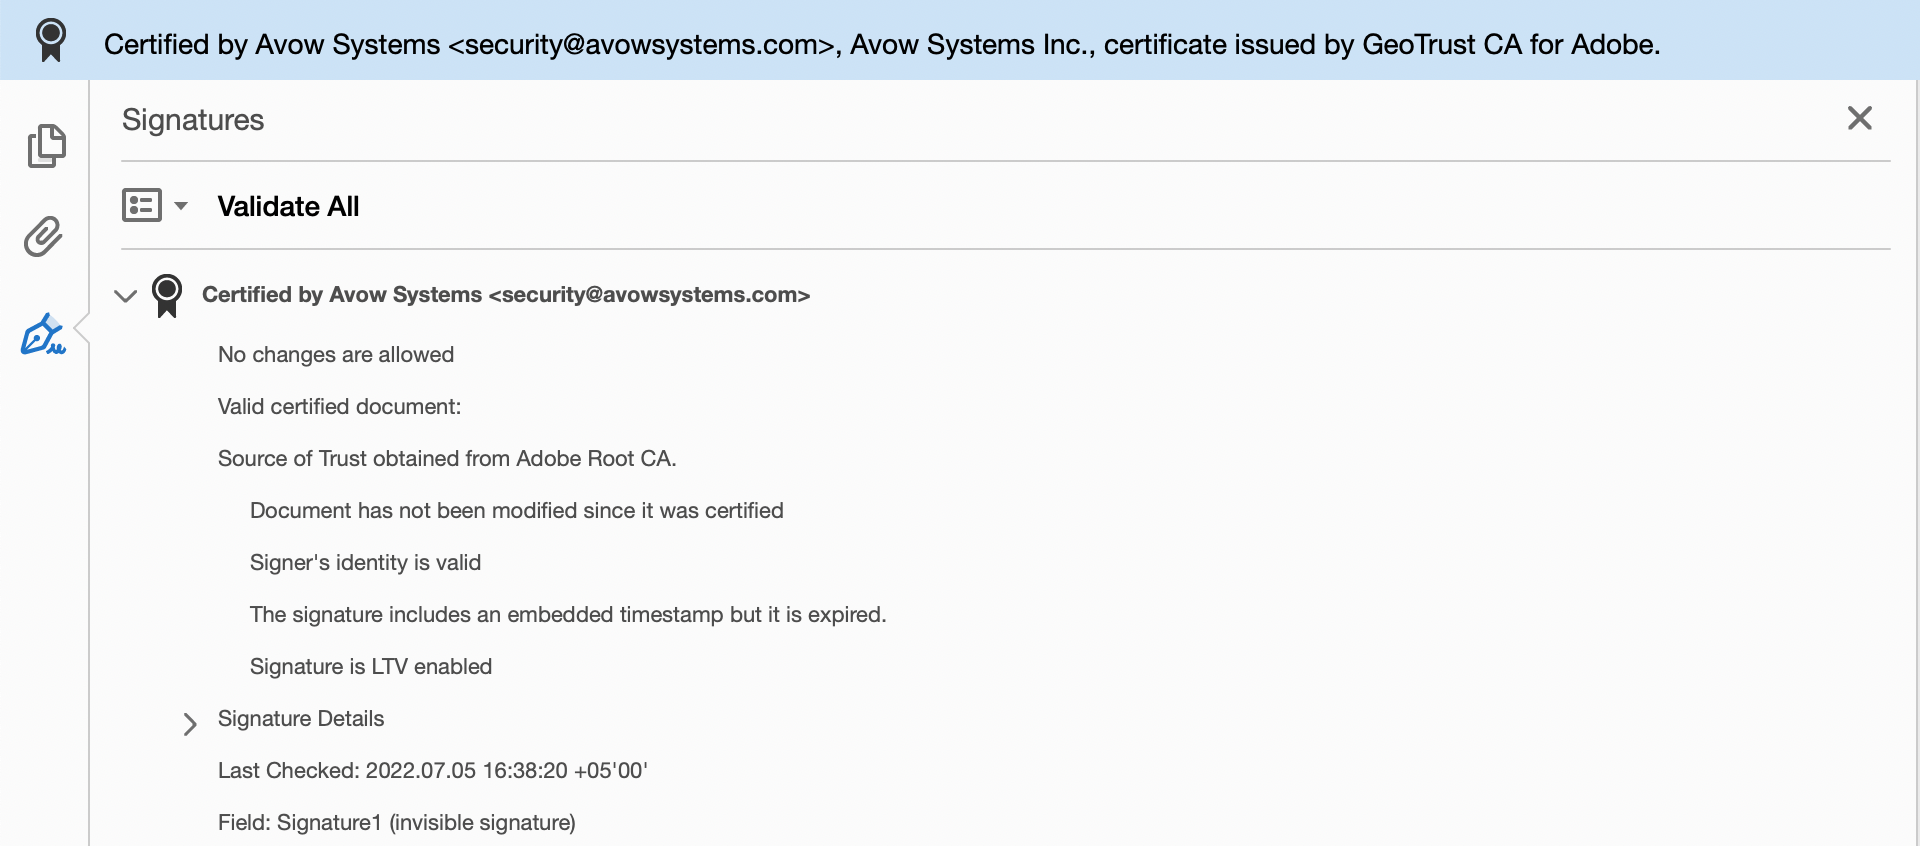
If you plan on using digital signatures, you’ll have to work with a digital security company like DigiCert and buy one. These kinds of companies confirm your identity and make sure you’re exactly who you say you are. They then issue you a certificate, and any document signed with that certificate will be certified and validated on all other devices.
If you use a self-signed certificate, Adobe will show a warning that the certificate is self-signed and the owner may not be who they say they are. In this article, the focus will be on self-signed certificates; however, the process for inserting a digital signature is exactly the same for paid certificates.
Setting up your development environment
Before diving into the code, first set up the environment for JavaScript digital signature implementation.
Prerequisites
- Node.js: Ensure Node.js is installed on your machine.
- Nutrient Web SDK: Download the Nutrient standalone vanilla JavaScript package(opens in a new tab).
- OpenSSL: For generating self-signed certificates (preinstalled on macOS and Linux).
If you need OpenSSL, install it using a package manager:
# For macOSbrew install openssl
# For Linux (Debian-based)sudo apt install openssl
Generating a self-signed certificate
There are multiple ways you can generate a self-signed certificate. You can use Adobe Acrobat Reader, or you can use the free tool openssl. OpenSSL(opens in a new tab) comes with macOS and Linux by default, so for the purposes of this post, use that.
Create a new folder named pspdfkit-demo and then run the following command in the terminal within that folder:
openssl req -x509 -sha256 -nodes -newkey rsa:2048 -extensions v3_req -keyout private-key.pem -out cert.pemIn the command, you’re requesting an x509 certificate from OpenSSL. You tell it to use SHA256 as the hash function, and you use the -nodes flag to ensure your private key file isn’t encrypted. You can get rid of this flag for production keys. You then tell OpenSSL to use RSA with 2,048 bits as the key size and ask it to use the v3_req extension. Finally, you name your private key private-key.pem and the certificate cert.pem. The certificate file contains your public key within it.
While running the command, you might encounter this error:
Error Loading extension section v3_reqIf this happens, add the following content at the end of the /etc/ssl/openssl.cnf file and rerun the command:
[ v3_req ]basicConstraints = CA:TRUEkeyUsage = nonRepudiation, digitalSignature, keyEnciphermentIf you can’t find the /etc/ssl/openssl.cnf file, you can locate the OpenSSL directory by running this command:
openssl version -a | grep OPENSSLDIRopenssl.cnf will be located at the printed path. If it doesn’t work, refer to the Stack Overflow question about finding the correct openssl.cnf file(opens in a new tab).
Now you’ll have two new files in the pspdfkit-demo folder:
private-key.pemcert.pem
When to use a self-signed certificate vs. a paid certificate
A self-signed certificate is suitable for testing, internal applications, or development environments where trust isn’t a concern. However, for production use, a paid certificate issued by a trusted Certificate Authority (CA)(opens in a new tab) ensures wider acceptance and compliance and eliminates security warnings in tools like Adobe Acrobat Reader.
Getting the Nutrient source
Before continuing, download the Nutrient distribution source. You can easily do that by downloading the Nutrient standalone vanilla JavaScript package(opens in a new tab).
Extract the files from the downloaded archive and you’ll end up with something like this:
├── Documentation.html├── Examples.html├── LICENSE.md├── README.md├── dist│ ├── index.d.ts│ ├── modern│ │ ├── pspdfkit-lib│ │ │ ├── Caveat-Bold.woff│ │ │ ├── ...│ │ │ └── windows-ba2e2d3f7c5061a9.css│ │ └── pspdfkit.js│ ├── pspdfkit-lib│ │ ├── Caveat-Bold.woff│ │ ├── Caveat-Bold.woff2│ │ ├── ...│ │ └── windows-ba2e2d3f7c5061a9.css│ └── pspdfkit.js└── package.jsonMove this entire directory to the pspdfkit-demo folder. Now that you have the distribution source code, you’ll create a sample PDF you can use for test purposes.
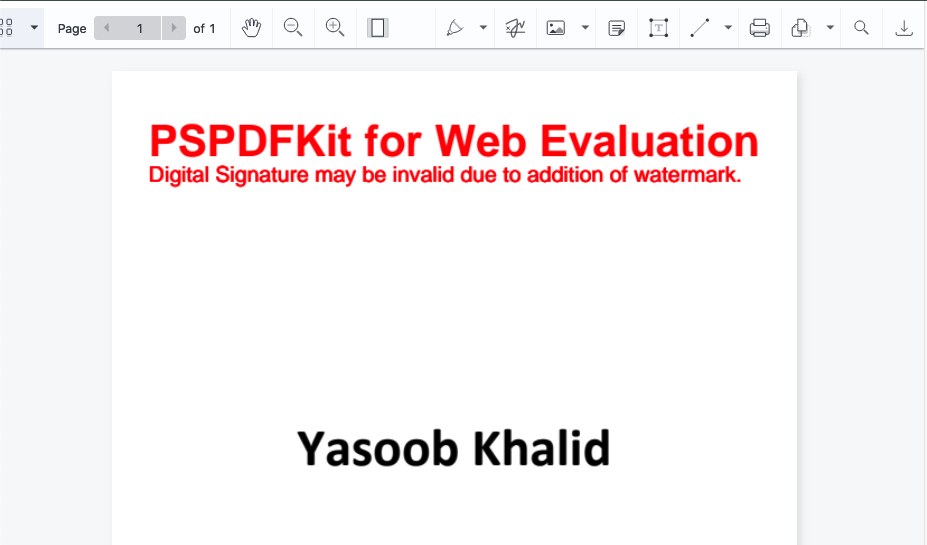
You can open any word processor like Word or Google Docs and export a simple PDF file, such as one with your name on it.
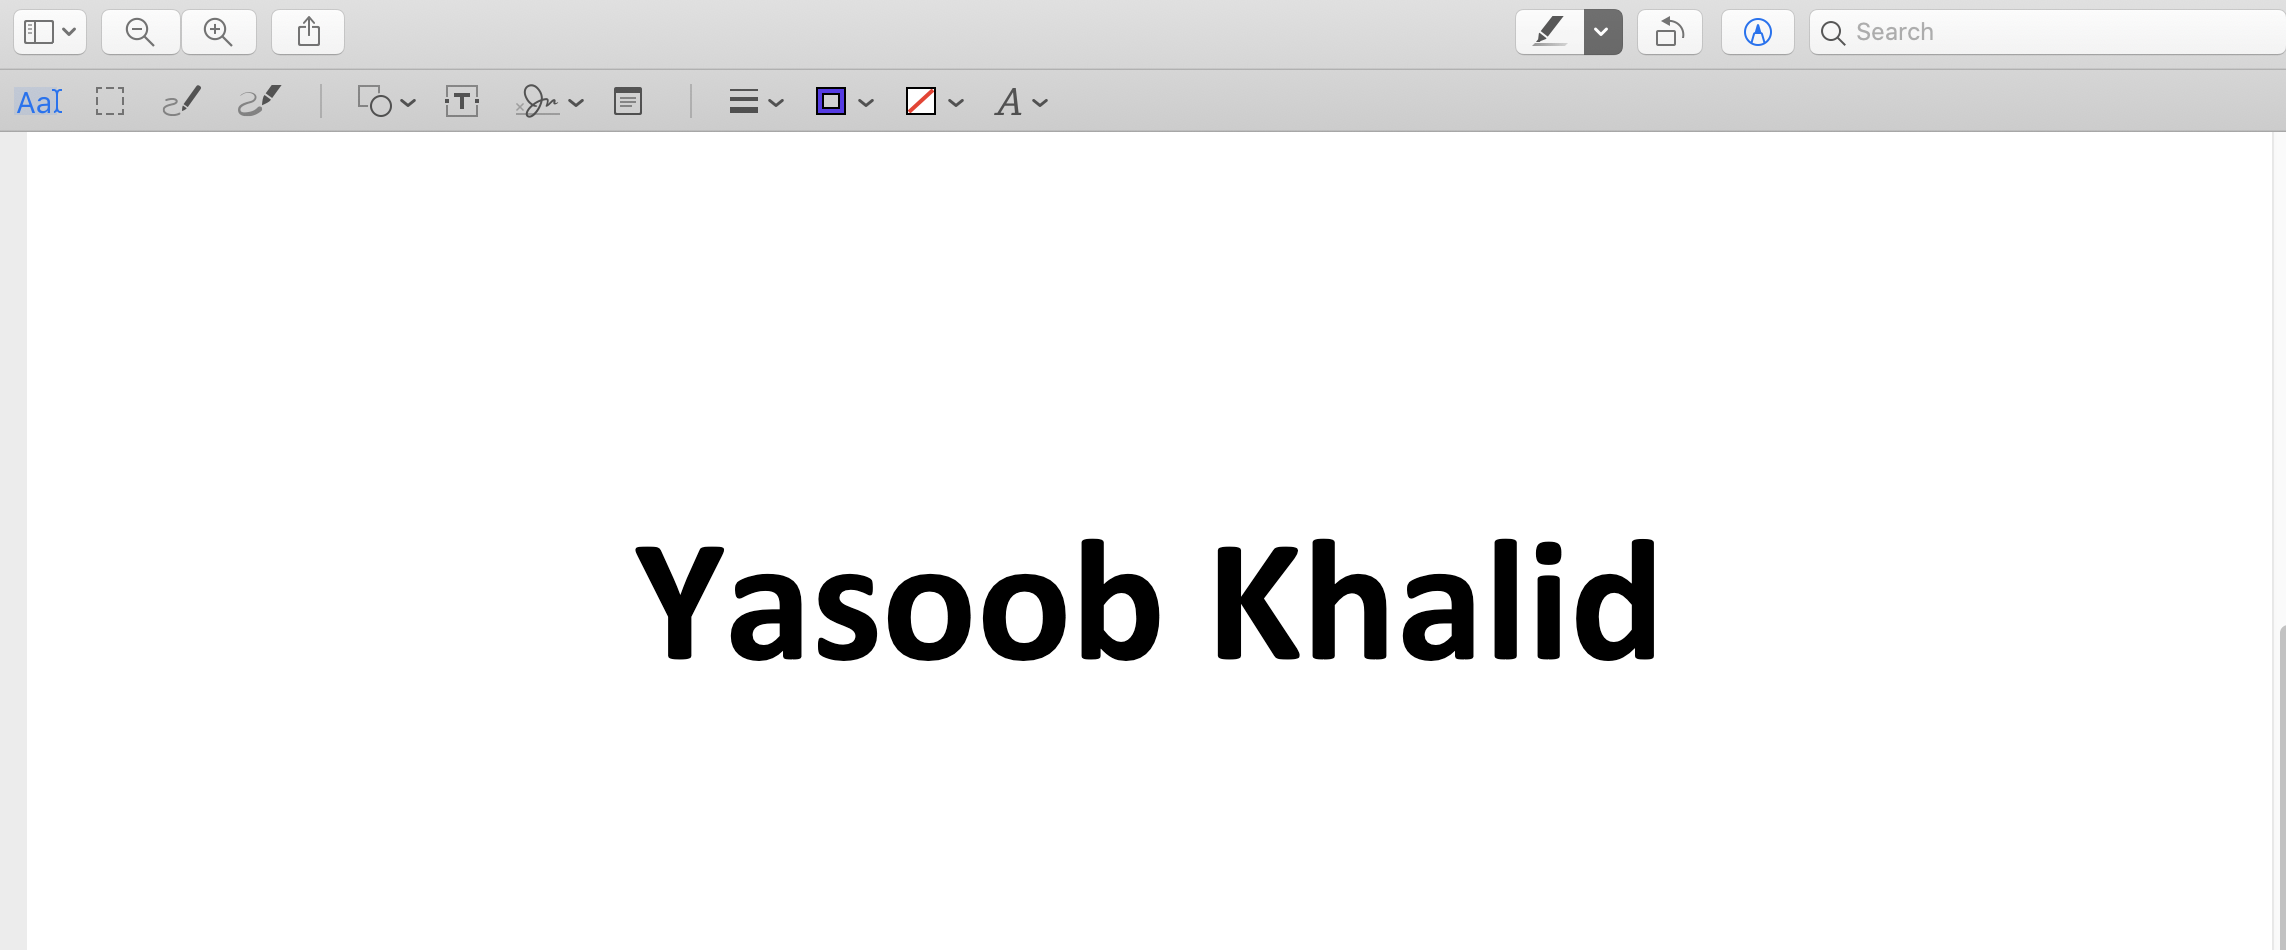
Save this file in the pspdfkit-demo folder with the name sample.pdf. Now the pspdfkit-demo folder will have the following files/folders in its root:
cert.pem private-key.pem pspdfkitsample.pdfInside the pspdfkit folder, you’ll find the Nutrient JavaScript package. Everything else is the same as before.
Opening the PDF using Nutrient
This section will walk through the steps required to digitally sign a PDF using JavaScript. You’ll learn how to integrate Nutrient, generate a digital signature, and apply it to a document. By the end, you’ll have a functional implementation that ensures the authenticity and integrity of your PDFs.
Create an index.html file and save it in the pspdfkit-demo folder. This file will contain all of the code for using Nutrient to open and manipulate a PDF. Add the following code in this file:
<!DOCTYPE html><html lang="en-US"> <head> <meta charset="UTF-8" /> <title>Demo</title> <style> .pdfdiv { width: 100vw; height: 100vh; } </style> </head> <body> <div class="pdfdiv"></div> <script src="pspdfkit/dist/pspdfkit.js"></script> <script> var instance = PSPDFKit.load({ document: 'sample.pdf', container: '.pdfdiv', }) .then((instance) => { console.log('Successfully mounted PSPDFKit', instance); }) .catch((error) => { console.error(error.message); }); </script> </body></html>Most of this code comes from the official documentation. You create a div with the pdfdiv class, which is where Nutrient will load the PDF file. You then give this div a width and a height. This is required because Nutrient uses the height and width of the div to figure out how much space it should take. By default, the container has no width and height, and that prevents Nutrient from successfully initializing.
Then, initialize Nutrient using the .load method. Pass in the path to a PDF file and the target div where you want Nutrient to load it. The licenseKey line that’s present in the official documentation has been removed, as you don’t need to have a valid license when trying Nutrient.
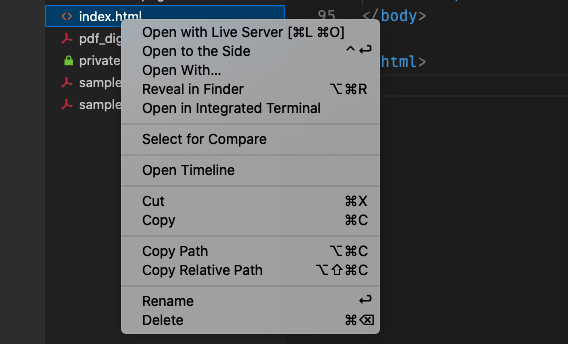
You can’t open this HTML file directly in your browser, so you need to use a server. This way, your file paths will behave correctly and you won’t have any file loading issues. The easiest way to do this is to install the free Live Server(opens in a new tab) extension for VSCode and use that to open your index.html file in the browser. Once the extension is installed, right-click on the file in the sidebar and choose Open with Live Server.
One additional benefit of using this extension is that it provides live reload functionality: The browser will automatically refresh whenever you make any changes to the file.
If you aren’t using VSCode and would prefer to use something else, you can also use serve(opens in a new tab).
If everything works, you’ll see something like what’s shown below in your browser.
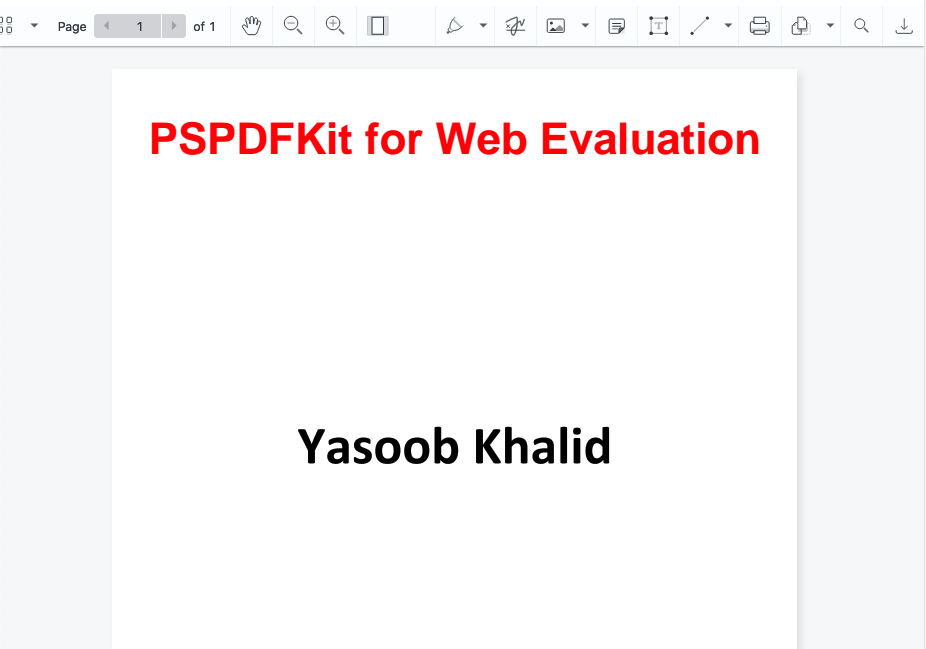
Now, it’s time to figure out how to digitally sign the document.
Adding a JavaScript digital signature to a PDF
Before diving into the code, it’s important to understand why signing a PDF is necessary. Digital signatures ensure the authenticity and integrity of a document, verifying the signer’s identity and detecting any modifications made after signing. This adds a layer of trust and security, making the document legally binding in many cases.
The image below shows what the signature creation workflow looks like, according to Adobe(opens in a new tab).
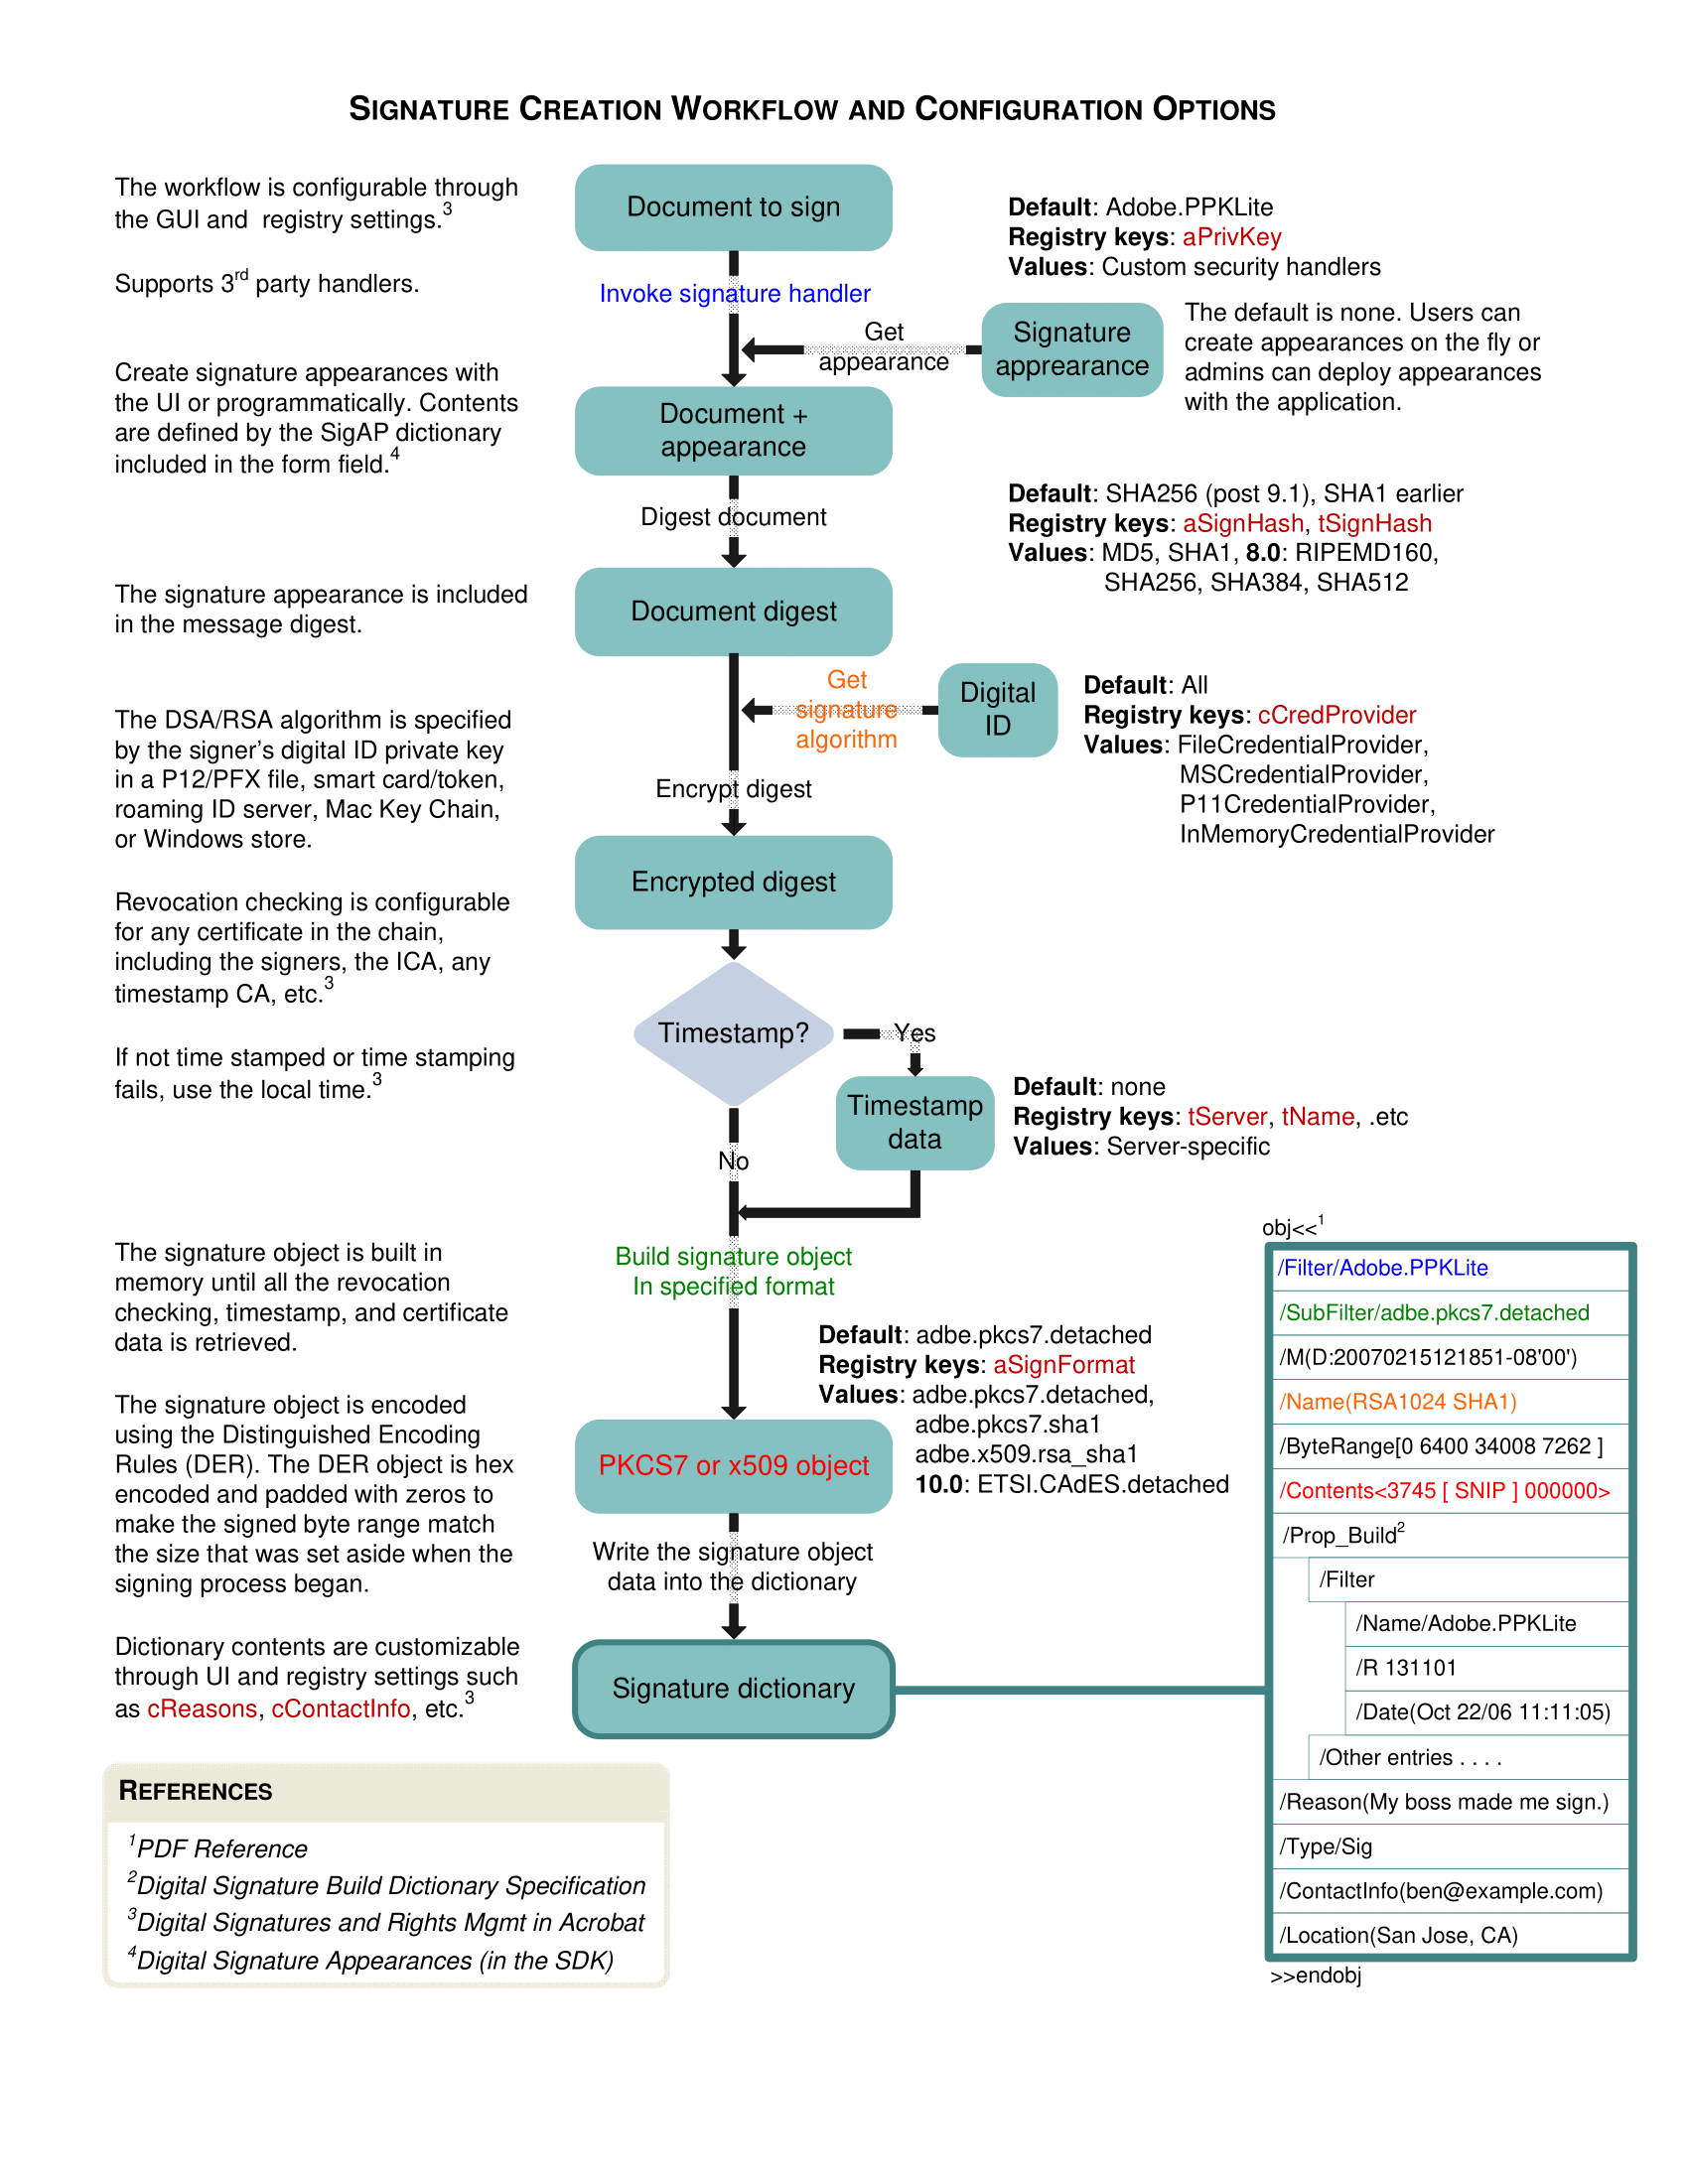
There are a few steps listed here that will be covered one by one. However, one thing to note right now is that you need to encrypt some data, and Nutrient doesn’t natively support this. For encryption and working with certificate files, you’ll instead rely on an external open source library called Forge(opens in a new tab). Forge will do all the cryptography-related heavy lifting for you and let you focus on the overarching signing workflow.
To use Forge in your project, add this script tag in the body section of index.html. You can put it below the pspdfkit.js script tag:
<script src="https://cdn.jsdelivr.net/npm/node-forge@1.0.0/dist/forge.min.js"></script>Now, back to the workflow. You need to create a digest of the document, and the recommended algorithm for that is SHA256. You then need to encrypt the digest using RSA, and you can potentially add some authenticated attributes, like signing time. All of this can easily be done using Forge.
First, take a look at the code:
function generatePKCS7({ fileContents }) {  const certificatePromise = fetch('cert.pem').then((response) =>    response.text(),  );  const privateKeyPromise = fetch('private-key.pem').then((response) =>    response.text(),  );  return new Promise((resolve, reject) => {    Promise.all([certificatePromise, privateKeyPromise])      .then(([certificatePem, privateKeyPem]) => {        const certificate = forge.pki.certificateFromPem(          certificatePem,        );        const privateKey = forge.pki.privateKeyFromPem(          privateKeyPem,        );
        const p7 = forge.pkcs7.createSignedData();        p7.content = new forge.util.ByteBuffer(fileContents);        p7.addCertificate(certificate);        p7.addSigner({          key: privateKey,          certificate: certificate,          digestAlgorithm: forge.pki.oids.sha256,          authenticatedAttributes: [            {              type: forge.pki.oids.contentType,              value: forge.pki.oids.data,            },            {              type: forge.pki.oids.messageDigest,            },            {              type: forge.pki.oids.signingTime,              value: new Date(),            },          ],        });
        p7.sign({ detached: true });        const result = stringToArrayBuffer(          forge.asn1.toDer(p7.toAsn1()).getBytes(),        );        resolve(result);      })      .catch(reject);  });}
function stringToArrayBuffer(binaryString) {  const buffer = new ArrayBuffer(binaryString.length);  let bufferView = new Uint8Array(buffer);  for (let i = 0, len = binaryString.length; i < len; i++) {    bufferView[i] = binaryString.charCodeAt(i);  }  return buffer;}
In the code above, you start by downloading your certificate and private key using fetch. These files are located next to index.html in the pspdfkit-demo folder. Then, you load these files using Forge and create some new PKCS#7 signed data. You add the private key and certificate information to the PKCS#7 object, and you instruct Forge to use SHA256 as the digest algorithm and use contentType, messageDigest, and signingTime as the authenticated attributes. The message digest is auto-populated at the time of signing. Finally, you sign the data using the sign method and use detached: true as instructed by Adobe.
detached: true ensures only the signature and certificate (and not the signed data) are included in the output object.
In the end, you also serialize the PKCS#7 object to Distinguished Encoding Rules (DER) and convert that into an array of bytes, as this is what Nutrient expects as the return value from your digital signature function.
What’s now left is to actually use this code to add a JavaScript digital signature to your PDF document. You can do this by modifying your original PDF loading function like this:
var instance = PSPDFKit.load({ document: 'sample.pdf', container: '.pdfdiv',}) .then((instance) => { console.log('Successfully mounted PSPDFKit', instance); instance .signDocument(null, generatePKCS7) .then(() => { console.log('document signed.'); }) .catch((error) => { console.error('The document could not be signed.', error); }); }) .catch((error) => { console.error(error.message); });Save the index.html file and refresh the browser. You’ll see something like what’s shown below.
This is what the final index.html file looks like:
<!DOCTYPE html><html lang="en-US">  <head>    <meta charset="UTF-8" />    <title>Demo</title>    <style>      .pdfdiv {        width: 100vw;        height: 100vh;      }    </style>  </head>
  <body>    <div class="pdfdiv"></div>    <script src="pspdfkit/dist/pspdfkit.js"></script>    <script src="https://cdn.jsdelivr.net/npm/node-forge@1.0.0/dist/forge.min.js"></script>    <script>      var instance = PSPDFKit.load({        document: 'sample.pdf',        container: '.pdfdiv',      })        .then((instance) => {          console.log('Successfully mounted PSPDFKit', instance);          instance            .signDocument(null, generatePKCS7)            .then(() => {              console.log('document signed.');            })            .catch((error) => {              console.error(                'The document could not be signed.',                error,              );            });        })        .catch((error) => {          console.error(error.message);        });
      function generatePKCS7({ fileContents }) {        const certificatePromise = fetch(          'cert.pem',        ).then((response) => response.text());        const privateKeyPromise = fetch(          'private-key.pem',        ).then((response) => response.text());        return new Promise((resolve, reject) => {          Promise.all([certificatePromise, privateKeyPromise])            .then(([certificatePem, privateKeyPem]) => {              const certificate = forge.pki.certificateFromPem(                certificatePem,              );              const privateKey = forge.pki.privateKeyFromPem(                privateKeyPem,              );
              const p7 = forge.pkcs7.createSignedData();              p7.content = new forge.util.ByteBuffer(                fileContents,              );              p7.addCertificate(certificate);              p7.addSigner({                key: privateKey,                certificate: certificate,                digestAlgorithm: forge.pki.oids.sha256,                authenticatedAttributes: [                  {                    type: forge.pki.oids.contentType,                    value: forge.pki.oids.data,                  },                  {                    type: forge.pki.oids.messageDigest,                  },                  {                    type: forge.pki.oids.signingTime,                    value: new Date(),                  },                ],              });
              p7.sign({ detached: true });              const result = stringToArrayBuffer(                forge.asn1.toDer(p7.toAsn1()).getBytes(),              );              resolve(result);            })            .catch(reject);        });      }
      // https://developers.google.com/web/updates/2012/06/How-to-convert-ArrayBuffer-to-and-from-String      function stringToArrayBuffer(binaryString) {        const buffer = new ArrayBuffer(binaryString.length);        let bufferView = new Uint8Array(buffer);        for (let i = 0, len = binaryString.length; i < len; i++) {          bufferView[i] = binaryString.charCodeAt(i);        }        return buffer;      }    </script>  </body></html>
Troubleshooting common issues
1. Handling self-signed certificate warnings
Browsers and PDF viewers may show warnings for self-signed certificates. To avoid this, obtain a certificate from a trusted authority like DigiCert or GlobalSign.
2. Ensuring cross-browser compatibility
Some browsers have restrictions on cryptographic operations. Use the Web Crypto API(opens in a new tab) or third-party libraries like forge for broader support:
npm install node-forgeconst forge = require('node-forge');3. Maintaining security standards
- Store private keys securely (e.g. using hardware security modules or environment variables).
- Use SHA-256 for hashing to ensure compliance with modern security standards.
- Always verify signatures before processing signed documents.
Best practices for managing digital signatures
Security best practices
- Use strong encryption — Always use RSA with at least 2048-bit keys.
- Manage private keys securely — Store private keys in a secure hardware module or key vault to prevent unauthorized access.
- Validate signatures — Ensure documents haven’t been altered post-signing by verifying signatures against the public key.
- Use trusted certificate authorities — For production use, obtain certificates from a recognized Certificate Authority (CA) to ensure trustworthiness.
Compliance best practices
- Adhere to legal standards — Follow global regulations such as eIDAS(opens in a new tab), UETA(opens in a new tab), and ESIGN(opens in a new tab) to ensure legally binding digital signatures.
- Implement audit trails — Maintain logs of signing activities for accountability and regulatory compliance.
Development best practices
- Ensure cross-platform compatibility — Test digital signatures in multiple PDF readers and devices to prevent validation issues.
- Handle different certificate types — Support both self-signed and CA-issued certificates for flexibility in development and production environments.
- Provide user-friendly signing workflows — Implement clear UI elements to guide users through the signing and verification process.
By following these best practices, you can build a robust and secure digital signing solution while ensuring compliance with industry standards.
Conclusion
Congrats! You just signed a PDF using your very own digital signature. You can open this PDF in Adobe Acrobat Reader and confirm the signature details.
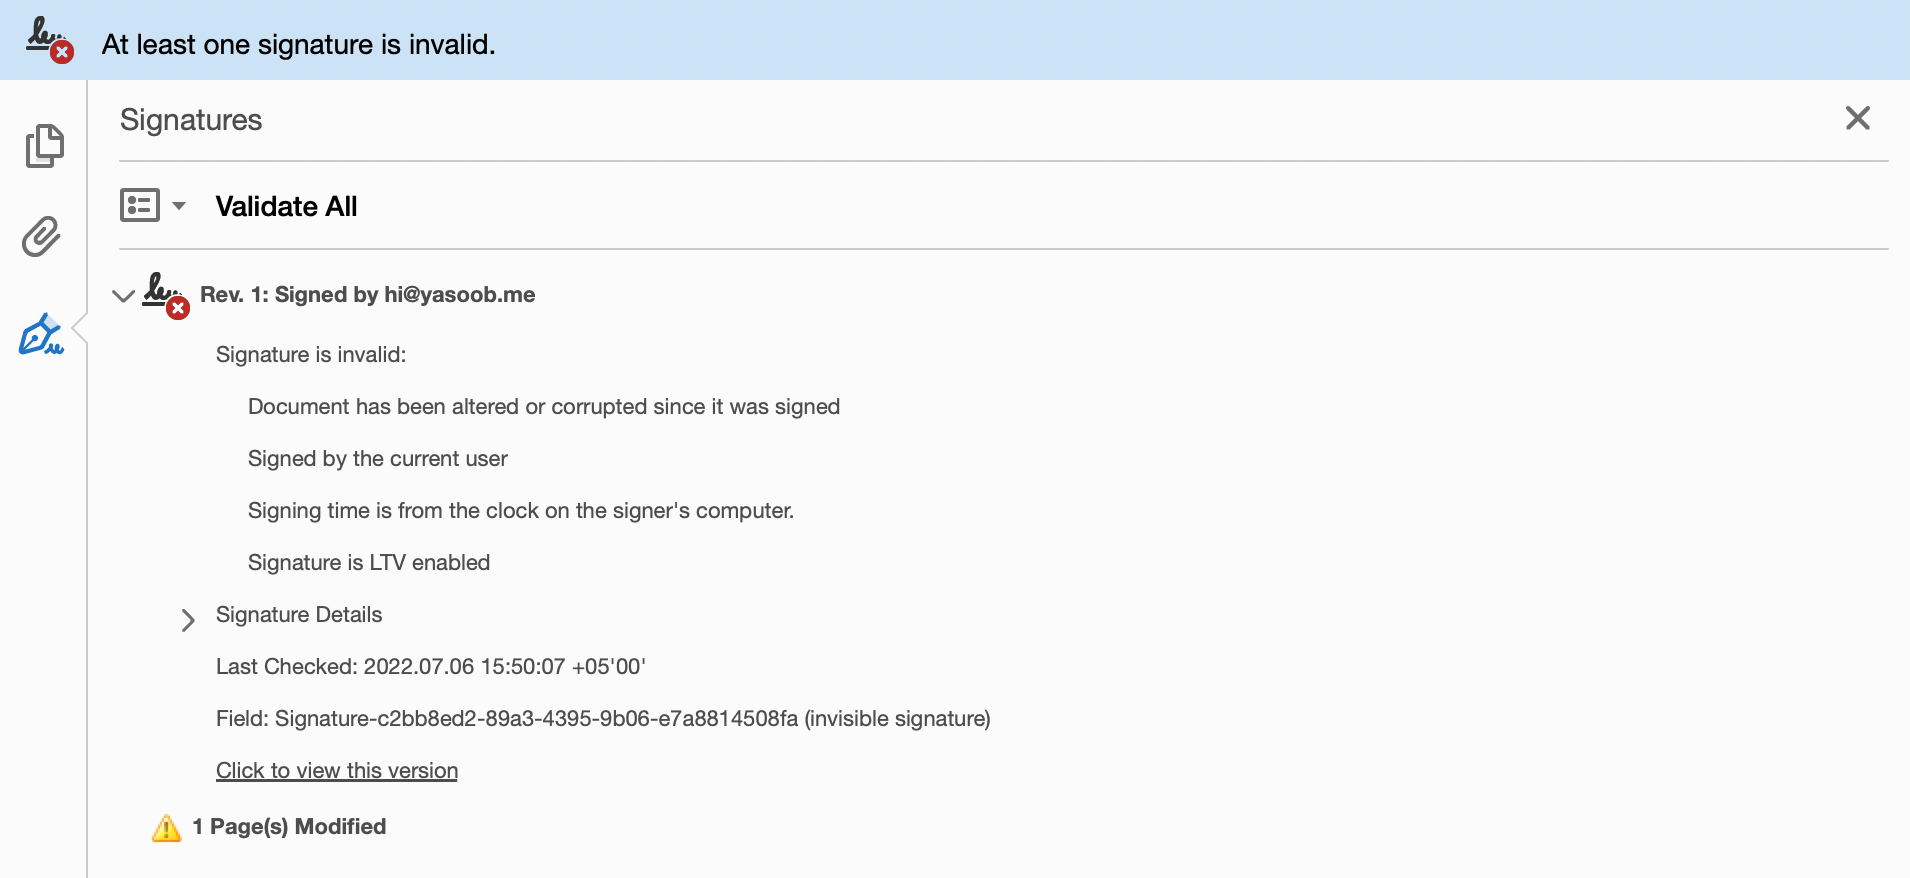
The signature may be temporarily invalid because of the Nutrient license watermark. This doesn’t happen when using the licensed version.
If you have any questions, feel free to reach out to our Support team. To get started with Nutrient’s digital signature SDK, start your free trial.
If you want to learn more about OpenSSL and the related topics discussed in this article, feel free to browse through some of the links below:
- Nutrient API reference —
signDocument - Supported digital signature methods in Nutrient
- Digital signature entry on Wikipedia(opens in a new tab)
- OpenSSL command cheatsheet(opens in a new tab)
- OpenSSL Essentials: Working with SSL Certificates, Private Keys and CSRs(opens in a new tab)
- A Warm Welcome to ASN.1 and DER(opens in a new tab)
FAQ
You can use Nutrient’s signDocument method with Forge for cryptographic operations to insert a digital signature into a PDF.
A digital certificate verifies the signer’s identity and ensures document integrity using public-key cryptography.
Generate a self-signed certificate with OpenSSL using the command openssl req -x509 -sha256 -nodes -newkey rsa:2048 -extensions v3_req -keyout private-key.pem -out cert.pem.
Load the PDF with Nutrient, use the signDocument method, and integrate Forge to create the PKCS#7 signature.
The Forge library is needed for cryptographic operations since Nutrient doesn’t handle encryption or certificates.
Ensure security by using strong cryptographic algorithms, securing private keys, and validating signatures against trusted certificates to prevent tampering and unauthorized access.


