A Perfect Gift
Table of contents

“The best investment is in the tools of one’s own trade.”
If this isn’t your first visit to our blog, you probably know that, here at PSPDFKit, we pay special attention to tools. And one of the physical tools every programmer needs is a good keyboard.
Many of us prefer mechanical keyboards because they:
- Are more comfortable.
- Are faster and easier to type on.
- Are more responsive to keystrokes.
- Provide stronger feedback while typing.
- Last longer than other keyboards.
Since it’s the end of the year and you’re probably thinking what to get your family and friends as a present, we decided to help you: by showing how you can turn an affordable mechanical keyboard, together with several household items, into a respectable tool for everyday use that we consider an almost-perfect gift for the coming holidays.
What You’ll Need
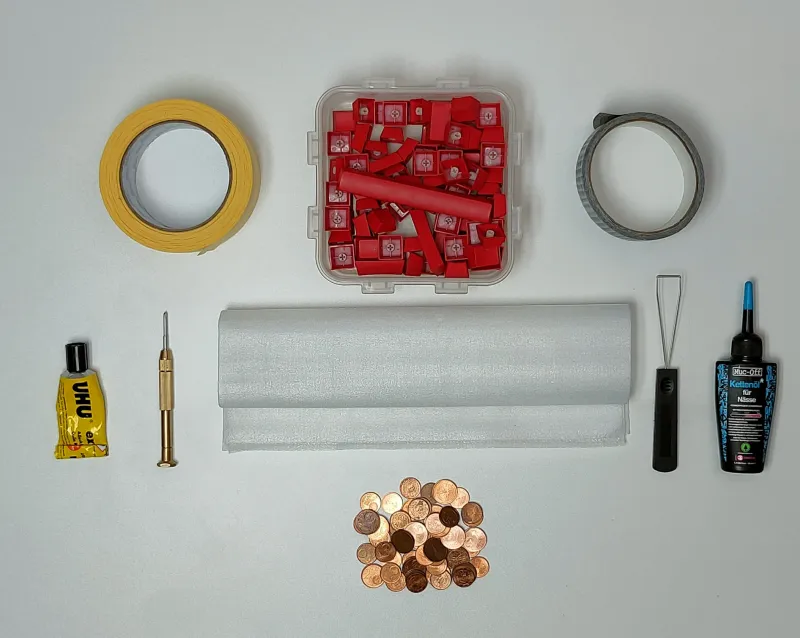
Here are the things you’ll need:
- A mechanical keyboard — we recommend the Logitech TKL(opens in a new tab) mechanical keyboard with tactile blue switches (~$50)

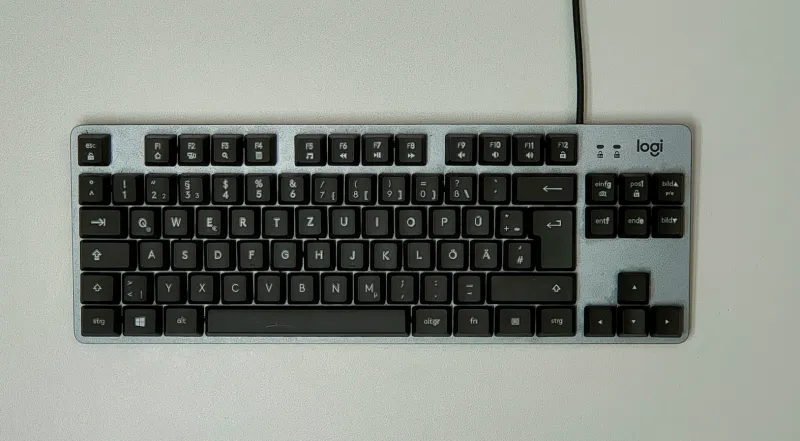
- Masking tape
- Set of new keycaps (~$10)
- Duct tape
- Glue
- Screwdriver
- Thin sheet of packaging foam/sponge
- Keycap remover
- Bike chain lubricant(opens in a new tab)
- Coins
What to Do
Here’s how to transform your keyboard:
- Remove the keycaps from the keyboard.
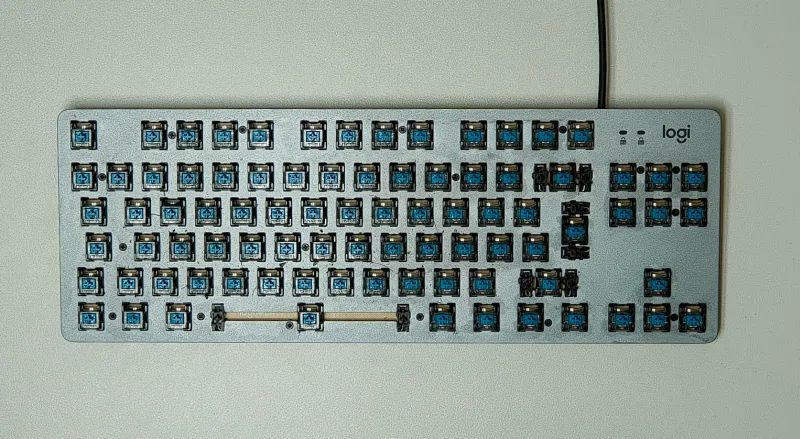
- Remove the screws, detach the board, and turn it upside down.
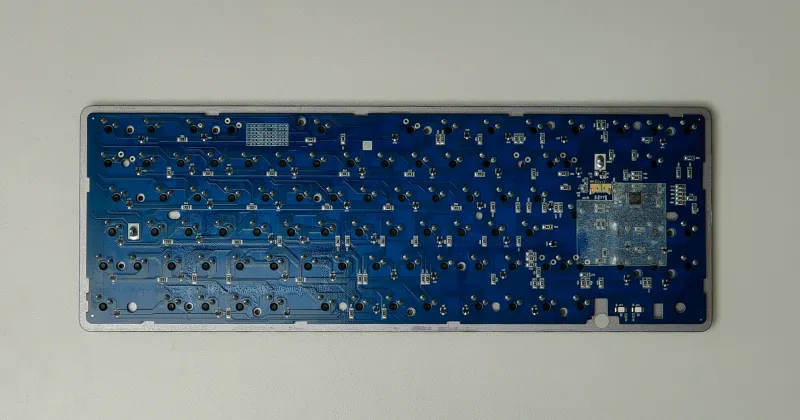
- Apply a generous amount of masking tape to the back of the board and make the holes for the screws.
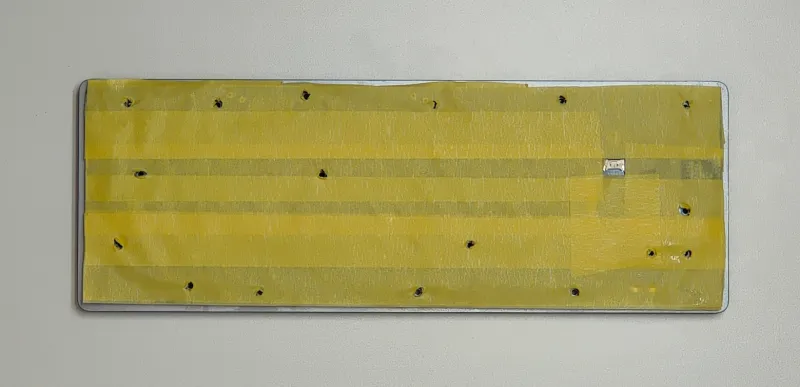
- Glue the coins to the bottom of the open case.
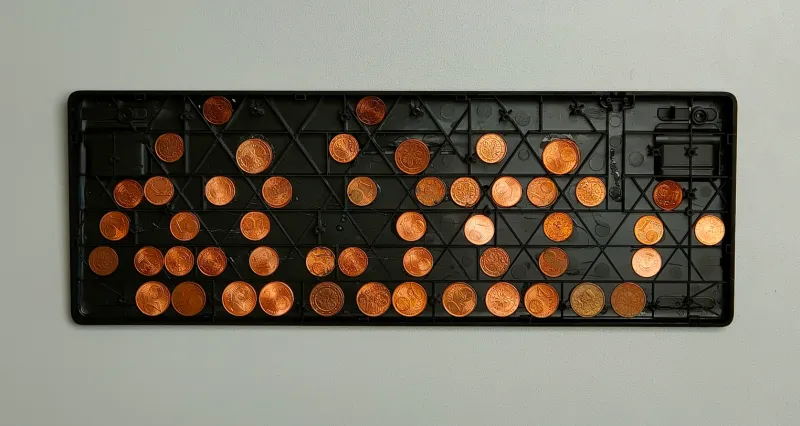
- Cover the coins with duct tape.
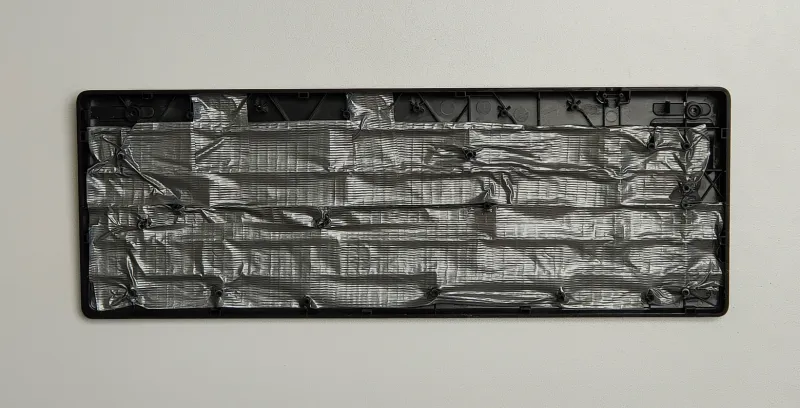
- Put a layer of thin packaging foam/sponge on top of the duct tape.
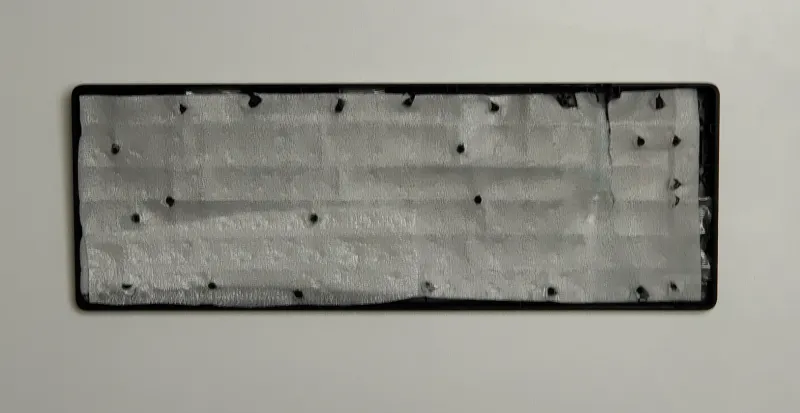
- Reassemble the keyboard and apply lubricant(opens in a new tab) (just a drop or two) to each switch.
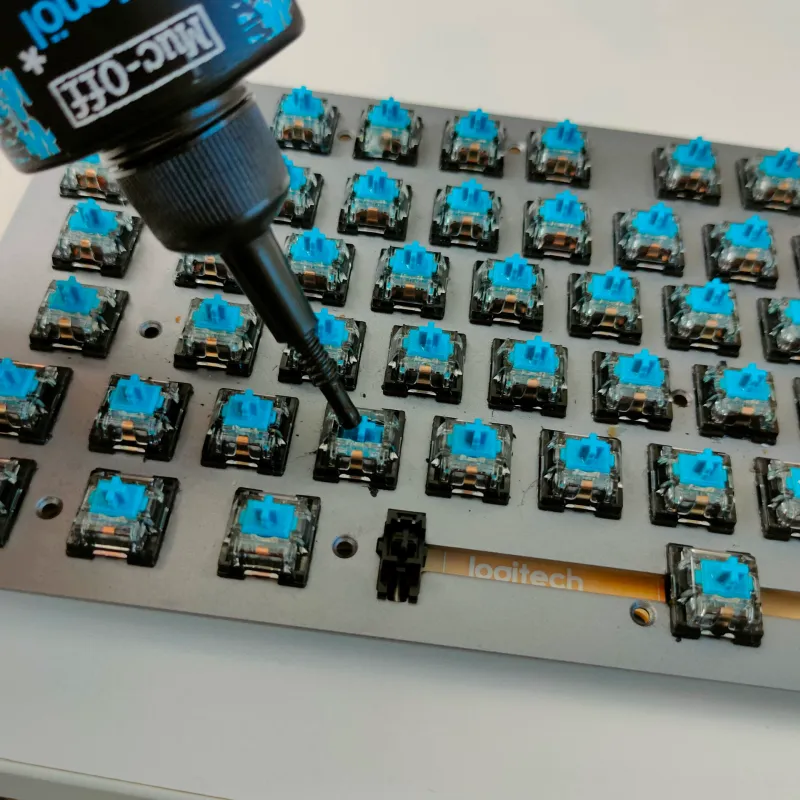
- Put on the new keycaps.
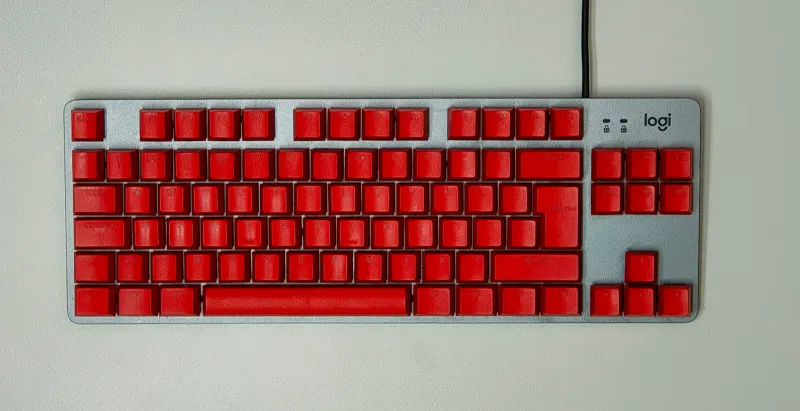
Bonus: Here’s the same keyboard with different keycaps. 


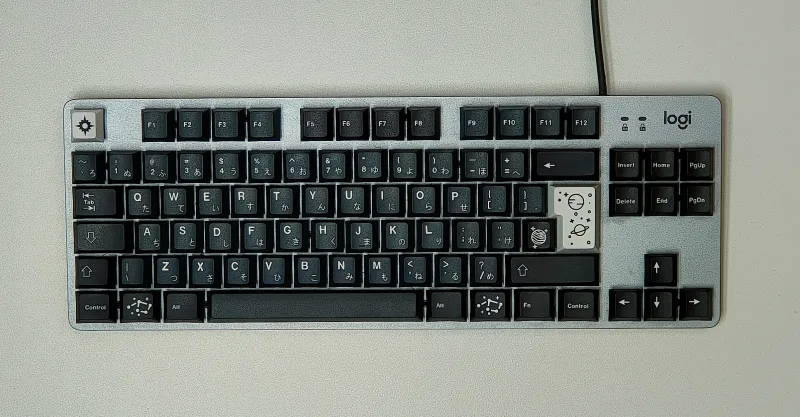
The End Result
The coins provide a nice weight and give additional stability to the keyboard, and the masking tape and the packaging foam help dampen the sound. But the key ingredient is the bike chain lubricant: It completely changes the sound of the switches, and this affordable keyboard now has a really nice “thock” — and it’s a joy to use.
As someone once said:
“We shape our tools, and thereafter our tools shape us.”


