Android Debug Bridge Tricks and Tips
Table of contents

Android Debug Bridge (adb)(opens in a new tab) is an indispensable tool in any Android developer’s toolbelt because it allows you to communicate with any Android device. This communication exists in the form of app installation, file transfer, access to debugging information such as logcat, and access to a Unix shell that supports variety of commands that can be run on the device. This article presents the basics of adb as well as a few advanced tricks.
What Is ADB?
adb is an application that consists of three components:
- A client that sends commands to the connected Android device. This is the shell command
adbthat runs on your dev machine. - A daemon (adbd) that runs as a background process on a device and handles execution of received commands.
- A server that handles communication between the client and the daemon. The server runs as a background process on your dev machine and is started the first time you use the
adbcommand.
These components communicate via TCP/IP protocol. When you invoke the adb command, the client first checks to see if the adb server is already running. If not, the server is started. After starting, the server sets up connections to adbd daemons on all connected devices. Once the connection is started, you can use adb commands to control these devices.
Installation
adb is included in the Android SDK Platform-Tools package, which you can download with the SDK Manager(opens in a new tab). You can find it in android_sdk_directory/platform-tools/ after installation.
💡 Tip: If you don’t need/want the entire Android SDK ,you can also use the standalone SDK Platform Tools(opens in a new tab) package to install adb.
Enable ADB Debugging on an Android Device
adb can only be used with devices that have enabled USB debugging in the device’s Developer options.
The Developer options are hidden by default. You’ll need to go to About phone in Settings and tap on Build number seven times until the toast with the text “You are now a developer” is displayed. Developer options will be displayed in the System section of the Settings screen.
ℹ️ Note: Some devices use a custom Settings app and Developer options might be located in a different location or named differently.
Now, after connecting to your device, a system dialog with the computer’s RSA key fingerprint will pop up. Accepting this dialog enables the execution of adb commands on this device. This is a security measure to make sure that adb commands from an unknown computer cannot be executed unless explicitly allowed on the device.
Verifying the ADB Connection
You can verify that your device is connected to the adb server by invoking the device command, which lists all connected devices:
$ adb devicesList of devices attached913a5739 deviceIf your device is not listed, try reconnecting the device and restarting the adb server via the following:
# Kill the server first.$ adb kill-server# The server will start again when running adb commands.$ adb devices💡 Tip: The kill-server command is generally useful for stopping the adb server when encountering issues such as when adb is not responding to a command or when it can’t connect to the device.
File Transfer
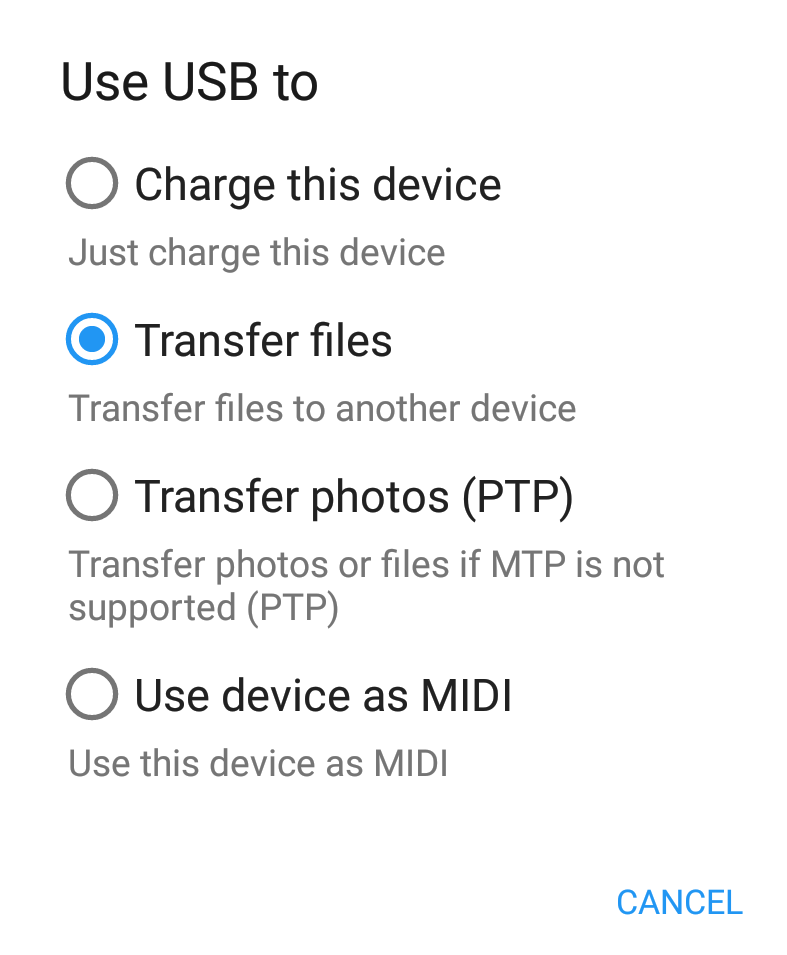
Transferring files to and from an Android device can be problematic for newcomers. The simplest solution is to transfer files using the Media Transfer Protocol (MTP). However, this approach is cumbersome, because every time you reconnect your device, you need to enable MTP to transfer files.

If you are like me and prefer the command line, adb provides a much more flexible solution for transferring files to and from your Android device. Just use the pull command to copy files and directories from the device and the push command to copy files and directories to the device:
# Copies file or directory with its sub-directories to the device.$ adb push local_path device_path
# Copies file or directory with its sub-directories from the device.$ adb pull device_path local_path
Shell Commands Execution
adb supports the shell command that allows for the execution of Unix shell commands on the device.
You can enter a remote shell on a device via the following:
$ adb shell💡 Tip: You can exit the remote shell by typing Ctrl + D or by typing exit.
You can also execute single shell commands via the following:
$ adb shell command_to_executeAndroid devices support most basic Unix shell commands such as ls, cat, cd, and rm. There are also a few commands for interacting with Android services. The most useful ones are:
am— provides access to ActivityManager. This allows you to start activities, stop processes, broadcast intents, and more.pm— provides access to application packages on the device. This allows you to list all installed packages, manage installed packages, work with application permissions, and more.
💡 Tip: You can run these commands without any parameters to print their usage, i.e. adb shell am and adb shell pm.
Applications Management
adb can install and uninstall applications:
# Install APK files.$ adb install path_to_apk_file
# Uninstall application by its package name.$ adb uninstall application_package
If an application is already installed on the device, you can copy its APK file by combining the result of a shell pm path command with the pull command. For example, to download PSPDFKit’s own PDF Viewer(opens in a new tab) app, run:
$ adb shell pm path 'com.pspdfkit.viewer'package:/data/app/com.pspdfkit.viewer/base.apk
$ adb pull /data/app/com.pspdfkit.viewer/base.apk viewer.apk/data/app/com.pspdfkit.viewer/base.apk: 1 file pulled. 24.7 MB/s (43280655 bytes in 1.671s)
This can be combined into a simple one-liner:
$ adb pull `adb shell pm path 'com.pspdfkit.viewer' | cut -d ':' -f 2` viewer.apk/data/app/com.pspdfkit.viewer/base.apk: 1 file pulled. 24.7 MB/s (43280655 bytes in 1.671s)Logcat
Android Studio provides the Logcat window(opens in a new tab), which supports the display of a device’s logcat. However, this is not usable when batch processing — for example, when archiving logs for failed builds on your CI.
Android devices ship with the logcat command available through adb shell logcat or via its alias adb logcat. Logcat dumps system and application log messages and prints them to the screen. Read more in logcat’s documentation(opens in a new tab).
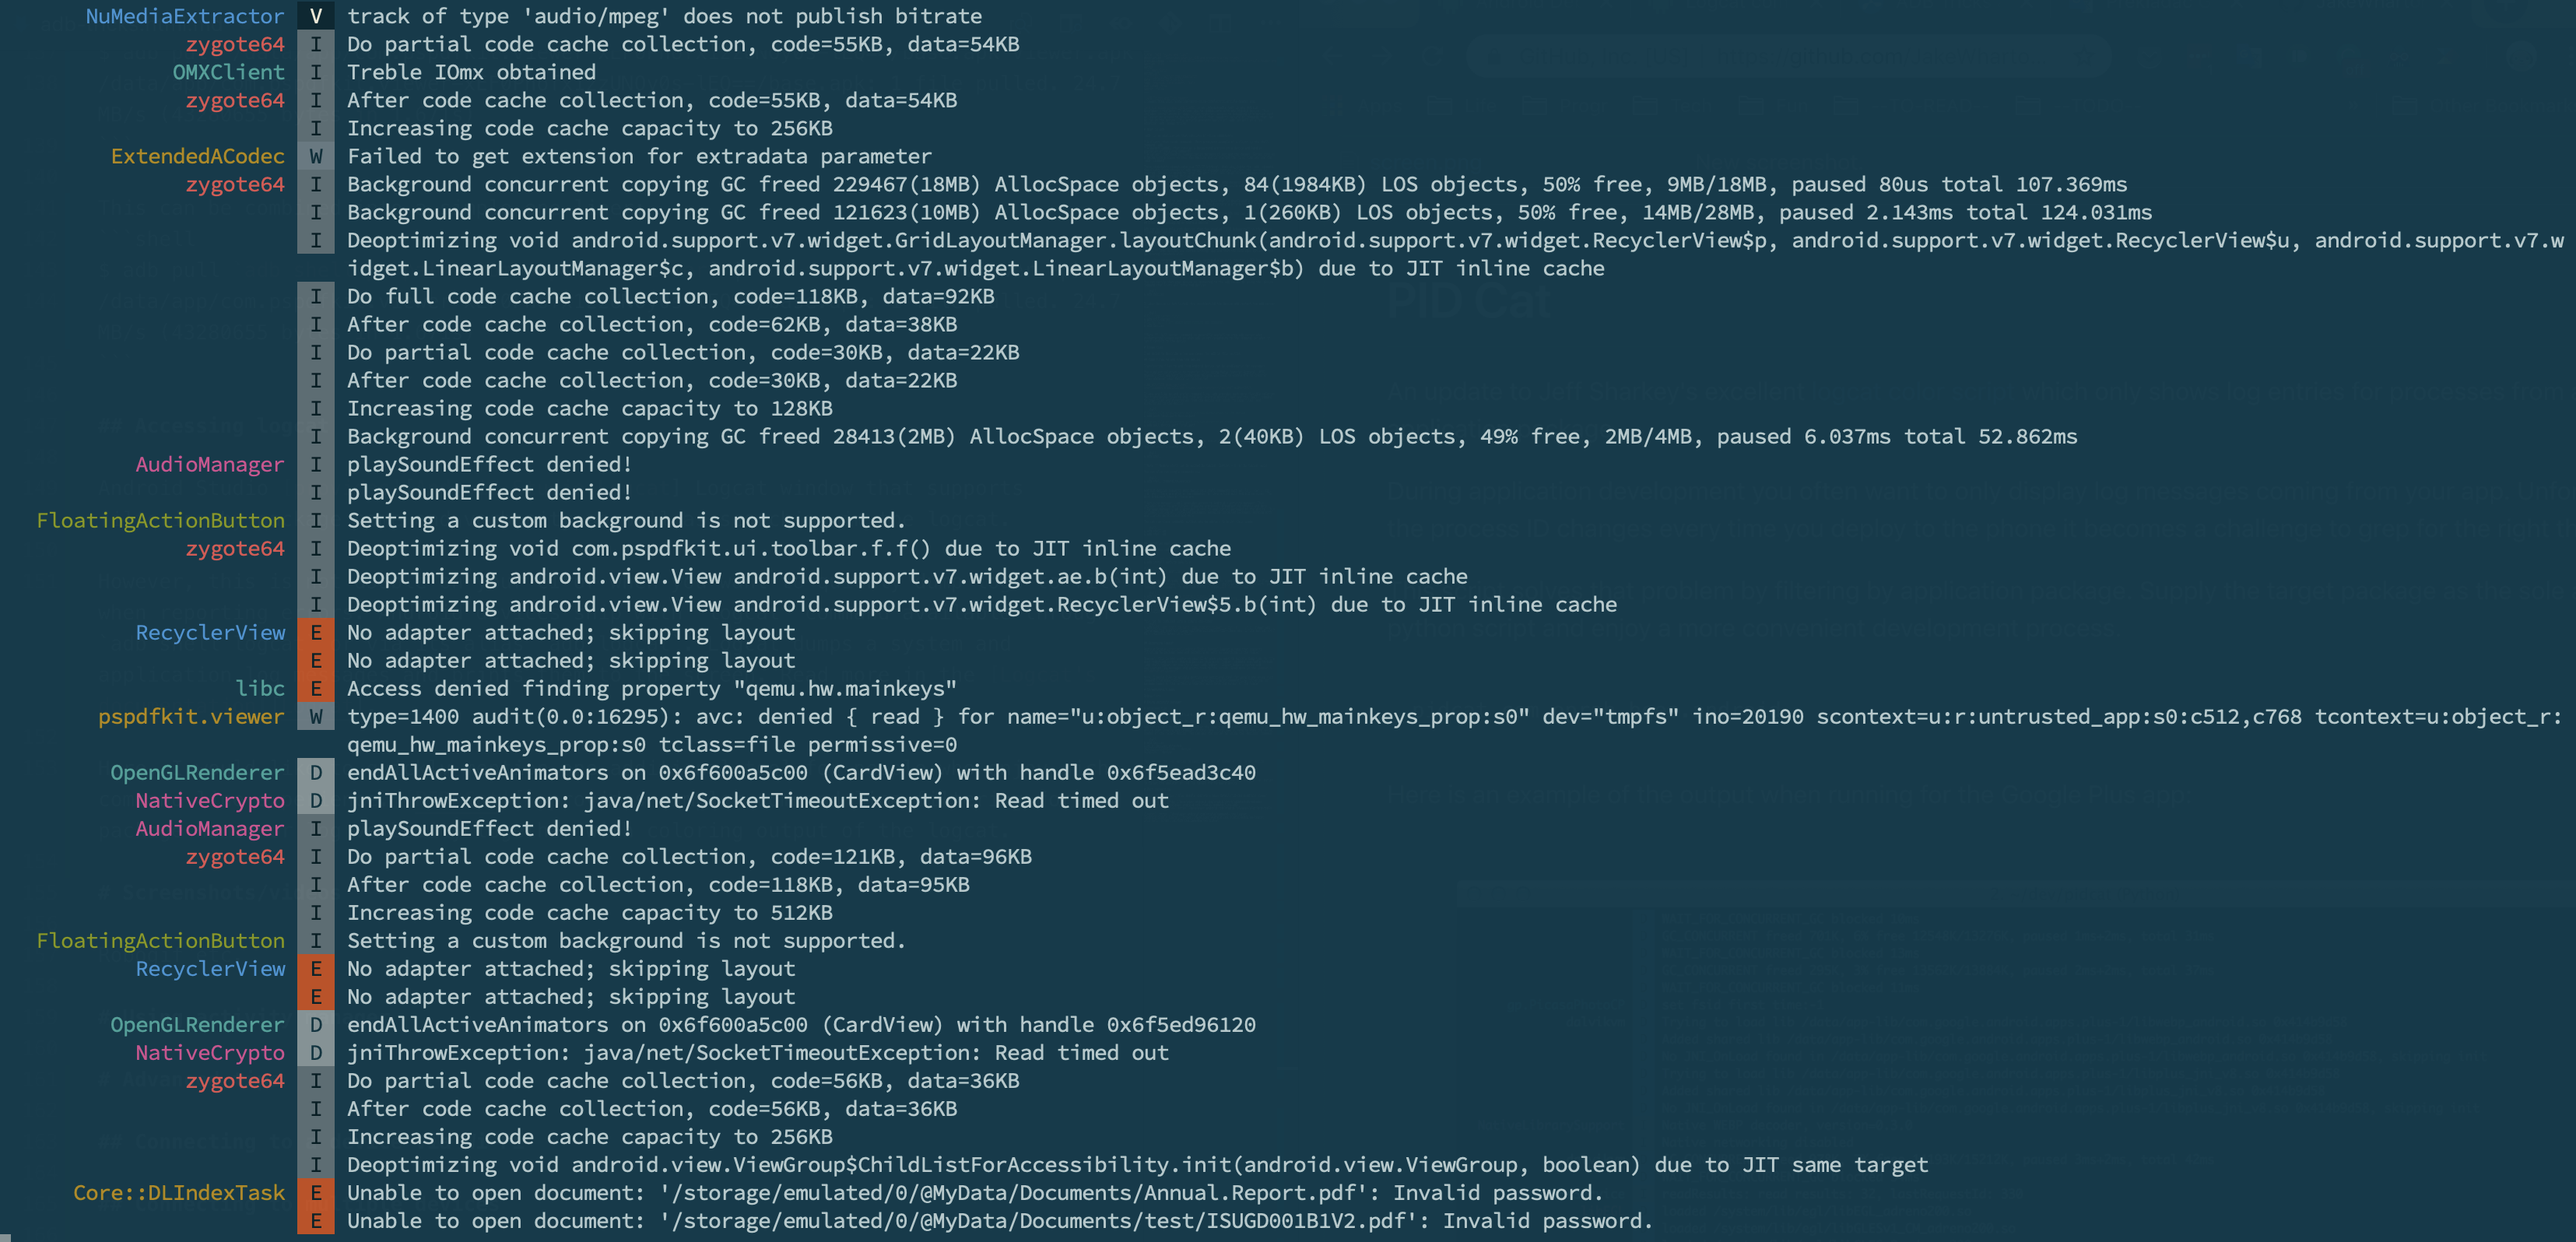
I would like to quickly mention one additional tool that works around the limitations of the default logcat command — namely its inability to filter output by application package (logcat only supports filtering based on process IDs). PID Cat(opens in a new tab) provides simple filtering for an application package together with enhanced formatting and coloring for the logcat messages:
$ pidcat com.pspdfkit.viewer
Capturing Screenshots and Videos
Android devices usually ship with screencap and screenrecord shell utilities for taking screenshots and recording screen activity, respectively.
Capturing Screenshots
Use the screencap shell command to capture device screenshots:
# Capture the screenshot to a local file.$ adb shell screencap /sdcard/screenshot.png# Copy the screenshot file from the device.$ adb pull /sdcard/screenshot.pngAlternatively, you can use the -p parameter to output PNG data directly to the standard output:
$ adb shell screencap -p > screenshot.pngRecording Videos
Use the screenrecord shell command to record screen activity:
# Capture the video to a local file.$ adb shell screenrecord /sdcard/recording.mp4# Stop the recording by pressing Command + C.# Copy the recording file from the device.$ adb pull /sdcard/recording.mp4💡 Tip: Use the screenrecord --help command to see a list of available options, including options for controlling recording resolution and bit rate.
Connecting to Multiple Devices
adb can connect to multiple devices at the same time. You must specify the target device when issuing adb commands when multiple devices are connected.
To do this, you’ll need to know the serial number of the target device. You can get the serial by using the devices command:
$ adb devicesList of devices attached042531501315900588da device913a5739 deviceThen use the -s option to specify the serial number of the target device:
$ adb -s 913a5739 install app.apkIf only a single emulator or a single hardware device is connected, use -e to target the emulator or -d to target the hardware device.
Port Forwarding
You can use the forward command to forward requests on a host port to a different port on the device. This is usable if you want to connect to a server running on the device from your computer:
$ adb forward tcp:local_port tcp:device_portThe reverse command can be used to set up port forwarding in an opposite direction, i.e. to forward requests on the device port to a different host port. This is usable if you want to connect to a server running on your computer from the device:
$ adb reverse tcp:device_port tcp:local_portFor example, we are developing an Android client for our backend. We already have a local backend instance running on our computer on port 5000. We can connect the device to the same network and connect using our computer’s IP address, but a simpler solution is to set up port forwarding on the device:
$ adb reverse tcp:5000 tcp:5000We can now connect to our backed running on the local computer via localhost:5000.
Connecting to a Device via Wi-Fi
So far, we’ve only assumed that adb connects to a device over USB, but you can also configure adb to work over Wi-Fi. The setup consists of multiple steps, outlined below.
Connect your device and your computer to the same Wi-Fi network.
Connect the device to your computer via a USB cable.
Find the IP address of your device. For example, you can execute the
ifconfigcommand on the device:Terminal window $ adb shell ifconfig wlan0wlan0 Link encap:UNSPEC Driver icnssinet addr:192.168.1.49 Bcast:192.168.1.255 Mask:255.255.255.0...Make the target device’s adb daemon listen for TCP/IP connections on port 5555 (the default port used by
adb connectbelow):Terminal window $ adb tcpip 5555Disconnect the USB cable from the device.
Connect to the device using its IP address:
Terminal window $ adb connect 192.168.1.49Verify that the connection works:
Terminal window $ adb devicesList of devices attached192.168.1.49:5555 device
You can now use adb commands remotely. Having a wireless adb connection is nice for decreasing your dependence on wires. The underlying TCP/IP transport is also super useful for building more advanced use cases. For example, you can tunnel adb connections on your CI server to your remote computer.
Conclusion
This blog post covered various topics related to adb usage, and I hope that the tips and tricks explained in this article will make you more productive and happy Android developer.


