Creating a Document Scanner with OCR in Python

This blog post will show you how you can build a document scanner using PSPDFKit Processor and Python. You’ll use Processor’s OCR (Optical Character Recognition) component to create a script that detects text in scanned documents.
Prerequisites
Before you get started, please make sure the following software is installed on your computer:
Now, Processor can be started using Docker:
docker run --rm -p 5000:5000 pspdfkit/processorCalling Processor from Python
Processor is exposing an HTTP API, which can be used for processing the document. In this example, the Python requests(opens in a new tab) library will be used, but it can be any HTTP client.
To install requests, run:
python3 -m pip install requestsNow you’re ready to write down the client template for Processor:
#!/usr/bin/env python3
import requests
URL = "http://localhost:5000/process"
r = requests.post(URL)if r.status_code == 200:    with open('outfile.pdf', 'wb') as outfile:        outfile.write(r.content)else:    print(f"Got error reply: {r.content}")
Save the script as scanner.py, and try it out to check if the communication is working:
./scanner.pyGot error reply: b'{"description":"You need to provide the source file for processing. One of `file`, `url` or `generation` params must be present.","reason":"missing_source_file"}Good! It returned an error because you didn’t provide any files for processing, but the communication is working.
Using OCR
To use OCR, you need to upload your file to Processor and instruct it to perform certain operations. The parameters and the file are passed using multipart/form-data.
You’ll first extend the script:
#!/usr/bin/env python3
import requests
URL = "http://localhost:5000/process"
 files = {         "file": open("photo.pdf", "rb")         }
 operations = json.dumps({     "operations": [         {             "type": "performOcr",             "pageIndexes": [ 0 ],             "language": "english"             }         ]     })
 data = {         "operations": operations         }
 r = requests.post(URL) r = requests.post(URL, files=files, data=data)if r.status_code == 200:    with open('outfile.pdf', 'wb') as outfile:        outfile.write(r.content)else:    print(f"Got error reply: {r.content}")
The requests library will automatically create a multipart/form-data request when providing files and data arguments to the post method.
As the name suggests, the files argument to post expects a dictionary, where the key is a file identifier — file in this case. The value is the content of the file.
The data argument works similarly, but the values of the dictionary should be a text. In this example, there’s an operations entry, which consists of a list of operations that should be performed on the uploaded file. The operations form entry should contain a JSON-encoded string:
{ "operations": [ # list of operations ]}In this case, there’s one operation: performOcr. It must be configured with another two options:
pageIndexes— This says which pages OCR should be performed on.language— This specifies the language of the document.
The response body contains the ready PDF file, which can be written back to disk.
The same photo.pdf file can be downloaded from here.
Improving a Script
The last step is to modify the script so that it can be used to run OCR on any file. So next, add the ability to accept the input and output file paths:
#!/usr/bin/env python3
import requestsimport json import sys
URL = "http://localhost:5000/process"
 if len(sys.argv) < 3:     print(f"Usage: {sys.argv[0]} <input_pdf> <output_pdf>")     sys.exit(0)
 input = sys.argv[1] output = sys.argv[2]
files = {         "file": open("photo.pdf", "rb")         "file": open(input, "rb")        }
operations = json.dumps({    "operations": [        {            "type": "performOcr",            "pageIndexes": [ 0 ],            "language": "english"            }        ]    })
data = {        "operations": operations        }
r = requests.post(URL, files=files, data=data)if r.status_code == 200:     with open(output, 'wb') as outfile:     with open("outfile.pdf", 'wb') as outfile:        outfile.write(r.content)else:    print(f"Got error reply: {r.content}")
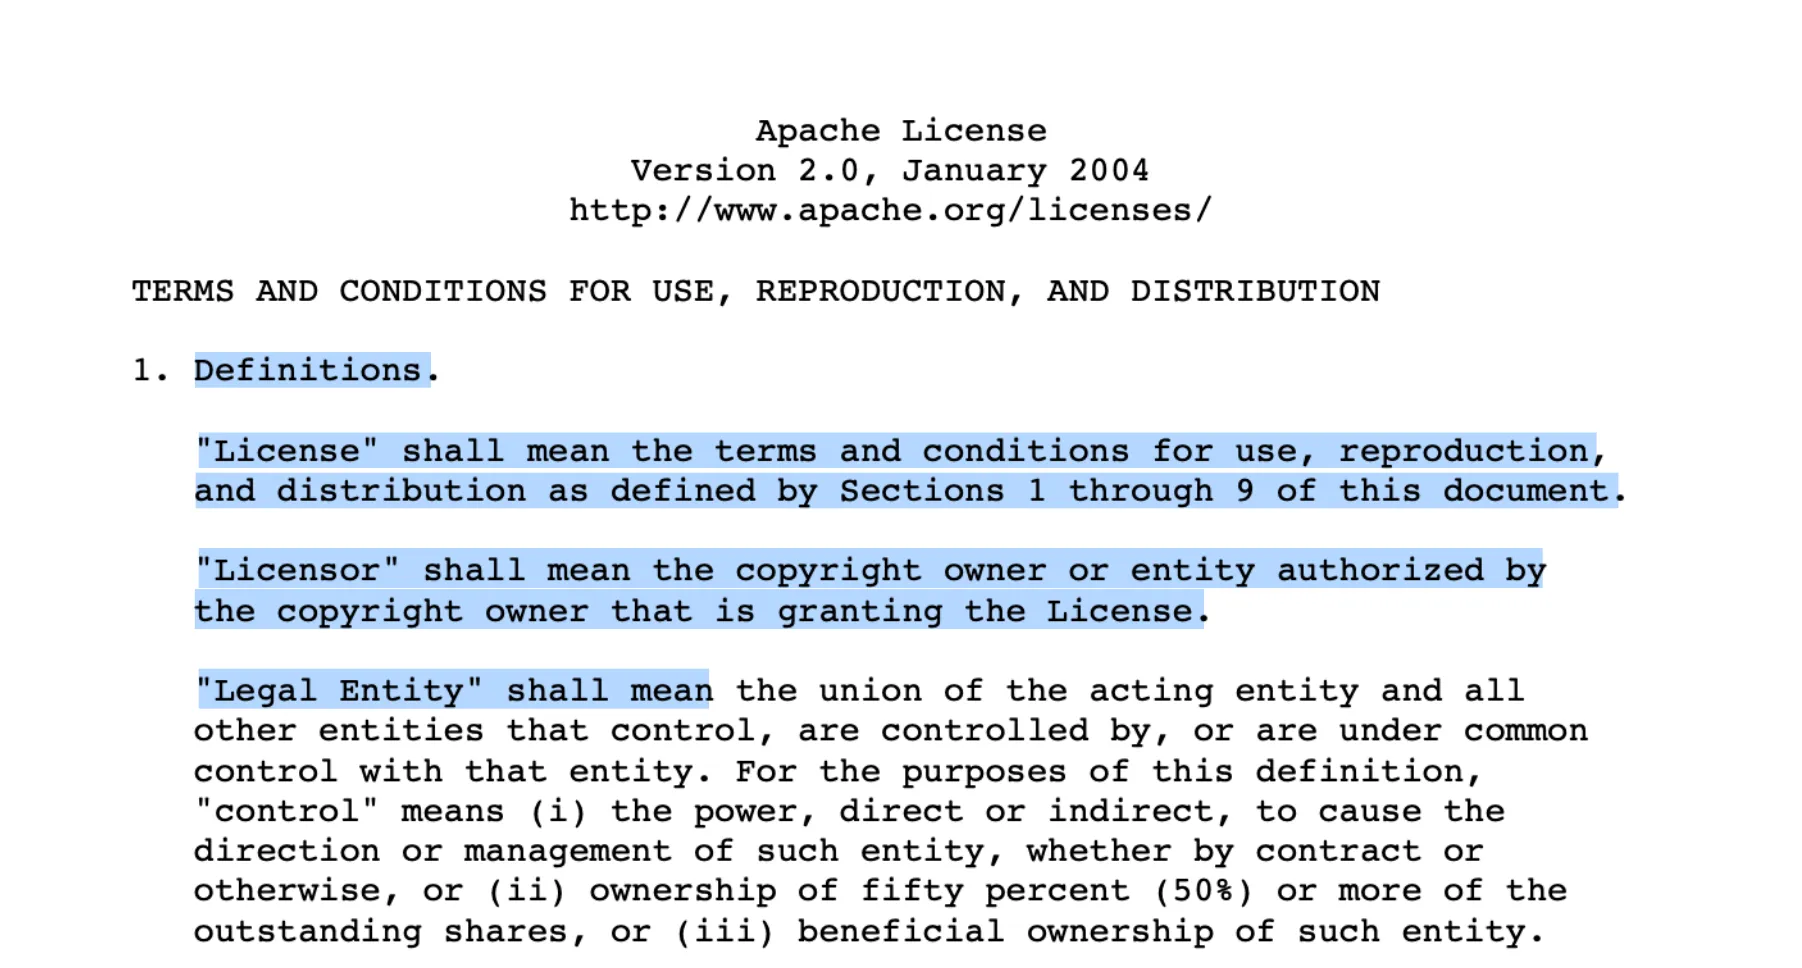
Finally, you’ll test the script against a PDF file. You’ll find an example PDF here. It contains some text to be detected.
Save a script to a file and try:
./scanner.py photo.pdf outfile.pdfYou can now open the resulting file and select text to make sure it has been recognized.

What’s more is Processor also accepts image files as output. You can download the example image file here to test this functionality:
./scanner.py photo.png image_outfile.pdfThe result will be similar to what you saw before.

Summary
In this blog post, you learned how to set up Processor and interact with it from Python. You also learned how to perform OCR on a document and save back the result. If you’re interested in trying out PSPDFKit Processor, head to our trial page to access the free trial, and then head to our guides to get started.


