How to build a React.js Excel (XLS/XLSX) viewer
Table of contents

In this blog post, learn how to build a React Excel viewer using the Nutrient Web SDK. You’ll open and view XLS and XLSX files directly in your web browser using client-side processing (no server required).
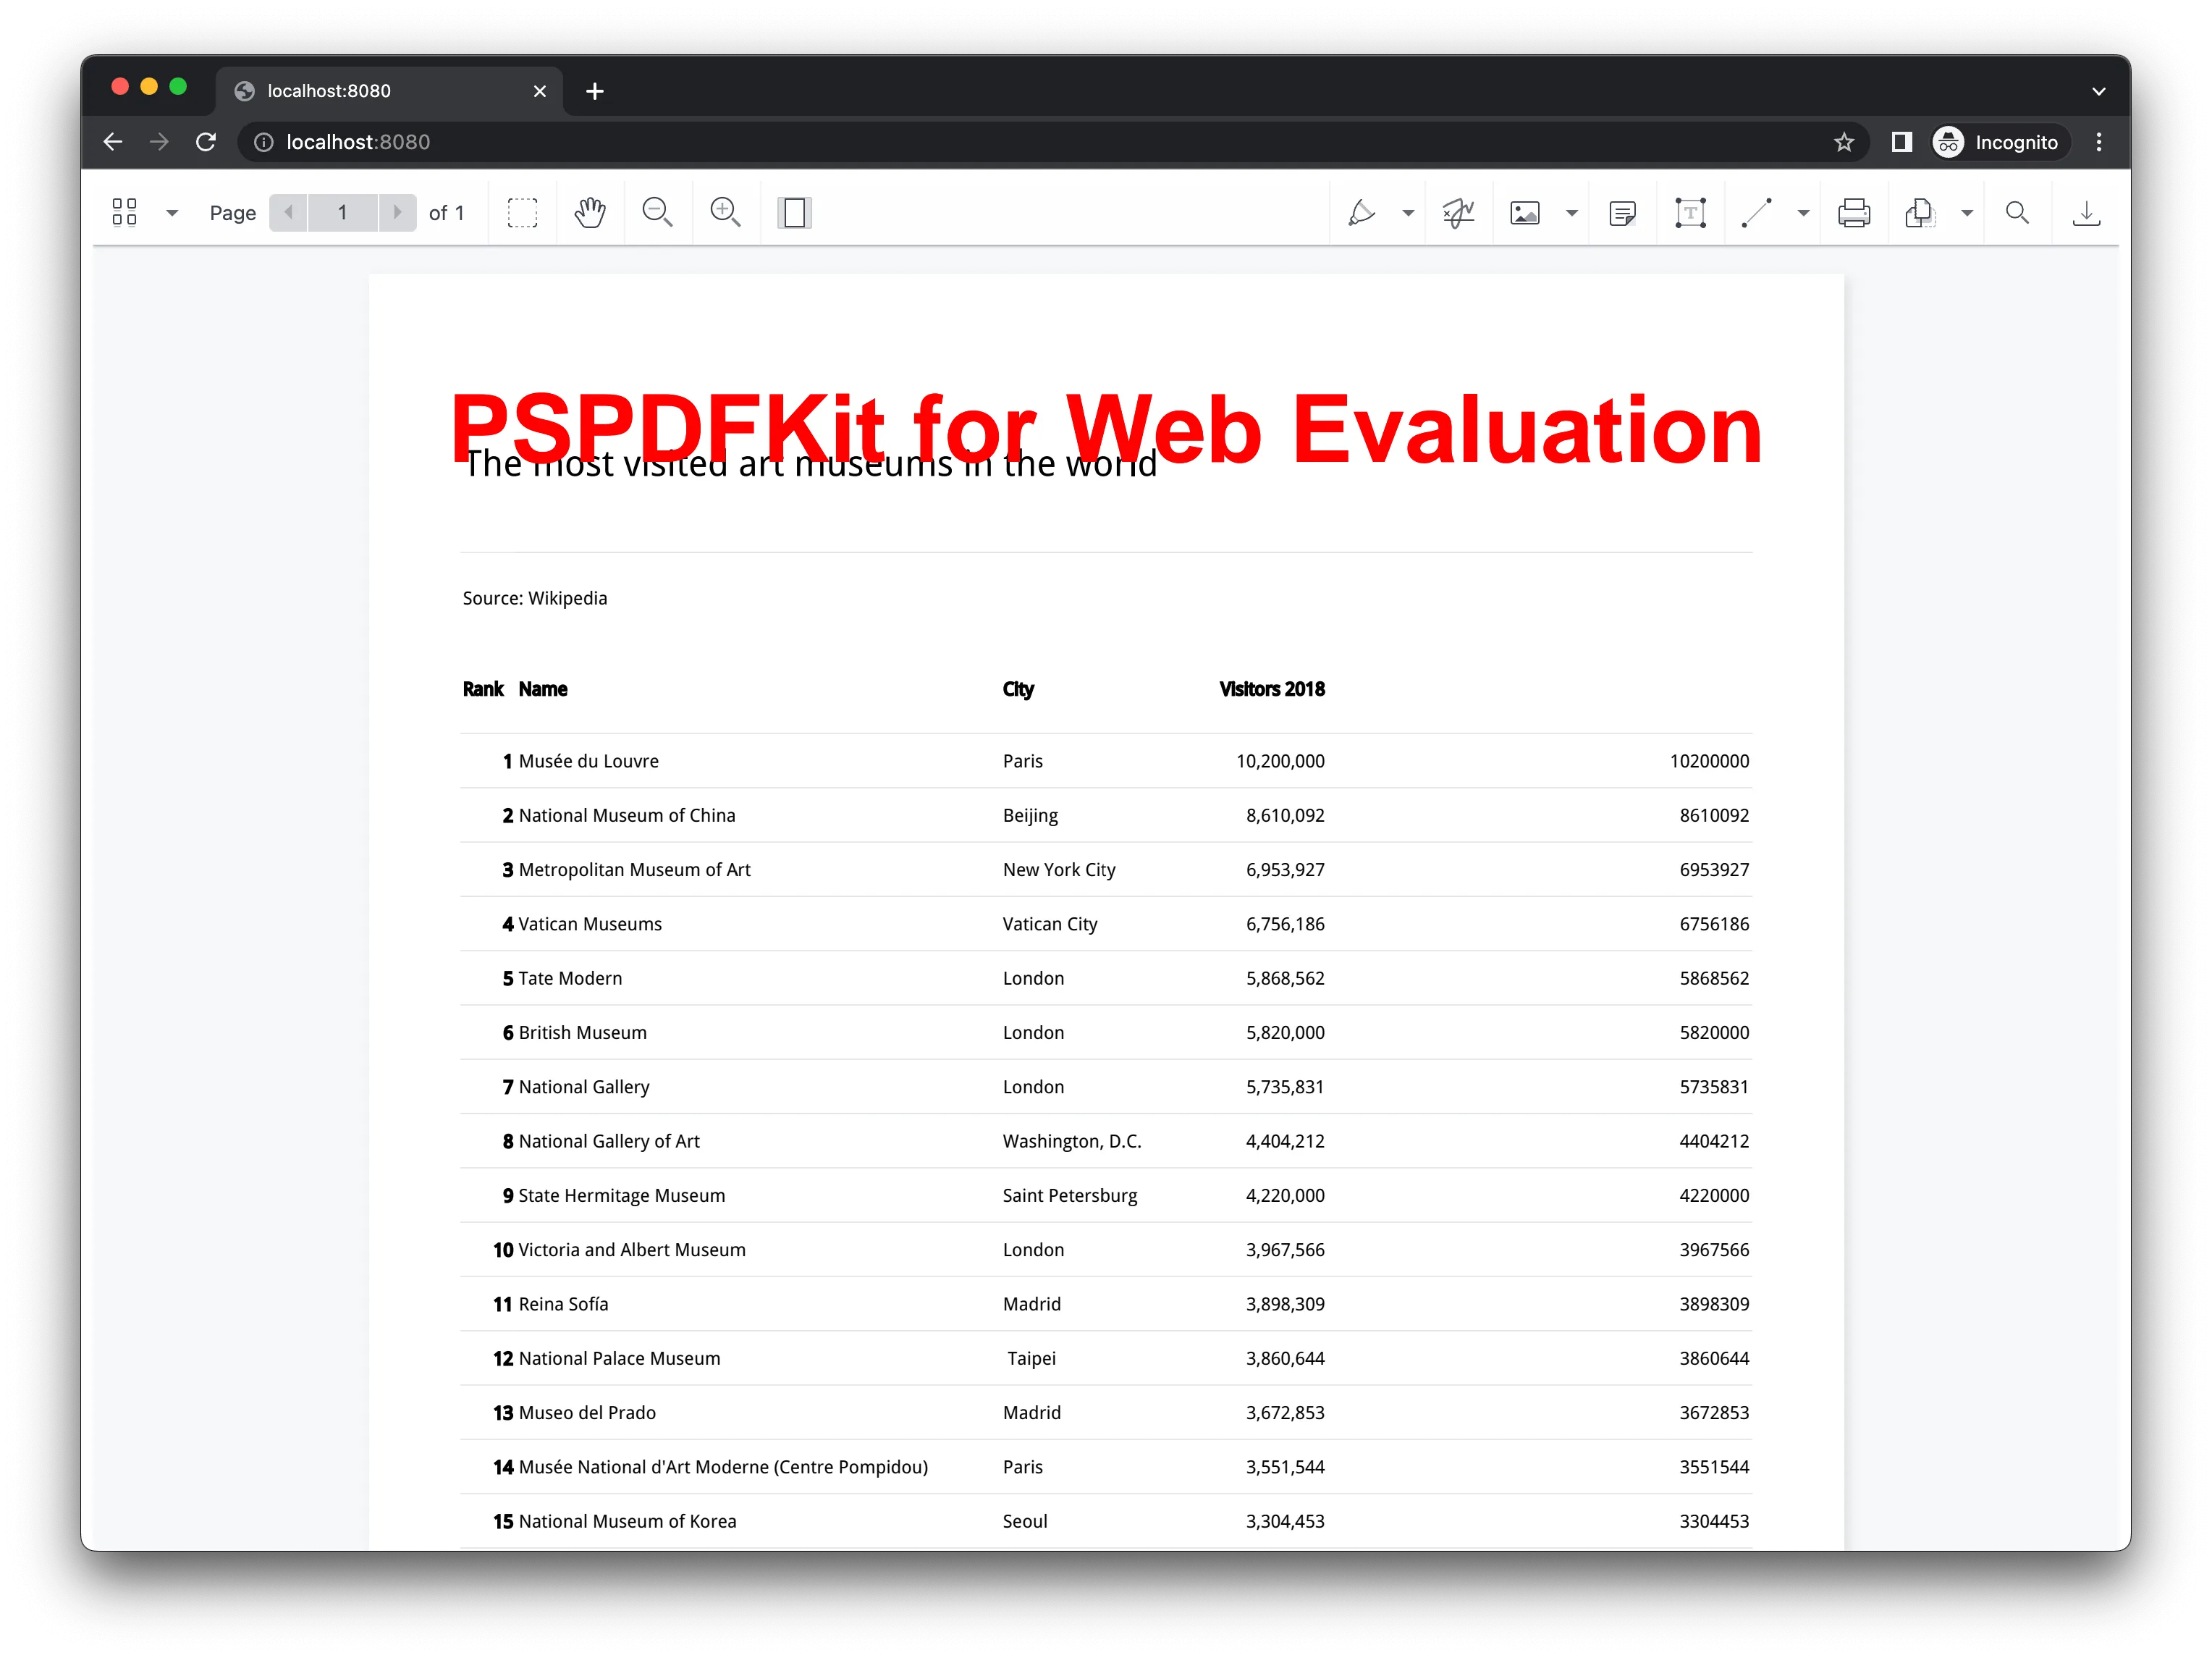
The image below shows what you’ll be building.

You can check out the demo to see it in action.
Opening and rendering Office documents in the browser
Nutrient Web SDK brings support for Word, Excel, and PowerPoint formats to your application, without you or your users needing any MS Office software, MS Office licenses, or third-party open source software. The technology works by converting an Office document to PDF directly in the browser, and the document is then rendered in our JavaScript viewer.
Unlocking more capabilities with Office-to-PDF conversion
By converting an Office document to PDF using client-side JavaScript, you have the option to support a rich array of additional Office document functionality, such as:
- Text editing — Edit text directly in the displayed Office document.
- Page manipulation — Organize documents by adding, removing, or rearranging pages.
- Annotations — Boost collaboration by adding text highlights, comments, or stamps.
- Adding signatures — Draw, type, or upload a signature directly to an Office document.
Requirements to get started
To get started, you’ll need:
- The latest version of Node.js(opens in a new tab).
- A package manager compatible with npm. This post contains usage examples for Yarn(opens in a new tab) and the npm(opens in a new tab) client (installed with Node.js by default).
Setting up a new React project with Vite
- To get started, create a new React project using Vite:
# Using Yarnyarn create vite nutrient-react-example --template react
# Using npmnpm create vite@latest nutrient-react-example -- --template react- Navigate to your project directory:
cd nutrient-react-exampleAdding Nutrient to your project
- First, install Nutrient as a dependency:
npm i @nutrient-sdk/viewerpnpm add @nutrient-sdk/vieweryarn add @nutrient-sdk/viewer- The Nutrient Web SDK loads its WebAssembly and supporting files from a local path, so you need to copy them to the public folder. Start by installing the required copy plugin:
npm install -D rollup-plugin-copyThen, update your Vite configuration (vite.config.ts) to copy the SDK’s asset files during build:
import { defineConfig } from 'vite';import react from '@vitejs/plugin-react';import copy from 'rollup-plugin-copy';
export default defineConfig({  plugins: [    copy({      targets: [        {          src:            'node_modules/@nutrient-sdk/viewer/dist/nutrient-viewer-lib',          dest: 'public/',        },      ],      hook: 'buildStart',    }),    react(),  ],});
Displaying a PDF in your React app
- Add an Excel (XLS, XLSX) document you want to display to the
publicdirectory. You can use our demo document as an example. Add this file to thepublicdirectory of your project. - Now that everything is set up, you’ll render a PDF using the Nutrient SDK.
Basic usage in App.tsx:
import { useEffect, useRef } from 'react';
function App() {  const containerRef = useRef(null);
  useEffect(() => {    const container = containerRef.current;    let cleanup = () => {};
    (async () => {      const NutrientViewer = (await import('@nutrient-sdk/viewer'))        .default;
      // Unload any previous instance.      NutrientViewer.unload(container);
      if (container && NutrientViewer) {        NutrientViewer.load({          container,          document: 'chart.xlsx',          baseUrl: `${window.location.protocol}//${            window.location.host          }/${import.meta.env.PUBLIC_URL ?? ''}`,        });      }
      cleanup = () => {        NutrientViewer.unload(container);      };    })();
    return cleanup;  }, []);
  return (    <div      ref={containerRef}      style={{ height: '100vh', width: '100vw' }}    />  );}
export default App;- Start your development server:
# Using Yarnyarn dev
# Using npmnpm run dev
Once the server is running, you can view and interact with your PDF directly in the browser.
A note about fonts
In client-side web applications for Microsoft Office-to-PDF conversion, Nutrient addresses font licensing constraints through font substitutions, typically replacing unavailable fonts with their equivalents — like Arial with Noto. For precise font matching, you can provide your own fonts, embed them into source files, or designate paths to your .ttf fonts for custom solutions.
Adding even more capabilities
Once you’ve deployed your viewer, you can start customizing it to meet your specific requirements or easily add more capabilities. To help you get started, here are some of our most popular React.js guides:
- Instant synchronization
- Document assembly
- Page manipulation
- Editor
- Forms
- Signatures
- Redaction
- Document security
Conclusion
In this blog post, you learned how to build an Excel viewer using React.js with the Nutrient SDK.
If you’re looking for a way to render Office documents in your web application, then Nutrient Web SDK is a great option. It’s a powerful and flexible library that can help you provide your users with a seamless and enjoyable experience.
To get started, you can either:
- Start your free trial to test out the library and see how it works in your application.
- Launch our demo to see the viewer in action.
FAQ
To integrate Nutrient, install the @nutrient-sdk/viewer package with npm or Yarn, copy the library assets to your public directory, and create a React component to initialize and configure Nutrient.
Import the Nutrient library in your React component, provide the path to your Excel document, and use NutrientViewer.load() to render the document.
Yes, you can customize the Nutrient viewer with options for initial view state, annotations, text editing, and additional functionalities.
You can check out a demo of the React.js Excel viewer with Nutrient by visiting the Nutrient demo page.


