How to build a Tauri PDF viewer with Nutrient
Table of contents

In this blog post, you’ll learn how to build a Tauri PDF viewer with Nutrient Web SDK.
Tauri(opens in a new tab) is an open source framework used to build fast and tiny binaries for all major desktop platforms. Programmers can integrate nearly any frontend framework in existence that compiles to HTML, JavaScript, or CSS into Tauri.
Tauri currently supports Rust as its backend language. Since its API can be implemented in different languages, we can soon expect C, C++, Go, Ruby, Python, and even JavaScript backend bindings as users decide to implement them.
Tauri offers what people like most about Electron, including:
- The ability to create cross-platform desktop applications using HTML, JavaScript, and CSS.
- Seamless access to underlying APIs from the operating system.
At the same time, it tries to fix many of Electron’s performance and security concerns(opens in a new tab).
Tauri vs. Electron
The table below, which was compiled with information from the Tauri GitHub page(opens in a new tab), provides a detailed comparison of Tauri and Electron.
| Detail | Tauri | Electron |
|---|---|---|
| Installer Size Linux | 3.1 MB | 52.1 MB |
| Memory Consumption Linux | 180 MB | 462 MB |
| Launch Time Linux | 0.39s | 0.80s |
| Interface Service Provider | WRY | Chromium |
| Backend Binding | Rust | Node.js (ECMAScript) |
| Underlying Engine | Rust | V8 (C/C++) |
| FLOSS | Yes | No |
| Multithreading | Yes | Yes |
| Bytecode Delivery | Yes | No |
| Multiple Windows | Yes | Yes |
| Auto Updater | Yes | Yes |
| Custom App Icon | Yes | Yes |
| Windows Binary | Yes | Yes |
| macOS Binary | Yes | Yes |
| Linux Binary | Yes | Yes |
| Desktop Tray | Yes | Yes |
| Sidecar Binaries | Yes | No |
How to build a Tauri app
As a way to showcase how easy it is to use Tauri for building desktop applications, you’ll build a PDF viewer powered by Nutrient Web SDK.
This post shows how to build a project from scratch. However, for a complete reference, refer to this GitHub repository(opens in a new tab), which contains the full example.
Tauri features a comprehensive list of prerequisites, depending on your development platform, which you can find on the corresponding prerequisites page(opens in a new tab).
After ensuring you have what’s needed — most importantly, having the Rust tooling in place — you’ll move on to bootstrapping your Tauri project.
This is where things will start feeling more familiar for web developers. For this example, you’ll pair Tauri with Vite(opens in a new tab) to build your application. There’s a specific getting started guide with Tauri and Vite(opens in a new tab) that provides a detailed step-by-step explanation of what to do. For the sake of convenience, these steps are listed here:
- Run
yarn create tauri-app. - Follow the steps prompted by the command-line interface (CLI). This example uses
yarnas the package manager andreactas the UI framework. - Go to the new directory created by the CLI tool and run
yarn. - Once all the dependencies are installed, run
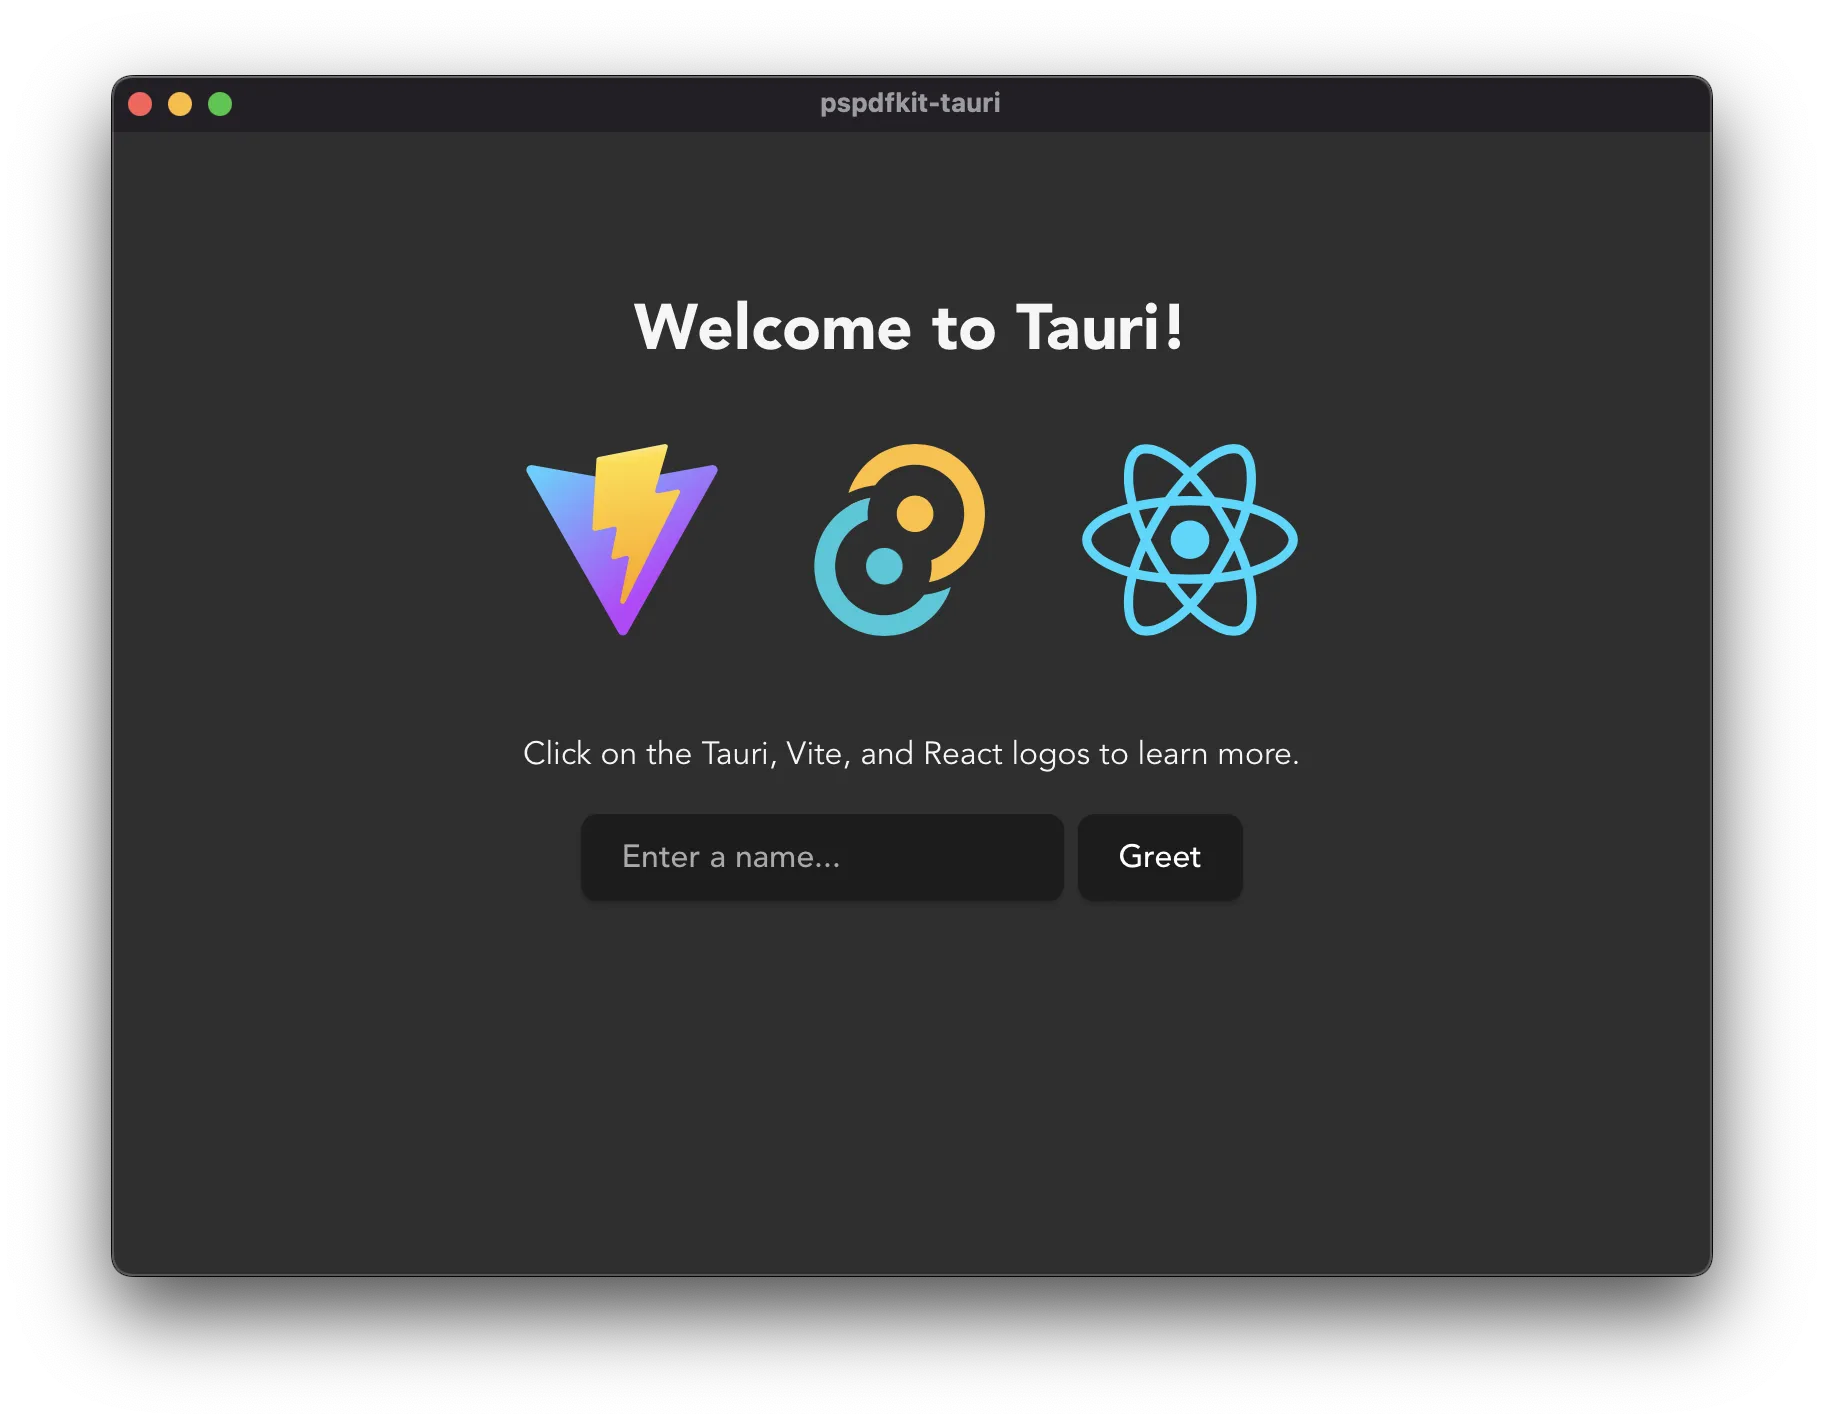
yarn tauri devto make sure everything works. A new window like the following will pop up.
 Initial view after bootstrapping a Tauri and Vite application
Now that you have the basic dependencies in place with Tauri and Vite, you’ll add Nutrient Web SDK to your desktop application.
- Run
yarn add pspdfkitfrom the project root. - Now, you’ll wrap all the logic that interacts with the Nutrient SDK into its own React component. Create a new
PdfViewerComponent.jsxfile with the following content:
import { useEffect, useRef } from 'react';
export default function PdfViewerComponent(props) {  const containerRef = useRef(null);
  useEffect(() => {    const container = containerRef.current;    let PSPDFKit;    (async function () {      PSPDFKit = await import('pspdfkit');      await PSPDFKit.load({        // Container where Nutrient should be mounted.        container,        // The document to open.        document: 'example.pdf',        // Use the public directory URL as a base URL. Nutrient will download its library assets from here.        baseUrl: `${window.location.protocol}//${          window.location.host        }/${import.meta.env.PUBLIC_URL ?? ''}`,      });    })();
    return () => PSPDFKit && PSPDFKit.unload(container);  }, [props]);
  return (    <div      ref={containerRef}      style={{ width: '100%', height: '100vh' }}    />  );}
Nutrient Web SDK requires specifying a document to open. This example hardcodes an "example.pdf" document to load. You can download and use this document(opens in a new tab) if you like, but make sure to copy whichever PDF file you end up using to the public directory of the project and rename it to example.pdf.
- Now that you have your viewer component ready, you need to connect it to the main
App.jsxentry point component. You can get rid of all the content rendered by the boilerplate and instead render the following:
import './App.css';import PdfViewerComponent from './PdfViewerComponent';
function App() {  return (    <div className="container">      <div className="PDF-viewer">        <PdfViewerComponent />      </div>    </div>  );}
export default App;- Next, you’ll fix your CSS stylesheets to remove all the default content. Modify
src/style.cssso that it looks like this:
body,.container { margin: 0;}- Get rid of
src/App.cssaltogether and remove theimportstatement onApp.jsxthat referenced it:
import "./App.css";- Before running your viewer, there’s one last step. Nutrient Web SDK requires some assets to be available to your server for it to lazily fetch them when needed. For this, you’ll use rollup-plugin-copy(opens in a new tab) to make them available as part of Vite’s build process. Run
yarn add -D rollup-plugin-copyto install the plugin. - Then, go to
vite.config.jsand register the new plugin, like this:
// Other imports.import copy from 'rollup-plugin-copy';// ...
export default defineConfig({  plugins: [    react(),    copy({      targets: [        {          src: 'node_modules/pspdfkit/dist/pspdfkit-lib',          dest: 'public/',        },      ],      hook: 'buildStart',    }),  ],  // Additional configuration.});
Now that all of these steps are complete, you can see the viewer in action by running yarn tauri dev.
Opening and saving files
Next, you’ll add the ability to open and save files from the file system.
For this, you’ll first need to access the underlying operating system (OS) resources via your backend (Rust). Go to src-tauri/src/main.rs and add the following:
#![cfg_attr(  all(not(debug_assertions), target_os = "windows"),  windows_subsystem = "windows")]
use tauri::{CustomMenuItem, Menu, Submenu};
fn main() {  let context = tauri::generate_context!();  tauri::Builder::default()      .menu(          Menu::new().add_submenu(Submenu::new(              "File",              Menu::new()                  .add_item(CustomMenuItem::new("open", "Open").accelerator("cmdOrControl+O"))                  .add_item(CustomMenuItem::new("save", "Save").accelerator("cmdOrControl+S"))                  .add_item(CustomMenuItem::new("close", "Close").accelerator("cmdOrControl+Q")),          )),      )      .on_menu_event(|event| match event.menu_item_id() {          "save" => {              let _ = event.window().emit("menu-event", "save-event").unwrap();              // Success.          }          "open" => {              let _ = event.window().emit("menu-event", "open-event").unwrap();              // Success.          }          "close" => {              event.window().close().unwrap();          }          _ => {}      })      .run(context)      .expect("error while running tauri application");}
In the code above, you’re registering Open, Save, and Close as menu items, in addition to registering keyboard shortcuts for each of them.
Communication between the backend and frontend will happen via events. Consider the following line:
.on_menu_event(|event| match event.menu_item_id() { "save" => { let _ = event.window().emit("menu-event", "save-event").unwrap(); // Success. } })On each press of the Save menu item, you’ll emit a “menu-event” with "save-event" as the payload. This is the event that you’ll be listening for from the frontend (React) to trigger the opening/saving logic.
Go to src/App.jsx and add a listener for this event:
import * as React from 'react';import PdfViewerComponent from './PdfViewerComponent';import { listen } from '@tauri-apps/api/event';
const STATES = {  IDLE: 'IDLE',  OPENING_FILE: 'OPENING_FILE',  EDITING_FILE: 'EDITING_FILE',  SAVING_FILE: 'SAVING_FILE',};
function App() {  const currentState = React.useRef(STATES.IDLE);
  React.useEffect(() => {    listen('menu-event', (e) => {      if (        e.payload === 'open-event' &&        [STATES.IDLE, STATES.EDITING_FILE].includes(          currentState.current,        )      ) {        currentState.current = STATES.OPENING_FILE;      } else if (        e.payload === 'save-event' &&        currentState.current === STATES.EDITING_FILE      ) {        currentState.current = STATES.SAVING_FILE;      }    });  });
  // The rest of the component.}
This is all familiar JavaScript code! The Tauri API provides you with a listen function that looks similar to regular DOM event listeners. You’re defining a basic state machine to indicate which process of the app interaction you’re currently in, and you’re transitioning between the different states based on the event payload received from the backend.
This looks good, and the menu items will render correctly. However, this isn’t useful without proper logic to open files and write content back to them.
To make opening files work, add the following import statements in App.jsx:
import { open } from '@tauri-apps/api/dialog';import { readBinaryFile } from '@tauri-apps/api/fs';Now, add some state to your App component to capture the file selection:
const [fileBuffer, setFileBuffer] = React.useState(null);const [filePath, setFilePath] = React.useState(null);Modify your PdfViewerComponent so that instead of having a hardcoded reference to a document, it accepts a document as a prop:
document: "example.pdf", document: props.document,Excellent! Now, modify the useEffect hook to make src/App.tsx look like this:
React.useEffect(() => {  const openFile = async () => {    try {      const selectedPath = await open({        multiple: false,      });      if (!selectedPath) return;      const content = await readBinaryFile(selectedPath);      setFileBuffer(content.buffer);      setFilePath(selectedPath);      currentState.current = STATES.EDITING_FILE;    } catch (err) {      console.error(err);      currentState.current = STATES.IDLE;    }  };
  listen('menu-event', (e) => {    if (      e.payload === 'open-event' &&      [STATES.IDLE, STATES.EDITING_FILE].includes(        currentState.current,      )    ) {      currentState.current = STATES.OPENING_FILE;      openFile();    } else if (      e.payload === 'save-event' &&      currentState.current === STATES.EDITING_FILE    ) {      currentState.current = STATES.SAVING_FILE;    }  });});
Notice that you added an openFile function inside the useEffect hook, which is called when the "open-event" payload is received.
Now, you need to specify a document prop when rendering PdfViewerComponent. This is what your returned JSX file from App.tsx will look like:
return ( <div className="container"> <div className="PDF-viewer"> {fileBuffer ? ( <PdfViewerComponent document={fileBuffer} /> ) : null} </div> </div>);Try it again and you’ll be able to open a document you pick from your file system using the Nutrient for Web SDK.
Exporting files from Nutrient Web SDK
Now, you’ll add support for saving changes made in the viewer back to the original document.
Modify PdfViewerComponent to invoke a callback prop each time an instance is created:
import { useEffect, useRef } from 'react';
export default function PdfViewerComponent(props) {  const containerRef = useRef(null);
  useEffect(() => {    const container = containerRef.current;    let instance, PSPDFKit;    (async function () {      PSPDFKit = await import('pspdfkit');      instance = await PSPDFKit.load({        // Container where Nutrient should be mounted.        container,        // The document to open.        document: props.document,        // Use the public directory URL as a base URL. Nutrient will download its library assets from here.        baseUrl: `${window.location.protocol}//${          window.location.host        }/${import.meta.env.PUBLIC_URL ?? ''}`,        toolbarItems: PSPDFKit.defaultToolbarItems.filter(          (item) => item.type !== 'export-pdf',        ),      });      props.onInstance(instance);    })();
    return () => PSPDFKit && PSPDFKit.unload(container);  }, [props]);
  return (    <div      ref={containerRef}      style={{ width: '100%', height: '100vh' }}    />  );}
Notice you’re now invoking props.onInstance(instance); after instantiating Nutrient Web SDK.
Back in src/App.jsx, modify your import of Tauri utilities so they look like this:
import { readBinaryFile, writeBinaryFile } from '@tauri-apps/api/fs';Then, store the current Nutrient instance via the useRef hook:
const pspdfkitInstance = React.useRef(null);Perfect! You can now add a saveFile function, which is similar to openFile and also part of the useEffect hook:
const saveFile = async () => {  if (!filePath || !pspdfkitInstance.current) {    currentState.current = STATES.EDITING_FILE;    return;  }
  try {    const buffer = await pspdfkitInstance.current.exportPDF();    await writeBinaryFile(filePath, buffer);  } finally {    currentState.current = STATES.EDITING_FILE;  }};
The code above uses the instance.exportPDF API to get an ArrayBuffer with the changes you applied to the document. Then, it uses Tauri’s writeBinaryFile to write the content into the file system.
Now, invoke saveFile when the "save-event" payload is received:
listen('menu-event', (e) => { if ( e.payload === 'open-event' && [STATES.IDLE, STATES.EDITING_FILE].includes(currentState.current) ) { currentState.current = STATES.OPENING_FILE; openFile(); } else if ( e.payload === 'save-event' && currentState.current === STATES.EDITING_FILE ) { currentState.current = STATES.SAVING_FILE; saveFile(); }});PdfViewerComponent expects you to pass an onInstance prop:
const handleInstanceSet = React.useCallback((newInstance) => {  pspdfkitInstance.current = newInstance;});
return (  <div className="App">    <div className="PDF-viewer">      {fileBuffer ? (        <PdfViewerComponent          document={fileBuffer}          onInstance={handleInstanceSet}        />      ) : null}    </div>  </div>);
Try running the app again. You’ll now be able to both open the changes and save them back into the original app!
The full example shown here is available on GitHub(opens in a new tab). Feel free to clone it and try it locally.
Conclusion
This post covered the fundamentals of Tauri, how it works in comparison to Electron, how to get started with it, and instructions on how to build a PDF viewer using Tauri and Nutrient.
Tauri is still in its early stages, but it already offers a lot of amazing features, with even more on the way — such as support for bundling binaries for all major mobile operating systems.
Tauri has good performance and good prospects. It solves many of Electron’s existing problems and offers a simple and convenient development experience. But there are still some issues that need to be improved, and the learning curve of Rust is high and has a certain cost.


