How to build a freehand drawing using React

At Nutrient(opens in a new tab), we make the most advanced PDF SDKs for mobile and desktop. We released our Web PDF SDK in December 2016 and are working hard to bring all the beloved Nutrient features from iOS and Android to the browser.
We’d like to give you some insights into how we built these features. For this blog post, we’ll look at how we implemented one of the PDF annotation features: freehand drawing.
High-level goal
The high-level goal we sought to achieve was to develop a useful technique when implementing a feature that’s difficult to estimate. In this case, we want the user to be able to draw multiple lines inside an HTML element using their mouse. Lines should be connected until the mouse button is released again. The image below shows how it could look.
<center>  </center>
We want to encapsulate the whole feature inside a React component so we can reuse the code whenever we need it again.
Investigating the canvas element
When we thought about freehand drawing on the web and did some research, we quickly discovered the <canvas> element. The <canvas> element is a drawing canvas that can be controlled via JavaScript. That seemed pretty good for our use case! Here’s a quick example of the API:
let canvas = document.getElementById('canvas');let ctx = c.getContext('2d');ctx.moveTo(0, 0);ctx.lineTo(200, 100);ctx.stroke();The canvas API is pretty straightforward. We created a drawable context using the getContext() method and used low-level drawing instructions to make lines. In the example above, we moved the cursor to point 0 0 (starting from the top-left corner) and drew a line to 200 100.
While this seems like a perfect fit, there are two downsides to using <canvas> in our example:
Interaction with React — The
<canvas>element requires direct DOM manipulation. You can use theuseRef(opens in a new tab) hook to access the canvas element. Drawing instructions need to be deferred until the canvas element is available, which can be managed by using theuseEffect(opens in a new tab) hook to ensure the drawing operations occur after the component has mounted and updated.The canvas element is a bitmap and thus will be rasterized before being rendered on the screen. That means that drawing is done pixel-wise with the exact coordinates you supply. When we apply a transformation to the canvas and scale it after the drawing, it’ll appear blurry. If only there were a vector graphic format for the web...
Meet SVG
SVG is an XML-based vector image format with easy-to-use primitives for all basic shapes, including lines, circles, and rectangles. It can be embedded in HTML with an <svg> tag:
<div> <svg> <path stroke="black" d="M 0 0 L 200 100" /> </svg></div>This example also renders a line from 0 0 to 200 100. The information is encoded inside the d property of the <path> (we’ll talk about this special property later). Setting the stroke color can be done either as an element property or by using CSS.
Because of its XML-based format, it’s handled by React the same way we handle HTML. We can declaratively render the elements and let React take care of applying the changes to the DOM efficiently.
Component and data structure
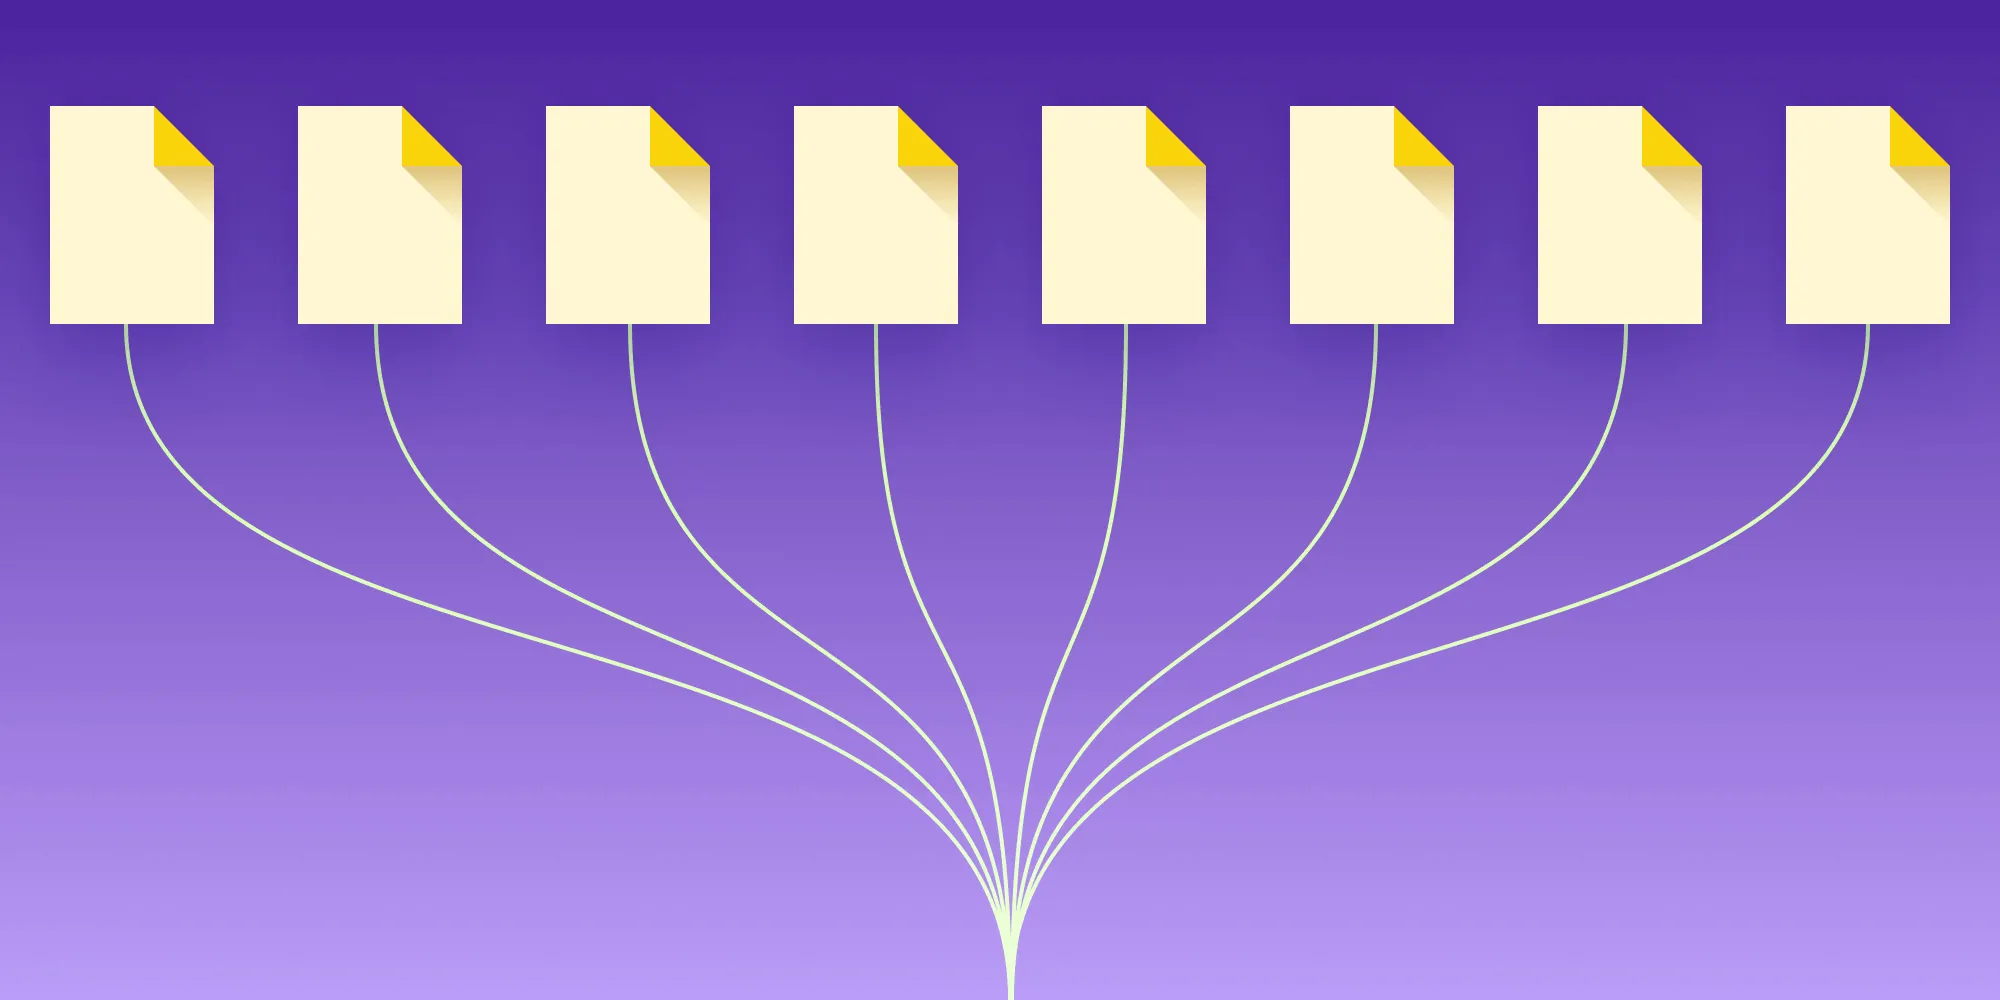
Before we begin, we need to think about the component structure for a second. We already discussed that we want to encapsulate the complete feature inside a single React component. We’ll call this component DrawArea. Its main purpose is to handle mouse events. Inside the DrawArea, we’ll place a Drawing to abstract the SVG logic away. It’ll receive the points to draw as props. Finally, the Drawing will, for every line, render the individual lines using DrawingLine. Since Drawing and DrawingLine won’t have their own state, we’ll use functional components(opens in a new tab) for them.
<center>  </center>
The state of our DrawArea will contain a Boolean, isDrawing, which we’ll set to true when we start drawing. The lines property will be a list of lines, where a line contains, again, a list of points. We’ll use a map with x and y keys to represent a point.
We’ll use Immutable.js(opens in a new tab) to handle the complex lines structure. While this isn’t a requirement for this task, we’ve found Immutable.js extremely useful in handling more complex state objects, since it comes with helpers that allow you to apply deep persistent changes.
DrawArea
We’ll start by initializing the state within the constructor of this component by setting lines to an empty list (thus, having no lines when we start) and isDrawing to false:
import { useState, useRef } from 'react';import Immutable from 'immutable';
const DrawArea = () => {  // Initialize state with `useState`.  const [isDrawing, setIsDrawing] = useState(false);  const [lines, setLines] = useState(Immutable.List());};
We follow this by implementing the render() method and adding event handlers for onMouseDown. We’ll need a reference to the DOM element later, so let’s also add a ref attribute here:
return <div ref={drawAreaRef} onMouseDown={handleMouseDown} />;Next up, we implement the handleMouseDown method. It receives a MouseEvent as the parameter, which we can use to query the x and y coordinates. Since those coordinates start at the top-left corner of the browser and not our DrawArea, we’ll subtract the top and left position to receive relative coordinates.
We also have the option of using either MouseEvent.clientX or MouseEvent.screenX. The latter will reference the current window as the starting anchor and will change when you scroll on that window. The client coordinates, however, will be inside the client space and thus will stay the same if you scroll. We’ll use clientX, since this is the value we need when subtracting the boundingClientRect.
When we receive a mousedown event (and the left mouse button is clicked), we want to create a new line by pushing a new list with the current point to the line. We’ll update the state using the updater function approach: When we pass a function to setState(), React will call it with the current state and expect it to return the new state. The setState() happens atomically, so no updates are lost:
const drawAreaRef = useRef(null);
const relativeCoordinatesForEvent = (mouseEvent) => {  const boundingRect = drawAreaRef.current.getBoundingClientRect();  return new Immutable.Map({    x: mouseEvent.clientX - boundingRect.left,    y: mouseEvent.clientY - boundingRect.top,  });};
const handleMouseDown = (mouseEvent) => {  if (mouseEvent.button !== 0) {    return;  }
  const point = relativeCoordinatesForEvent(mouseEvent);
  setLines((prevLines) => prevLines.push(Immutable.List([point])));  setIsDrawing(true);};
When we’re currently drawing and receive a mousemove event within the container, we want to push those points to the latest line. We implement this the same way as we implement mousedown: We add an event listener to the <div> and implement a handleMouseMove method. The state transition here uses a deep persistence change helper (updateIn()) from Immutable.js. The array is a path to the property we want to change — in our case, it’s the latest line. For that element, it’ll invoke a callback function, which we use to push the point into that segment:
const handleMouseMove = (mouseEvent) => {  if (!isDrawing) {    return;  }
  const point = relativeCoordinatesForEvent(mouseEvent);
  setLines((prevLines) =>    prevLines.updateIn([prevLines.size - 1], (line) =>      line.push(point),    ),  );};
To stop drawing, we need to do the same thing for the mouseup event. However, since it’s possible to start drawing inside the element, move outside, and release the mouse button outside as well, we need a way to track the mouseup events from all possible places. Luckily, we can add our custom event listeners to the document. They’ll fire even when the mouseup occurs outside the browser window. (Always keep in mind that you shouldn’t use custom event listeners if you don’t have to, since they’ll escape React’s event system, which can cause subtle problems when you try to stop propagation. We don’t use that for this feature, so we can ignore that for now.)
useEffect(() => { document.addEventListener('mousemove', handleMouseMove); document.addEventListener('mouseup', handleMouseUp); return () => { document.removeEventListener('mousemove', handleMouseMove); document.removeEventListener('mouseup', handleMouseUp); };}, [isDrawing]);This is enough to record the freehand drawings! All that’s left to do is implement the actual rendering of the drawing. As we discussed earlier, we want to use SVG to make this happen.
Drawing and DrawingLine
We start with the Drawing component. It’ll render the <svg> and a DrawingLine for every line:
function Drawing({ lines }) { return ( <svg> {lines.map((line, index) => ( <DrawingLine key={index} line={line} /> ))} </svg> );}That was pretty straightforward! We just map over the lines and create a new DrawingLine for each one. We also add a key attribute(opens in a new tab) here, which is required by React for identifying which DOM nodes have changed.
As a final step, the only thing that’s missing is the actual line. We already saw how SVG can render lines using the <path> element with a d property. Inside this property, the path data(opens in a new tab), we can instrument the path. We’re using two commands in our example:
M x y— Moves the cursor to a coordinate.L x y— Draws a line from the current cursor to the new coordinate. The cursor will be set to the new coordinate.
Both of these commands require absolute points within the SVG (the x and y parts refer to the x and y coordinates in pixels). Those instructions will then be joined into a string, which we pass as the d property.
So what’s left for us to do is build this d property based on the list of points in a line. We’ll use a combination of .map() and .join() to achieve this, where .map() brings every point inside the required SVG format, and .join() combines those points to a string using a glue string:
function DrawingLine({ line }) {  const pathData =    'M ' + line.map((p) => p.get('x') + ' ' + p.get('y')).join(' L ');
  return <path d={pathData} />;}
This is already enough to display the lines! Whenever we draw now, the state from DrawArea will update, which will cause the underlying Drawing to rerender. The browser is fast enough that this happens at 60fps.
Conclusion
We managed to set up a freehand drawing prototype in React with three components and a simple data structure by hooking into three mouse events. The complete state is handled by a single component, and drawing is split between the other two.
This is exactly how we started with freehand ink PDF annotations for our React PDF library, which now comes with more than 30-out-of-the box features and has well-documented APIs to handle advanced use cases. I recommend using the free trial of our PDF library and checking out our Web PDF SDK demo to see all the new functionality we’ve built into line drawing — like resizing, dragging, line simplification, and even a custom cursor that increases its size when you increase the stroke width! 😎
FAQ
What is the purpose of the freehand drawing app built with React?
To enable users to draw freehand lines using their mouse within a React component.
Why use `SVG` instead of `canvas` for this drawing app?
SVG is vector-based, integrates better with React, and avoids the scaling issues of bitmap graphics from canvas.
How does the `DrawArea` component manage drawing?
It uses React hooks to track mouse events and update the drawing state, rendering the lines with SVG.
What are the limitations of using `canvas` for freehand drawing?
It requires manual DOM manipulation and may result in blurry graphics when scaled, making SVG a better option.
Can this drawing technique be applied to other React projects?
Yes, the method can be adapted and reused in other React applications needing freehand drawing functionality.


