


How to convert DOCX to WebP using Python
Table of contents

Convert DOCX to WebP using Nutrient’s Python API. Create a free account, get API credentials, and implement conversion using the requests library with customizable DPI settings. Combine with 30+ API tools for document processing workflows.
Convert DOCX files to WebP images in Python using Nutrient’s DOCX to WebP API. The free plan includes 50 credits. Different operations consume different amounts of credits. Create a free account(opens in a new tab) to get your API key.
It’s now possible to view and edit Word, Excel, and PowerPoint documents directly in the browser, without any server-side processing required.
Why convert DOCX to WebP?
Converting DOCX files to WebP is essential for web optimization and modern image workflows. Common use cases include:
- Web performance — WebP provides superior compression, reducing file sizes by 25–35 percent compared to JPEG, while maintaining quality.
- Document previews — Generate lightweight preview images for document management systems and content platforms.
- Modern web standards — Support for WebP is now universal across modern browsers (Chrome, Firefox, Safari, Edge).
- Responsive images — Create optimized document thumbnails that load quickly on mobile and desktop.
- Bandwidth savings — Reduce storage costs and improve page load times with smaller image files.
The DOCX-to-WebP API automates this conversion in your workflow.
Nutrient DWS Processor API
Converting DOCX to WebP is one of 30+ operations available through our PDF API tools. The API specializes in document-to-image conversion with customizable settings:
- Convert various file formats to images (WebP, PNG, JPEG, TIFF)
- Customize output quality with DPI settings (72–500 DPI)
- Generate multipage outputs as separate images
- Combine with watermarking for branded document previews
Your account includes access to all PDF API tools.
Step 1 — Creating a free account on Nutrient
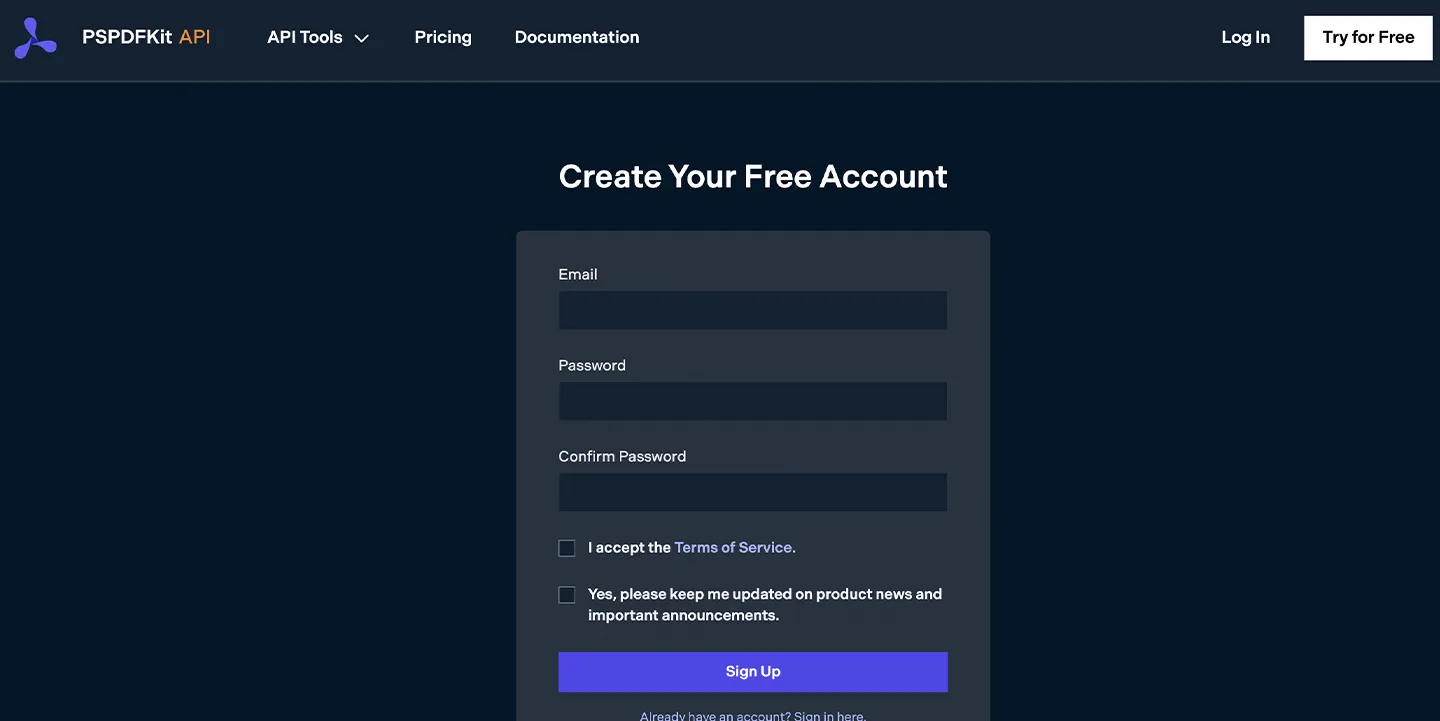
Go to our website(opens in a new tab), where you’ll see the page below, prompting you to create your free account.
Once you’ve created your account, you’ll be welcomed by a page showing an overview of your plan details.
You’ll start with 50 credits to process, and you’ll be able to access all our PDF API tools.
Step 2 — Obtaining the API key
After you’ve verified your email, you can get your API key from the dashboard. In the menu on the left, click API keys. You’ll see the following page, which is an overview of your keys.
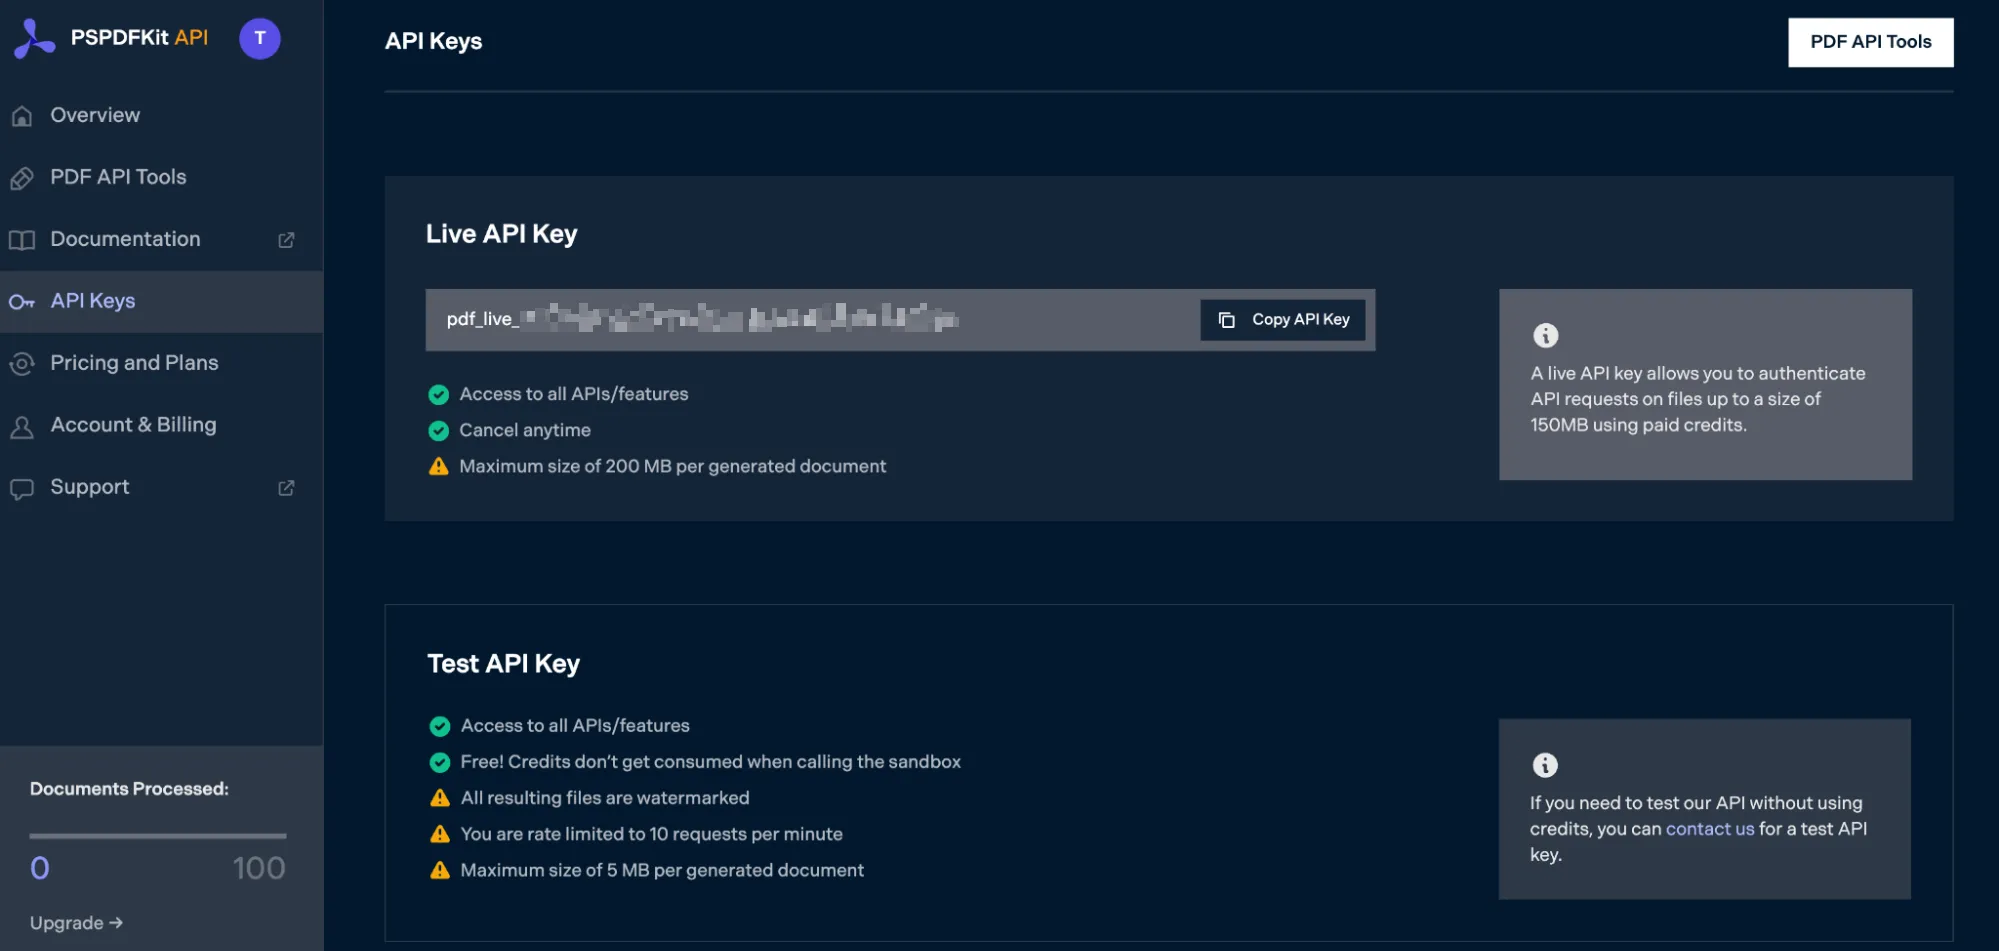
Copy the Live API key, because you’ll need this for the DOCX-to-WebP conversion.
Step 3 — Setting up your files and folders
Now, create a folder called docx_to_webp and open it in a code editor. For this tutorial, you’ll use VS Code as your primary code editor. Next, create two folders inside docx_to_webp and name them input_documents and processed_documents.
Copy your DOCX file to the input_documents folder and rename it to document.docx. You can use our demo document as an example.
Then, in the root folder, docx_to_webp, create a file called processor.py. This is the file where you’ll keep your code.
Your folder structure will look like this:
docx_to_webp├── input_documents| └── document.docx├── processed_documents└── processor.pyStep 4 — Installing dependencies
Install the required requests library:
pip install requestsStep 5 — Writing the code
Now, open the processor.py file and paste the code below into it:
import requestsimport json
response = requests.request(  'POST',  'https://api.nutrient.io/build',  headers = {    'Authorization': 'Bearer YOUR_API_KEY_HERE'  },  files = {    'document': open('input_documents/document.docx', 'rb')  },  data = {    'instructions': json.dumps({      'parts': [        {          'file': 'document'        }      ],      'output': {        'type': 'image',        'format': 'webp',        'dpi': 500      }    })  },  stream = True)
if response.ok:  with open('processed_documents/image.webp', 'wb') as fd:    for chunk in response.iter_content(chunk_size=8096):      fd.write(chunk)else:  print(response.text)  exit()
Make sure to replace YOUR_API_KEY_HERE with your API key.
Code explanation
The code imports the requests library for HTTP operations and json for formatting instructions. It creates a POST request to the Nutrient API with several key components:
- headers — Authorization with your API key
- files — The input DOCX file as binary data
- data — JSON instructions with output configuration
type: 'image'— Specifies image output instead of PDFformat: 'webp'— Sets WebP as the image formatdpi: 500— High-resolution output (adjustable: 72–500)
The response streams back as a WebP image file, which the script saves to the processed_documents folder.
Output
To execute the code, use the following command:
python3 processor.pyOn the successful execution of the code, you’ll see a new processed file named image.webp in the processed_documents folder.
The folder structure will look like this:
docx_to_webp├── input_documents| └── document.docx├── processed_documents| └── image.webp└── processor.pyAdditional resources
Explore more ways to work with Nutrient API:
- Postman collection — Test API endpoints directly in Postman
- Zapier integration — Automate document workflows without code
- MCP Server — PDF automation for LLM applications
- Python examples — Official Python code examples and documentation
Conclusion
This tutorial covered converting DOCX files to WebP images in Python using the DOCX-to-WebP API.
You can integrate these functions into existing applications. The same API token enables other operations like merging documents, adding watermarks, and more. Sign up(opens in a new tab) for a free trial.
FAQ
No. Start with a free account that provides 50 credits for processing documents. Different operations consume different amounts of credits, so you can process varying numbers of documents depending on the operations you use.
DPI settings range from 72 to 500. Use 72–150 DPI for web thumbnails and previews, 150–300 DPI for standard document images, and 300–500 DPI for high-quality prints or detailed document captures. Higher DPI produces larger file sizes.
Yes. When converting multipage DOCX documents to WebP, each page generates as a separate image file. The API returns a ZIP archive containing all page images when processing documents with multiple pages.
Yes. The API supports multiple image formats, including PNG, JPEG, TIFF, and WebP. Simply change the format parameter in the output configuration to your desired format (e.g. 'format': 'png').


