


Node.js PDF generator: How to generate PDFs from HTML with Node.js
Table of contents
This guide walks through the most effective Node.js PDF generation libraries, including Puppeteer, PDFKit, jsPDF, PDFMake, and Nutrient Document Engine. You’ll learn which ones are best for HTML rendering, layout precision, data-driven content, and large-scale automation.
Creating professional PDF documents is a must-have feature for many web applications. From generating client invoices and internal reports to delivering printable downloads, Node.js provides the flexibility to support it all. With a rich ecosystem of PDF tools, you can embed automated document workflows directly into your backend logic.
Why use Node.js for PDF output?
Node.js is particularly well-suited for PDF workflows due to:
- Speed and scalability — Handle thousands of PDF jobs with asynchronous performance.
- Flexible integration — Connect generation logic to APIs, queues, or scheduled jobs.
- Dynamic content — Personalize documents on the fly using server-side logic.
With these strengths, choosing the right PDF tool depends on how you want to design, structure, and distribute your documents. Continue reading to explore the top options and what they’re best at.
Setting up PDF generation with Puppeteer
Step 1 — Installing dependencies
Start by initializing your project and installing Puppeteer for PDF generation:
mkdir html-to-pdf && cd html-to-pdfnpm init -ynpm install puppeteerStep 2 — Creating the HTML template
Write an HTML template, template.html, which will be rendered as a PDF.
Styling and layout customization are essential when converting HTML to PDF, especially if a document needs to adhere to a specific design. Puppeteer, being a browser automation tool, is excellent at preserving complex layouts and CSS. You can apply intricate CSS styles to your HTML before conversion, ensuring a PDF reflects the exact design intended. For example:
<!DOCTYPE html><html> <head> <title>Sample PDF</title> <style> body { font-family: Arial, sans-serif; background-color: #f4f4f9; margin: 0; padding: 0; } .container { width: 80%; margin: 0 auto; padding: 20px; border: 1px solid #ddd; background-color: #fff; } h1 { color: #4caf50; font-size: 2em; } footer { text-align: center; font-size: 0.8em; color: #777; position: absolute; bottom: 20px; width: 100%; } </style> </head> <body> <div class="container"> <h1>Hello, World!</h1> <p>This PDF was generated from HTML.</p> </div> <footer> <p>© 2025 My Company. All rights reserved.</p> </footer> </body></html>This CSS will ensure that the generated PDF has the same appearance as the styled HTML page, preserving layout, typography, and other visual elements.
Step 3 — Writing the Puppeteer script
Create a new file, generatePdf.js, to render the HTML to PDF:
const fs = require("fs");const puppeteer = require("puppeteer");
async function generatePdf() { const browser = await puppeteer.launch(); const page = await browser.newPage();
const html = fs.readFileSync("template.html", "utf8"); await page.setContent(html, { waitUntil: "networkidle0" });
await page.pdf({ path: "output.pdf", format: "A4", printBackground: true, });
await browser.close(); console.log("PDF generated successfully");}
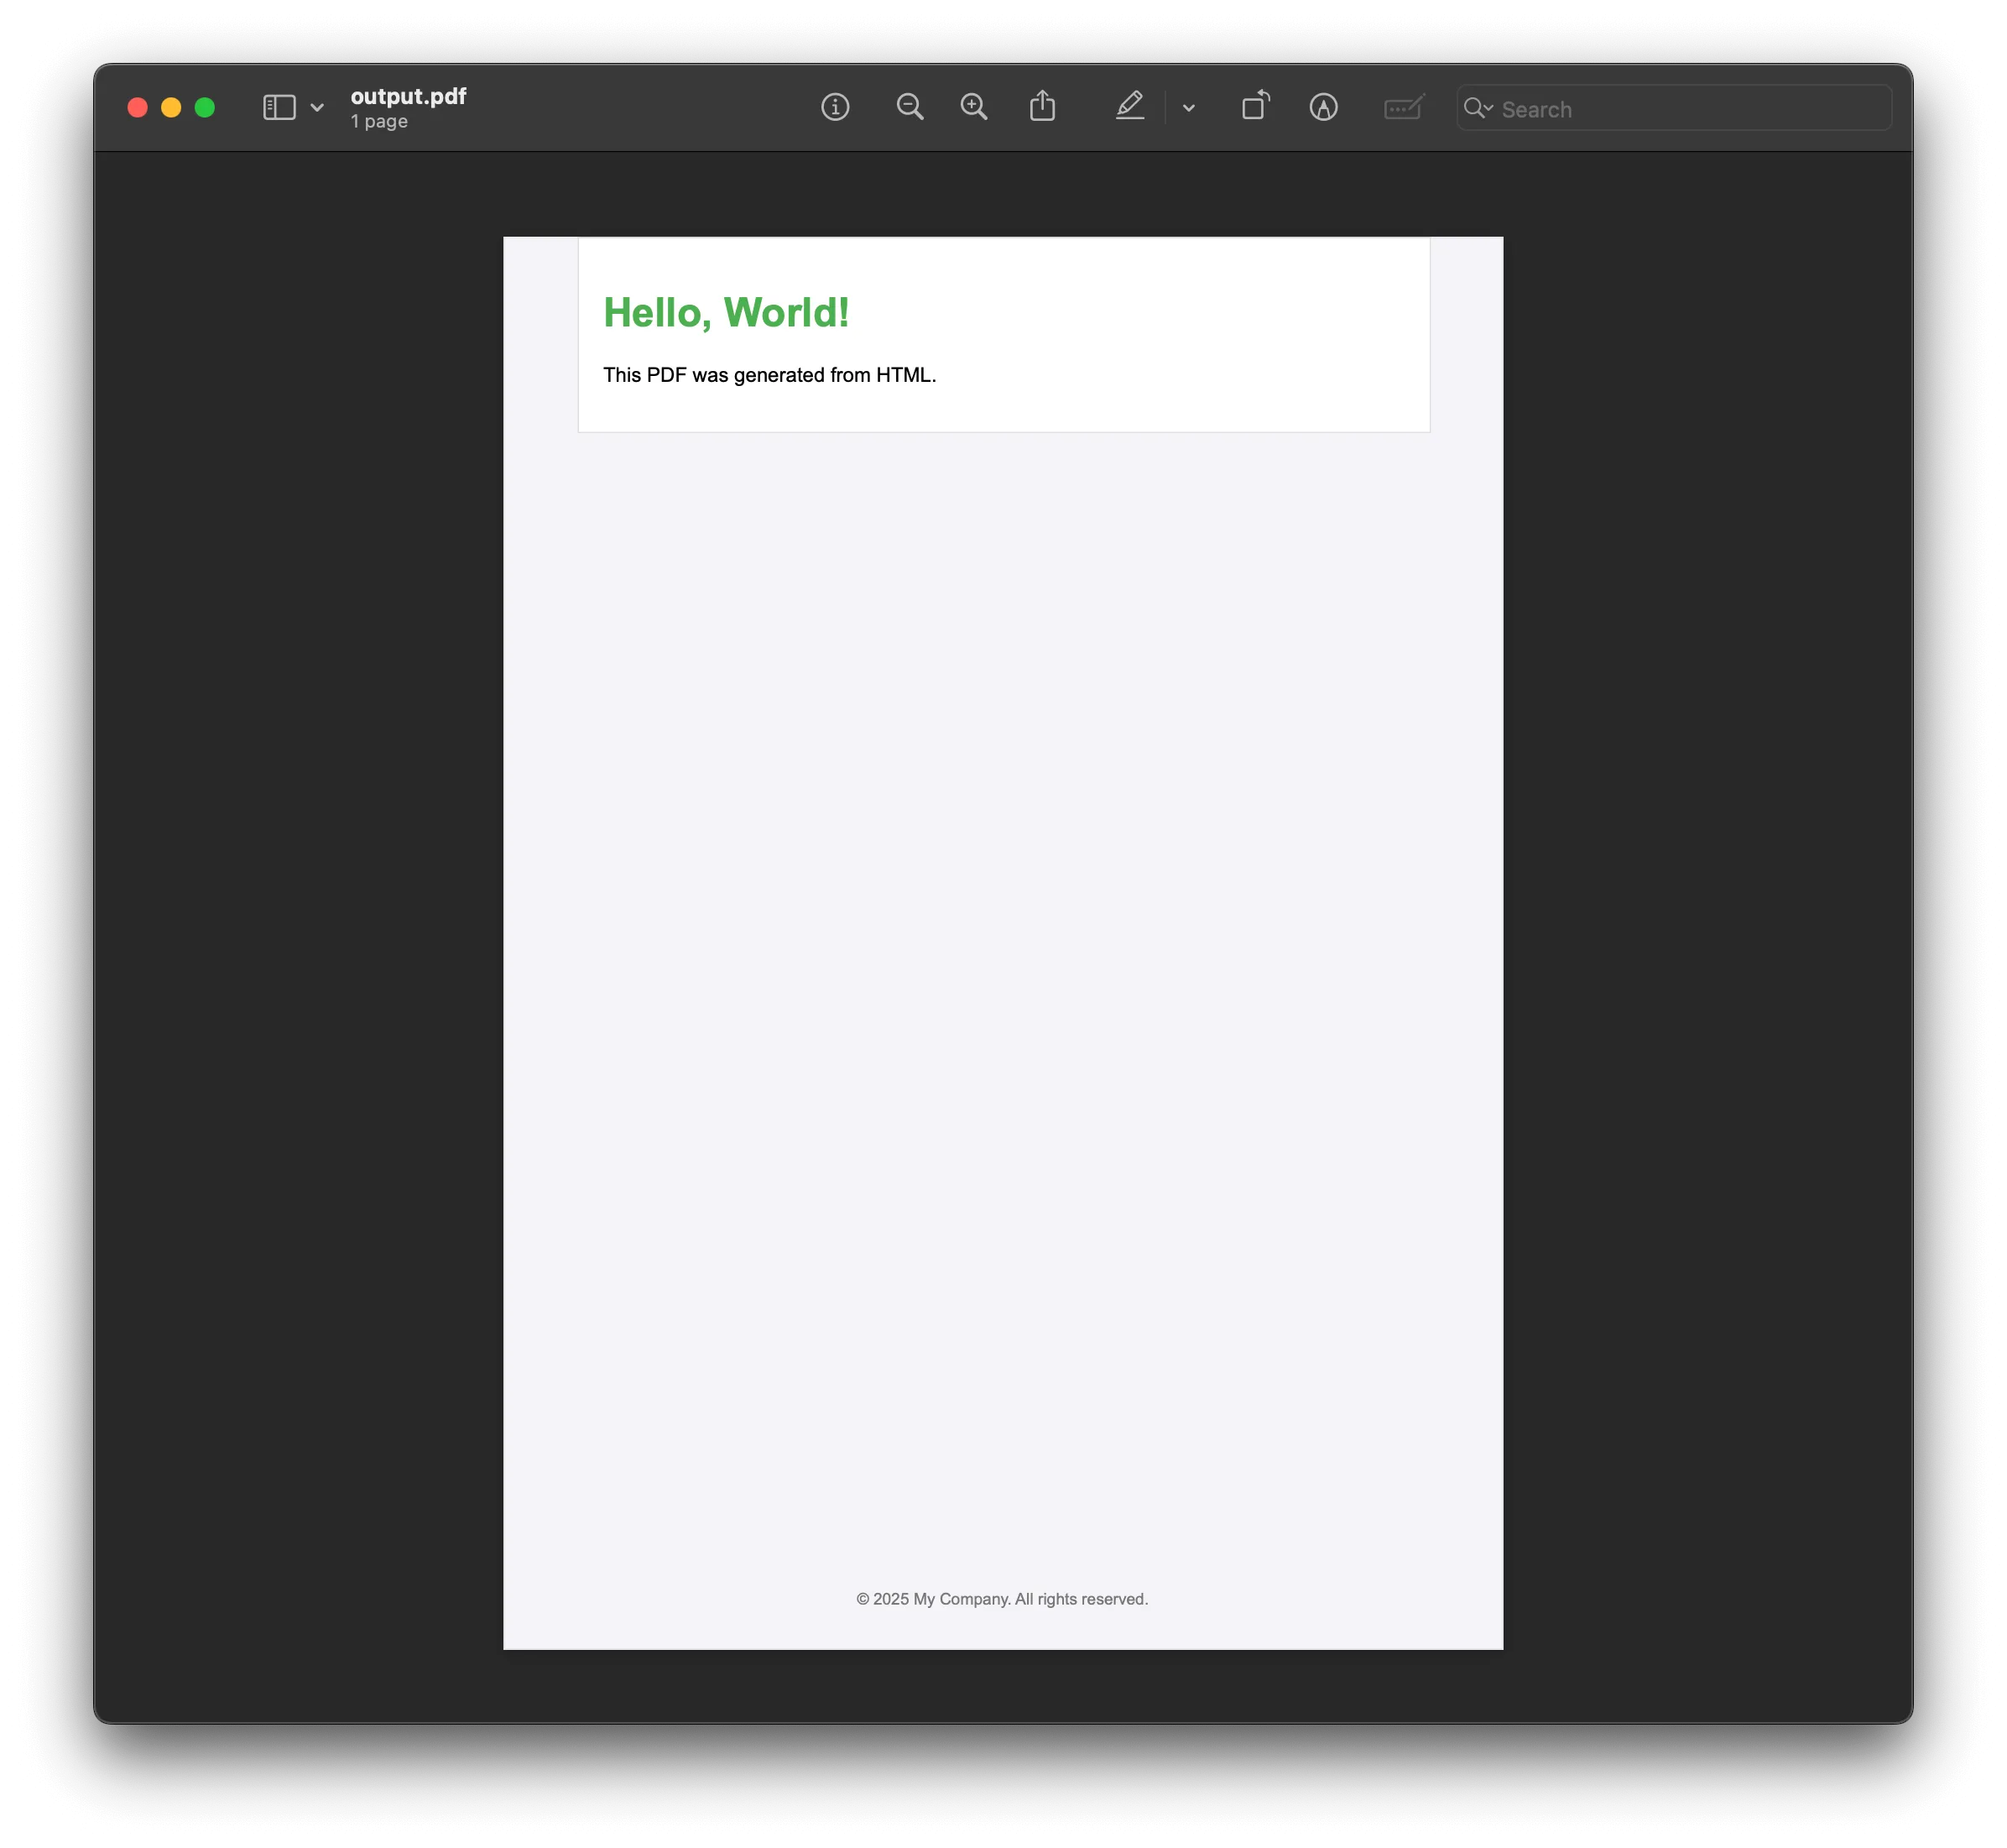
generatePdf();Step 4 — Running the script
Generate the PDF by running the script:
node generatePdf.jsAfter running, a file named output.pdf will appear in the project folder.
Common pitfalls and troubleshooting
When generating PDFs using Puppeteer, developers may encounter issues such as:
- High memory usage — Optimize performance by using headless mode and closing unused pages.
- Rendering delays — Use the
waitUntiloption to ensure all resources are loaded. - Cross-platform issues — Ensure dependencies are compatible with the target operating system.
Advanced features and use cases for Node.js PDF generation
Dynamic content
When working with dynamic data, such as user-specific information or database entries, use our JavaScript PDF generator to generate PDFs that reflect real-time data. For example, imagine generating invoices or personalized reports. This next section will cover how you can dynamically generate a PDF using Puppeteer.
Puppeteer dynamic content example
To create a dynamic PDF, you can modify the HTML content by injecting data fetched from a database, API, or user input. Below is an example of how to replace placeholders in an HTML template with dynamic values using Puppeteer.
- HTML template (
template.html):
<body> <div class="container"> <h1>Hello, {{username}}!</h1> <p>Your amount is: {{amount}}</p> </div></body>- JavaScript code:
const puppeteer = require("puppeteer");const fs = require("fs");
async function generateDynamicPdf(data) {  const browser = await puppeteer.launch();  const page = await browser.newPage();
  // Load the HTML template.  let html = fs.readFileSync("template.html", "utf8");
  // Replace placeholders with dynamic data.  html = html    .replace("{{username}}", data.username)    .replace("{{amount}}", data.amount);
  // Set the modified HTML content to the page.  await page.setContent(html, { waitUntil: "networkidle0" });
  // Generate and save the PDF.  await page.pdf({    path: "dynamic_output.pdf",    format: "A4",    printBackground: true,  });
  await browser.close();  console.log("Dynamic PDF generated successfully");}
// Example dynamic data.const userData = { username: "John Doe", amount: "$1500" };generateDynamicPdf(userData);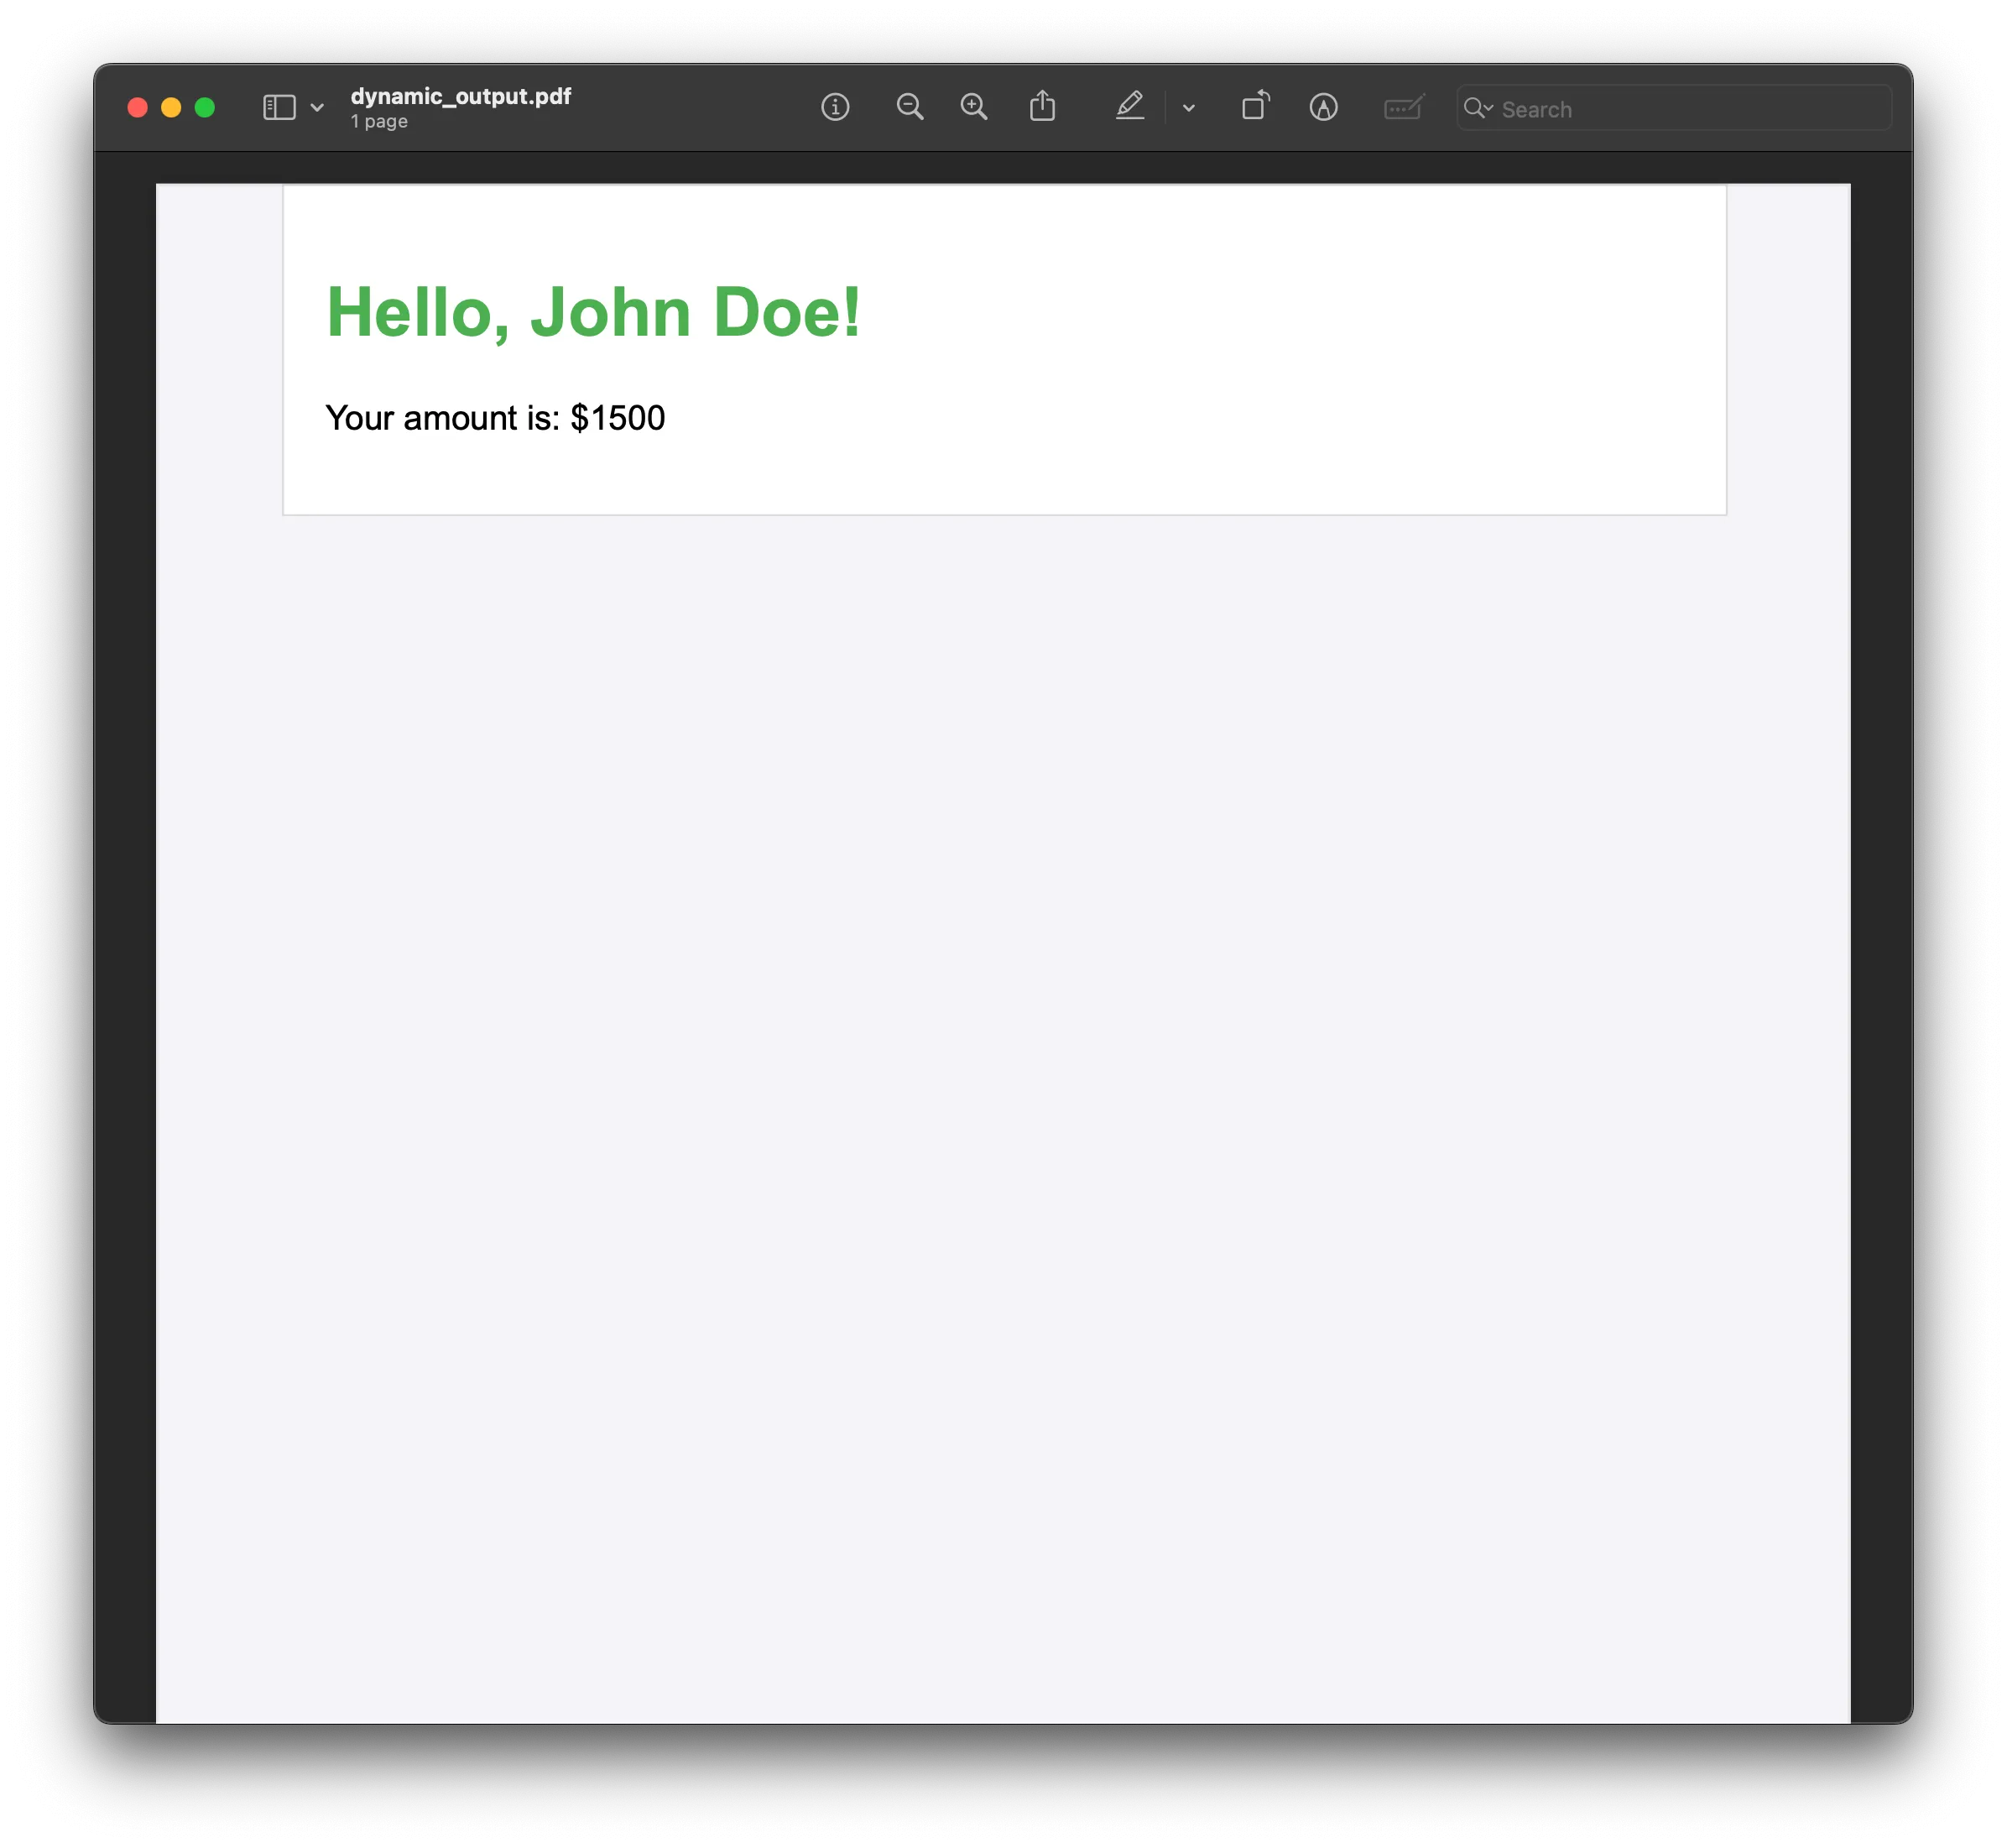
The HTML template (template.html) contains placeholders such as {{username}} and {{amount}}, which will be replaced with dynamic data. The JavaScript code utilizes Puppeteer to launch a browser and create a new page. It then reads the HTML content from the template file, replacing the placeholders with actual dynamic values. After modifying the HTML, Puppeteer loads it into the page and generates a PDF, which is saved as dynamic_output.pdf. This process enables you to create a customized PDF with content that can be dynamically injected based on user data or other sources.
Getting started with Nutrient Document Engine for PDF generation
While Puppeteer offers a simple solution for rendering PDFs from HTML, Nutrient provides a comprehensive PDF management tool that helps you unlock advanced features like editing, annotating, and digitally signing PDFs. Our document generation tool offers professional-grade features for creating dynamic documents from various data sources.
If you’re looking to take your PDF workflows even further with capabilities beyond basic generation, Nutrient Document Engine will give you the flexibility you need. The next section will walk you through how to get started with Nutrient and set it up for your Node.js project.
Requirements
Ensure your system meets the following requirements.
- Operating systems:
- macOS Ventura, Monterey, Mojave, Catalina, or Big Sur.
- Ubuntu, Fedora, Debian, or CentOS (64-bit Intel and ARM processors supported).
- Memory: At least 4 GB of RAM.
Installing Docker
Document Engine is distributed via Docker. Install Docker by following the appropriate instructions for your OS:
- macOS — Install Docker Desktop for Mac(opens in a new tab).
- Windows/Linux — Follow the guides on Docker’s website(opens in a new tab).
Setting up Document Engine
To start Document Engine, you’ll need to configure Docker. Save the following docker-compose.yml file:
version: "3.8"services:  document_engine:    image: pspdfkit/document-engine:1.5.0    environment:      PGUSER: de-user      PGPASSWORD: password      PGDATABASE: document-engine      PGHOST: db      PGPORT: 5432      API_AUTH_TOKEN: secret      SECRET_KEY_BASE: secret-key-base      JWT_PUBLIC_KEY: |        -----BEGIN PUBLIC KEY-----        MIIBIjANBgkqhkiG9w0BAQEFAAOCAQ8AMIIBCgKCAQEA2gzhmJ9TDanEzWdP1WG+        0Ecwbe7f3bv6e5UUpvcT5q68IQJKP47AQdBAnSlFVi4X9SaurbWoXdS6jpmPpk24        QvitzLNFphHdwjFBelTAOa6taZrSusoFvrtK9x5xsW4zzt/bkpUraNx82Z8MwLwr        t6HlY7dgO9+xBAabj4t1d2t+0HS8O/ed3CB6T2lj6S8AbLDSEFc9ScO6Uc1XJlSo        rgyJJSPCpNhSq3AubEZ1wMS1iEtgAzTPRDsQv50qWIbn634HLWxTP/UH6YNJBwzt        3O6q29kTtjXlMGXCvin37PyX4Jy1IiPFwJm45aWJGKSfVGMDojTJbuUtM+8P9Rrn        AwIDAQAB        -----END PUBLIC KEY-----      JWT_ALGORITHM: RS256      DASHBOARD_USERNAME: dashboard      DASHBOARD_PASSWORD: secret    ports:      - 5000:5000    depends_on:      - db  db:    image: postgres:16    environment:      POSTGRES_USER: de-user      POSTGRES_PASSWORD: password      POSTGRES_DB: document-engine    volumes:      - pgdata:/var/lib/postgresql/data
volumes:  pgdata:
Starting Document Engine
Open a terminal, navigate to the directory containing the docker-compose.yml file, and run:
docker-compose upWait until you see the following message:
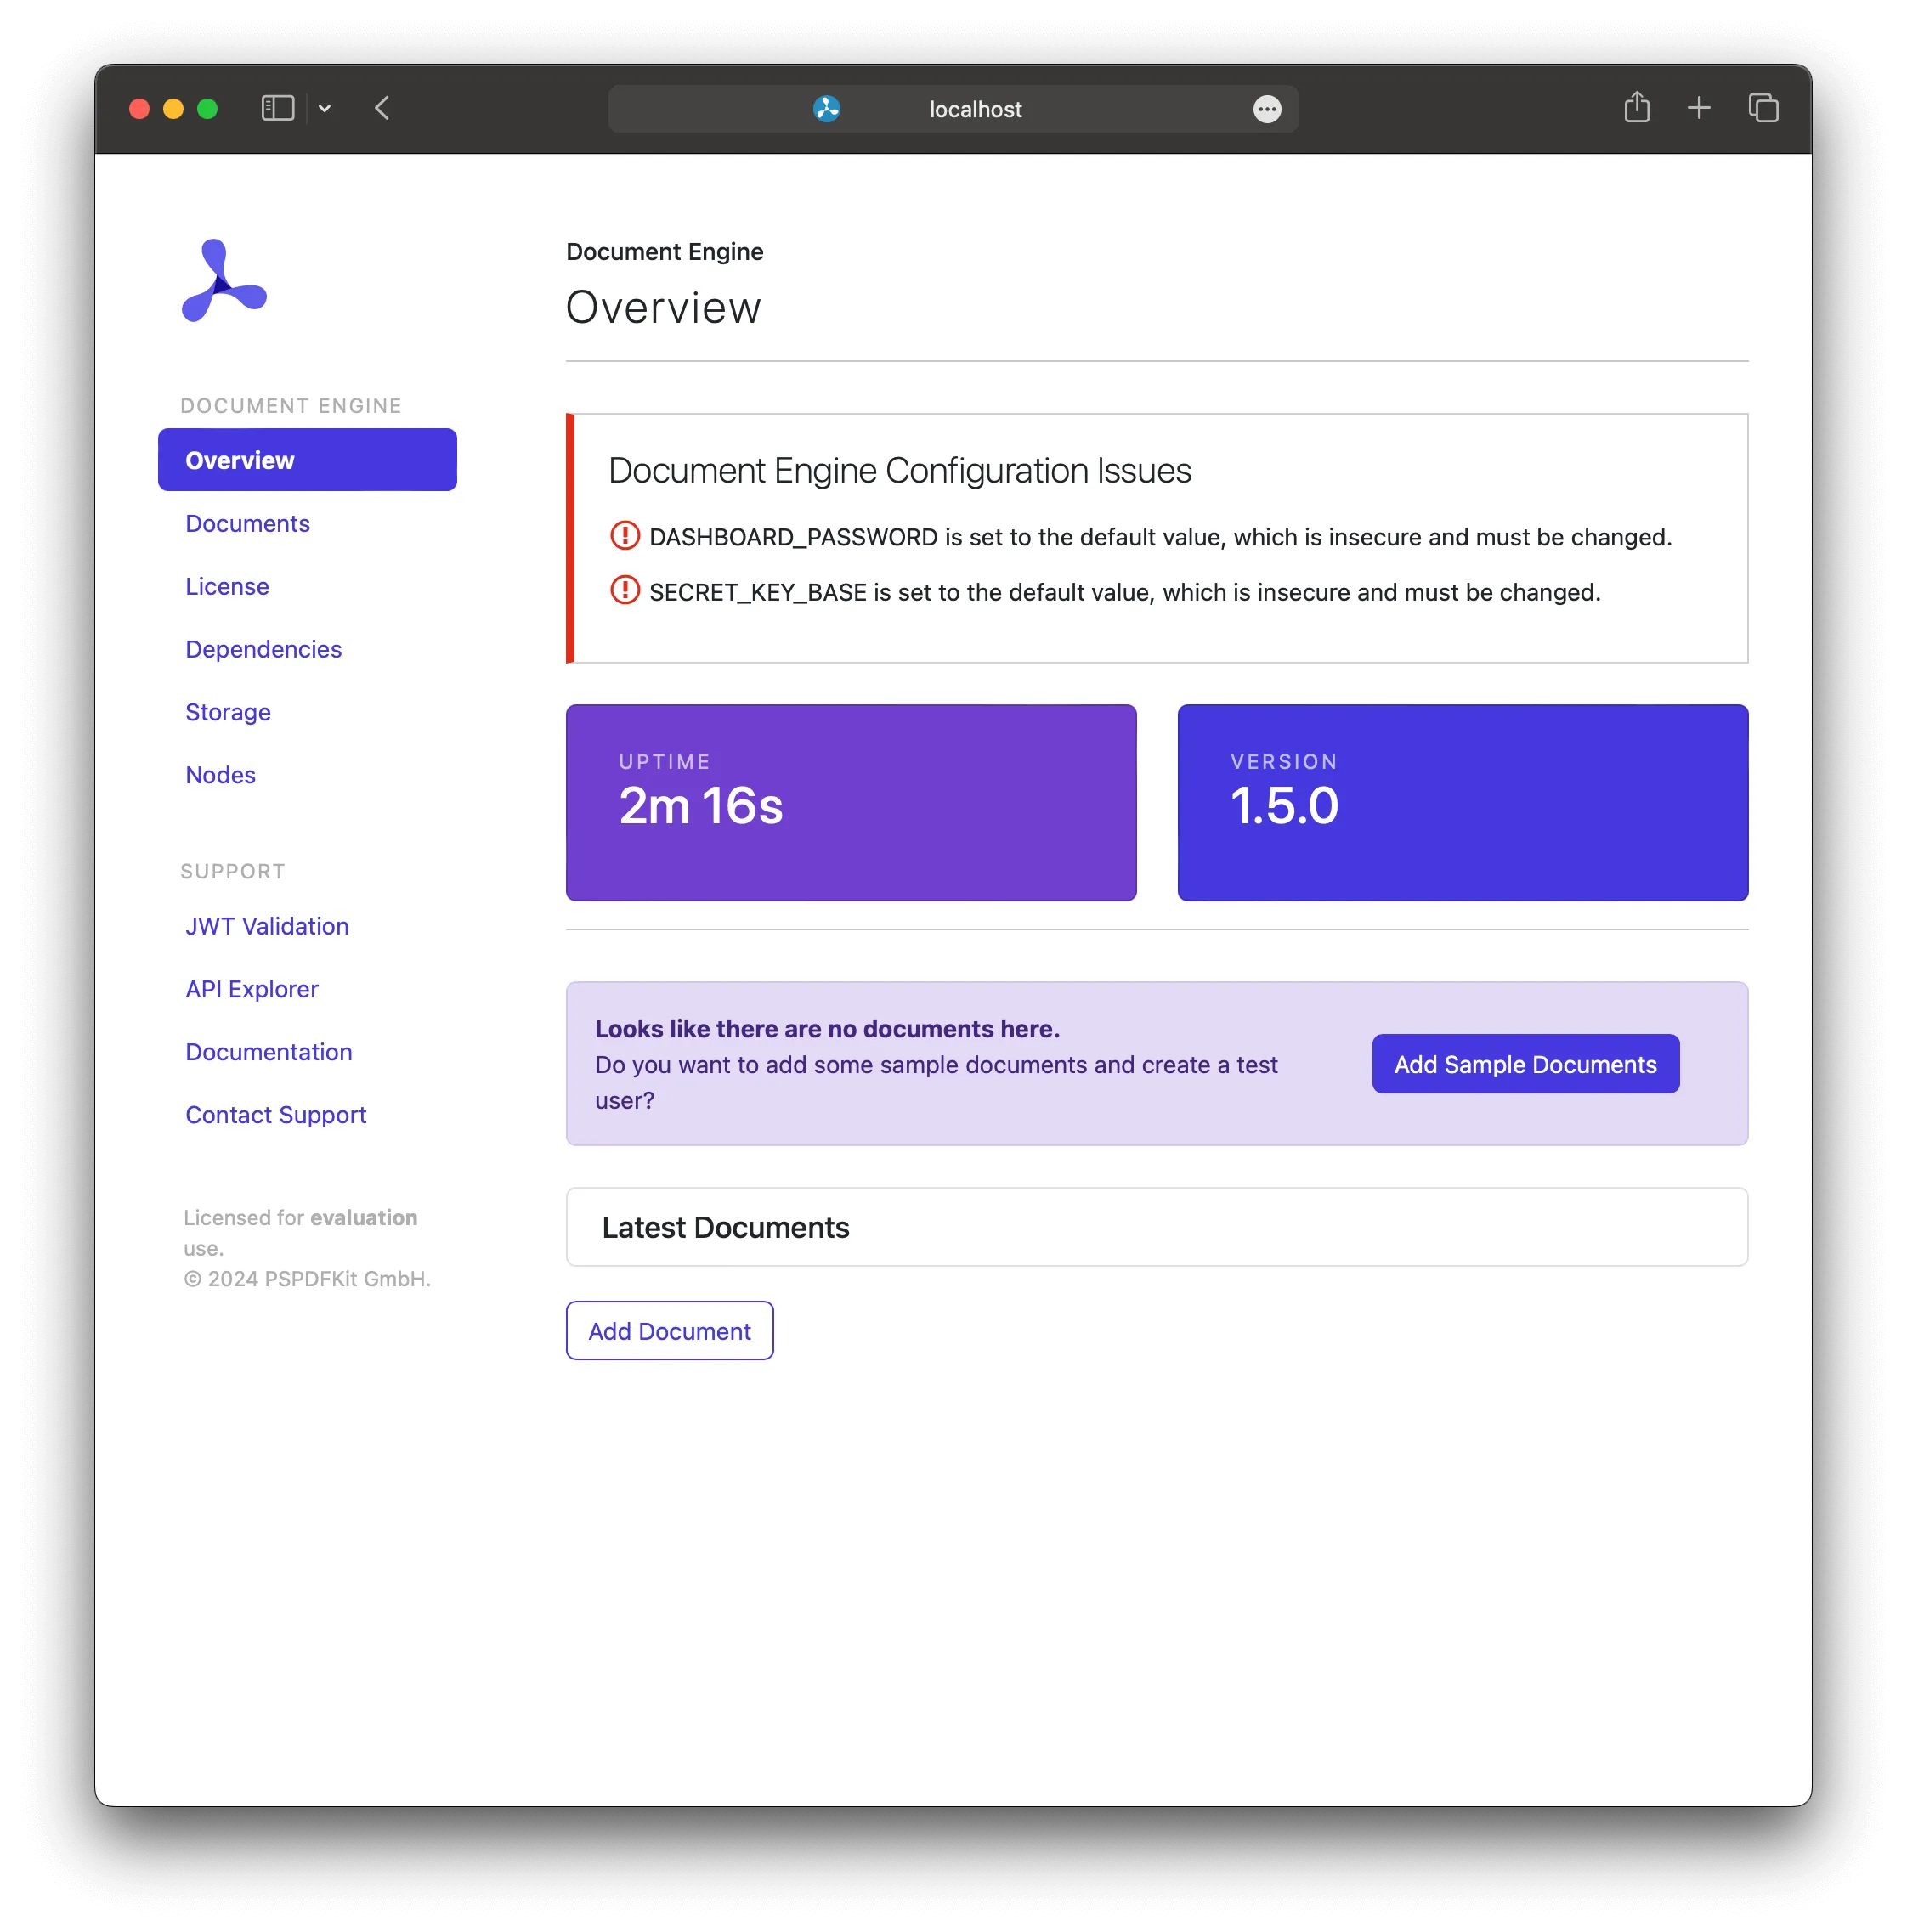
document_engine_1 | Access the web dashboard at http://localhost:5000/dashboardVisit http://localhost:5000/dashboard(opens in a new tab) and authenticate using the following credentials:
- Username:
dashboard - Password:
secret
PDF generation from HTML with Document Engine
Document Engine simplifies the process of generating PDFs directly from HTML. Here’s how to do it step by step.
Step 1 — Preparing your HTML template
First, create an HTML template for your content. Use Mustache(opens in a new tab) to dynamically inject data into the template. Save this template as template.mustache:
<!DOCTYPE html><html> <body> <div class="address">John Smith 123 Smith Street 90568 TA {{date}}</div> <div class="subject">Subject: PDF Generation FTW!</div> <div> <p>PDF is great!</p> </div> <div>{{name}}</div> </body></html>Step 2 — Providing the dynamic data
Create a data.json file with the data that will replace the placeholders in your HTML template:
{ "name": "John Smith Jr.", "date": "29 February, 2020"}Step 3 — Rendering HTML using Mustache
Next, render the HTML using Mustache:
const mustache = require("mustache");const fs = require("fs");
const template = fs.readFileSync("template.mustache").toString();const data = JSON.parse(fs.readFileSync("data.json").toString());
const outputHtml = mustache.render(template, data);
// Save the rendered HTML file.fs.writeFileSync("output.html", outputHtml);console.log("HTML generated successfully.");
Step 4 — Sending HTML to Document Engine
Instead of converting the HTML yourself, you can send it to Document Engine’s API to generate the PDF. Here’s an example using axios to send the rendered HTML:
const axios = require("axios");const fs = require("fs");
// Read the generated HTML.const htmlContent = fs.readFileSync("output.html", "utf8");
// Define the PDF generation schema.const pdfGenerationSchema = {  html: htmlContent,  layout: {    orientation: "portrait", // Optional: 'landscape' or 'portrait'    size: "A4", // Optional: 'A4', 'Letter', or custom dimensions.    margin: {      left: 10, // Optional: margin sizes in mm.      top: 10,      right: 10,      bottom: 10,    },  },};
// Send the HTML to the Document Engine API.axios  .post("http://localhost:5000/api/documents", pdfGenerationSchema, {    headers: {      Authorization: "Token token=YOUR_API_TOKEN",      "Content-Type": "application/json",    },  })  .then((response) => {    // Handle the PDF response (e.g. save the PDF file).    fs.writeFileSync("output.pdf", response.data);    console.log("PDF generated successfully.");  })  .catch((error) => {    console.error("Error generating PDF:", error);  });
Step 5 — Adding watermarks and cover pages
Document Engine can add extra features like watermarks and cover pages via its API. To add a watermark, include an additional HTML block like this:
<div style="position: fixed; top: 50%; left: 50%; font-size: 72px; color: red; opacity: 0.5; transform: rotate(-45deg); text-align: center; z-index: -1;"> My Watermark</div>This will place a semi-transparent watermark in the center of the PDF.
For a cover page, you can add an additional HTML block with a page break:
<div style="page-break-after: always;"> <h1>Cover Page</h1> <p>This is the cover page of the PDF.</p></div>Alternatively, upload an existing PDF as the cover page through the Document Engine API:
curl -X POST http://localhost:5000/api/documents \ -H "Authorization: Token token=<API token>" \ -F page.html=@/path/to/page.html \ -F cover.pdf=@/path/to/cover.pdf \ -F generation='{ "html": "page.html"}' \ -F operations='{ "operations": [ { "type": "importDocument", "beforePageIndex": 0, "document": "cover.pdf" } ]}'Alternative libraries for PDF generation
While Puppeteer(opens in a new tab) and Nutrient Document Engine offer robust solutions for generating PDFs in Node.js, other libraries may better suit specific use cases — especially when you’re not working with HTML or browser rendering. Here’s a detailed look at three popular alternatives: PDFKit, jsPDF, and PDFMake.
PDFKit
PDFKit(opens in a new tab) is a mature Node.js library for building PDFs programmatically using a drawing-like API. It doesn’t use HTML or CSS; rather, it gives you complete control over layout, graphics, and content.
- Best for: Custom-designed PDFs like reports, invoices, tickets, or certificates.
- Key features:
- Low-level API for drawing text, shapes, and vector graphics
- Image and font embedding
- Stream-based output for large files or real-time generation
Example
const PDFDocument = require("pdfkit");const fs = require("fs");
const doc = new PDFDocument();doc.pipe(fs.createWriteStream("invoice.pdf"));
// Add title.doc.fontSize(20).text("Invoice", { align: "center" });
// Add line items.doc.moveDown();doc.fontSize(12).text("Item: Widget A\nQuantity: 2\nPrice: $10.00");doc.moveDown();doc.text("Item: Widget B\nQuantity: 1\nPrice: $5.00");
// Add total.doc.moveDown();doc.fontSize(14).text("Total: $25.00", { align: "right" });
doc.end();
Pros
- Full control over positioning and layout
- Efficient for dynamic or paginated content
- No browser dependency
Cons
- No HTML/CSS support
- Steeper learning curve for complex layouts
jsPDF
jsPDF(opens in a new tab) is a lightweight JavaScript library originally built for client-side PDF generation in the browser. It can also be used in Node.js with some setup. It’s best for generating simple PDFs quickly with minimal overhead.
- Best for: Basic PDFs like confirmations, tickets, or charts.
- Key features:
- Easy API for text, images, and shapes
- Plugins for tables, barcodes, and charts
- Works in browser and Node.js environments
Example
const { jsPDF } = require("jspdf");const doc = new jsPDF();
doc.setFontSize(20);doc.text("Invoice", 105, 20, { align: "center" });
doc.setFontSize(12);doc.text("Widget A - Qty: 2 - $10.00", 20, 40);doc.text("Widget B - Qty: 1 - $5.00", 20, 50);
doc.setFontSize(14);doc.text("Total: $25.00", 150, 70, { align: "right" });
// Save in browser: doc.save('invoice.pdf').// In Node.js, you’ll need to export buffer instead
Pros
- Minimal setup
- Great for small, frontend-friendly tasks
- Fast and easy to learn
Cons
- Limited layout control
- Requires polyfills or workarounds in Node.js for full functionality
- Not designed for complex multi-page documents
PDFMake
PDFMake(opens in a new tab) uses a declarative, JSON-based document structure to generate PDFs. It’s a great fit for applications generating structured documents from data—like invoices, tables, and summaries.
- Best for: Tabular data, forms, and repeatable templates.
- Key features:
- JSON-based document definition format
- Built-in support for tables, columns, and styles
- Dynamic content injection
- Works in both browser and Node.js
Example
const pdfMake = require("pdfmake");const fs = require("fs");
const fonts = {  Roboto: {    normal: "fonts/Roboto-Regular.ttf",    bold: "fonts/Roboto-Medium.ttf",    italics: "fonts/Roboto-Italic.ttf",    bolditalics: "fonts/Roboto-MediumItalic.ttf",  },};
const printer = new pdfMake(fonts);
const docDefinition = {  content: [    { text: "Invoice", style: "header" },    {      table: {        widths: ["*", "*", "*"],        body: [          ["Item", "Quantity", "Price"],          ["Widget A", "2", "$10.00"],          ["Widget B", "1", "$5.00"],        ],      },    },    { text: "Total: $25.00", style: "total" },  ],  styles: {    header: { fontSize: 18, bold: true },    total: { margin: [0, 20, 0, 0], bold: true },  },};
const pdfDoc = printer.createPdfKitDocument(docDefinition);pdfDoc.pipe(fs.createWriteStream("invoice.pdf"));pdfDoc.end();
Pros
- Ideal for structured, repeatable documents
- Fully declarative and clean syntax
- Great table support and styling
Cons
- No support for HTML/CSS input
- Complex layouts require manual modeling
Choosing the right library and handling complex PDF scenarios in Node.js
| Library | Input type | Best for | Key features | HTML/CSS support | Server-side ready |
|---|---|---|---|---|---|
| Puppeteer | HTML + CSS | Web-like rendering of styled docs | Chrome engine rendering, dynamic JS support, high-fidelity CSS | ✅ | ✅ |
| PDFKit | Programmatic (JS) | Custom layouts and vector graphics | Precise layout, drawing shapes/lines, font embedding | ❌ | ✅ |
| jsPDF | Programmatic (JS) | Lightweight PDFs and client-side | Text, images, charts, browser/server use | ❌ | ✅ |
| PDFMake | Declarative (JSON) | Tables, forms, structured content | JSON-based, table support, dynamic data injection | ❌ | ✅ |
| Nutrient Document Engine | HTML + API | Enterprise PDF workflows | HTML input, templates, watermarking, digital signing, cloud or self-hosted | ✅ | ✅ |
Each tool serves a different purpose:
- Use Puppeteer when rendering pixel-perfect documents based on HTML/CSS.
- Choose PDFKit or PDFMake when generating documents from structured data or code.
- Select jsPDF for simple documents or browser-generated reports.
- Adopt Nutrient Document Engine for scalable, secure, and full-featured PDF generation via API.
Handling complex PDF generation in Node.js
When building production-grade PDF workflows, common challenges include rendering dynamic content, managing large datasets, and customizing layouts at scale. Below are strategies and tools that help solve these effectively.
Render dynamic web content
Use headless browsers like Puppeteer(opens in a new tab) or [Playwright][] to convert JavaScript-driven pages into pixel-perfect PDFs. This is ideal for capturing live web layouts, dashboards, and user-generated content.
Optimize large-scale data exports For performance, apply techniques like caching, streaming output, and parallel processing. Libraries such as PDFKit or PDFMake support memory-efficient PDF creation through piping and batched rendering.
Use templating engines for dynamic layouts Combine Handlebars, EJS, or Pug with PDF libraries to separate content from presentation. This makes it easier to maintain reusable structures for invoices, reports, or contracts.
Advanced layout control Tools like PDFKit and jsPDF allow precise control over typography, table structure, and branding elements, which is helpful when HTML to PDF isn’t flexible enough.
Automate with Nutrient Document Engine For enterprise-grade workflows, use Nutrient Document Engine to generate, merge, annotate, and secure PDFs through APIs. It supports both cloud and self-hosted deployments, with built-in support for templating, JWT-secured endpoints, and full document lifecycle management.
Example use cases
- Web-to-PDF conversion — Render dynamic product pages or dashboards using Puppeteer.
- Batch reporting — Stream large datasets into structured PDFs using PDFKit or PDFMake.
- Template-based generation — Combine Handlebars with Nutrient Document Engine for scalable automation.
- Enterprise document processing — Use Nutrient for secure form handling, annotation, and merging across workflows.
Conclusion
In this post, you explored several ways to generate PDFs in Node.js — from HTML rendering with Puppeteer, to fully programmatic approaches using PDFKit, jsPDF, and PDFMake. For advanced needs like annotations, form handling, and secure automation, Nutrient Document Engine offers a scalable, API-first solution.
Choose the tool that best fits your workflow and complexity. If you’re ready to integrate Nutrient into your document pipeline, contact our Sales team to request an API token.
FAQ
What are the system requirements for running Document Engine?
Document Engine requires at least 4 GB of RAM and can be run on macOS (Ventura, Monterey, Mojave, Catalina, or Big Sur) and Linux distributions (Ubuntu, Fedora, Debian, CentOS). Docker is required to run the engine.
Do I need Puppeteer or any other tools to generate PDFs with Document Engine?
No. Document Engine handles the entire process of converting HTML to PDF, so you don’t need Puppeteer or any other tool to generate PDFs.
How do I add dynamic content like names and dates to my PDFs?
You can use Mustache templates to inject dynamic data into your HTML before sending it to Document Engine. This allows you to create personalized PDFs by simply updating the data file.
Can I add watermarks or cover pages to my PDFs?
Yes. Document Engine lets you add watermarks and cover pages through its API. You can either add HTML for a watermark, or upload a separate PDF file as a cover page.
How do I interact with Document Engine using Node.js?
You can send an API request using Node.js and a library like axios to pass your HTML content to Document Engine, which will return the generated PDF. The tutorial includes a sample script for making this request.