How to generate PDF from HTML using Python
Generating PDF reports from HTML content is a common requirement for many applications, whether for generating invoices, reports, or downloadable content. This post will explore two powerful methods for converting HTML to PDF in Python: first using the open source library WeasyPrint(opens in a new tab), and then using the advanced Nutrient Python PDF Generator API.
Why Convert HTML to PDF?
HTML is great for rendering content on the web, but there are times when you need a static, portable document format like PDF. PDFs are ideal for printing, sharing, and archiving, as they retain their layout and design across devices and operating systems. By converting HTML to PDF, you can preserve your web content’s structure and styling in a format that’s easy to distribute and consume.
Method 1: Using WeasyPrint
WeasyPrint(opens in a new tab) is an open source library for converting HTML and CSS documents to PDF. It is designed to be easy to use, making it a popular choice for generating reports, invoices, or any other printable documents from web content. Unlike some other solutions, WeasyPrint focuses on creating high-quality PDFs that are standards-compliant, supporting modern CSS features like flexbox, grid layout, and media queries.
Key features of WeasyPrint
- HTML/CSS-to-PDF conversion — WeasyPrint processes HTML and CSS directly, making it ideal for converting complex layouts into PDFs.
- Support for modern CSS — It supports CSS3 features, including flexbox, grid, and paged media, allowing for advanced document designs.
- Open source — WeasyPrint is free and open source, with an active community contributing to its development.
- Multi-platform — Available on multiple operating systems, including Linux, Windows, and macOS.
- Python integration — WeasyPrint is a Python-based tool, easily integrating with Python projects.
Installation
Before you start, ensure you’re working in a virtual environment or using pipx to avoid issues with an externally managed Python environment, as seen on macOS.
- Set up a virtual environment:
python3 -m venv venvsource venv/bin/activate- Install WeasyPrint:
python3 -m pip install weasyprintFor more detailed installation instructions, refer to the WeasyPrint documentation(opens in a new tab).
Generating a PDF with WeasyPrint
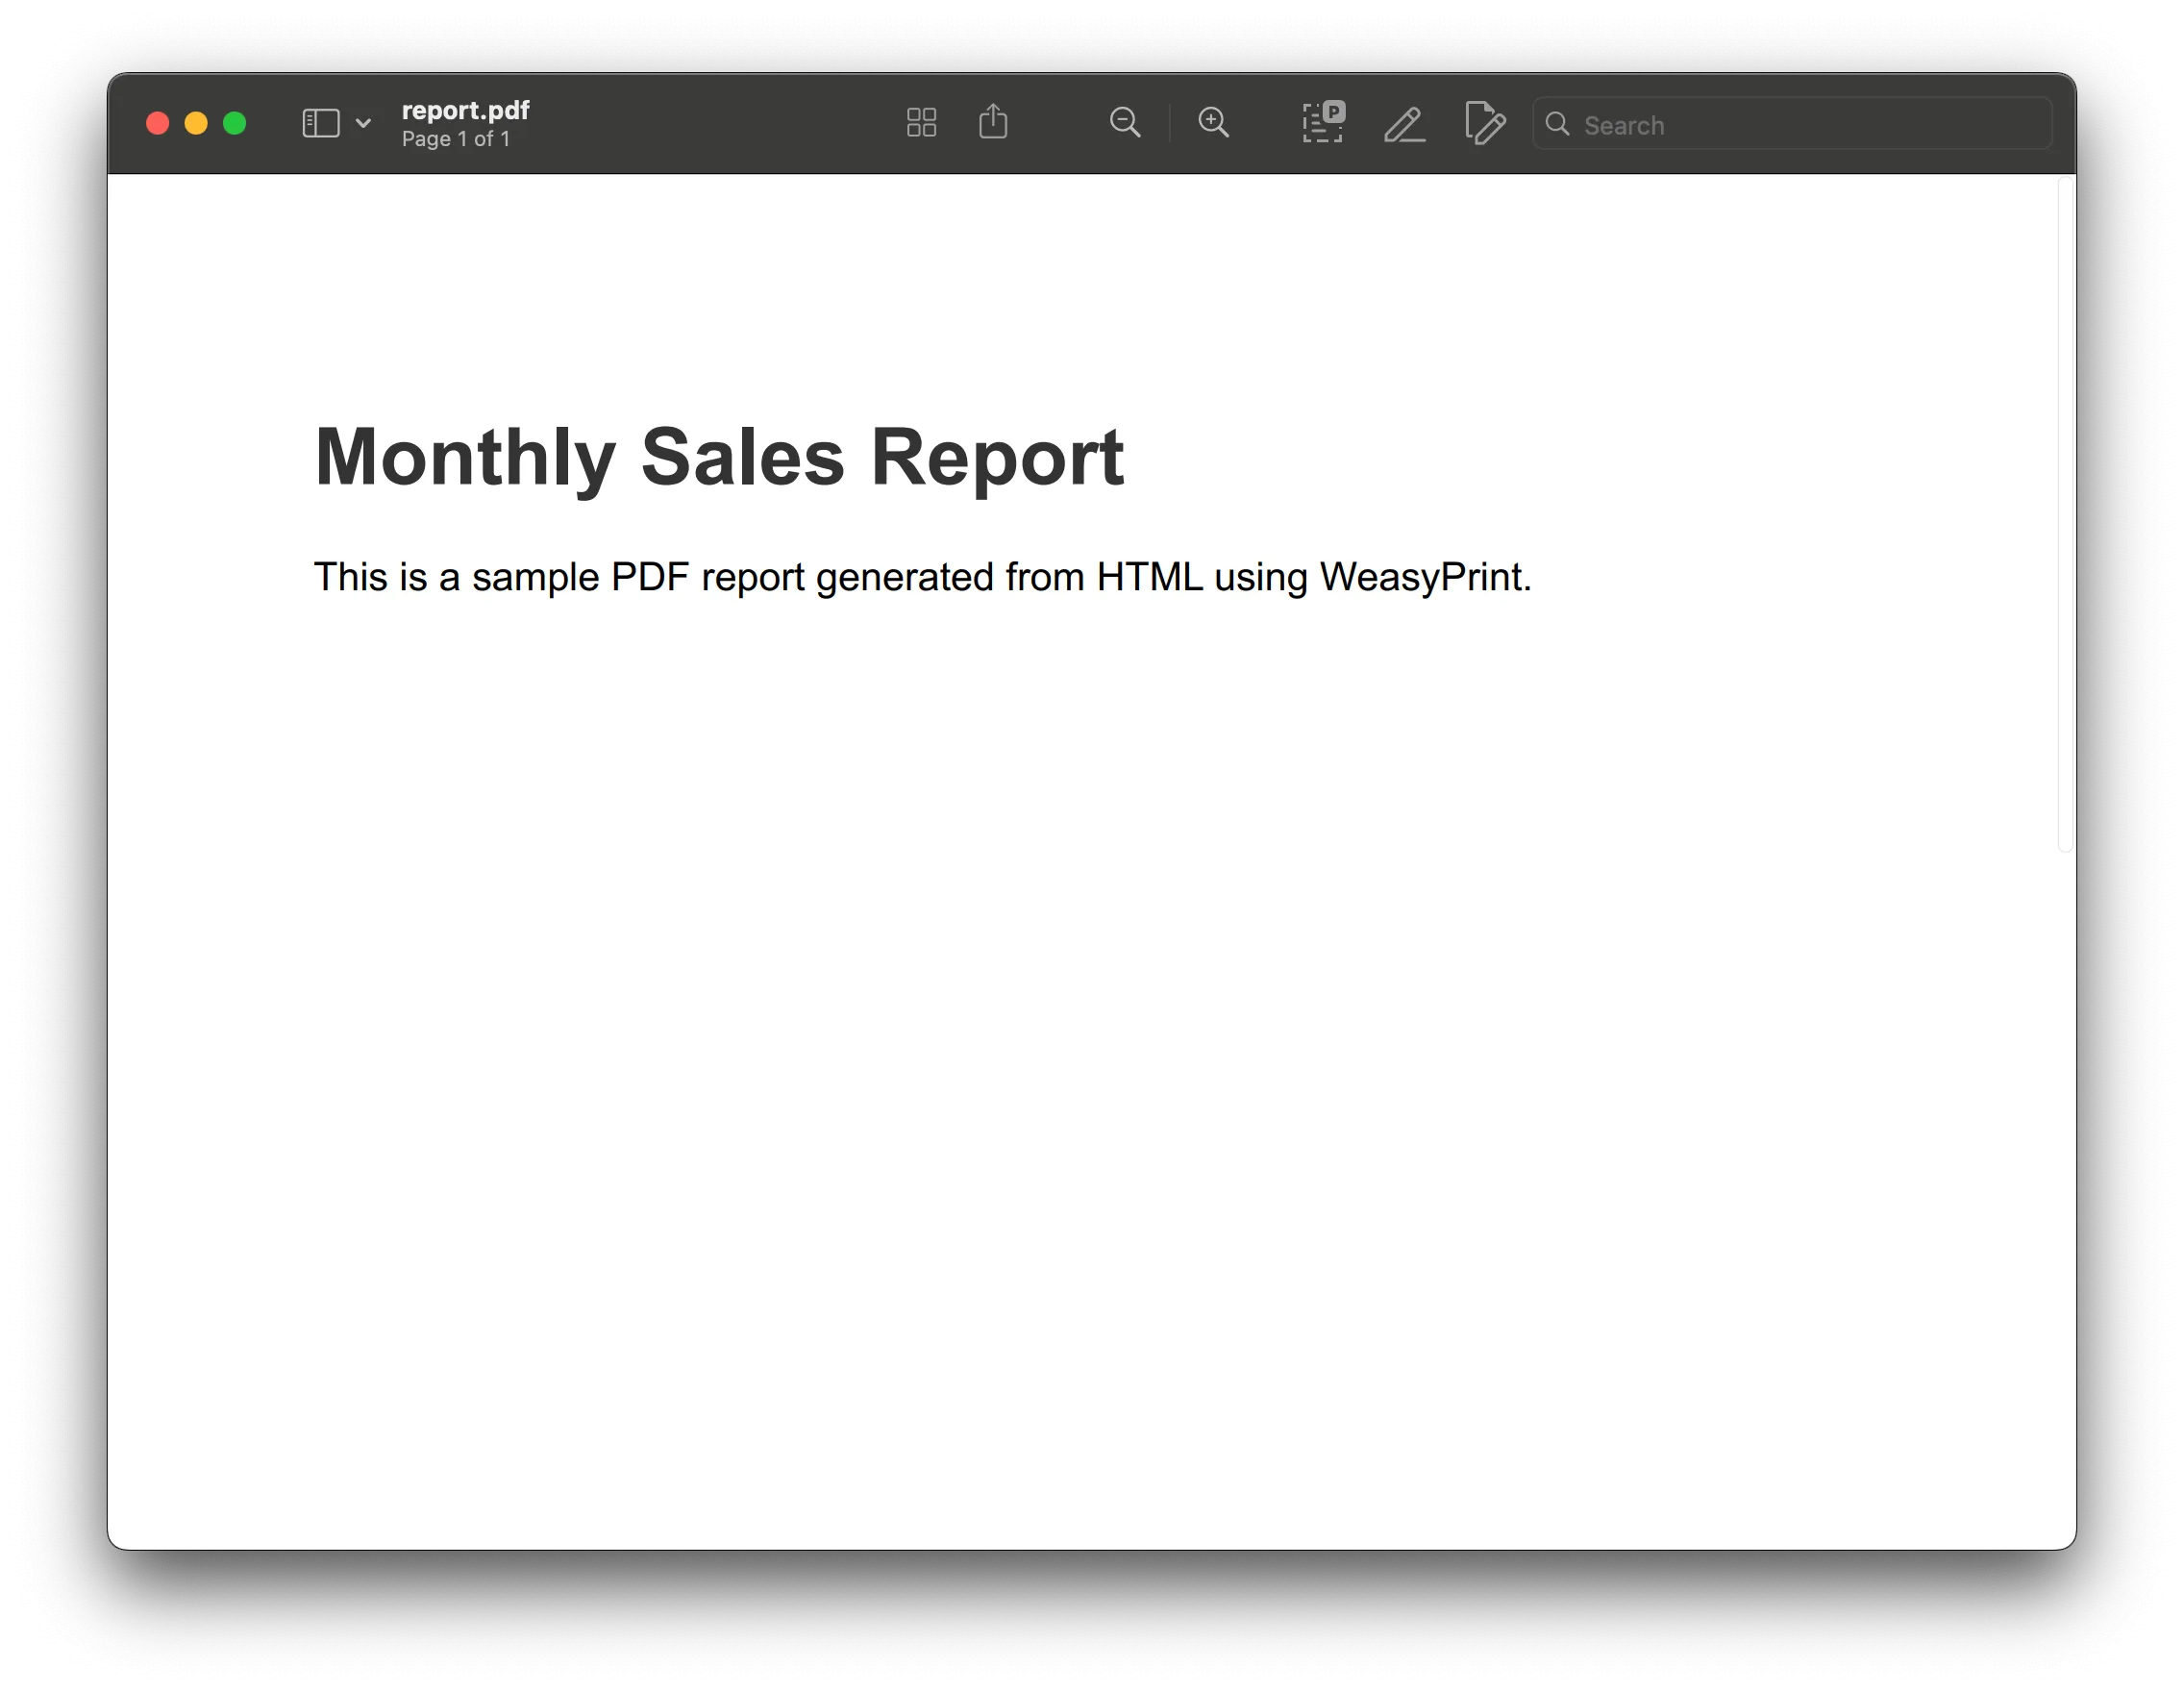
Here’s an example of generating a PDF from an HTML file:
from weasyprint import HTML
html_content = """<!DOCTYPE html><html><head>    <title>Sample Report</title>    <style>        body { font-family: Arial, sans-serif; }        h1 { color: #333; }    </style></head><body>    <h1>Monthly Sales Report</h1>    <p>This is a sample PDF report generated from HTML using WeasyPrint.</p></body></html>"""
HTML(string=html_content).write_pdf("report.pdf")
In this example, WeasyPrint takes the html_content string and converts it into a PDF file named report.pdf.
Method 2: Using Nutrient API
With our API, you receive 100 credits with the free plan. Different operations on a document consume different amounts of credits, so the number of PDF reports you can generate may vary. To access your API key, sign up for a free account(opens in a new tab).
This will be especially useful if you generate and distribute a high volume of standardized reports throughout the year. With our API, you can automate your report generation by dynamically injecting data and content into a standardized HTML template.
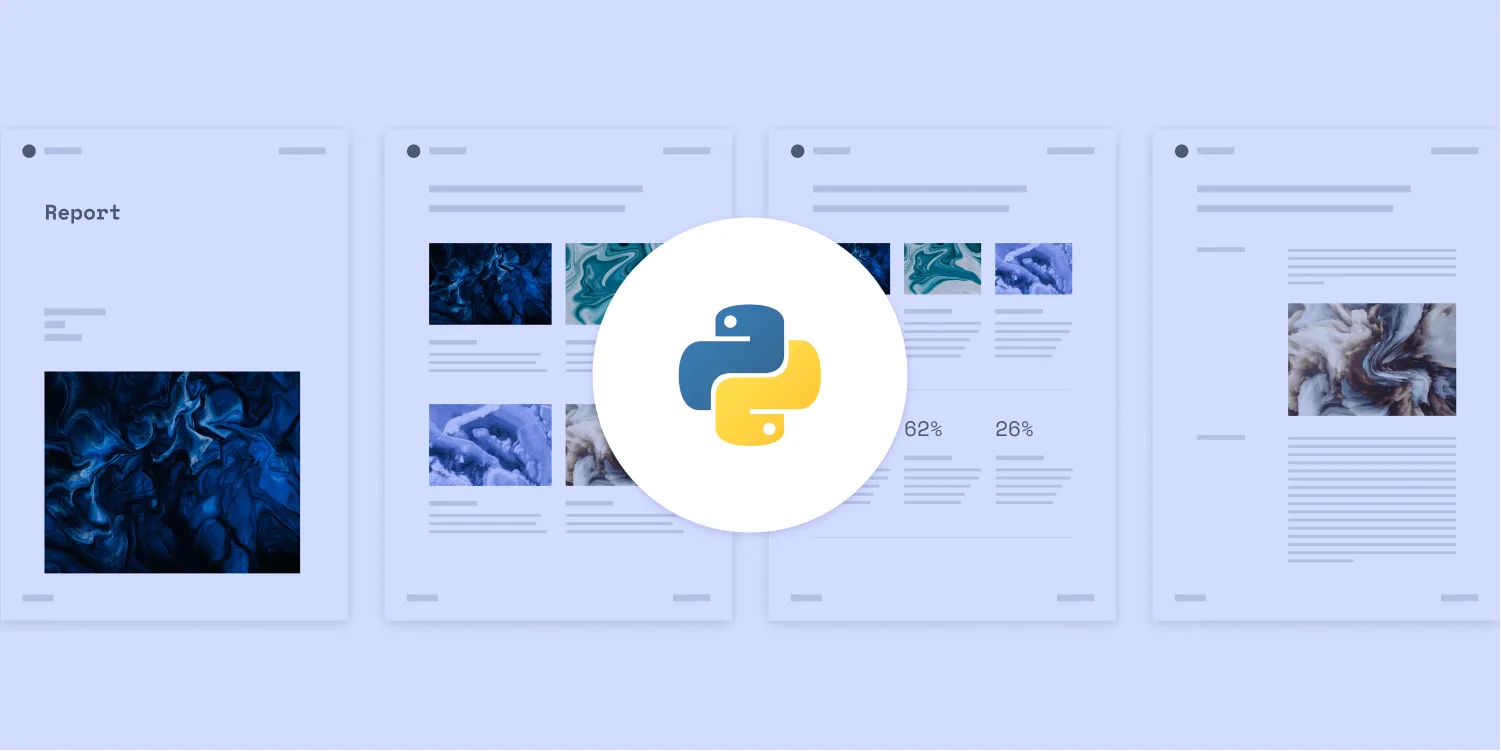
The next section will show how you can generate a report with a free PDF report template in HTML and CSS that can be customized to meet your specific requirements. You can easily style your report by updating the CSS file with your own custom images and fonts. For reports that span multiple pages, you can add a header and footer that repeats across all your pages.
Requirements
To get started, you’ll need:
- A Nutrient API key
- Python(opens in a new tab)
- pip(opens in a new tab)
- The Requests library(opens in a new tab)
To access your Nutrient API key, sign up for a free account(opens in a new tab). Once you’ve signed up, you can find your API key in the Dashboard > API Keys section(opens in a new tab).
Python is a programming language, and pip is a package manager for Python, which you’ll use to install the requests library. Requests(opens in a new tab) is an HTTP library that makes it easy to make HTTP requests.
Install the requests library with the following command:
python -m pip install requestsSetup
Download the report template and extract the contents of the ZIP file into a folder. You’ll get an HTML file, Inter fonts, a Space Mono font, an SVG logo, images, and a README file.
Creating a CSS file
If you open the index.html file, you’ll see the styles between the opening and closing <style> tag. Copy the styles to a new file called style.css, and save it in the same folder:
@font-face {  font-family: 'Inter';  src: url('Inter-Regular.ttf') format('truetype');  font-weight: 400;  font-style: normal;}
@font-face {  font-family: 'Inter';  src: url('Inter-Medium.ttf') format('truetype');  font-weight: 500;  font-style: normal;}
@font-face {  font-family: 'Inter';  src: url('Inter-Bold.ttf') format('truetype');  font-weight: 700;  font-style: normal;}
@font-face {  font-family: 'Space Mono';  src: url('SpaceMono-Regular.ttf') format('truetype');  font-weight: 400;  font-style: normal;}
body {  font-size: 0.75rem;  font-family: 'Inter', sans-serif;  font-weight: 400;  color: #000000;  margin: 0 auto;  position: relative;}
#pspdfkit-header {  font-size: 0.625rem;  text-transform: uppercase;  letter-spacing: 2px;  font-weight: 400;  color: #717885;  margin-top: 2.5rem;  margin-bottom: 2.5rem;  width: 100%;}
.header-columns {  display: flex;  justify-content: space-between;  padding-left: 2.5rem;  padding-right: 2.5rem;}
.logo {  height: 1.5rem;  width: auto;  margin-right: 1rem;}
.logotype {  display: flex;  align-items: center;  font-weight: 700;}
h1 {  font-family: 'Space Mono', monospace;  font-size: 2.25rem;  font-weight: 400;}
h2 {  font-family: 'Space Mono', monospace;  font-size: 1.5rem;  font-weight: 400;}
h3 {  font-family: 'Space Mono', monospace;  font-size: 1.25rem;  font-weight: 400;}
h4 {  font-family: 'Inter', sans-serif;  font-size: 1rem;  font-weight: 400;}
.page {  margin-left: 5rem;  margin-right: 5rem;}
.column-layout {  display: flex;  justify-content: space-between;  margin: 3rem 0 5rem 0;  gap: 2rem;}
.column {  display: flex;  flex-direction: column;}
.width-30 {  width: 30%;}
.width-70 {  width: 70%;}
.column-title {  font-size: 0.625rem;  margin: 0;}
.full-width {  width: 100%;}
.spacer-1 {  height: 1rem;}
.spacer-2 {  height: 2rem;}
.line-break {  height: 1px;  width: 100%;  background-color: #000000;  margin: 2.5rem 0 2.5rem 0;}
.margin-b-0 {  margin-bottom: 0;}
.margin-t-0 {  margin-top: 0;}
.text-blue {  color: #4537de;}
#pspdfkit-footer {  font-size: 0.5rem;  text-transform: uppercase;  letter-spacing: 1px;  font-weight: 500;  color: #717885;  margin-top: 2.5rem;  bottom: 2.5rem;  position: absolute;  width: 100%;}
.footer-columns {  display: flex;  justify-content: space-between;  padding-left: 2.5rem;  padding-right: 2.5rem;}
To access the styles from index.html, use the <link> tag. While referring to the stylesheet file, just use the name of the file, and don’t create nested paths:
<!DOCTYPE html><html lang="en"> <head> <meta charset="UTF-8" /> <meta http-equiv="X-UA-Compatible" content="IE=edge" /> <meta name="viewport" content="width=device-width, initial-scale=1.0" /> <title>Report</title> <link rel="stylesheet" href="style.css" /> </head></html>Interacting with the API
Now, import requests and json to the pspdfkit.py file. Place the pspdfkit.py file in the root directory of your project:
import requestsimport jsonPreparing the payload
Create a dictionary to hold the data you want to send to the API. However, later you’ll need to convert the dictionary to a JSON object using the json.dumps function.
The instructions object references files by the name of their parts that are appended in the form data as files:
instructions = { 'parts': [ { 'html': 'index.html', 'assets': [ "style.css", "Inter-Regular.ttf", "Inter-Medium.ttf", "Inter-Bold.ttf", "SpaceMono-Regular.ttf", "logo.svg", "photo-1.png", "photo-2.png", "photo-3.png", "photo-4.png", ], } ]}To access the requests library, use the request method(opens in a new tab).
Now, make a POST request to the https://api.nutrient.io/build endpoint with the instructions object as the payload. Then, save the resulting PDF as result.pdf in the same folder as the Python file.
Don’t forget to replace YOUR_API_KEY with your API key:
response = requests.request(    'POST',    'https://api.nutrient.io/build',    headers={        'Authorization': 'Bearer {YOUR_API_KEY}', # Replace with your API key.    },    files={        'index.html': open('index.html', 'rb'),        'style.css': open('style.css', 'rb'),        'Inter-Regular.ttf': open('Inter-Regular.ttf', 'rb'),        'Inter-Medium.ttf': open('Inter-Medium.ttf', 'rb'),        'Inter-Bold.ttf': open('Inter-Bold.ttf', 'rb'),        'SpaceMono-Regular.ttf': open('SpaceMono-Regular.ttf', 'rb'),        'logo.svg': open('logo.svg', 'rb'),       'photo-1.png': open('photo-1.png', 'rb'),       'photo-2.png': open('photo-2.png', 'rb'),       'photo-3.png': open('photo-3.png', 'rb'),      'photo-4.png': open('photo-4.png', 'rb'),   },    data={        'instructions': json.dumps(instructions)    },    stream=True)
if response.ok:    with open('result.pdf', 'wb') as fd:        for chunk in response.iter_content(chunk_size=8096):            fd.write(chunk)else:    print(response.text)    exit()
Generating the PDF
Now, run the Python application by executing the following command:
python3 pspdfkit.py
# Or for Python 2
python pspdfkit.py
You can see the full code below:
import requestsimport json
instructions = {    'parts': [        {            'html': 'index.html',            'assets': [                "style.css",                "Inter-Regular.ttf",                "Inter-Medium.ttf",                "Inter-Bold.ttf",                "SpaceMono-Regular.ttf",                "logo.svg",                "photo-1.png",                "photo-2.png",                "photo-3.png",                "photo-4.png",            ],        }    ]}
response = requests.request(    'POST',    'https://api.nutrient.io/build',    headers={        'Authorization': 'Bearer {YOUR_API_KEY}' # Replace with your API key.    },    files={        'index.html': open('index.html', 'rb'),        'style.css': open('style.css', 'rb'),        'Inter-Regular.ttf': open('Inter-Regular.ttf', 'rb'),        'Inter-Medium.ttf': open('Inter-Medium.ttf', 'rb'),        'Inter-Bold.ttf': open('Inter-Bold.ttf', 'rb'),        'SpaceMono-Regular.ttf': open('SpaceMono-Regular.ttf', 'rb'),        'logo.svg': open('logo.svg', 'rb'),      'photo-1.png': open('photo-1.png', 'rb'),      'photo-2.png': open('photo-2.png', 'rb'),      'photo-3.png': open('photo-3.png', 'rb'),      'photo-4.png': open('photo-4.png', 'rb'),    },    data={        'instructions': json.dumps(instructions)    },    stream=True)
if response.ok:    with open('result.pdf', 'wb') as fd:        for chunk in response.iter_content(chunk_size=8096):            fd.write(chunk)else:    print(response.text)    exit()
Comparison with Nutrient API
While WeasyPrint is excellent for simple-to-moderately complex PDF generation needs, Nutrient API is a more robust and feature-rich option. Read on to learn how they compare.
- Features and flexibility:
WeasyPrint — Primarily focused on converting HTML/CSS to PDF, with strong support for CSS standards. It’s limited to creating static documents based on web technologies.
Nutrient API — Offers a full suite of PDF-related capabilities beyond conversion, including annotation, form filling, digital signatures, OCR, and more. It’s a comprehensive solution for managing PDFs in web, mobile, and server environments.
- Use cases:
- WeasyPrint — Ideal for web developers looking for a straightforward way to generate PDFs from HTML/CSS, especially in a Python environment.
- Nutrient API — Suitable for enterprises needing advanced PDF features, high-volume processing, and deep integration into existing workflows.
- Performance and scalability:
- WeasyPrint — Sufficient for small- to medium-scale projects but might struggle with performance when handling large or complex documents.
- Nutrient API — Built for scalability, and capable of handling extensive PDF operations in enterprise environments with high reliability and speed.
- Pricing:
- WeasyPrint — Free and open source, which is great for cost-conscious projects.
- Nutrient API — A commercial product with licensing fees, but the investment pays off if you require its advanced features.
In summary, while WeasyPrint is perfect for developers needing an open source, easy-to-use library for generating PDFs from web content, Nutrient API is the go-to for businesses requiring a comprehensive and scalable PDF solution.
Conclusion
In this post, you explored two effective methods for generating PDFs from HTML using Python. WeasyPrint provided a straightforward, open source solution for converting HTML and CSS into high-quality PDFs, while Nutrient API offers a robust, feature-rich alternative, ideal for more advanced needs.
By following the provided examples, you’ll now be able to integrate these tools into your projects to automate PDF report generation. Whether you’re working on simple document conversions or require advanced PDF functionalities, both WeasyPrint and Nutrient API offer valuable capabilities to meet your requirements.
We created similar PDF report generation posts using sample code from other programming languages:
In addition to templates for generating reports, we created free templates for other commonly used documents, like receipts, invoices, and certificates. If you’re interested in generating other types of documents in Python, check out the following posts:
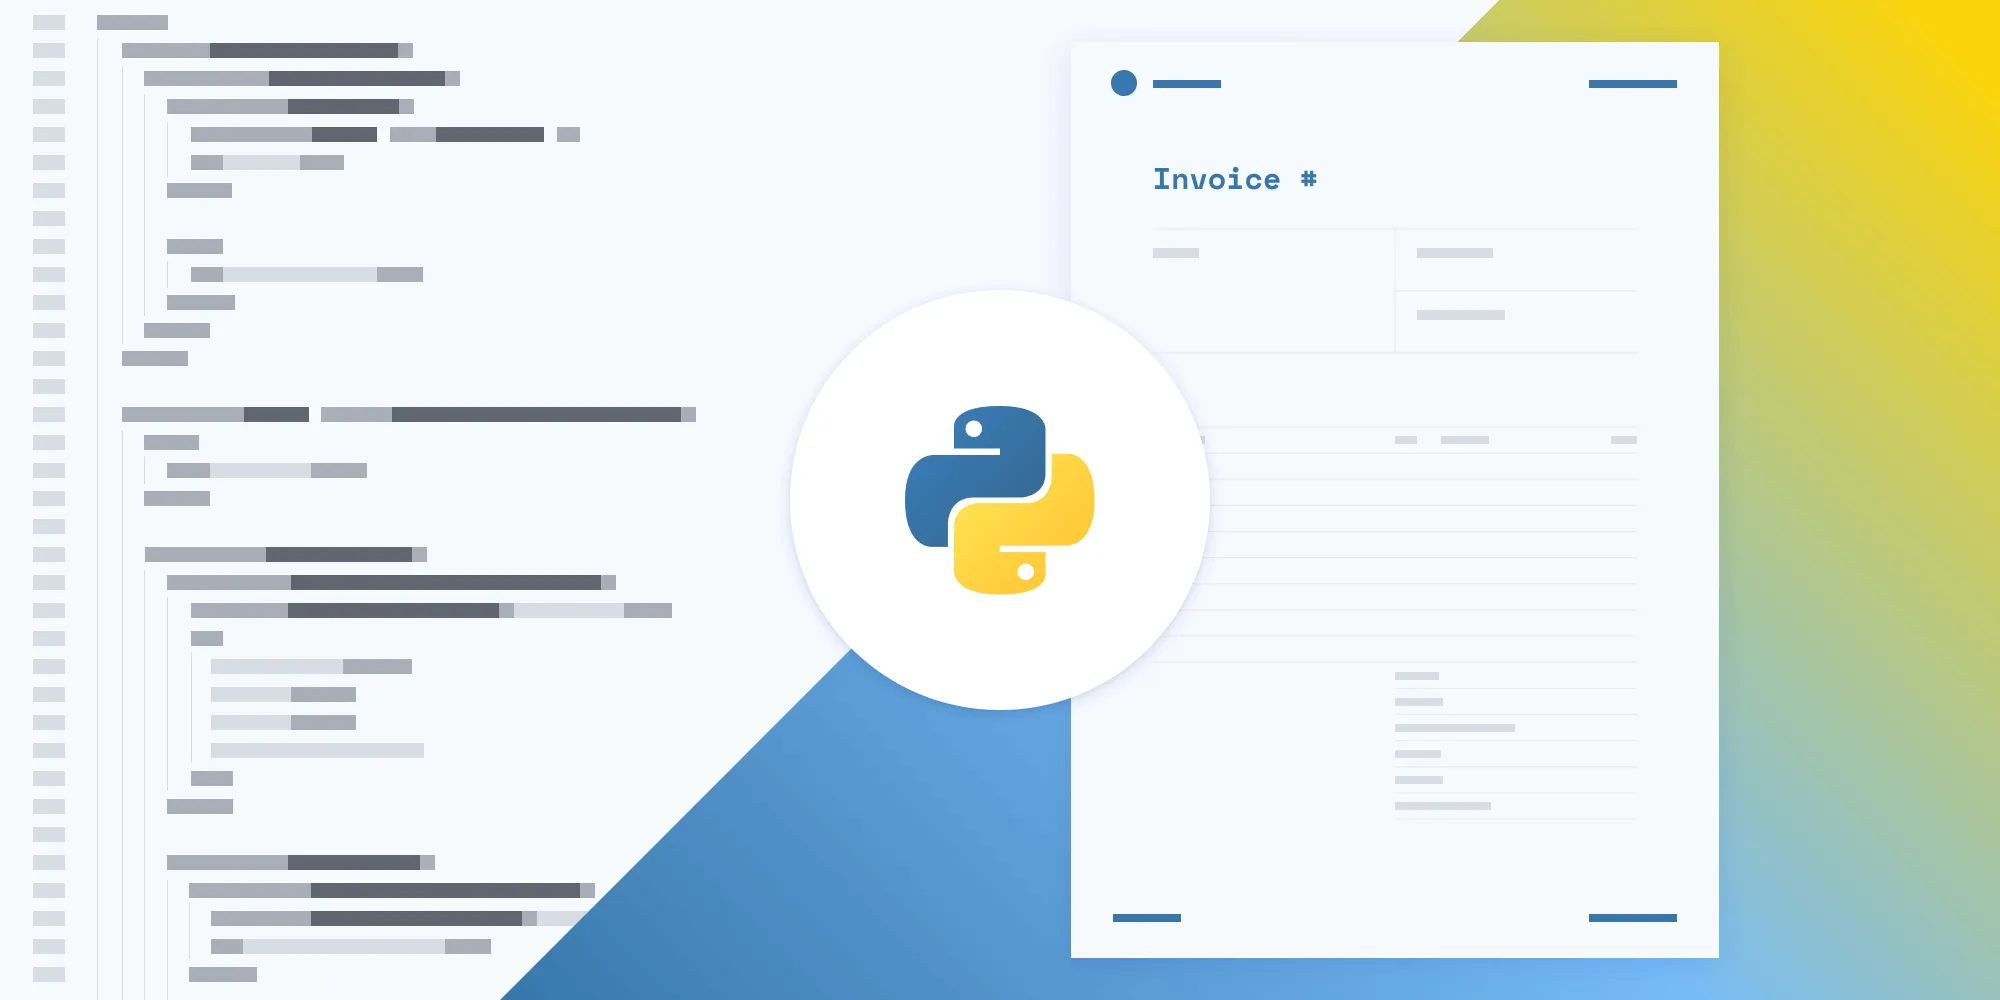
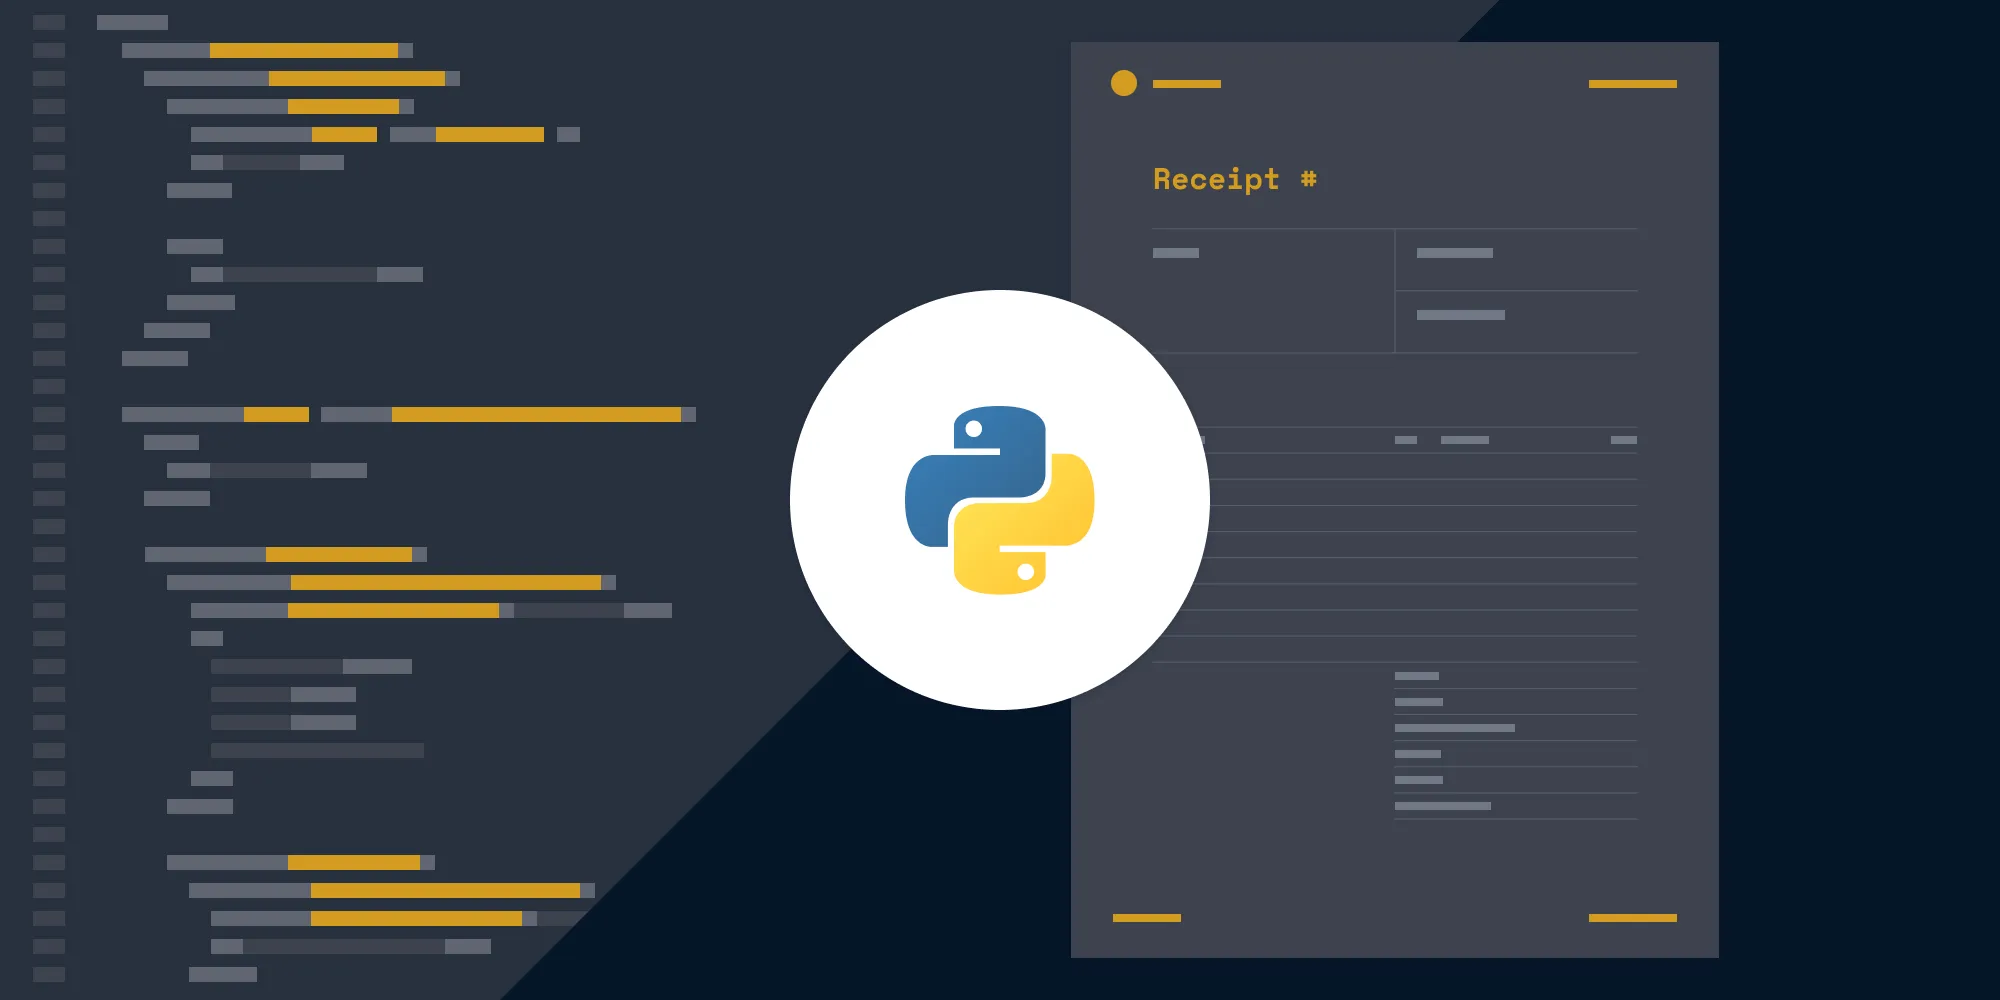
- Generating PDF receipts using Python
- Generating PDF invoices using Python
- Generating PDF certificates using Python
All our templates are available for you to download on our PDF Generator API page. Feel free to customize or add any CSS to the template to fit your use case or help reflect your company’s brand.
FAQ
What is WeasyPrint and how does it work?
WeasyPrint is an open source Python library that converts HTML and CSS documents into PDF. It processes web content to produce high-quality, standards-compliant PDF files supporting modern CSS features.
What features does Nutrient API offer?
Nutrient API provides a comprehensive set of features, including PDF generation, annotations, form filling, digital signatures, and OCR. It’s designed for advanced PDF manipulation and high-volume processing.
Can I integrate WeasyPrint with existing Python projects?
Yes, WeasyPrint can be easily integrated into Python projects. It’s installed via pip and used within your Python code to convert HTML content into PDF format.
Are there any costs associated with Nutrient API?
Nutrient API offers a free tier that allows for up to 100 PDF documents per month. For higher usage or additional features, you’ll need to subscribe to a paid plan.
How can I customize the PDF templates in Nutrient API?
You can customize Nutrient API PDF templates by editing the HTML, CSS, and assets. Download the provided templates and modify them according to your design needs and branding requirements.