How to use Nutrient React Native SDK with Expo
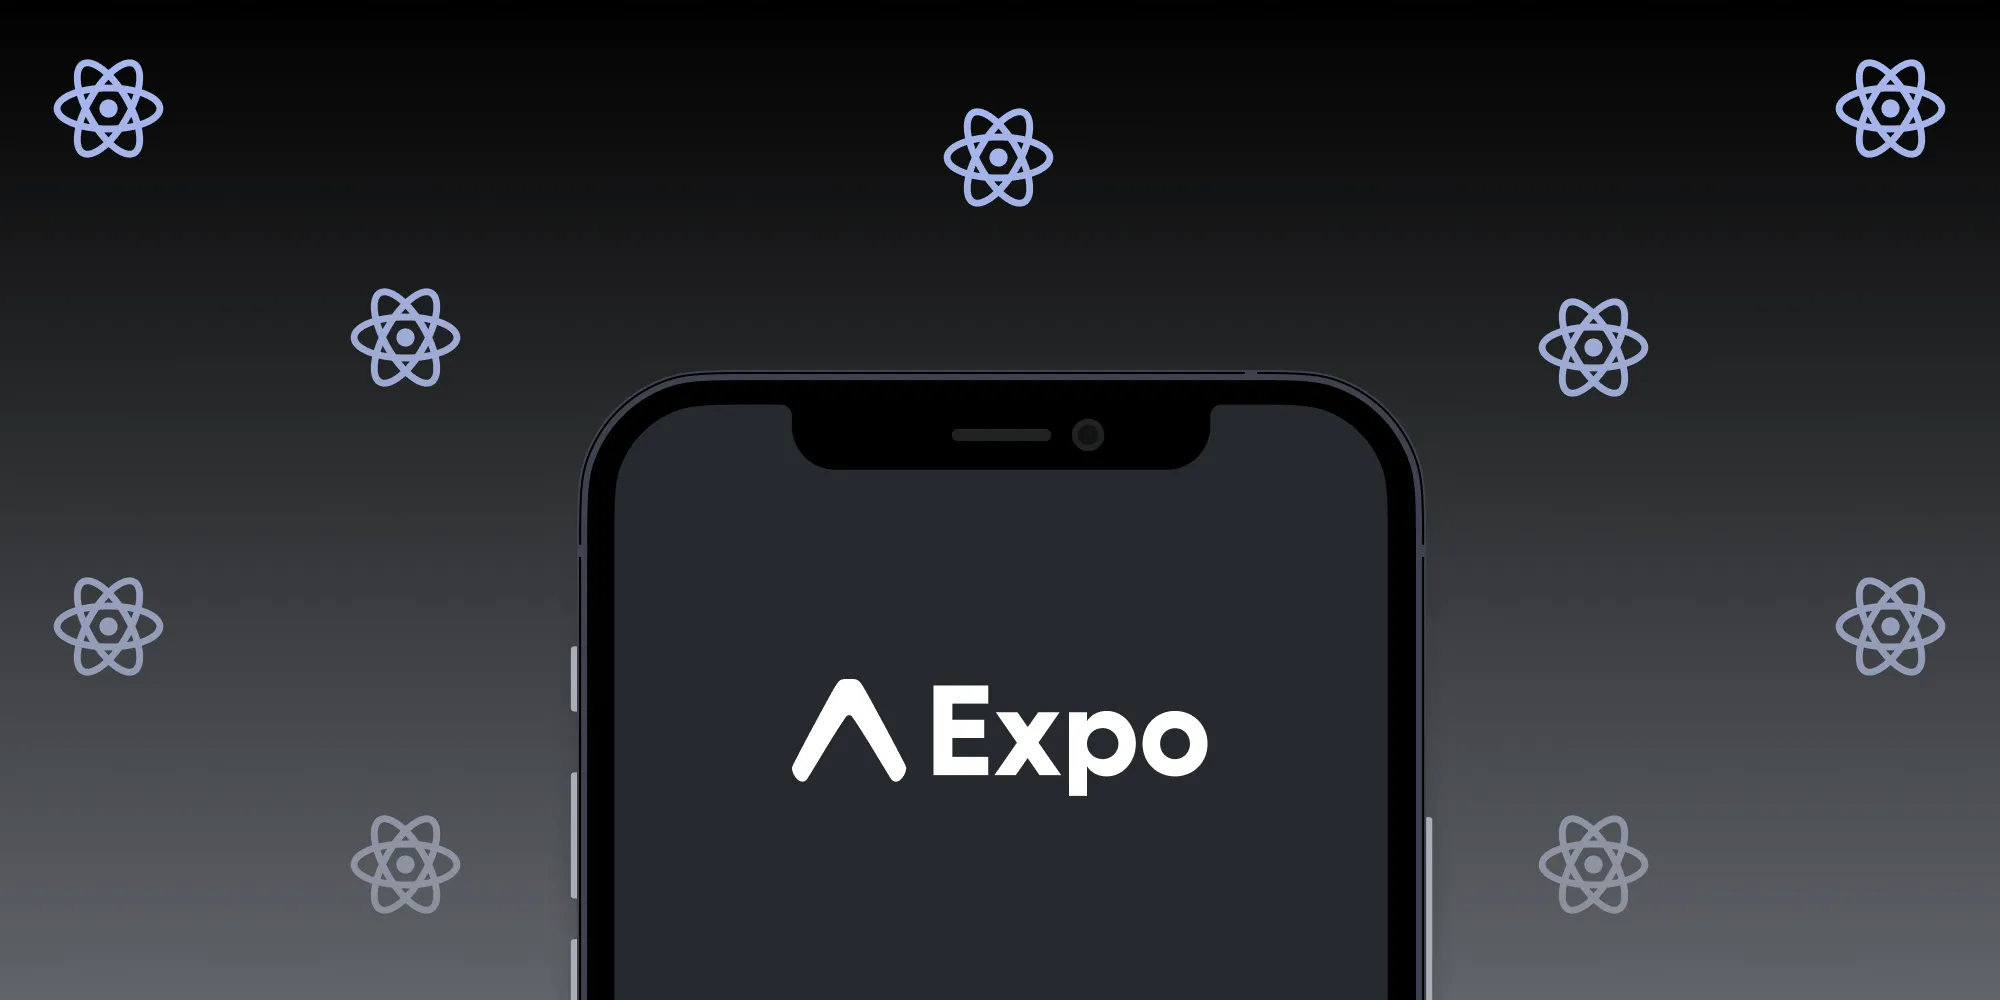
Expo(opens in a new tab) is a React Native(opens in a new tab) platform that significantly simplifies the process of developing, building, and testing React Native apps.
But there’s one major downside with Expo(opens in a new tab), which is that it’s optimized to be used purely with JavaScript out of the box. Therefore, additional steps are needed for a developer to use any package that depends on native code. In fact, the native code isn’t even included in the project from the initial setup. To be able to run on the respective platform, the Expo Go(opens in a new tab) app is used to provide the necessary platform base.
Nutrient React Native SDK is implemented on top of the existing native Nutrient Android and iOS SDKs. This means it won’t work in a project that runs in the Expo Go(opens in a new tab) app.
In this blog post, you’ll learn how to add native module support to an Expo(opens in a new tab) project by setting up a development build(opens in a new tab) using the Expo Application Services(opens in a new tab) (EAS) CLI to be able to use the Nutrient React Native package.
Prerequisites
To get started, set up your environment by installing the following tools if you don’t have them installed already:
- Android Studio(opens in a new tab)
- Xcode(opens in a new tab) (for macOS only)
- Expo CLI(opens in a new tab)
- EAS CLI(opens in a new tab)
Creating an Expo project
You’ll start by creating a normal Expo(opens in a new tab) project that can run in Expo Go(opens in a new tab). If you’re new to Expo(opens in a new tab), consider familiarizing yourself with the official Expo documentation(opens in a new tab).
Use the command below to create a new project:
npx create-expo-app pspdfkit-expoIn this example, the project is named pspdfkit-expo, but you can change it to one of your choice. Test that your app is correctly set up by running npx expo start to launch the application.
Production build
If you’re using a production build configuration and don’t have access to your application’s ios and android folders locally, you can use the Expo BuildProperties(opens in a new tab) plugin to configure the build properties required by Nutrient. Use the following plugin configuration in your app.json file:
{ "expo": { "plugins": [ [ "expo-build-properties", { "android": { "compileSdkVersion": 35, "minSdkVersion": 24, "extraMavenRepos": [{ "url": "https://my.nutrient.io/maven/" }] }, "ios": { "deploymentTarget": "16.0" } } ] ] }}Development build
A development build allows you to run a React Native app outside the Expo Go client. It generates the respective platform modules with all the native code required for the app to run independently.
EAS configurations are stored in the eas.json file. Run the command below in your project’s root folder to generate and configure the file:
eas build:configureYou’ll be presented with a list of platforms to choose from. Select the option that best suits your app’s platforms. Then press Enter.
If you selected All, you’ll now have the eas.json file in your project. It looks like this:
{ "cli": { "version": ">= 5.4.0" }, "build": { "development": { "developmentClient": true, "distribution": "internal" }, "preview": { "distribution": "internal" }, "production": {} }, "submit": { "production": {} }}Now the development build has been set up in your Expo project, and you can run the app outside Expo Go(opens in a new tab). To verify that the setup runs correctly, launch your app locally on an Android emulator or iOS simulator that doesn’t have the Expo Go client installed:
npx expo run:androidnpx expo run:iosWhen launching the app for the first time, you’ll need to confirm the application ID in the command-line prompt by pressing Enter on Windows or Command on macOS. Wait for the installation to complete, and you’ll see the app launched on the emulator/simulator. For more information on running your Expo app, see the Expo documentation(opens in a new tab).
Now that your project is set with native modules, you’ll add the Nutrient React Native package.
Adding Nutrient React Native SDK
Install Nutrient React Native SDK from the official public GitHub repository(opens in a new tab):
npm install github:PSPDFKit/react-nativeAlternatively, you can use yarn:
yarn add react-native-pspdfkit@github:PSPDFKit/react-nativeA few more platform-specific setups are needed for the Nutrient native modules on Android and iOS.
Android
For Android, open android/build.gradle and add the following lines:
...allprojects { repositories { mavenLocal() maven { url 'https://my.nutrient.io/maven/' } }}...Set the compileSDKVersion to 34 and the minSdkVersion to 24.
iOS
For iOS, open the Podfile in your iOS module and set the target SDK to iOS 16.0:
platform :ios, podfile_properties['ios.deploymentTarget'] || '16.0'Next, open your project’s workspace in Xcode and make sure the deployment target is set to 16.0 or higher.
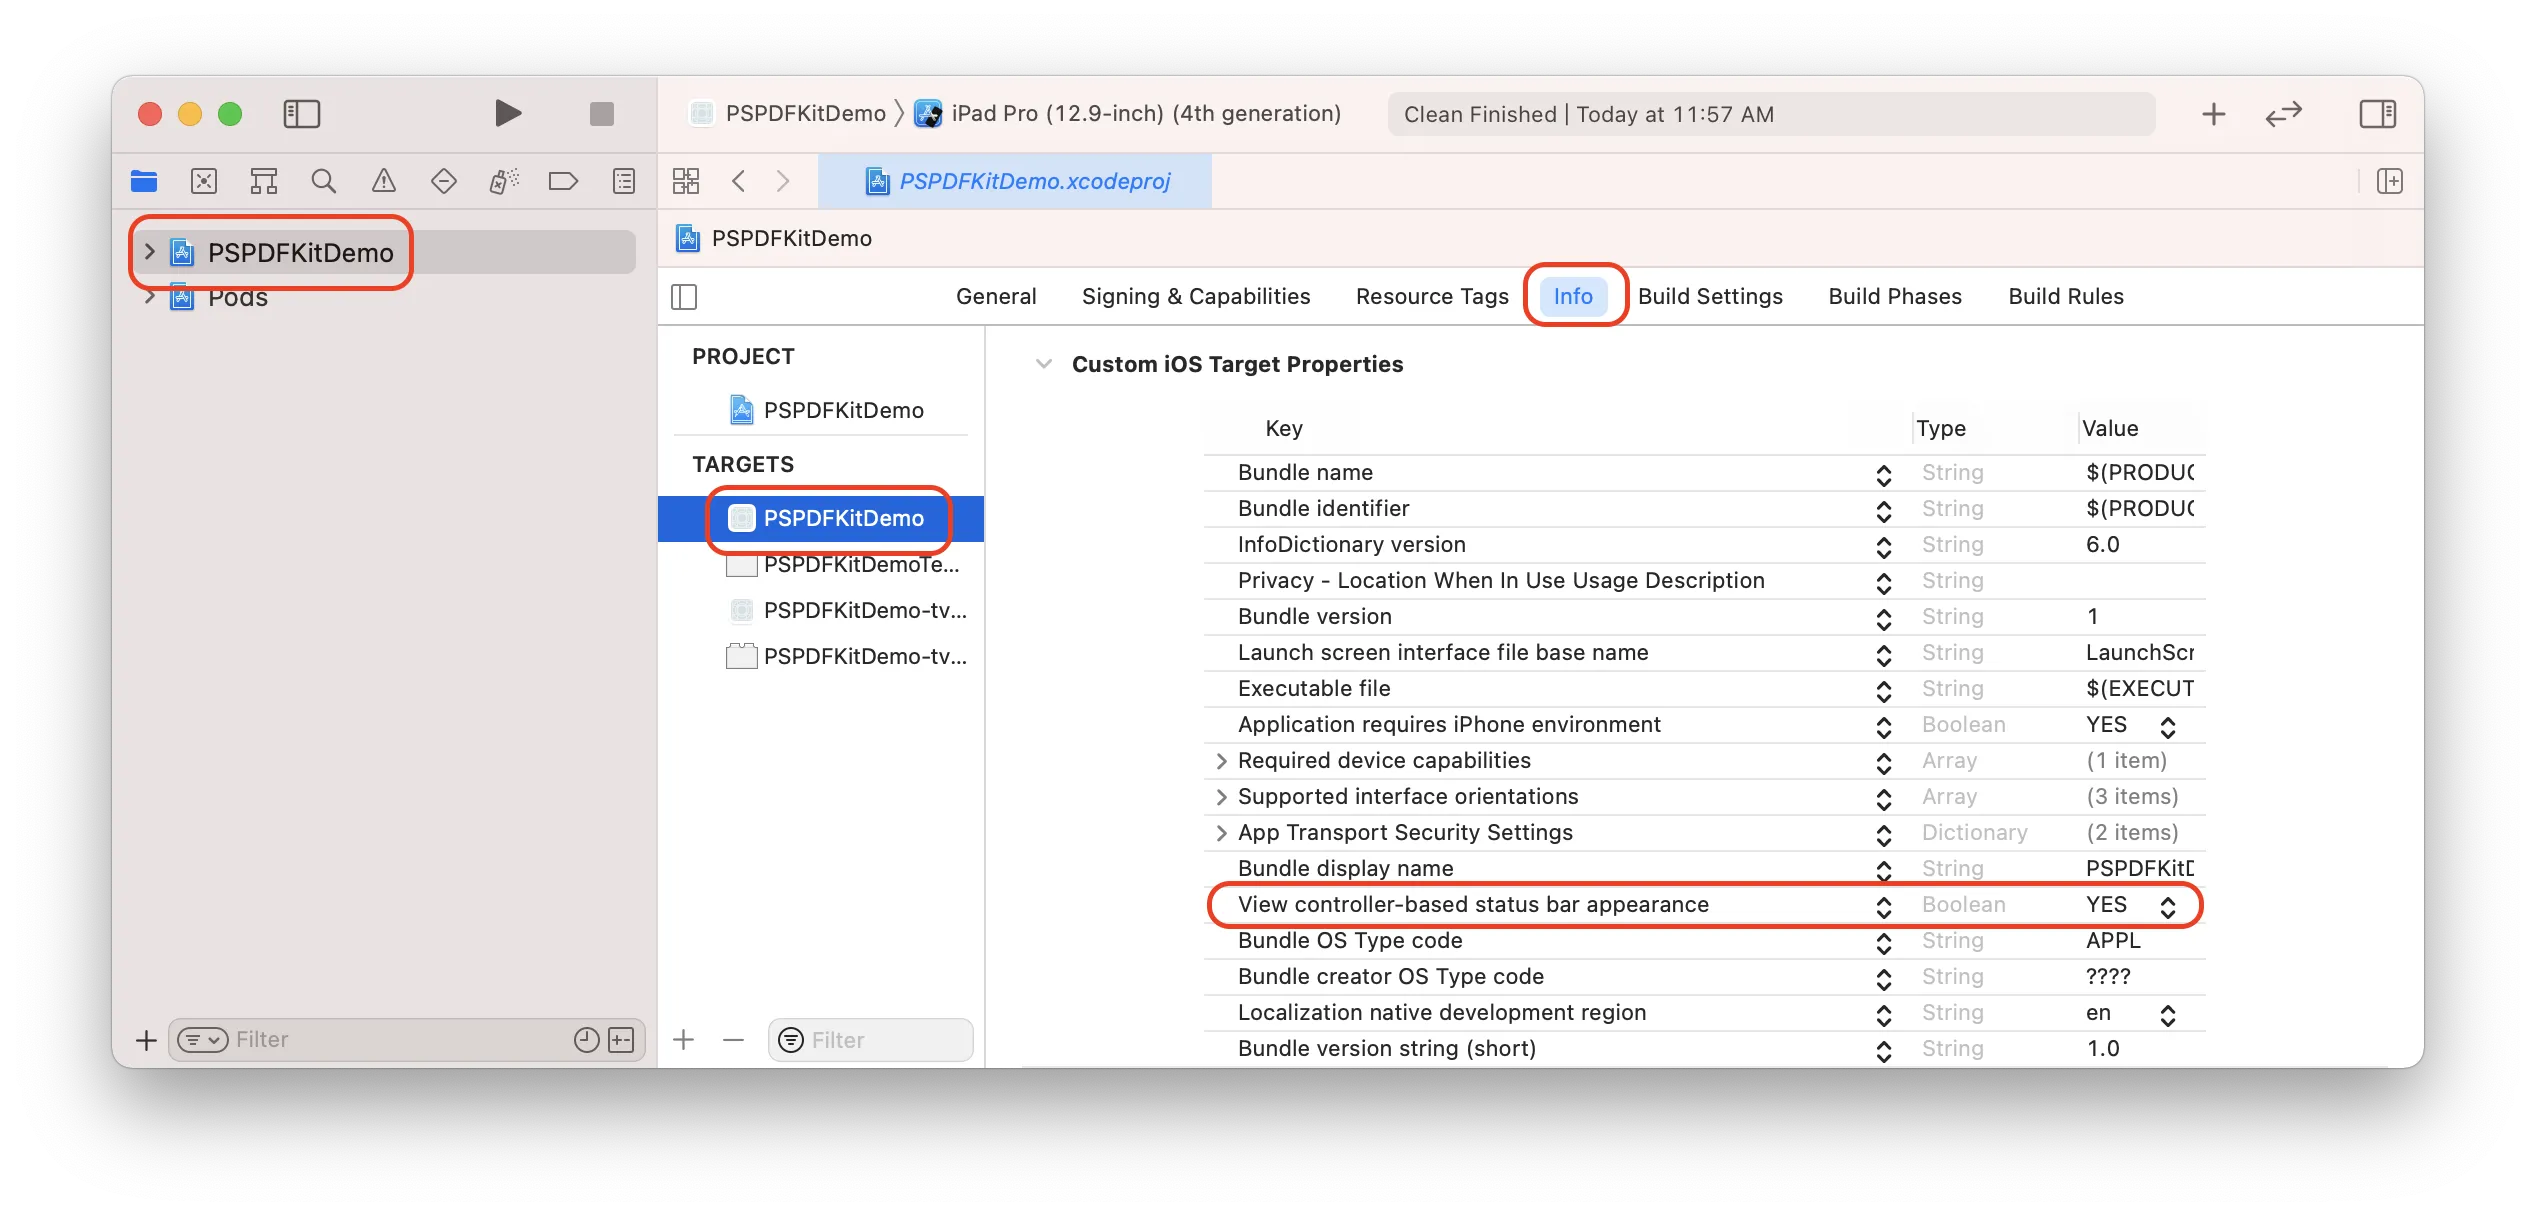
Additionally, change View controller-based status bar appearance to YES in your project’s Info.plist:
For a detailed setup, including information on setting the license, please refer to the getting started guides for Nutrient React Native SDK.
Opening a PDF
Now, you’ll open a PDF. To prepare the PDF, add a test PDF file to your Android’s android/app/src/main/assets folder. This folder usually doesn’t exist, so if that’s the case, you’ll need to create it first.
On iOS, add the downloaded PDF to your application bundle by dragging it into your project.
Next, to load the PDF, replace the entire contents in App.js with the following code snippet:
import React, { Component } from 'react';import { Platform } from 'react-native';import PSPDFKitView from 'react-native-pspdfkit';import { NativeModules } from 'react-native';
const PSPDFKit = NativeModules.PSPDFKit;PSPDFKit.setLicenseKey(null);const DOCUMENT =  Platform.OS === 'ios'    ? 'pspdfkit-react-native-quickstart-guide.pdf'    : 'file:///android_asset/pspdfkit-react-native-quickstart-guide.pdf';
export default class PSPDFKitDemo extends Component {  var pdfRef: React.RefObject<PSPDFKitView> = React.createRef();  render() {    return (      <PSPDFKitView        document={DOCUMENT}        configuration={{          showThumbnailBar: 'scrollable',          pageTransition: 'scrollContinuous',          scrollDirection: 'vertical',        }}        ref={pdfRef}        fragmentTag="PDF1"        style={{ flex: 1 }}      />    );  }}
Now you can run your app using npx expo run:android or npx expo run:ios, and the PDF will be loaded from the path you provided.
Nutrient won’t work when you run the project using expo start because the Expo Go app will be used and the Nutrient package native modules won’t be accessible.
Conclusion
This post showed how to integrate the Nutrient React Native SDK into an Expo project using a development build(opens in a new tab). For detailed documentation of Nutrient React Native SDK, check out the official guides.