


Convert HTML to PDF with JavaScript: Top libraries compared
Table of contents
- Simple client-side export (<100 documents/month)? — html2pdf.js — Fast setup, but limited CSS support
- Templated documents from JSON data? — pdfmake — Great for structured layouts, manual configuration required
- High-fidelity rendering with server infrastructure? — Playwright — Browser-accurate output, requires server management
- Production applications (1000+ documents/month, enterprise features)? — Nutrient — Managed server-side platform. Enterprise-grade HTML-to-PDF conversion with SDKs and APIs for integration.
JavaScript developers have four main approaches to HTML-to-PDF conversion, each with different tradeoffs for scale, features, and implementation complexity:
- Client-side libraries (html2pdf.js, pdfmake) — Quick setup but browser limitations
- Server-side automation (Playwright) — High fidelity but requires infrastructure
- Managed platforms (Nutrient) — Enterprise features with SDK integration
- Custom solutions — Full control but significant development overhead
This guide focuses on the first three options, comparing their capabilities, performance, and ideal use cases.
Compare Nutrient’s rendering quality and scalability against open source alternatives.
Nutrient offers HTML-to-PDF conversion with these features:
- Chrome-based rendering — CSS3 support and consistent output across platforms
- Production scale — Processes millions of documents with 99.9 percent uptime SLA
- Cross-platform SDKs— Native support for Web, iOS, Android, .NET, and server environments
- Advanced features — Form field conversion, watermarking, and document merging
- Flexible deployment — Cloud or on-premises options
Enterprise vs. open source: Key considerations
Before comparing libraries, read up on the key differences between open source and commercial solutions.
Open source limitations
- Browser memory constraints
- Inconsistent rendering across devices
- No enterprise support or SLA
- Security vulnerabilities in dependencies
- Manual infrastructure management
- Limited CSS/JavaScript compatibility
Nutrient advantages
- Handles large files with hybrid client-server rendering
- Consistent rendering across platforms via C++/WebAssembly core
- Enterprise support with SLAs
- Security features: encryption and redaction
- Managed cloud infrastructure with auto-scaling
- Full CSS3 and JavaScript support
Here’s how the open source options compare, and where they typically fall short in production.
1. html2pdf.js — Basic client-side conversion
Suitable for: Prototypes and simple applications
Production limitations: Image-based output, browser memory limits, no text selection
The html2pdf(opens in a new tab) library converts HTML pages to PDFs in the browser. It uses html2canvas(opens in a new tab) and jsPDF(opens in a new tab) under the hood. html2canvas renders an HTML page into a canvas element and turns it into a static image. jsPDF then takes the image and converts it to a PDF file.
Check out our blog on how to convert HTML to PDF using React for a step-by-step guide on how to use jsPDF in a React app.
Installation options
You can install html2pdf.js in three ways:
- CDN — add a
scripttag to your HTML
<script src="https://cdnjs.cloudflare.com/ajax/libs/html2pdf.js/0.10.1/html2pdf.bundle.min.js" integrity="sha512-GsLlZN/3F2ErC5ifS5QtgpiJtWd43JWSuIgh7mbzZ8zBps+dvLusV+eNQATqgA/HdeKFVgA5v3S/cIrLF7QnIg==" crossorigin="anonymous" referrerpolicy="no-referrer"></script>- npm —
npm install html2pdf.js - Manual download — grab the bundle from GitHub(opens in a new tab) and include it with a script tag
<script src="html2pdf.bundle.min.js"></script>Convert HTML to PDF using html2pdf
Define a generatePDF() function to get the HTML element and convert it to PDF. Call this function from a download button:
<!DOCTYPE html><html>10 collapsed lines
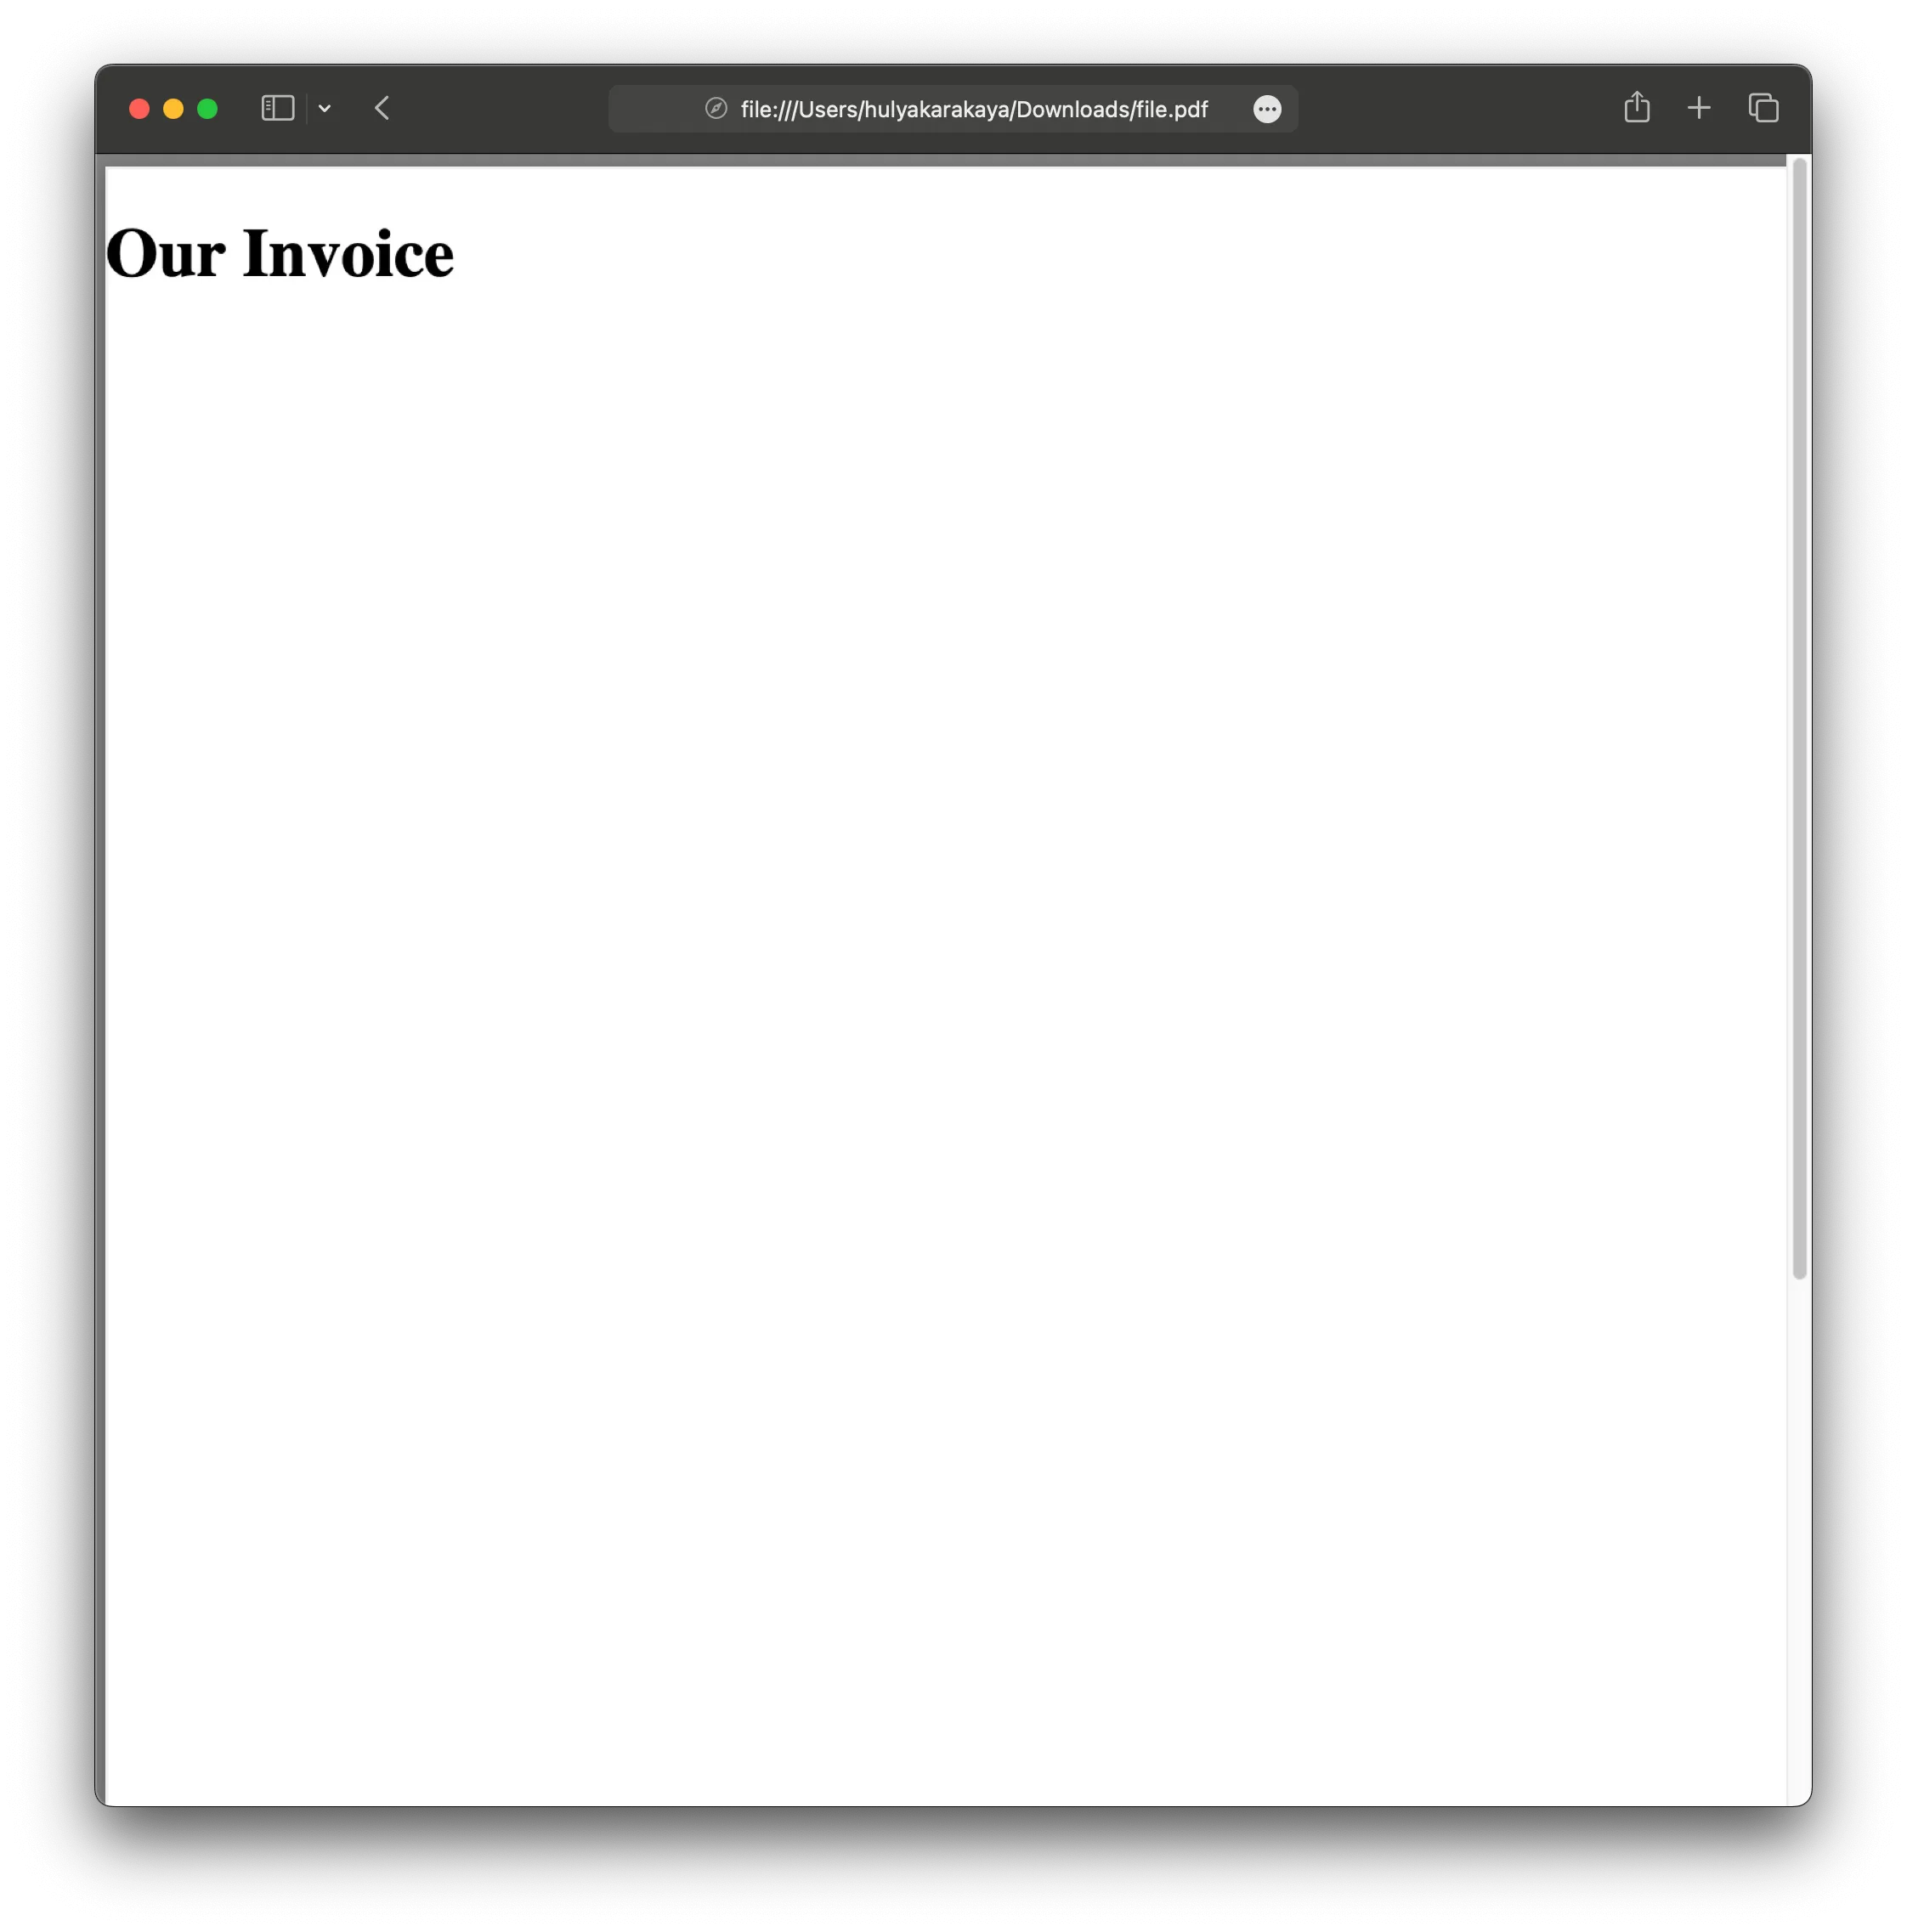
<head> <!-- html2pdf CDN link --> <script src="https://cdnjs.cloudflare.com/ajax/libs/html2pdf.js/0.10.1/html2pdf.bundle.min.js" integrity="sha512-GsLlZN/3F2ErC5ifS5QtgpiJtWd43JWSuIgh7mbzZ8zBps+dvLusV+eNQATqgA/HdeKFVgA5v3S/cIrLF7QnIg==" crossorigin="anonymous" referrerpolicy="no-referrer" ></script> </head> <body> <button id="download-button">Download as PDF</button> <div id="invoice"> <h1>Our Invoice</h1> </div>
<script> const button = document.getElementById("download-button");
function generatePDF() { // Choose the element that your content will be rendered to. const element = document.getElementById("invoice"); // Choose the element and save the PDF for your user. html2pdf().from(element).save(); }
button.addEventListener("click", generatePDF); </script> </body></html>This example renders only the h1 title, but you can render any HTML element including images and tables.
To test this example locally, run a quick static server with:
npx serve -l 4111 .Then open http://localhost:4111(opens in a new tab) in your browser to interact with the PDF download button.
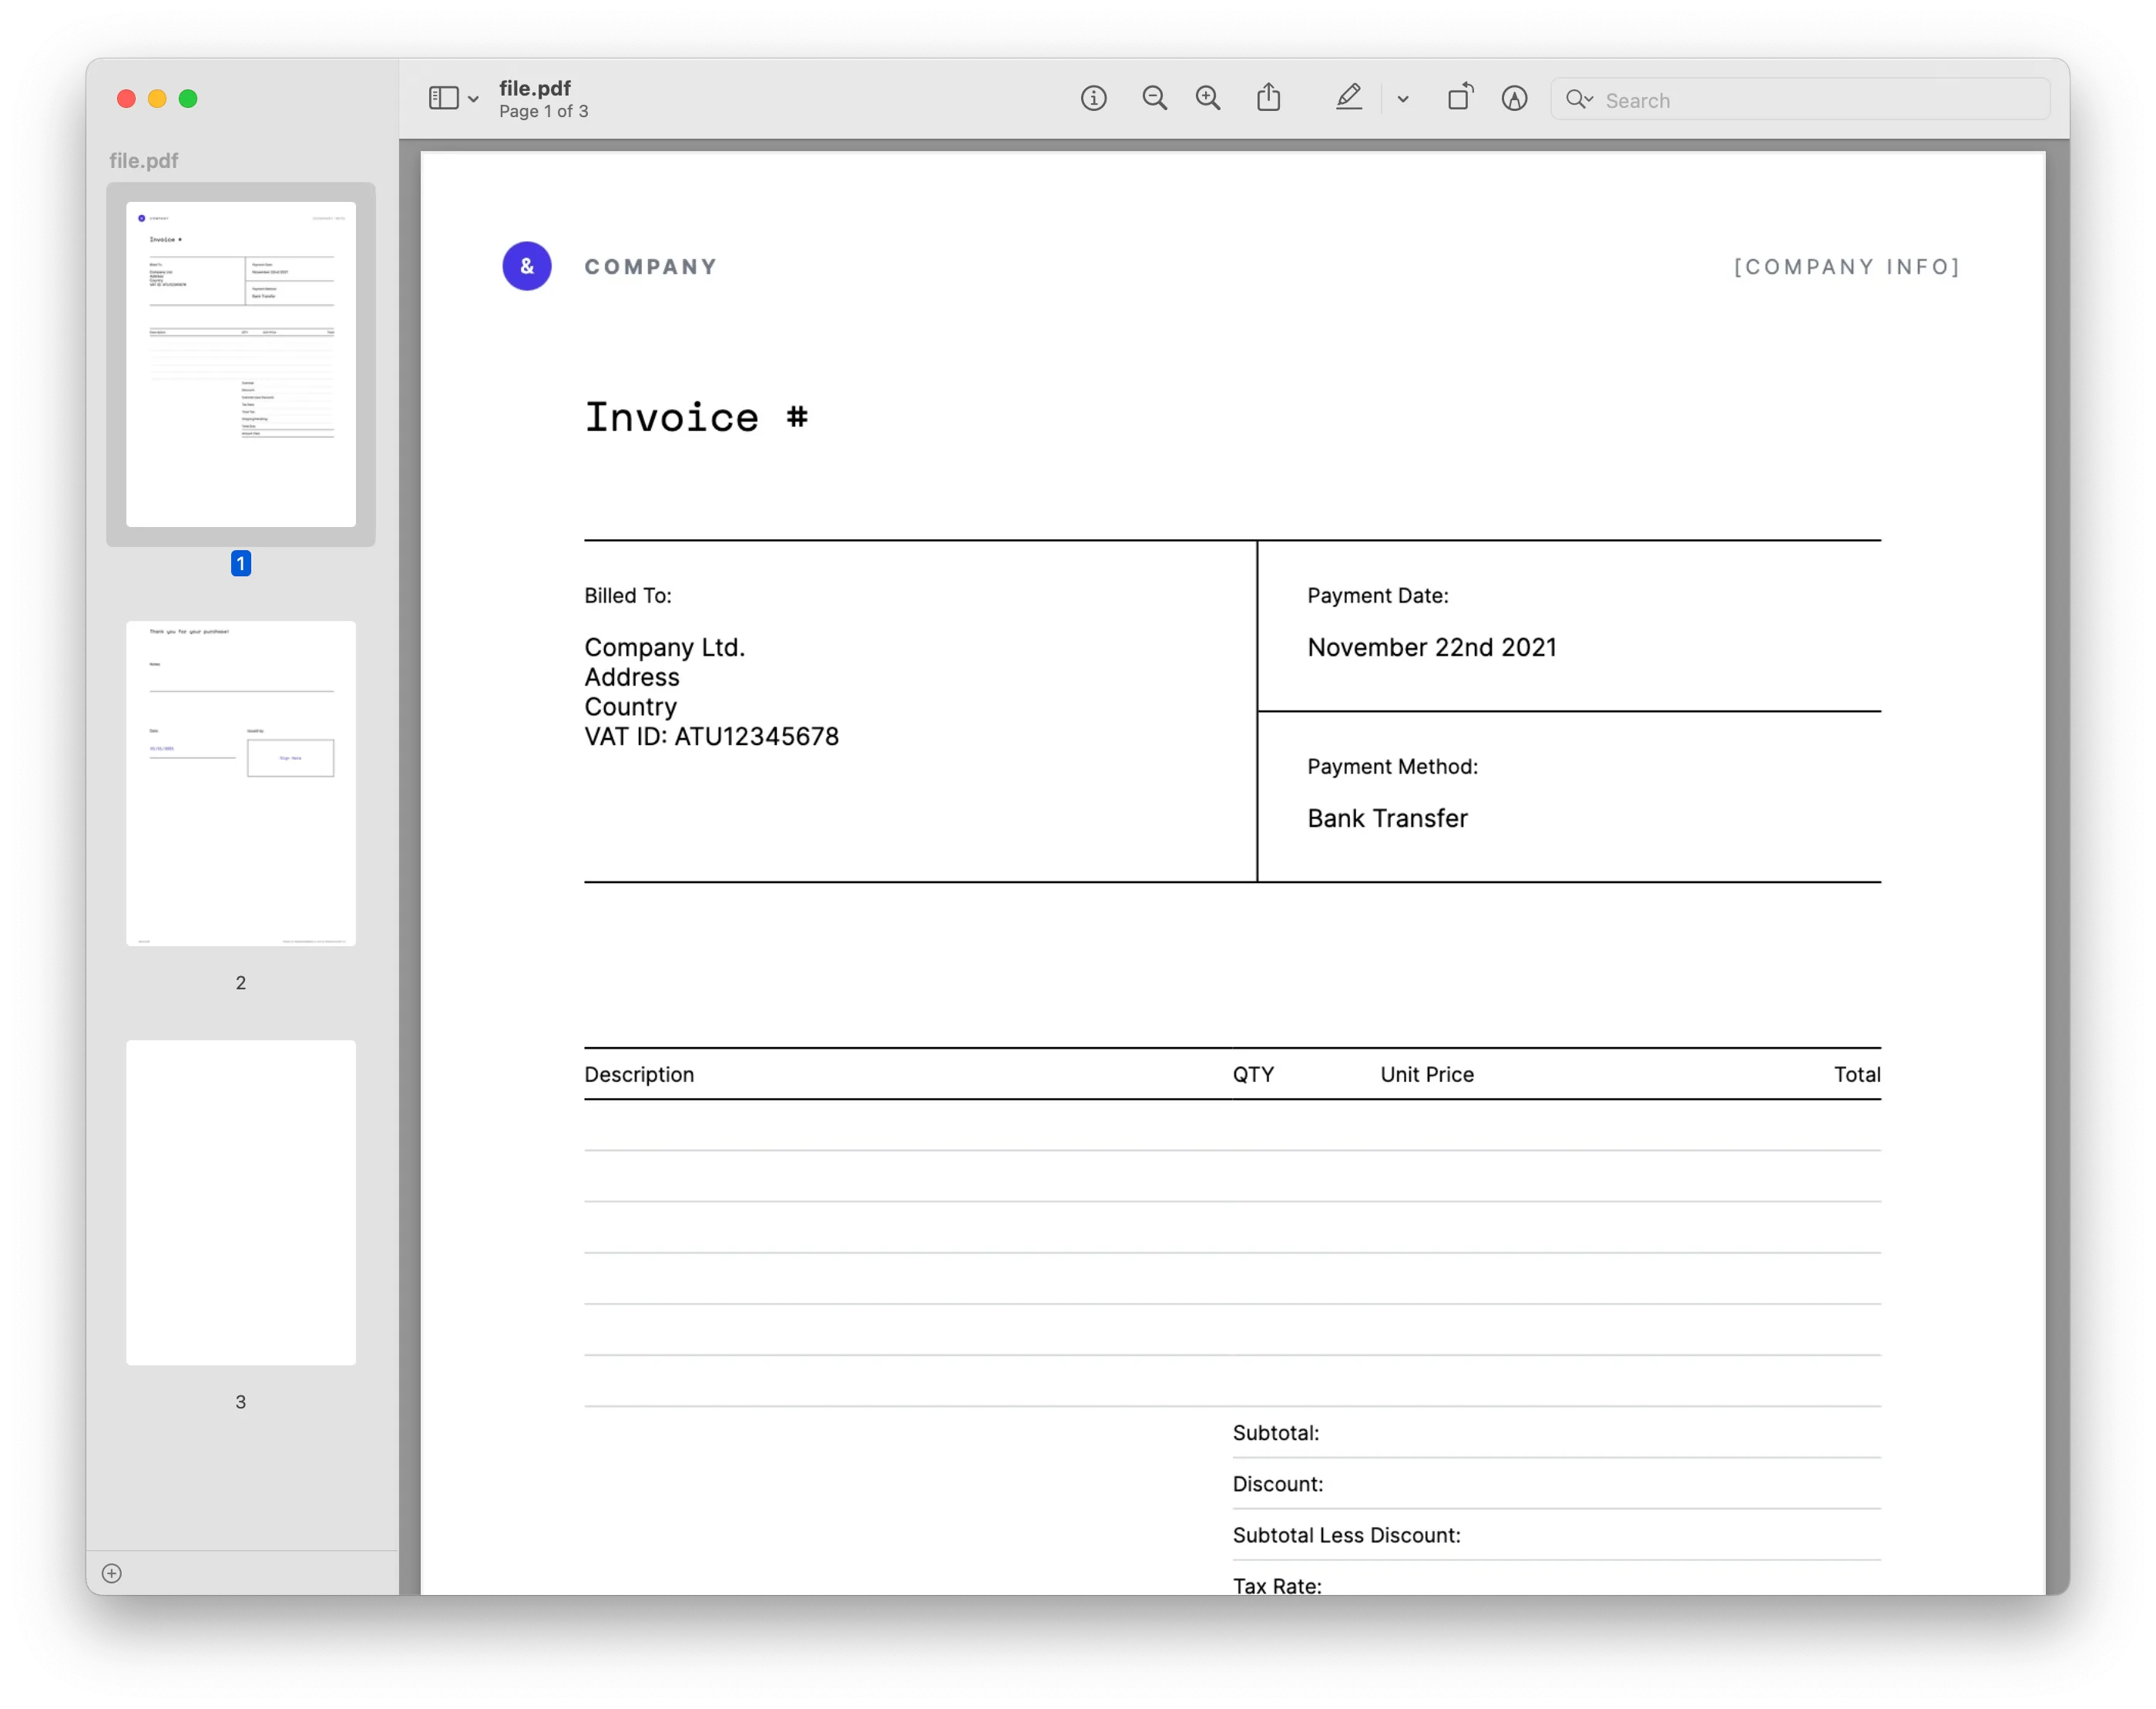
Advanced example: Downloading an invoice as a PDF
You can download an invoice template as a PDF by clicking this link. You can also generate the HTML for your own invoice on your backend if you prefer.
Similar to the example above, you’ll use the generatePDF() function to download the invoice as a PDF. However, this time, you’ll render the invoice template to the div element.
The end result will look like what’s shown below.
Common issues with html2pdf.js in production
Typical problems: Blurry output, memory crashes with large documents, and inconsistent mobile rendering. Nutrient Web SDK addresses these issues while still supporting client-side operation.
2. pdfmake — Structured document generation
Suitable for: Data-driven documents and reports
Production limitations: Manual configuration complexity, no HTML input support
The pdfmake(opens in a new tab) library generates PDF documents directly in the browser. It uses a layout and style configuration defined in a JSON-like structure within JavaScript, leveraging pdfkit(opens in a new tab) under the hood for PDF generation.
Unlike html2pdf.js, which converts HTML to an image first, pdfmake defines the document structure in JavaScript. This approach preserves text selection and allows more customization.
Installation
Add via CDN:
<script src="https://cdnjs.cloudflare.com/ajax/libs/pdfmake/0.1.72/pdfmake.min.js" integrity="sha384-qwfyMhpwB4dOhtxItT9bxl/sd7WQ95MvXSyLUgVz3oNRlvK/Ea7uT4O3rf1ZriyH" crossorigin="anonymous" referrerpolicy="no-referrer"></script><script src="https://cdnjs.cloudflare.com/ajax/libs/pdfmake/0.1.72/vfs_fonts.js" integrity="sha384-vD7JPR0c5DJMoqHXO7lJKsK9k6XPlL4LMoGK1jHsGBWoDzW9BGfaP7UWKIXHdz7L" crossorigin="anonymous" referrerpolicy="no-referrer"></script>Or, install via npm:
npm install pdfmakeGenerate PDFs from HTML using pdfmake
Define a generatePDF() function with your PDF content as a JavaScript object. Use pdfmake to create and download the file. The example shows text and a table, but pdfmake also supports lists, images, and advanced styling.
<!DOCTYPE html><html>12 collapsed lines
<head> <script src="https://cdnjs.cloudflare.com/ajax/libs/pdfmake/0.1.72/pdfmake.min.js" crossorigin="anonymous" referrerpolicy="no-referrer" ></script> <script src="https://cdnjs.cloudflare.com/ajax/libs/pdfmake/0.1.72/vfs_fonts.js" crossorigin="anonymous" referrerpolicy="no-referrer" ></script> </head> <body> <button onclick="generatePDF()">Download Invoice</button>
<!-- Move script here so pdfMake is loaded --> <script> function generatePDF() { const docDefinition = { content: [ { text: "Invoice", style: "header" }, { table: { body: [ ["Item", "Qty", "Price"],3 collapsed lines
["Product 1", "2", "$10"], ["Product 2", "1", "$20"], ["Total", "", "$40"], ], }, }, ], styles: { header: { fontSize: 18, bold: true }, }, };
pdfMake.createPdf(docDefinition).download("invoice.pdf"); } </script> </body></html>You can test the example by running:
npx serve -l 4111 .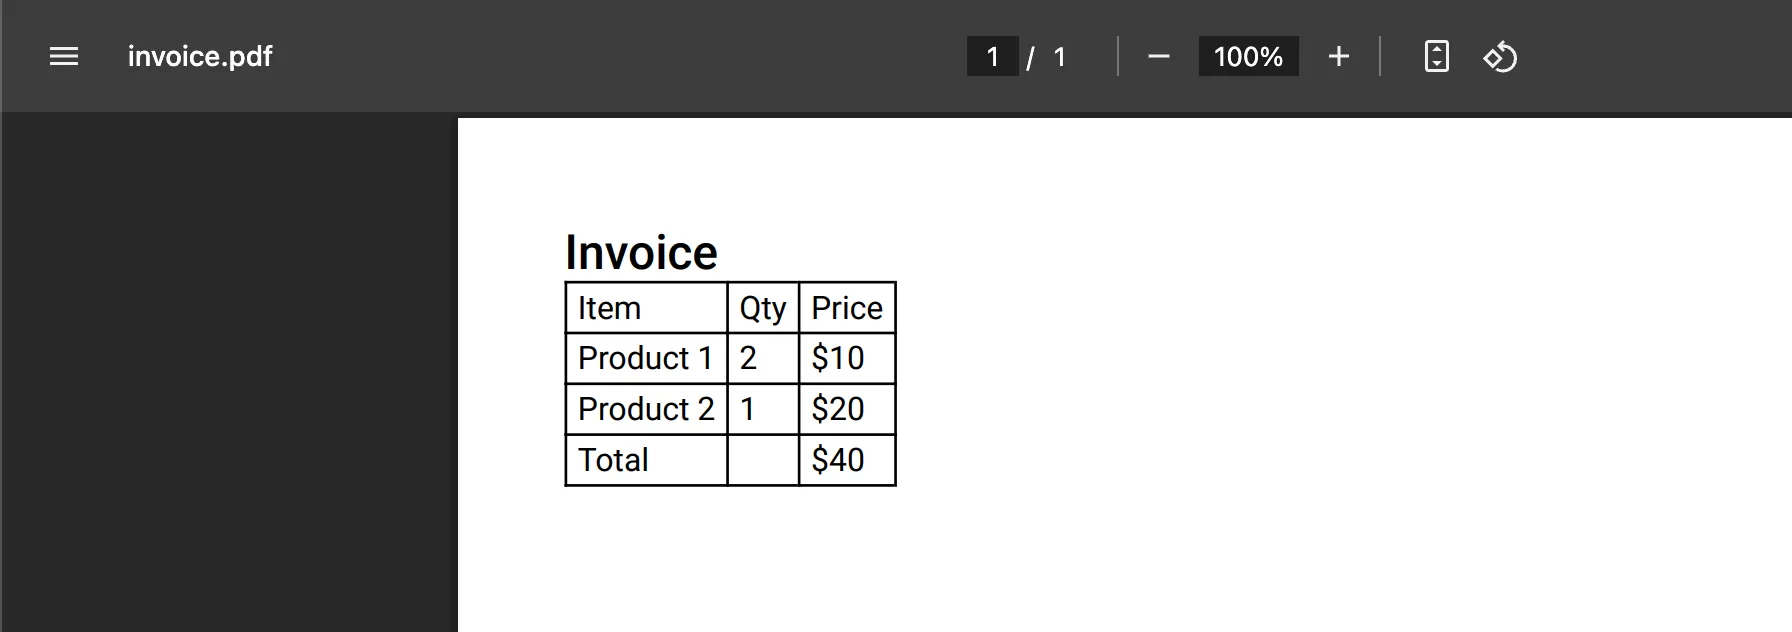
Benefits of using pdfmake
- Selectable text — Unlike
html2pdf.js,pdfmakepreserves text as selectable and copyable. - Custom styling — Define font sizes, colors, and positioning with structured JavaScript.
- Advanced layouts — Supports tables, lists, and multicolumn designs.
3. Playwright — Server-side browser automation
Suitable for: High-fidelity rendering with full CSS support
Production limitations: Requires server infrastructure, ongoing maintenance complexity
Playwright(opens in a new tab) controls headless Chrome, Firefox, and WebKit browsers to convert webpages into PDFs. Unlike html2pdf, Playwright runs on your server and generates PDFs server-side.
Installation
Create a new project and install Playwright(opens in a new tab):
mkdir playwright-pdf-generation && cd playwright-pdf-generationnpm init --yesnpm install playwrightBefore using Playwright, make sure the required browser binaries are installed by running:
npx playwright installBasic PDF example
You’ll now create an index.js file where you’ll require Playwright, launch a new browser session, go to your invoice page, and save the PDF file:
// Require Playwright.const { chromium } = require("playwright");
(async function () {  try {    // Launch a new browser session.    const browser = await chromium.launch();    // Open a new page.    const page = await browser.newPage();
    // Set the page content.    await page.setContent("<h1>Our Invoice</h1>");
    // Generate a PDF and store it in a file named `invoice.pdf`.    await page.pdf({ path: "invoice.pdf", format: "A4" });
    await browser.close();  } catch (e) {    console.error(e);  }})();
Running node index.js generates invoice.pdf locally. To let users download PDFs, set up a Node server with the http module. The server listens on /generate-pdf, renders the page with Playwright, and streams the PDF to the browser.
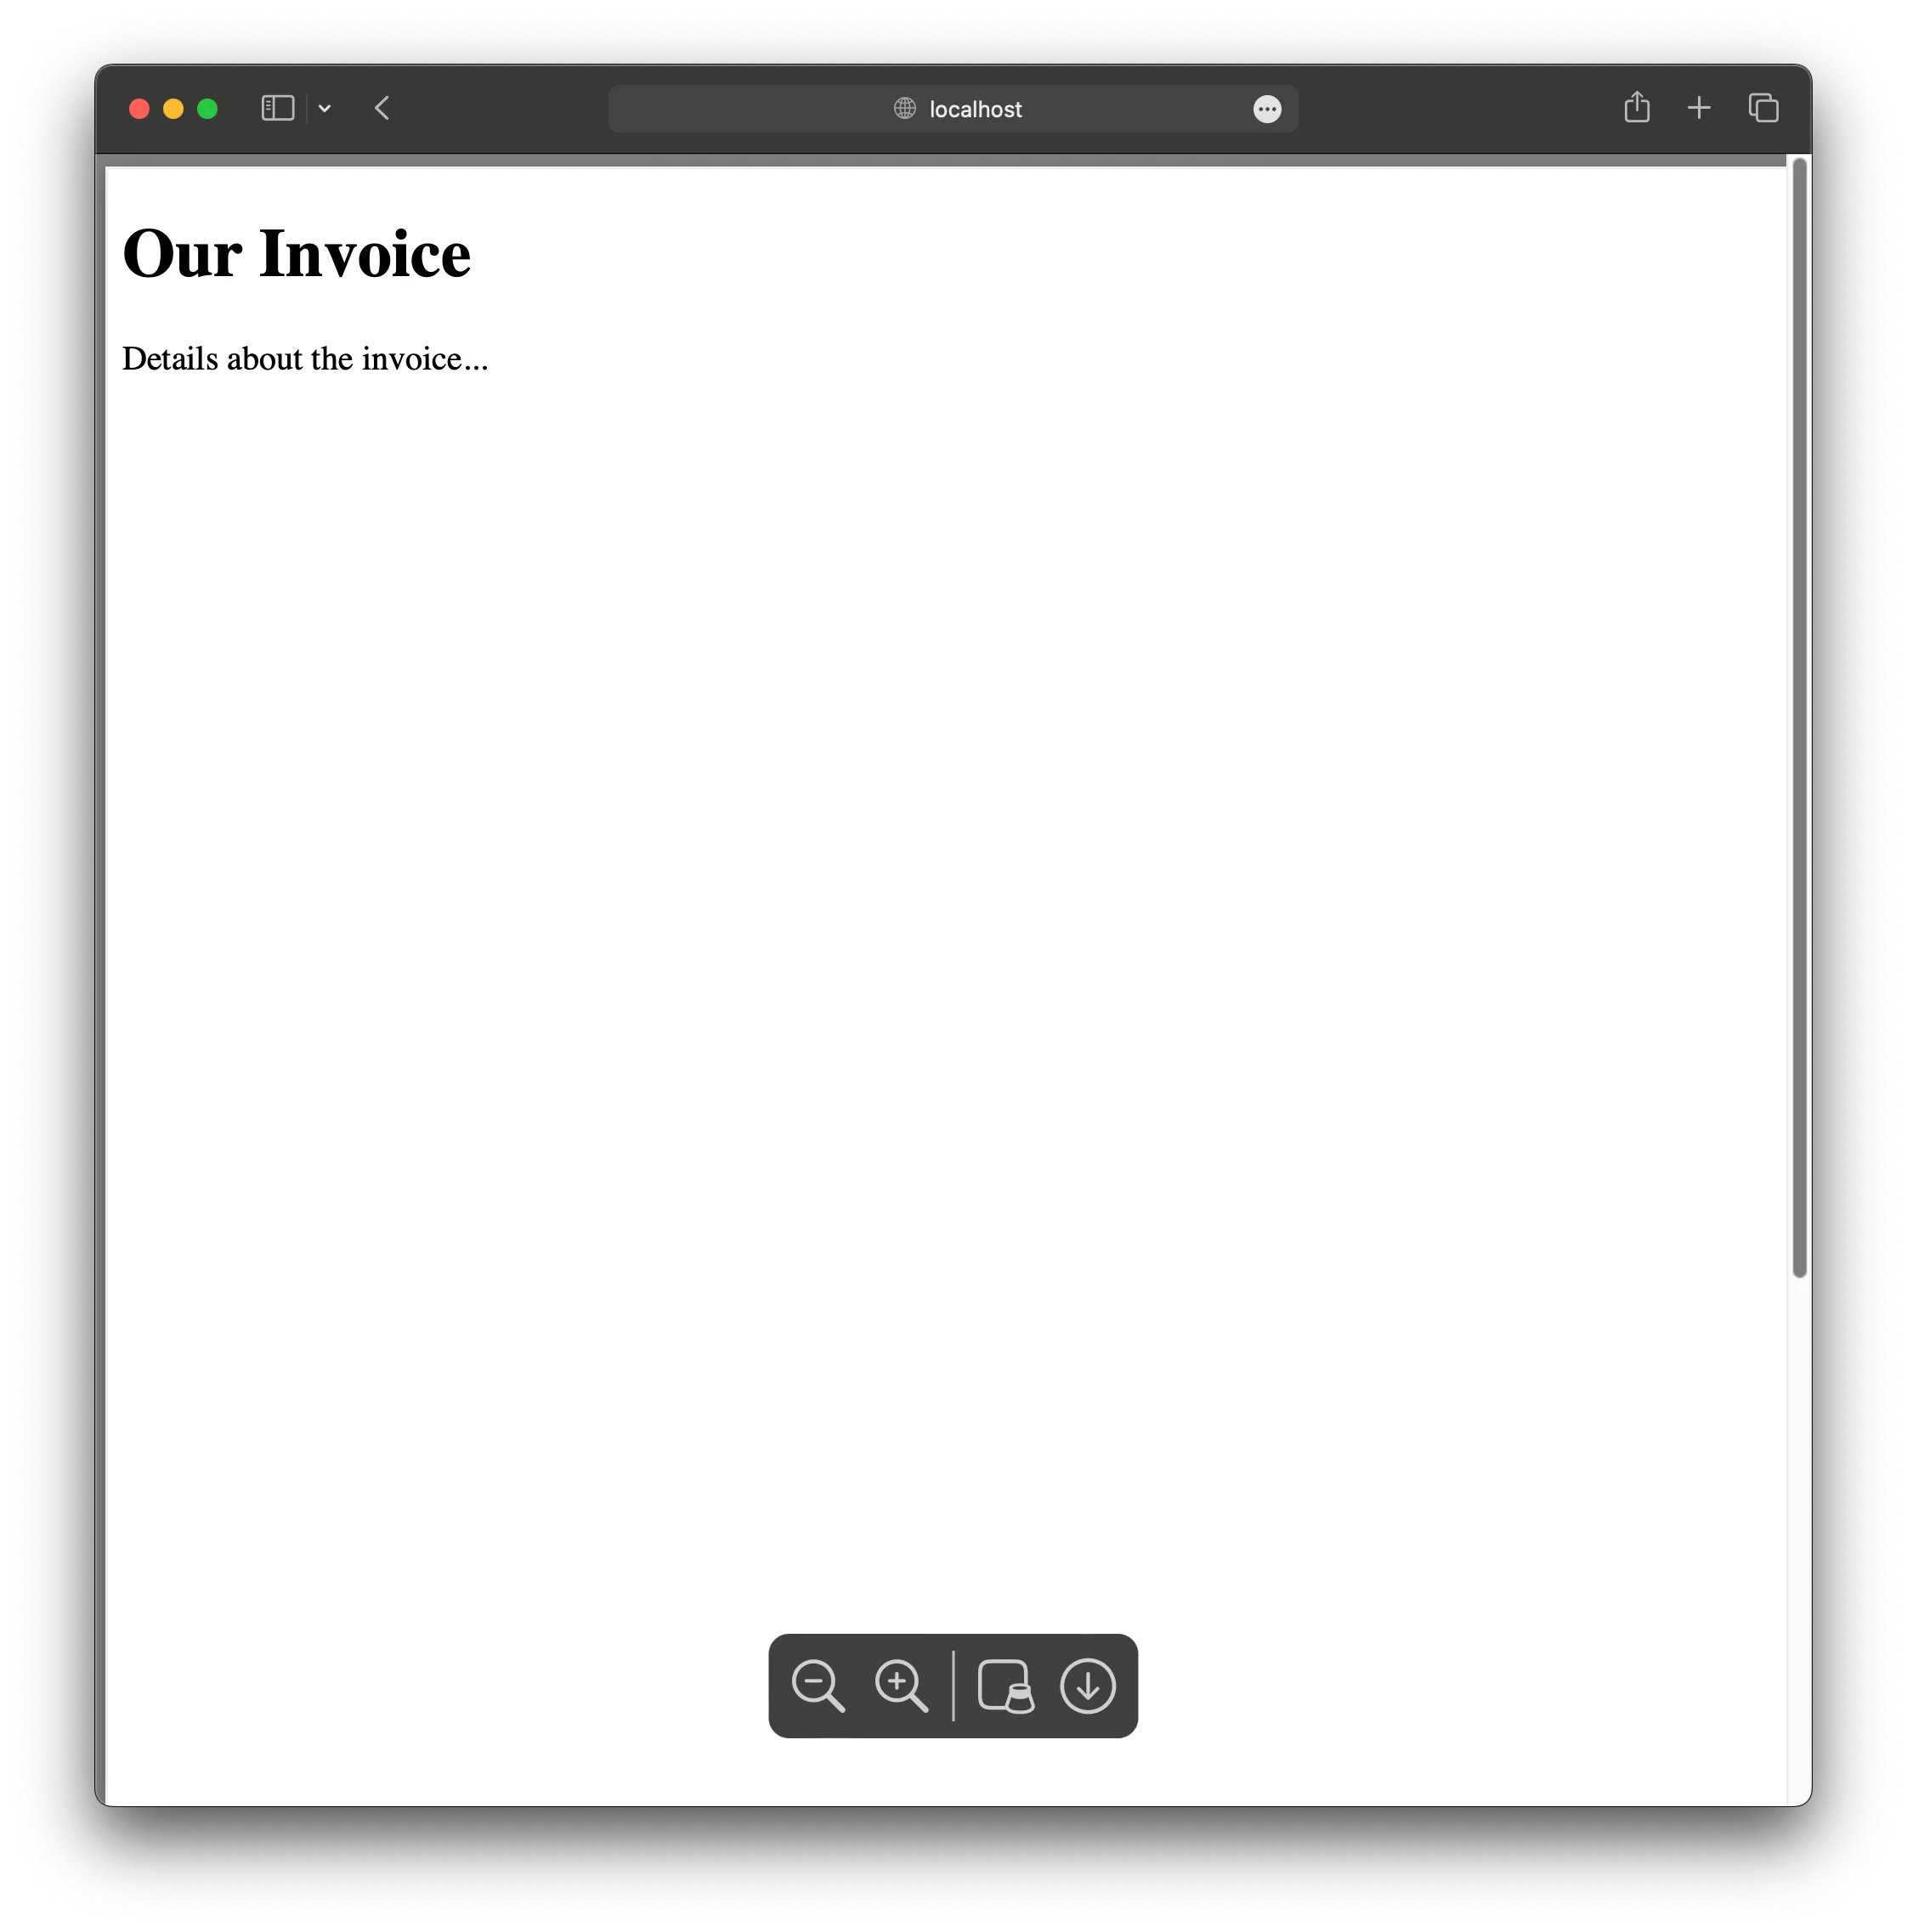
To do this, omit the path option in page.pdf() to get a buffer, set the response header to application/pdf, and send the buffer as the response. For all other routes, return a simple HTML page with a link to trigger the PDF download:
const { chromium } = require("playwright");const http = require("http");
// Create an instance of the HTTP server to handle the request.http  .createServer(async (req, res) => {    if (req.url === "/generate-pdf") {      // Making sure to handle a specific endpoint.      const browser = await chromium.launch();      const page = await browser.newPage();
      // Set the content directly or navigate to an existing page.      await page.setContent(`      <!DOCTYPE html>      <html>      <head>        <title>Invoice</title>      </head>      <body>        <h1>Our Invoice</h1>        <p>Details about the invoice...</p>      </body>      </html>    `);
      // By removing the `path` option, you'll receive a `Buffer` from `page.pdf`.      const buffer = await page.pdf({ format: "A4" });
      await browser.close();
      // Set the content type so the browser knows how to handle the response.      res.writeHead(200, { "Content-Type": "application/pdf" });      res.end(buffer);    } else {      // Respond with a simple instruction page.      res.writeHead(200, { "Content-Type": "text/html" });      res.end(        "<h1>Welcome</h1><p>To generate a PDF, go to [/generate-pdf](/generate-pdf).</p>",      );    }  })  .listen(3000, () => {    console.log("Server is running on http://localhost:3000");  });
Open localhost:3000 in your browser, and you’ll see the instruction page. You can then navigate to /generate-pdf to open the PDF with the invoice.
4. Ways to convert HTML to PDF using Nutrient — Enterprise HTML-to-PDF service
Suitable for: Production applications and enterprise requirements
Nutrient offers multiple robust solutions for HTML-to-PDF conversion, each designed for different environments and workflow needs:
- Document Engine
Nutrient Document Engine is a powerful, server-side HTTP API that enables HTML-to-PDF conversion with full CSS support. It automatically converts HTML form elements into fillable PDF fields and enables you to chain document operations such as merging, watermarking, and page manipulation in a single API call. This approach is ideal for production and enterprise applications that require managed infrastructure and advanced features.
For example, you can use a curl command to send your HTML and receive a PDF in response:
curl -X POST http://localhost:5000/api/build \ -H "Authorization: Token token=<API token>" \ -F page.html=@/path/to/page.html \ -F instructions='{ "parts": [{ "html": "page.html" }] }' \ -o result.pdfThis tech-agnostic API is designed for backend teams and integrates seamlessly with Node.js, Python, Java, and other stacks. It provides secure API key authentication and supports a wide range of PDF operations beyond just HTML-to-PDF conversion.
For .NET developers, Nutrient provides an SDK that enables HTML-to-PDF conversion using Chrome-based rendering, supporting both local files and live web content. This is ideal for C# applications needing full control over the conversion process.
Nutrient offers native SDKs for Android and iOS, enabling you to generate PDFs from HTML or URLs directly on mobile devices. This is particularly useful for mobile workflows such as generating invoices or tickets offline.
- No-code integrations (Zapier and Power Automate)
For business and automation teams, Nutrient supports integrations with Zapier and Power Automate, enabling HTML-to-PDF generation from email templates, form submissions, or dynamic content without writing any code.
Nutrient’s solutions are designed for reliability, scalability, and advanced document processing, making them suitable for organizations that require high-quality, production-ready HTML-to-PDF conversion.
Advanced features unique to Nutrient
Unlike the open source options, Nutrient offers production-ready capabilities out of the box:
- Form field conversion — HTML form elements become fillable PDF fields automatically
- Document operations — Chain operations like merging, watermarking, and page manipulation in a single API call
- Cross-platform consistency — Same rendering engine across Web, iOS, Android, and server environments
- Enterprise support — SLAs, dedicated support channels, and long-term maintenance
- Compliance-ready — Designed for organizations requiring scalability and regulatory adherence.
Specific capabilities of each solution
Each approach has different strengths and ideal use cases:
- html2pdf.js — Converts HTML/CSS into image-based PDFs in the browser. Best for simple, static layouts like receipts or certificates. May struggle with layout fidelity and resolution.
- pdfmake — Builds PDFs from JavaScript objects. Ideal for structured documents like invoices or reports. Offers high customization, selectable text, and table support.
- Playwright — Renders full HTML/CSS in a headless browser and outputs a pixel-perfect PDF. Great for complex layouts and server-side automation.
- Nutrient (server-side) — A managed platform built for production and enterprise environments. Provides scalable server-side HTML-to-PDF conversion with advanced features like form field conversion, chained document operations (merge, watermark, rearrange), consistent cross-platform rendering, and enterprise-grade support (SLAs, compliance, long-term maintenance).
Common issues and troubleshooting
html2pdf.js
- Blurry output — Use high-resolution images and scale properly.
- Limited CSS — Limited styling; avoid modern layout features like flexbox or grid.
- Large files — Optimize HTML and assets
pdfmake
- Layout complexity — Manual configuration required; break documents into smaller blocks when needed.
- Font issues — Ensure custom fonts are embedded correctly.
Playwright
- Setup is more involved than client-side tools.
- Minimize dynamic scripts or unnecessary content before rendering.
Nutrient
- License validation — Confirm valid key and domain configuration
- Large documents — Use streaming API for >100MB
- Custom fonts — Upload to Document Engine for consistency
Feature comparison
| Feature | html2pdf.js | pdfmake | Playwright | Nutrient |
|---|---|---|---|---|
| Ease of use | Very easy | Moderate | Moderate | Easy |
| Installation | Simple (CDN, npm) | Simple (CDN, npm) | npm | SDK/API |
| Runs in browser | ||||
| Text selection | ||||
| CSS/HTML support | Limited | None | Full | Full |
| Customization | Low | High | High | High |
| PDF quality | Medium (image-based) | High (structured content) | Very high (browser rendering) | Very high (Chrome-based) |
| Performance | Fast for small documents | Good with structured layouts | High for large/complex layouts | Enterprise scale |
| Use case | Simple exports, receipts | Invoices, reports, forms | High-fidelity PDFs, automation | Production applications, compliance |
| Support/SLA | Community | Community | Community | Enterprise |
| Pros | No backend needed, easy setup | Selectable text, layout control | Pixel-perfect output, full CSS | Managed infrastructure, advanced features |
| Cons | Blurry output, no selection | Manual configuration, no HTML input | Server setup, heavier runtime | Commercial license required |
Choosing the right solution
For simple client-side exports (<100 docs/month)
- Choose html2pdf.js for basic use cases where setup speed matters more than output quality.
- Consider Nutrient Web SDK if you need consistent rendering and plan to scale.
For templated documents from structured data
- Use pdfmake when you can define layouts in JavaScript objects.
- Choose Nutrient when you need both template flexibility and HTML input support.
For high-fidelity rendering
- Use Playwright if you have server infrastructure and want full control.
- Choose Nutrient for managed infrastructure with the same rendering quality.
For production applications
- Consider Nutrient when you need:
- To process more than 1,000 documents monthly
- Enterprise support and SLAs
- Advanced features like form field conversion
- Consistent rendering across platforms
- Document operations (merging, watermarking, etc.)
Try Nutrient’s getting started guide to compare implementation complexity with the open source alternatives.
Nutrient SDK includes annotations, form filling, and custom output options.
Start your free trial to test Nutrient’s HTML-to-PDF conversion.
PDF-to-HTML conversion is coming soon to Document Engine and DWS API.
FAQ
Why do enterprises choose Nutrient over open source alternatives?
Nutrient provides production reliability, enterprise support, and features beyond open source libraries. Chrome-based rendering ensures CSS compatibility. Managed infrastructure removes server maintenance overhead.
How does Nutrient’s rendering quality compare to Playwright?
Playwright renders well but requires infrastructure management. It lacks features like form field conversion, watermarking, and chained operations. Nutrient combines quality rendering with these document processing features in one API.
Can I generate PDFs without writing the conversion logic?
Yes. Document Engine handles HTML-to-PDF conversion plus converting HTML forms to fillable PDFs, watermarking, merging, and more via HTTP API. Skip the low-level PDF logic.
Does Nutrient support mobile platforms like iOS and Android?
Can I use the Nutrient PDF generation API in a frontend app?
Yes. Use JWT-based authorization for frontend apps instead of raw API keys. Server-side apps use standard API keys.
Does Nutrient support converting HTML forms into interactive fillable PDF forms?
Yes. Document Engine converts HTML form elements into fillable PDF fields, including text inputs, checkboxes, and dropdowns. Most open source libraries don’t support this.
How does Nutrient .NET SDK handle HTML-to-PDF conversion?
The .NET SDK converts local HTML files or URLs to PDF using C#. Supports Chrome rendering and both file-based and in-memory generation for .NET desktop apps or backend services.
Do Nutrient tools support high-fidelity rendering with full CSS support?
Yes. Document Engine and the .NET SDK support full CSS rendering, stylesheets, and embedded media for branded reports, web templates, and responsive layouts.