Keyboard Navigation in SwiftUI
Table of contents

SwiftUI wasn’t built with keyboard support in mind, and it shows. There’s very little support for using the keyboard, and the standard controls have only minimal support for keyboard navigation, if any.
We recently rewrote the Settings screen in PDF Viewer(opens in a new tab) to gain experience shipping SwiftUI controls, as we’re considering also using SwiftUI in our SDK. Before SwiftUI, we had full keyboard support for navigating table views and navigation controllers, but this got lost with the rewrite. Let’s explore how we can add it back.
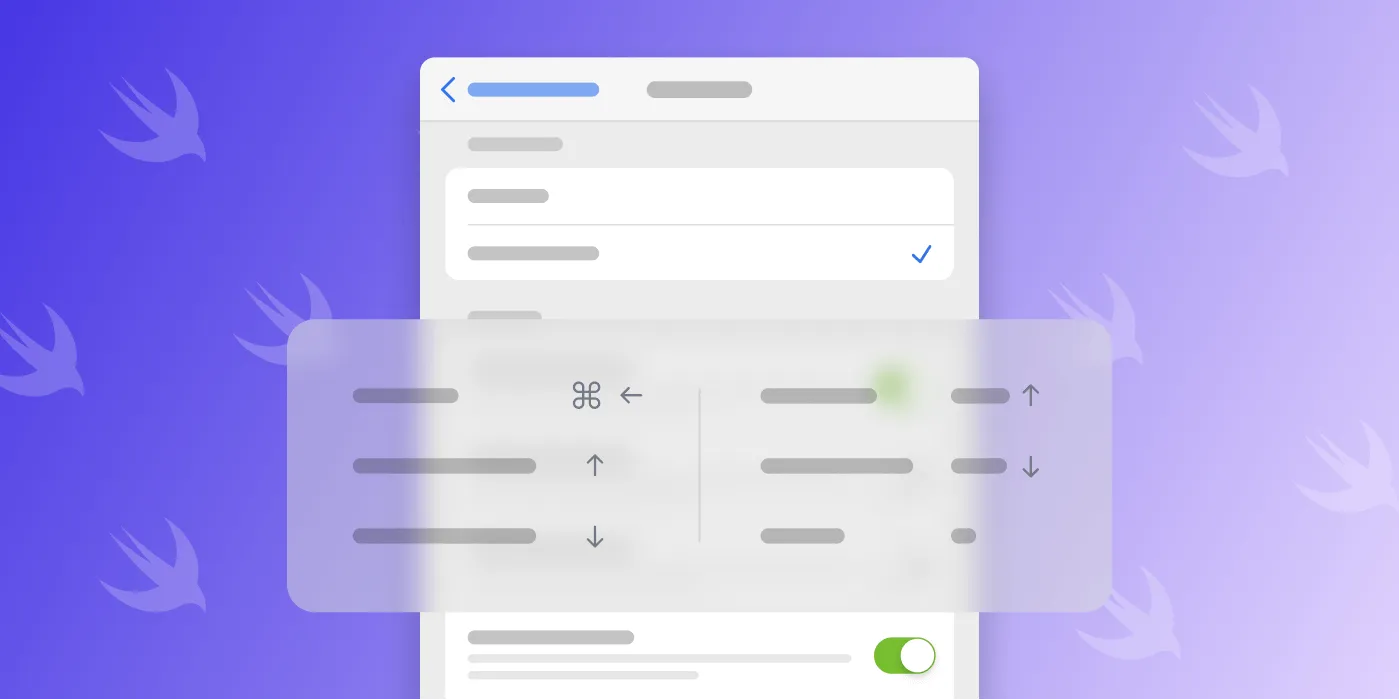
For the scope of this article, we’ll add a generic ⌘-Left Arrow keyboard shortcut to pop the navigation stack. We’ll look into keyboard handling, introspecting view controllers, and ultimately accessing the underlying navigation controller.
SwiftUI and Keyboard Shortcuts
With iOS 14, keyboardShortcut was added as a convenient native way to add keyboard shortcuts to SwiftUI:
struct ContentView: View { var body: some View { Button("Keyboard Enabled Button") { print("⌘+P pressed") }.keyboardShortcut("p", modifiers: [.command]) }}The API here is neat, but it doesn’t work when SwiftUI is embedded in a UIHostingController(opens in a new tab). (Reported as FB8984997(opens in a new tab).) While there are workarounds, we need a solution that also works on iOS 13.
Bridging UIKeyCommand
UIKit uses UIKeyCommand, an API that has existed since iOS 7, for keyboard handling. It’s not too difficult to keep using this API and simply bridge keyboard calls over into our SwiftUI context. But as part of this article, I built an open source alternative to keyboardShortcut with a similar API that works on iOS 13 and later(opens in a new tab).
The use is almost identical:
struct ContentView: View { var body: some View { Button("Keyboard Enabled Button") { print("⌘+P pressed") }.keyCommand("p", modifiers: [.command]) }}Programmatic Navigation in SwiftUI
SwiftUI offers bindings on NavigationLink to programmatically navigate in views. If the binding is enabled, the NavigationLink becomes active and will change the visible view; the view is removed from the navigation stack once the binding is set to false again. It’s easy to build logic that will react to our ⌘-Left Arrow shortcut to programmatically pop the view:
@State var isShowingAdvancedSettings = false
var body: some View {    NavigationView {    } .onKeyCommand(UIKeyCommand.inputLeftArrow, modifiers: [.command], title: "Back") {            if isShowingAdvancedSettings {                isShowingAdvancedSettings = false            }        }
    // Somewhere later.    NavigationLink(destination: advancedSettings,                      isActive: $isShowingAdvancedSettings) {                          Text("Advanced Settings")                  }}
This works, but it can quickly get messy if there are more NavigationLink objects, and we’d need to check multiple Booleans or try to map this to an enumeration state. What we’d love instead is a generic “pop one level in the navigation stack” when the keyboard shortcut is pressed. One idea is to try triggering a programmatic pop on the underlying UINavigationController directly.
Accessing the Hosting View Controller of a SwiftUI View
The path to get from a UIView to the hosting UIViewController is extremely easy in UIKit. In most scenarios, this isn’t a good idea, and your views shouldn’t access the outer controller directly. But even Apple has use cases where this makes sense:
extension UIView { func closestViewController() -> UIViewController? { if let nextResponder = self.next as? UIViewController { return nextResponder } else if let nextResponder = self.next as? UIView { return nextResponder.closestViewController() } else { return nil } }}However, we can’t use the same trick with SwiftUI, as we don’t have UIKit views here, but rather structs that define a view tree. The idea is that we’ll embed a “spy” view controller into the hierarchy so we can navigate up the hierarchy and access our hosting view controller.
I saw this approach used in the amazing SwiftUIX library(opens in a new tab), and I adapted the code for our own use case — we want to minimize our dependencies, so importing the entire library wasn’t an option.
Here’s our spying view controller:
struct UIViewControllerResolver: UIViewControllerRepresentable {    class UIViewControllerType: UIViewController {        var onResolution: (UIViewController) -> Void = { _ in }
        override func didMove(toParent parent: UIViewController?) {            super.didMove(toParent: parent)
            if let parent = parent {                onResolution(parent)            }        }    }
    let onResolution: (UIViewController) -> Void
    init(onResolution: @escaping (UIViewController) -> Void) {        self.onResolution = onResolution    }
    func makeUIViewController(context: Context) -> UIViewControllerType {        UIViewControllerType()    }
    func updateUIViewController(_ uiViewController: UIViewControllerType, context: Context) {        uiViewController.onResolution = onResolution    }}
Now let’s define an extension on View that embeds our spy into the background and calls an action when resolved:
extension View { func onUIViewControllerResolution(perform action: @escaping (UIViewController) -> Void) -> some View { background( UIViewControllerResolver(onResolution: action) ) }}This works, but we still need to find a way to make the view controller accessible for our whole view tree. SwiftUI’s Environment dependency injection feature fits here perfectly. We can start by defining an environment key:
extension EnvironmentValues {    private struct ViewControllerEnvironmentKey: EnvironmentKey {        static var defaultValue: WeakViewControllerHolder? {            return nil        }    }
    var viewControllerHolder: WeakViewControllerHolder? {        get {            self[ViewControllerEnvironmentKey.self]        } set {            self[ViewControllerEnvironmentKey.self] = newValue        }    }}
Notice how we’re using a WeakViewControllerHolder class here and not the view controller directly — we need this intermediary to avoid creating a retain cycle between the hosting view controller and the SwiftUI view environment. The wrapper class is trivial:
class WeakViewControllerHolder: ObservableObject {    weak var vc: UIViewController?
    init(_ vc: UIViewController) {        self.vc = vc    }}
We’re almost there. Let’s make a view modifier that injects the view controller once it’s resolved. Since modifying the environment triggers a SwiftUI tree update, we check for object identity so as to avoid redundant work:
struct SetViewControllerEnvironmentValue: ViewModifier {    @State var viewControllerHolder: WeakViewControllerHolder?
    func body(content: Content) -> some View {        content            .environment(\.viewControllerHolder, viewControllerHolder)            .onUIViewControllerResolution {                // Check for object identity to avoid doing redundant work.                if !(viewControllerHolder?.vc === $0) {                    viewControllerHolder = WeakViewControllerHolder($0)                }            }    }}
As a finishing touch, let’s make this easy by defining an extension for this view modifier:
extension View { func enableViewControllerObservation() -> some View { self.modifier(SetViewControllerEnvironmentValue()) }}With that, we now gain the ability to access the hosting view controller from anywhere in our SwiftUI hierarchy. Since the environment is shared from the outer to inner layers, the last modifier on your view must be .enableViewControllerObservation(). We apply this when the hosting controller is created:
UIHostingController(rootView: SettingsView().enableViewControllerObservation())Accessing the UINavigationController of a SwiftUI View
With this logic in place, we can find and access the underlying UINavigationController in our hierarchy.
ℹ️ Note: It’s important to understand that we’re relying on implementation details of SwiftUI here, and it’s possible that Apple uses a different control in the future. Be smart about when to use this feature, and don’t use it for business-critical functionality.
While SwiftUI in both iOS 13 and iOS 14 uses UINavigationController, it doesn’t set the navigationController property on the view controller. We add a helper on the WeakViewControllerHolder to help access the underlying object:
var navigationController: UINavigationController? { vc?.closestChild(of: UINavigationController.self)}The helper on UIViewController for recursive search is straightforward:
extension UIViewController {func closestChild<Child: UIViewController>(of: Child.Type, includingSelf: Bool = false) -> Child? { if includingSelf, let self = self as? Child { return self } else { for child in children { if let controllerFound = child.closestChild(of: Child.self, includingSelf: true) { return controllerFound } } return nil }}}Now with all pieces together, let’s write the actual logic that’s triggered on our key press, and then let’s pack the new functionality into a view modifier:
private struct NavigateBackModifier: ViewModifier {    @Environment(\.layoutDirection) var layoutDirection    @Environment(\.viewControllerHolder) var viewControllerHolder
    func body(content: Content) -> some View {        content            .onKeyCommand(layoutDirection == .leftToRight ? UIKeyCommand.inputLeftArrow : UIKeyCommand.inputRightArrow,                          modifiers: [.command], title: localizedString("Back")) {                // There's no generic way in SwiftUI to pop to the parent.                // This works and has been tested on iOS 13+14.                viewControllerHolder?.navigationController?.popViewController(animated: true)            }    }}
Notice how we’re using layoutDirection to make this either a left or right arrow button. When the layout is right-to-left, then the back button is ⌘-Right Arrow instead of the left arrow.
Conclusion
In this post, I shared an approach to programmatic pop navigation in SwiftUI via utilizing the underlying objects from UIKit. I also discussed the drawbacks of using a generic handler vs. a more explicit version that uses bindings on NavigationLink. Finally, I also explored how SwiftUI’s Environment can be used to conveniently expose objects across the view tree.
There’s still a lot to do to make SwiftUI a great citizen when it comes to keyboard navigation, and I hope this article inspires some of you to go ahead and build better keyboard support into your apps.


