Managing CI pipelines with Terraform

An important reason we moved our CI/CD system from Jenkins to Buildkite was the ability to define our CI/CD infrastructure as code. Before we migrated to Buildkite, we already managed our CI machines with Chef, but we still configured our CI jobs using Jenkins’ UI. Trying to configure pipelines with Jenkinsfiles(opens in a new tab) was one of our last resorts, and in good old Jenkins fashion, we ran into too many problems. Meanwhile, on Buildkite, we defined all of our pipelines in Terraform configuration files right from the beginning. Read on to find out more about Terraform and how we use it to manage our CI pipelines.
This article is part of a series about continuous integration for small iOS/macOS teams.
Quick introduction to Terraform
Terraform(opens in a new tab) allows you to define your infrastructure as code using a high-level configuration language called HashiCorp Configuration Language, or HCL(opens in a new tab). And the Cloud Development Kit for Terraform (CDKTF)(opens in a new tab) makes it possible to manage infrastructure with other programming languages like TypeScript, Python, Java, C#, and Go. All examples in this blog post use HCL.
Let’s say we want to create an AWS EC2 instance and S3 bucket. Instead of using the AWS console UI or the command line, we define this infrastructure as code. The Terraform configuration for this example looks like this:
resource "aws_instance" "ec2_example" {  ami           = "ami-830c94e3"  instance_type = "t2.micro"}
resource "aws_s3_bucket" "s3_example" {  bucket = "example-bucket"  acl    = "private"}
Terraform reads this configuration file and provides an execution plan of changes(opens in a new tab), which can be reviewed for safety and then applied and provisioned. Terraform stores the IDs and properties of the resources it manages in its state(opens in a new tab) — which is a source of truth for infrastructure — so that it can update or destroy those resources going forward. By default, it’s stored in a file called terraform.tfstate, but for production use, the state should be stored remotely. We keep ours in Terraform Cloud(opens in a new tab). Other options(opens in a new tab) include cloud storage solutions like Amazon S3, Google Cloud Storage, and Azure Blob Storage.
Although Terraform provisioners(opens in a new tab) can be used to prepare servers or other infrastructure objects for service — by setting up the operation system, installing additional software, applying different configurations, etc. — we prefer to use Chef to provision our CI machines.
All of this will sound familiar to you if you’ve ever used the AWS Cloud Development Kit (AWS CDK)(opens in a new tab). Terraform’s advantage is that it also supports Azure, Google Cloud, and other cloud platforms. Additionally, it supports platforms and services like GitHub(opens in a new tab), and more importantly for us, Buildkite(opens in a new tab). You can discover more providers in the Terraform Registry(opens in a new tab).
Buildkite Terraform provider
Once we decided to manage our CI pipelines with Terraform, we started out by forking a third-party Buildkite Terraform provider(opens in a new tab), because there wasn’t yet an official provider. We chose this particular provider because it was the only one using Buildkite’s GraphQL API(opens in a new tab), and GraphQL not only offered many benefits compared to REST, but it also enabled access to specific features such as pipeline schedules. In hindsight, this was a smart decision, because Buildkite eventually took over this provider and made it the official one(opens in a new tab).
The two main resources we use are buildkite_pipeline(opens in a new tab) and buildkite_pipeline_schedule(opens in a new tab):
resource "buildkite_pipeline" "example_pipeline" { name = "Example Pipeline" default_branch = "master" steps = file("./steps.yml")}
resource "buildkite_pipeline_schedule" "example_schedule" { pipeline_id = buildkite_pipeline.example_pipeline.id label = "Nightly Build" cronline = "@midnight" branch = buildkite_pipeline.example_pipeline.default_branch}The pipeline configuration above loads steps from a steps.yml file. Most of our pipelines contain an initial step that clones the repository and uploads the subsequent steps. This allows us to manage the actual pipeline steps inside our repositories without having to touch the Terraform configuration.
We took this a step further and decided to use templates for our default pipelines to reduce duplication. Most of our pipeline resources render a steps template with templatefile(opens in a new tab), and they supply variables — like the pipeline path inside the repository, and which agents to use for the initial pipeline upload step:
steps: - label: ":pipeline: Upload Pipeline" command: buildkite-agent pipeline upload ${pipeline_path} agents:%{ for key, value in agents ~} ${key}: "${value}"%{ endfor ~}We also use local values for our default agents to reduce duplication:
locals { default_agents = { queue = "linux" }}We can modify the example pipeline resource from the code above to use both templates and local values:
resource "buildkite_pipeline" "example_pipeline" { name = "Example Pipeline" default_branch = "master" steps = templatefile("./default-pipeline.tmpl", { pipeline_path = "ci/pipeline.yml", agents = local.default_agents })}Reducing duplication with modules
All of our common pipeline types are defined as modules(opens in a new tab). This lets us reduce duplication even more, and it makes creating new pipelines more straightforward. Most of our pipelines run tests in pull requests, so we defined a pull_request_pipeline module:
resource "buildkite_pipeline" "pull_request_pipeline" {  name        = var.name  description = var.description  repository  = var.repository
  # Limiting the pipeline to a branch that will never exist  # makes sure that the pipeline will never be triggered by a push on a branch without a pull request.  branch_configuration = "a/never/existing/branch"  default_branch       = var.default_branch
  steps = var.steps
  provider_settings {    trigger_mode                                  = "code"    build_pull_requests                           = true    skip_pull_request_builds_for_existing_commits = true    publish_commit_status                         = true    publish_commit_status_per_step                = true  }}
Input variables(opens in a new tab) allow customization of the module:
variable "name" { description = "The pipeline name will be used to generate the slug of the pipeline by Buildkite. Changing the name will change the URL to the pipeline, but redirects will be automatically created." type = string}
variable "description" { description = "The pipeline description" type = string default = ""}
variable "repository" { description = "The pipeline repository" type = string}
variable "default_branch" { description = "The pipeline's default branch" type = string default = "master"}
variable "steps" { description = "The pipeline steps" type = string}Instead of providing all arguments every time we create a pull request pipeline and trying to keep them in sync, we can simply instantiate the module and provide the appropriate variables:
module "example_pipeline" {  source = "./modules/pull_request_pipeline"
  name        = "Example Pull Request Pipeline"  description = "Just an example"  steps       = templatefile("./default-pipeline.tmpl", { pipeline_path = "ci/pipeline.yml", agents = local.default_agents })}
If we want to create a schedule for the pipeline above, we also need to provide module output values(opens in a new tab):
output "id" {  description = "Pipeline ID"  value       = buildkite_pipeline.pull_request_pipeline.id}
output "slug" {  description = "Pipeline slug"  value       = buildkite_pipeline.pull_request_pipeline.slug}
output "default_branch" {  description = "Pipeline default branch"  value       = buildkite_pipeline.pull_request_pipeline.default_branch}
Now we can create a schedule based on these outputs:
resource "buildkite_pipeline_schedule" "example_schedule" { pipeline_id = module.example_pipeline.id label = "Nightly Build" cronline = "@midnight" branch = module.example_pipeline.default_branch}Outputs can also be used by other providers. For example, it’s possible to automatically set up the pipeline webhook in a GitHub repository(opens in a new tab) by using the webhook_url attribute(opens in a new tab) of a pipeline in the github_repository_webhook resource(opens in a new tab) of the GitHub provider(opens in a new tab).
Reviewing and applying infrastructure changes
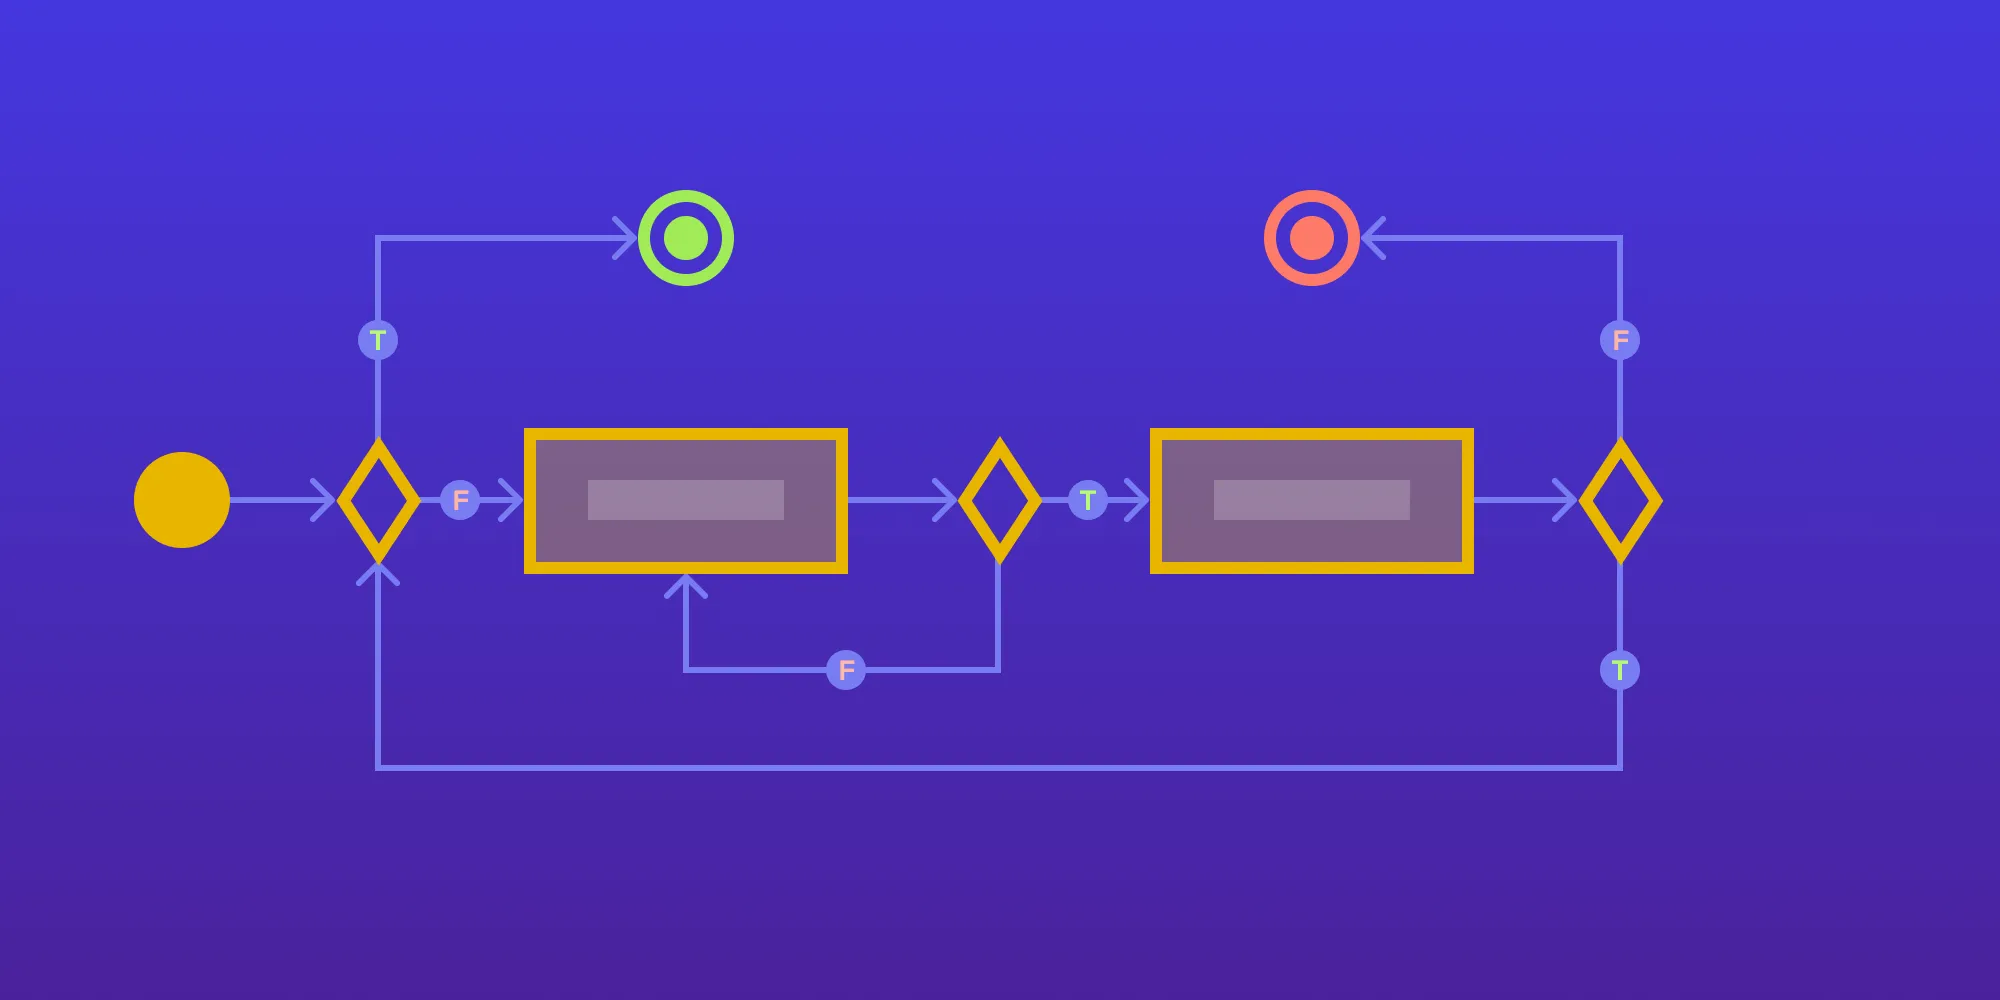
So far, this post has mostly addressed writing the configuration, but the core Terraform workflow(opens in a new tab) consists of three steps:
- Write configuration
- Preview changes
- Apply changes
Previewing and applying changes are handled by Terraform’s CLI:
terraform plan(opens in a new tab) outputs the execution plan.terraform apply(opens in a new tab) deploys the changes and updates the state.
We applied version control and CI to this workflow to avoid mistakes and allow everyone in the company to make changes to the infrastructure. Changes to Terraform configurations are made in pull requests, which means changes can be reviewed and discussed before being applied. Developers can inspect the execution plan before merging, because CI automatically runs terraform plan in a Docker container and logs the output. After pull requests are merged, the CI pipeline will automatically apply changes by running terraform apply, and then it’ll send Slack notifications(opens in a new tab) on failure.
Conclusion
Terraform enabled us to version and store the entire history of all our Buildkite resources in a Git repository. This means changes can be reviewed and automatically tested in pull requests and automatically deployed when merged. Now every developer at our company can quickly make changes to our CI infrastructure without having to click through a UI. Additionally, Terraform and Git keep track of all modifications along the way.
This article is part of a series about continuous integration for small iOS/macOS teams, where we’re sharing our approach to macOS CI. Make sure to check out the other posts!


