


Convert PDF to images with Nutrient Document Web Services API on Zapier
Table of contents

What is Zapier?
Zapier(opens in a new tab) is an automation platform that connects your favorite apps and services with no code required. You can build “Zaps” to automate repetitive tasks by setting up triggers and actions between apps like Google Drive, Slack, Gmail, and more.
In this tutorial, you’ll learn how to use Zapier to convert PDF files to images using Nutrient DWS Processor API.
What is Nutrient DWS Processor API?
Nutrient Document Web Services API is a powerful platform for document automation. With your free account(opens in a new tab), you get 50 credits, which you can use to perform various document operations. Each tool (e.g. conversion, signing, flattening) consumes a different amount of credits depending on complexity.
Nutrient offers more than 30 tools with the ability to:
- Convert images and documents to PDF
- Merge, split, or reorder pages
- Add digital signatures, watermarks, or annotations
- Run OCR, redact, flatten, and more
You only need your API key from Nutrient(opens in a new tab) to get started.
What you’ll need
- A Zapier(opens in a new tab) account (a pro plan is necessary for multistep Zaps)
- A Google Drive account
- A PDF file stored in a folder in Google Drive
- A Nutrient Document Web Services API key — sign up here(opens in a new tab)
Step 1 — Trigger a new file in Google Drive
- Select Google Drive as your trigger app.
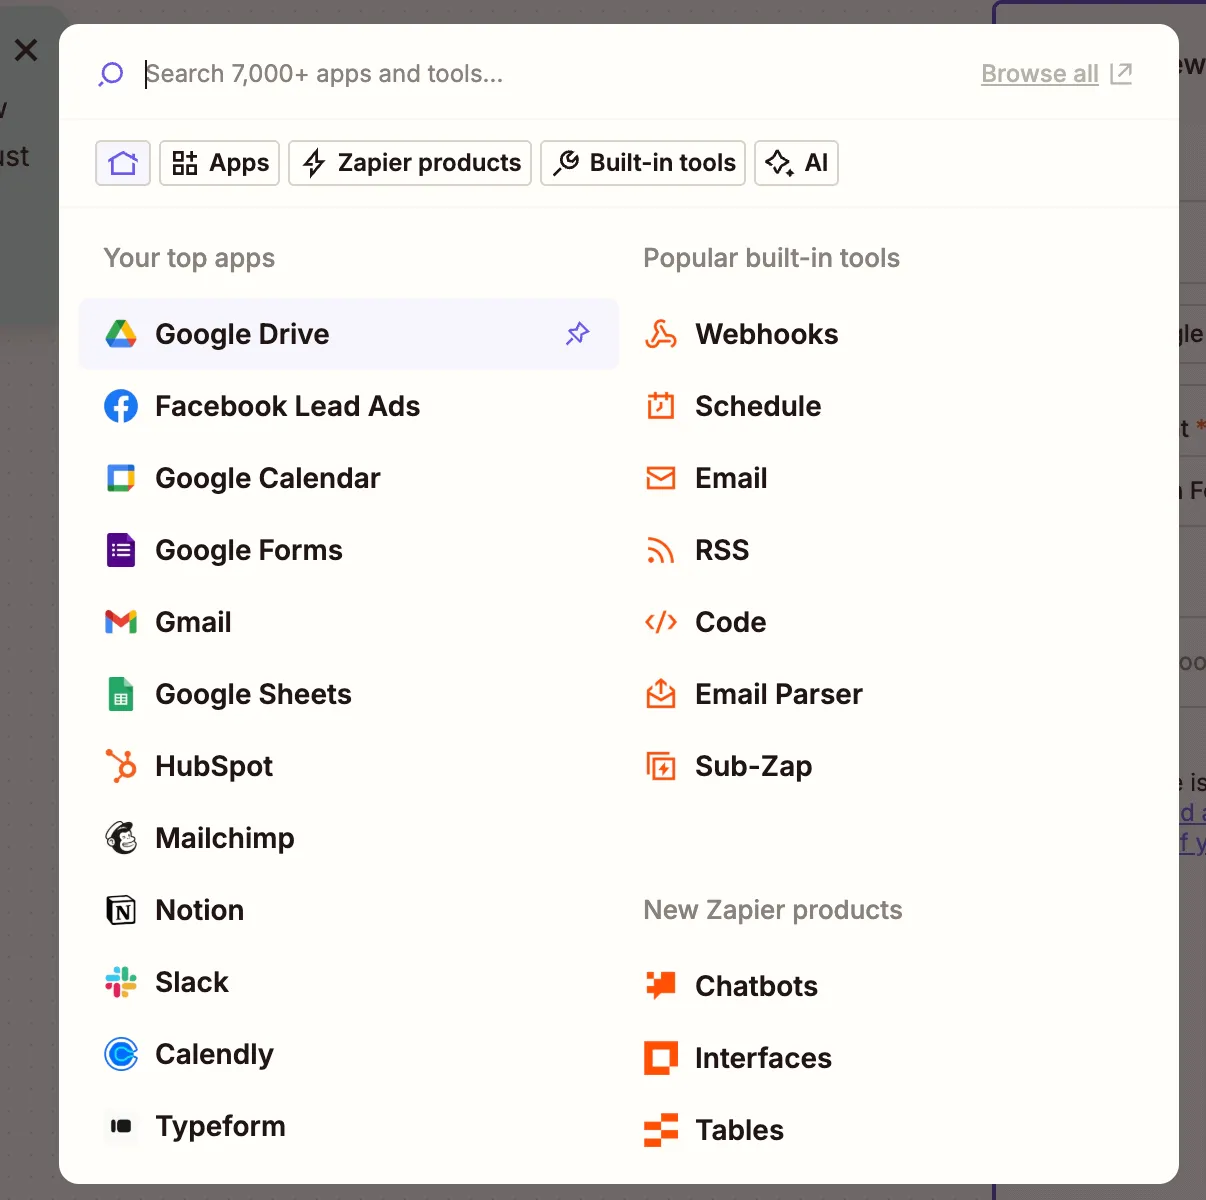
- Choose the New File in Folder trigger.
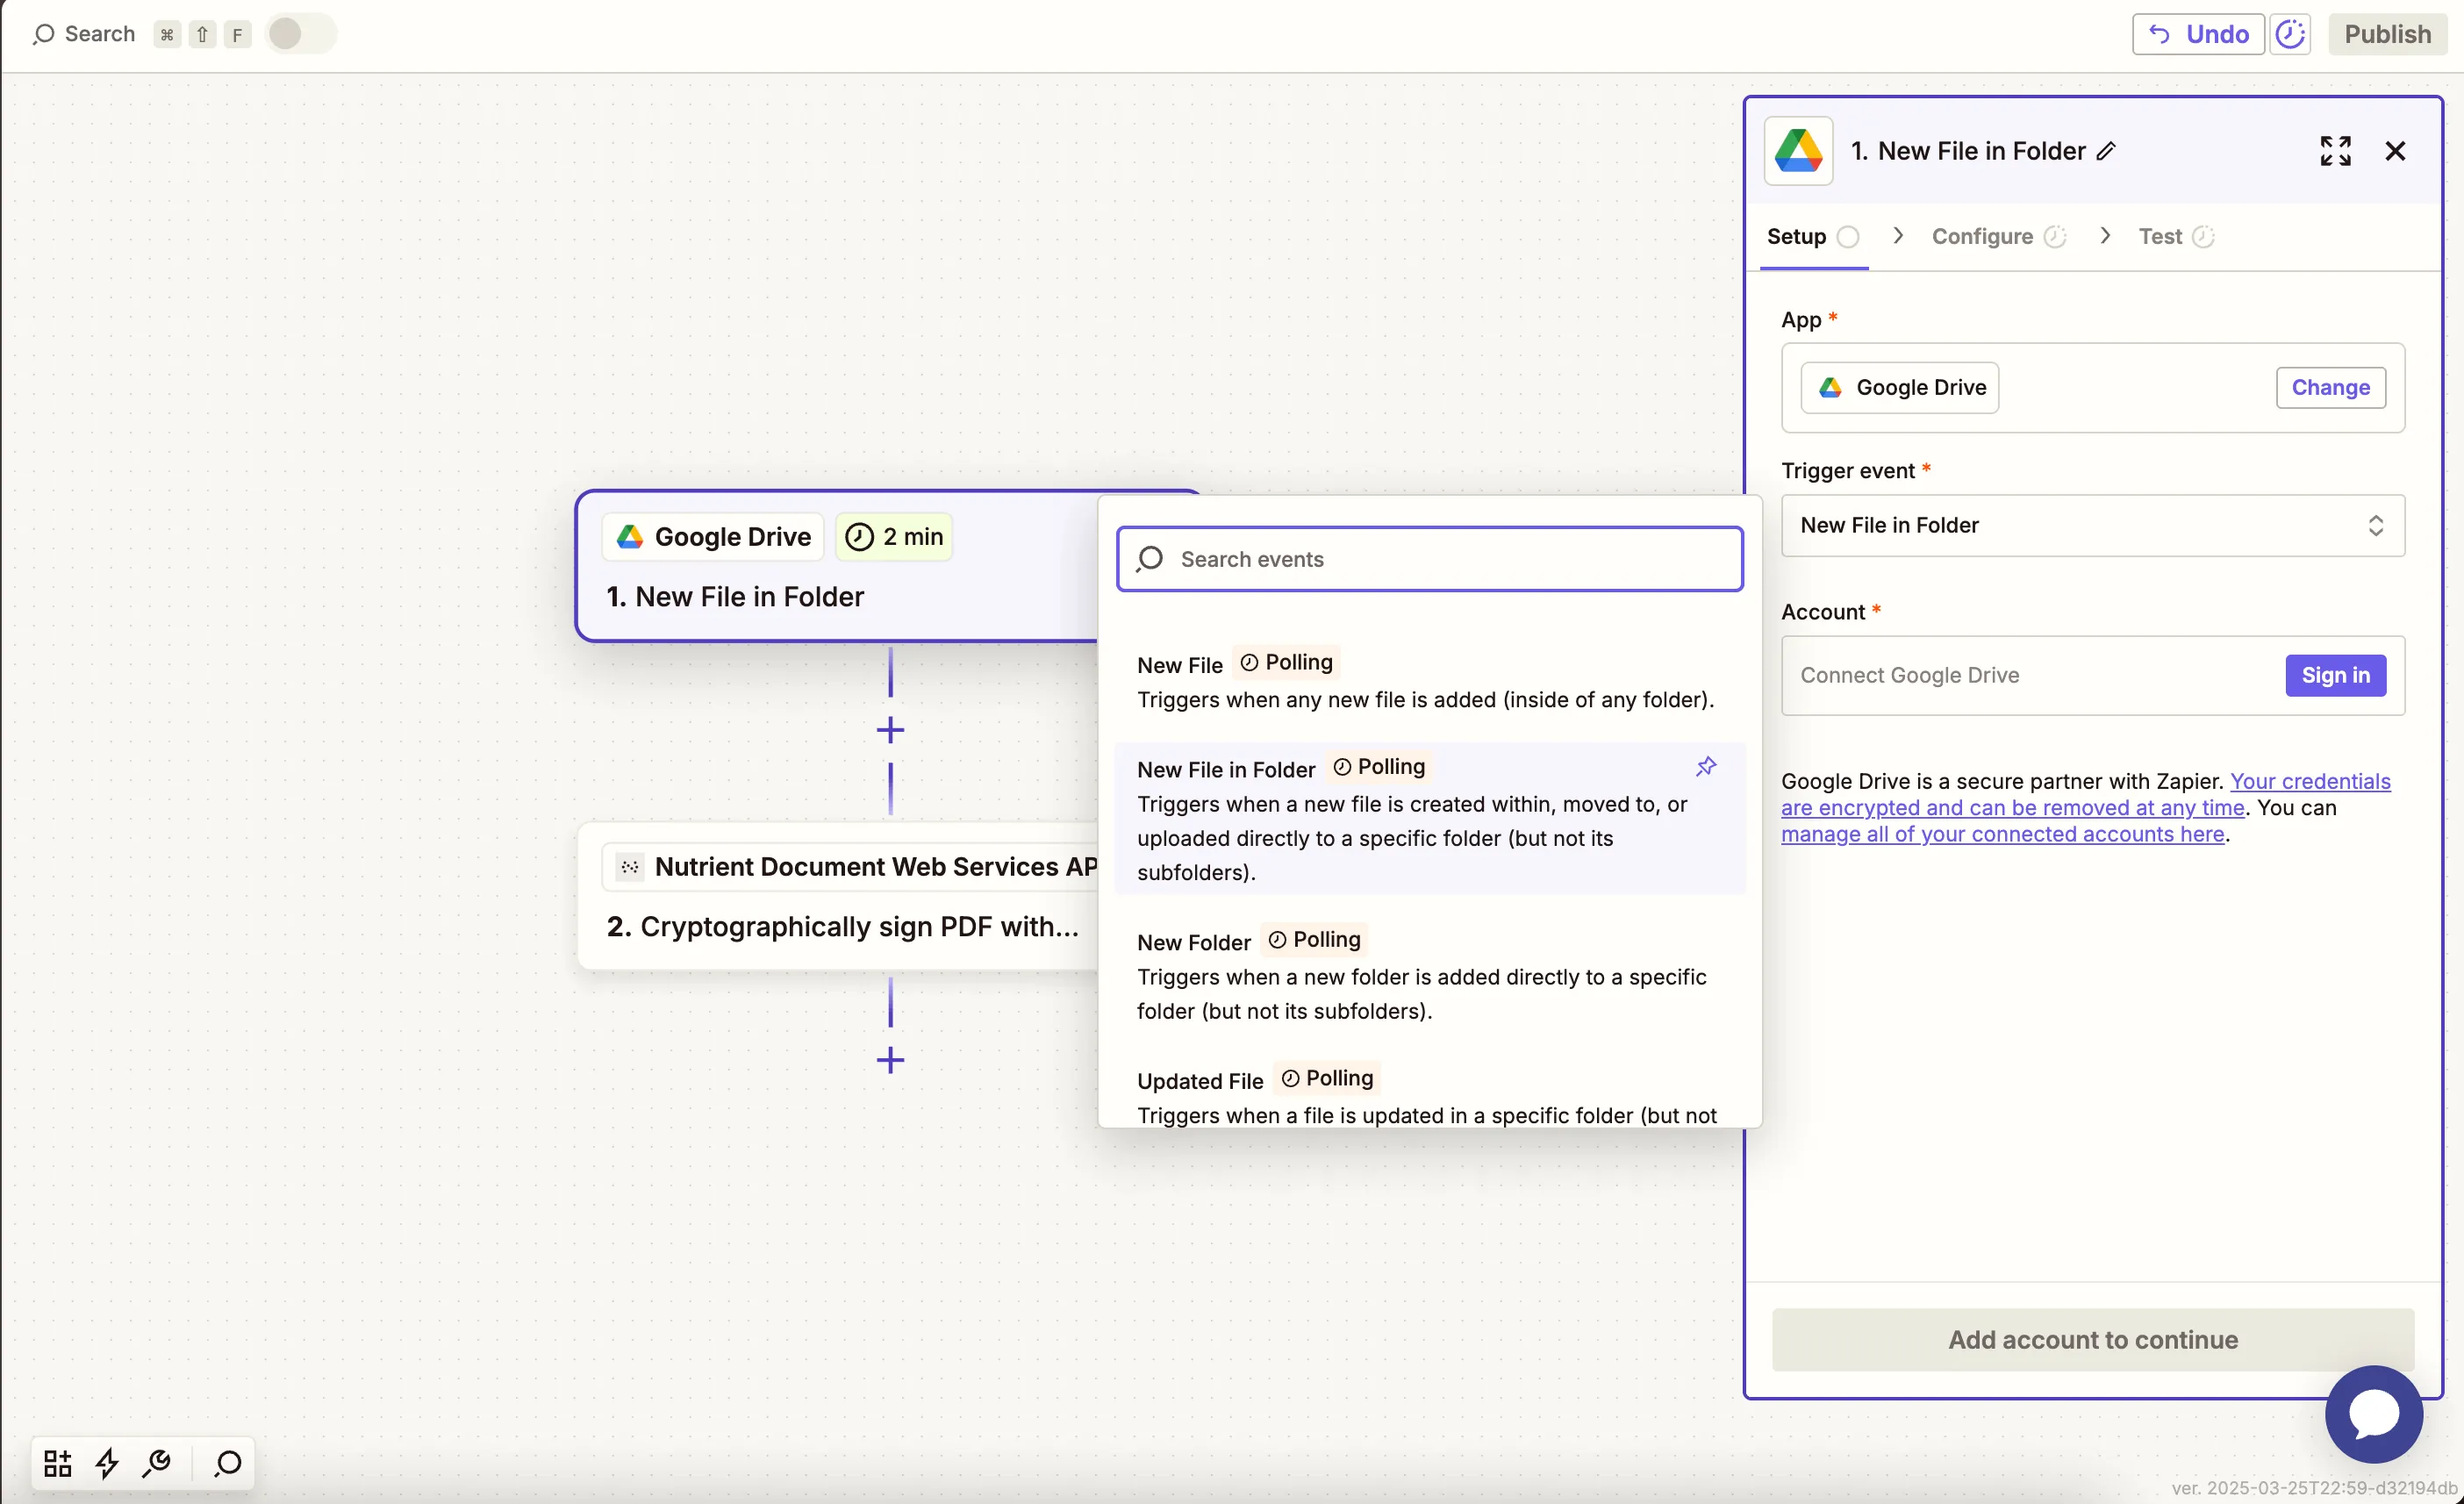
- Connect your Google Drive account.
- Configure:
- Drive — Select your Google Drive.
- Folder — Choose or create a folder like
pdf-to-image.
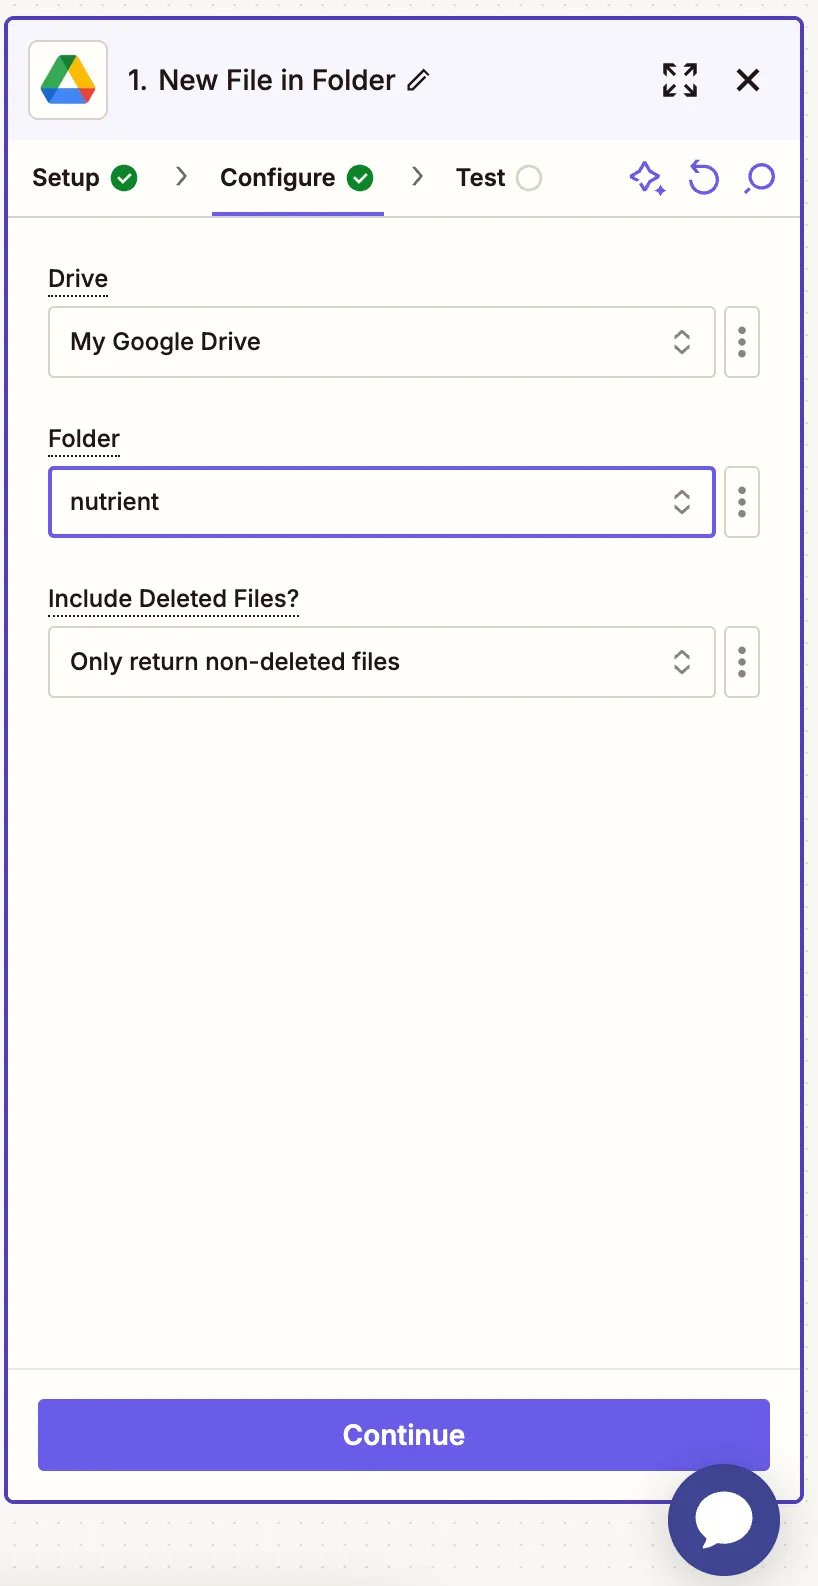
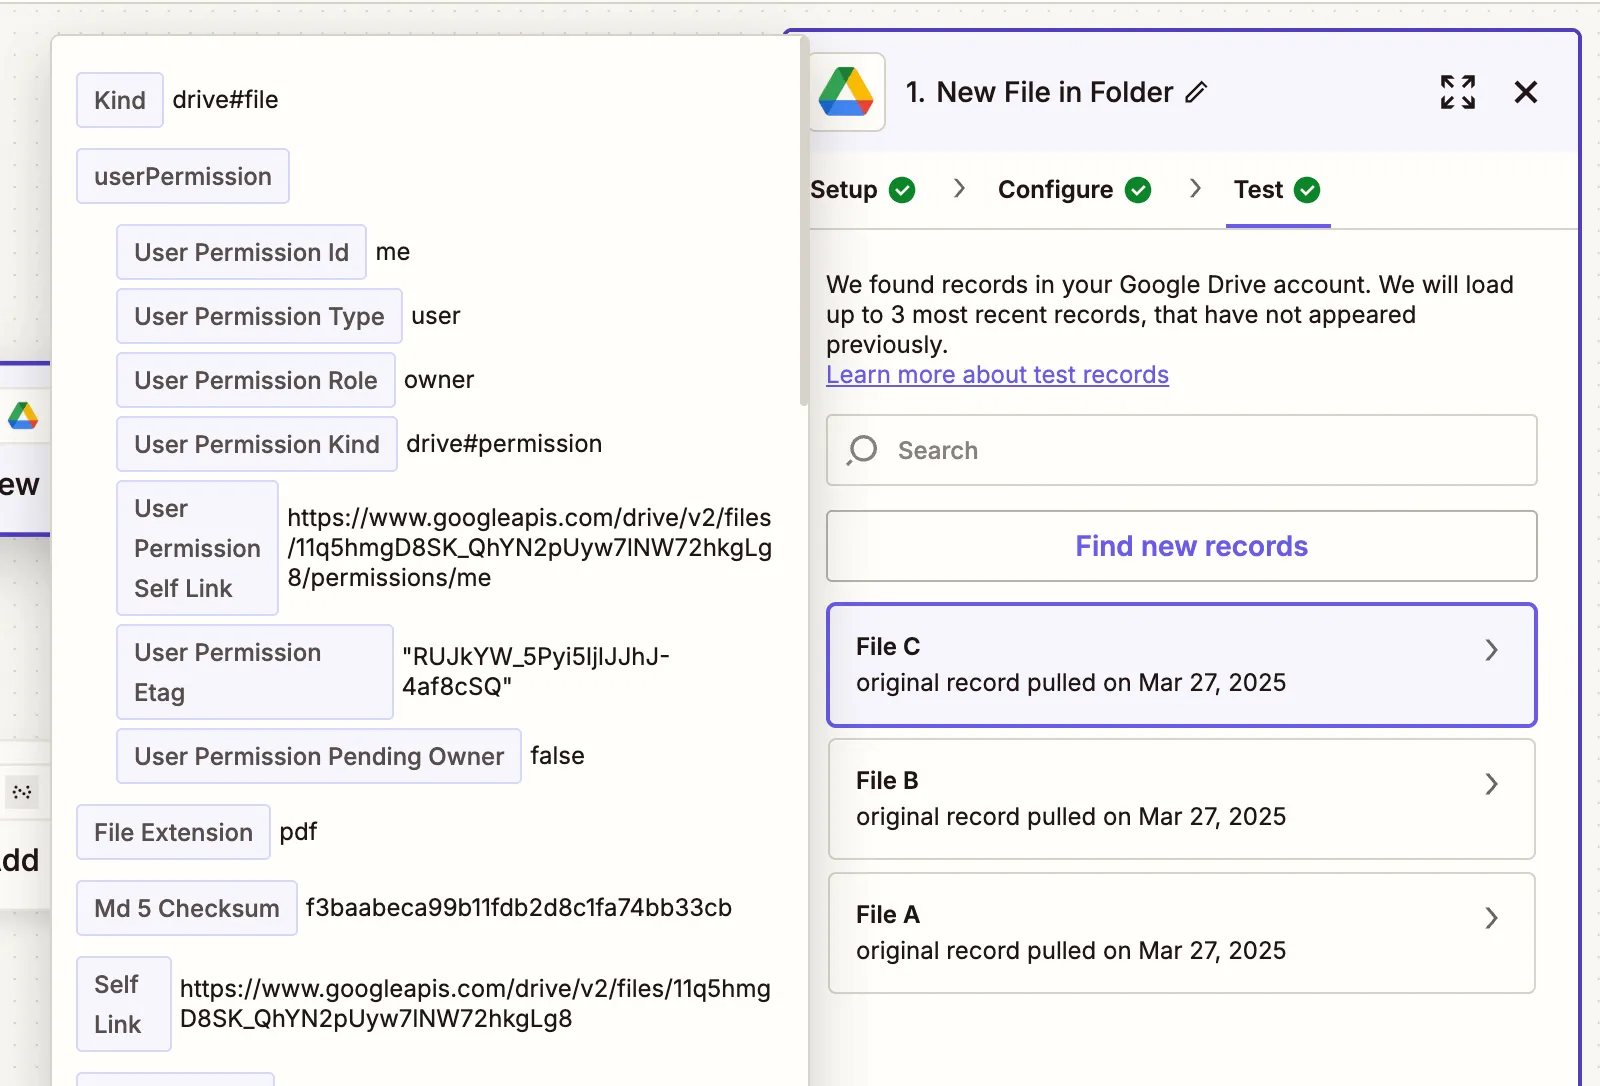
- Test the trigger by uploading a PDF and letting Zapier detect it.
Step 2 — Convert PDF to image (Nutrient DWS Processor API)
- Add Nutrient Document Web Services API as the action app.
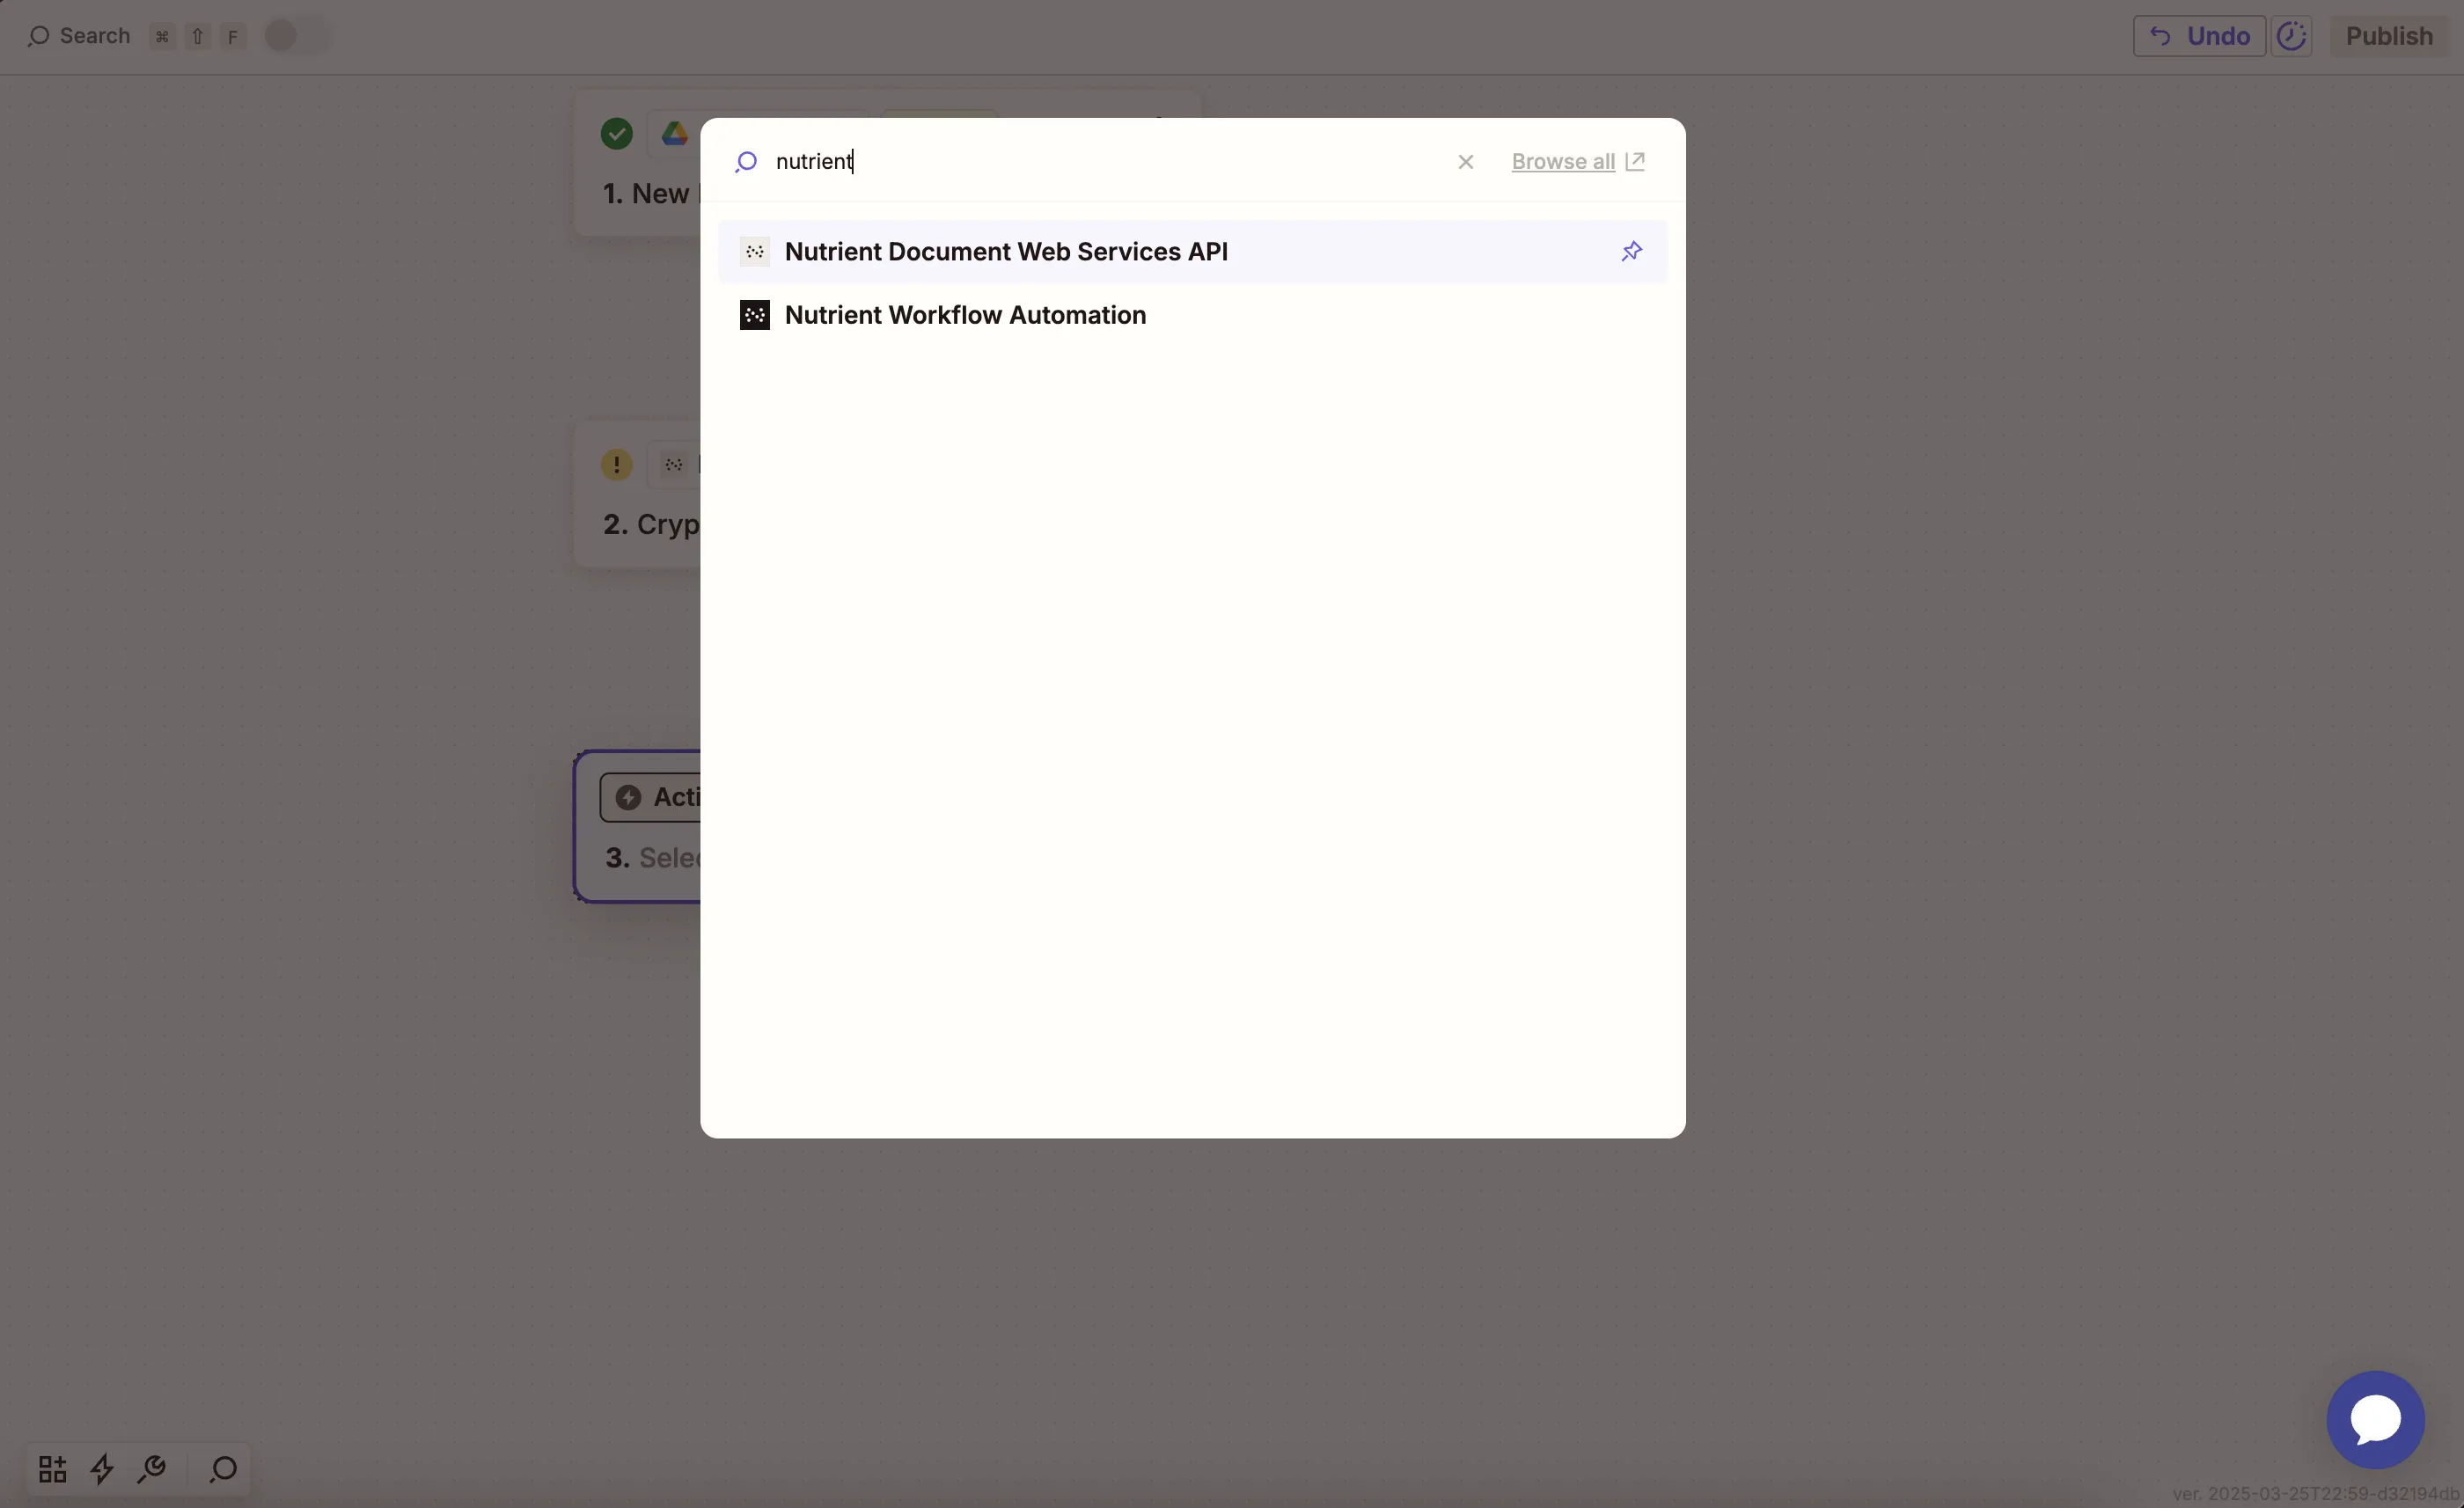
- Choose the Convert PDF to Image action.
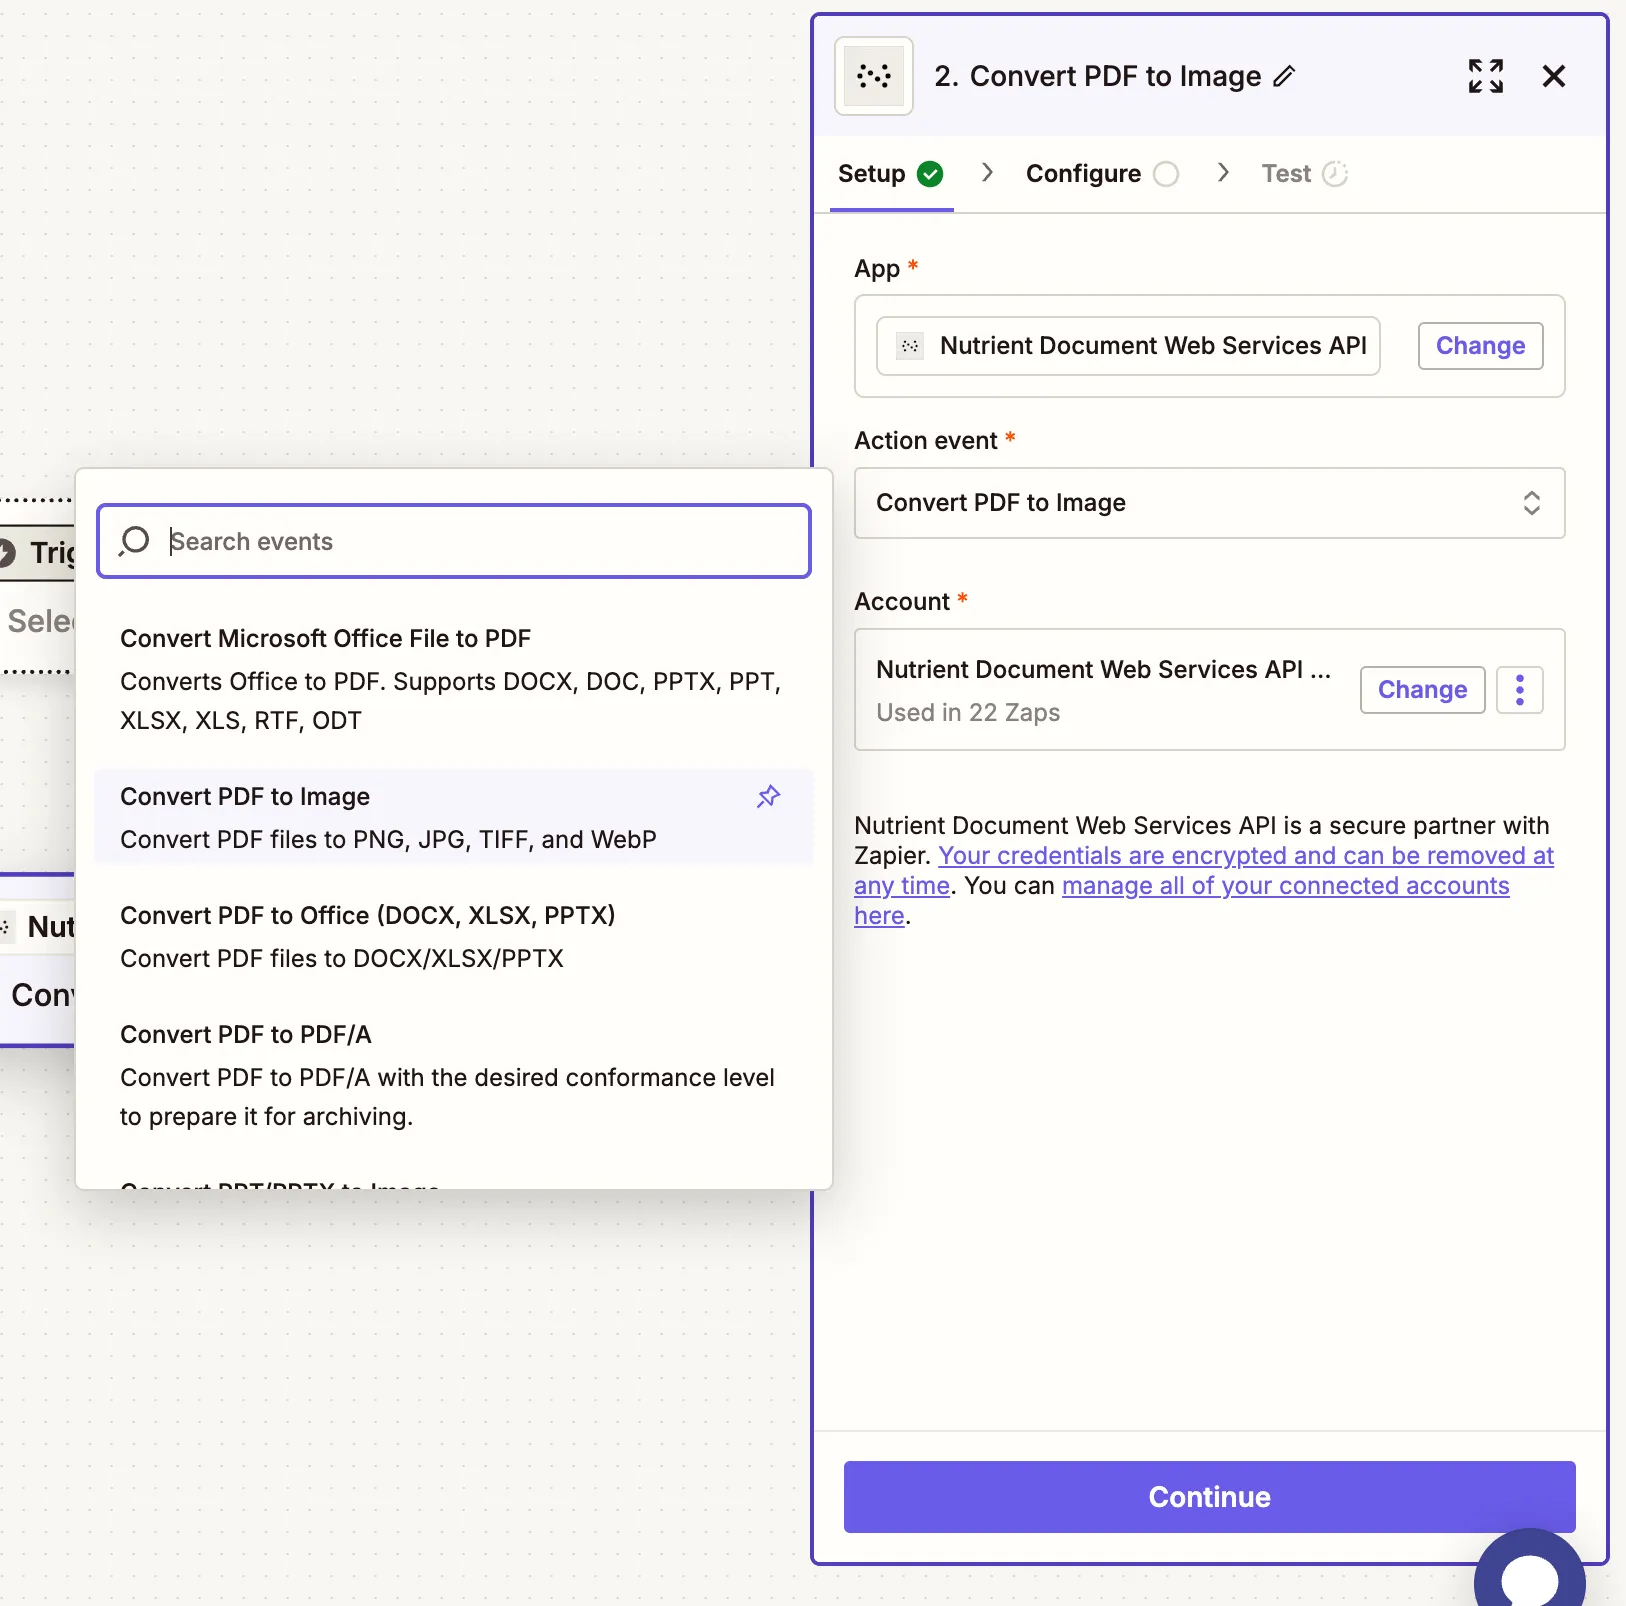
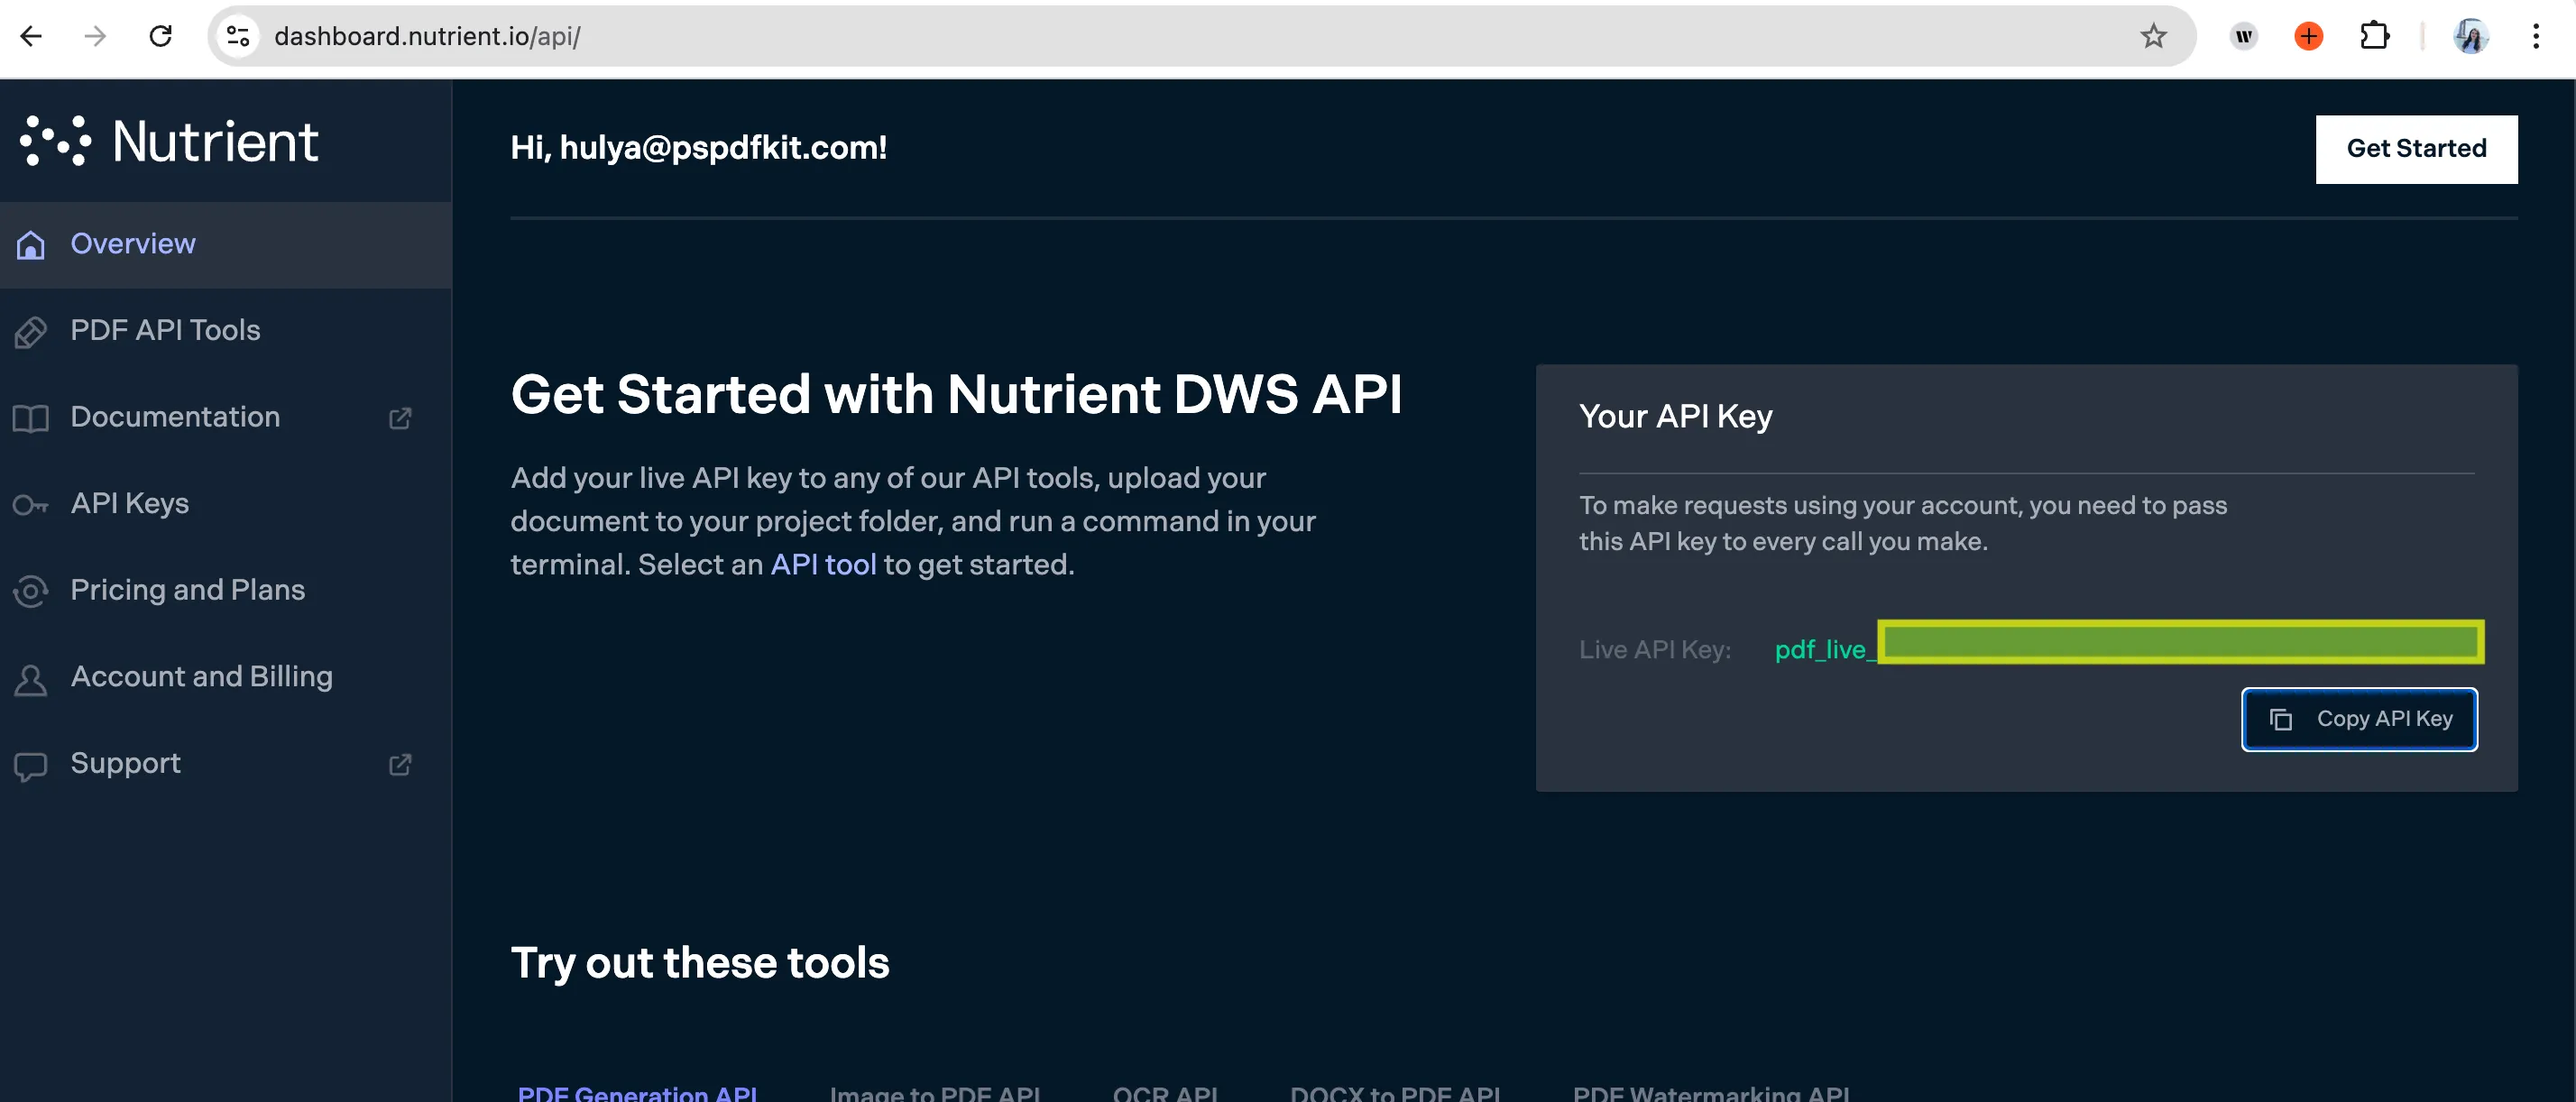
- Connect your Nutrient DWS Processor API account using your API key.
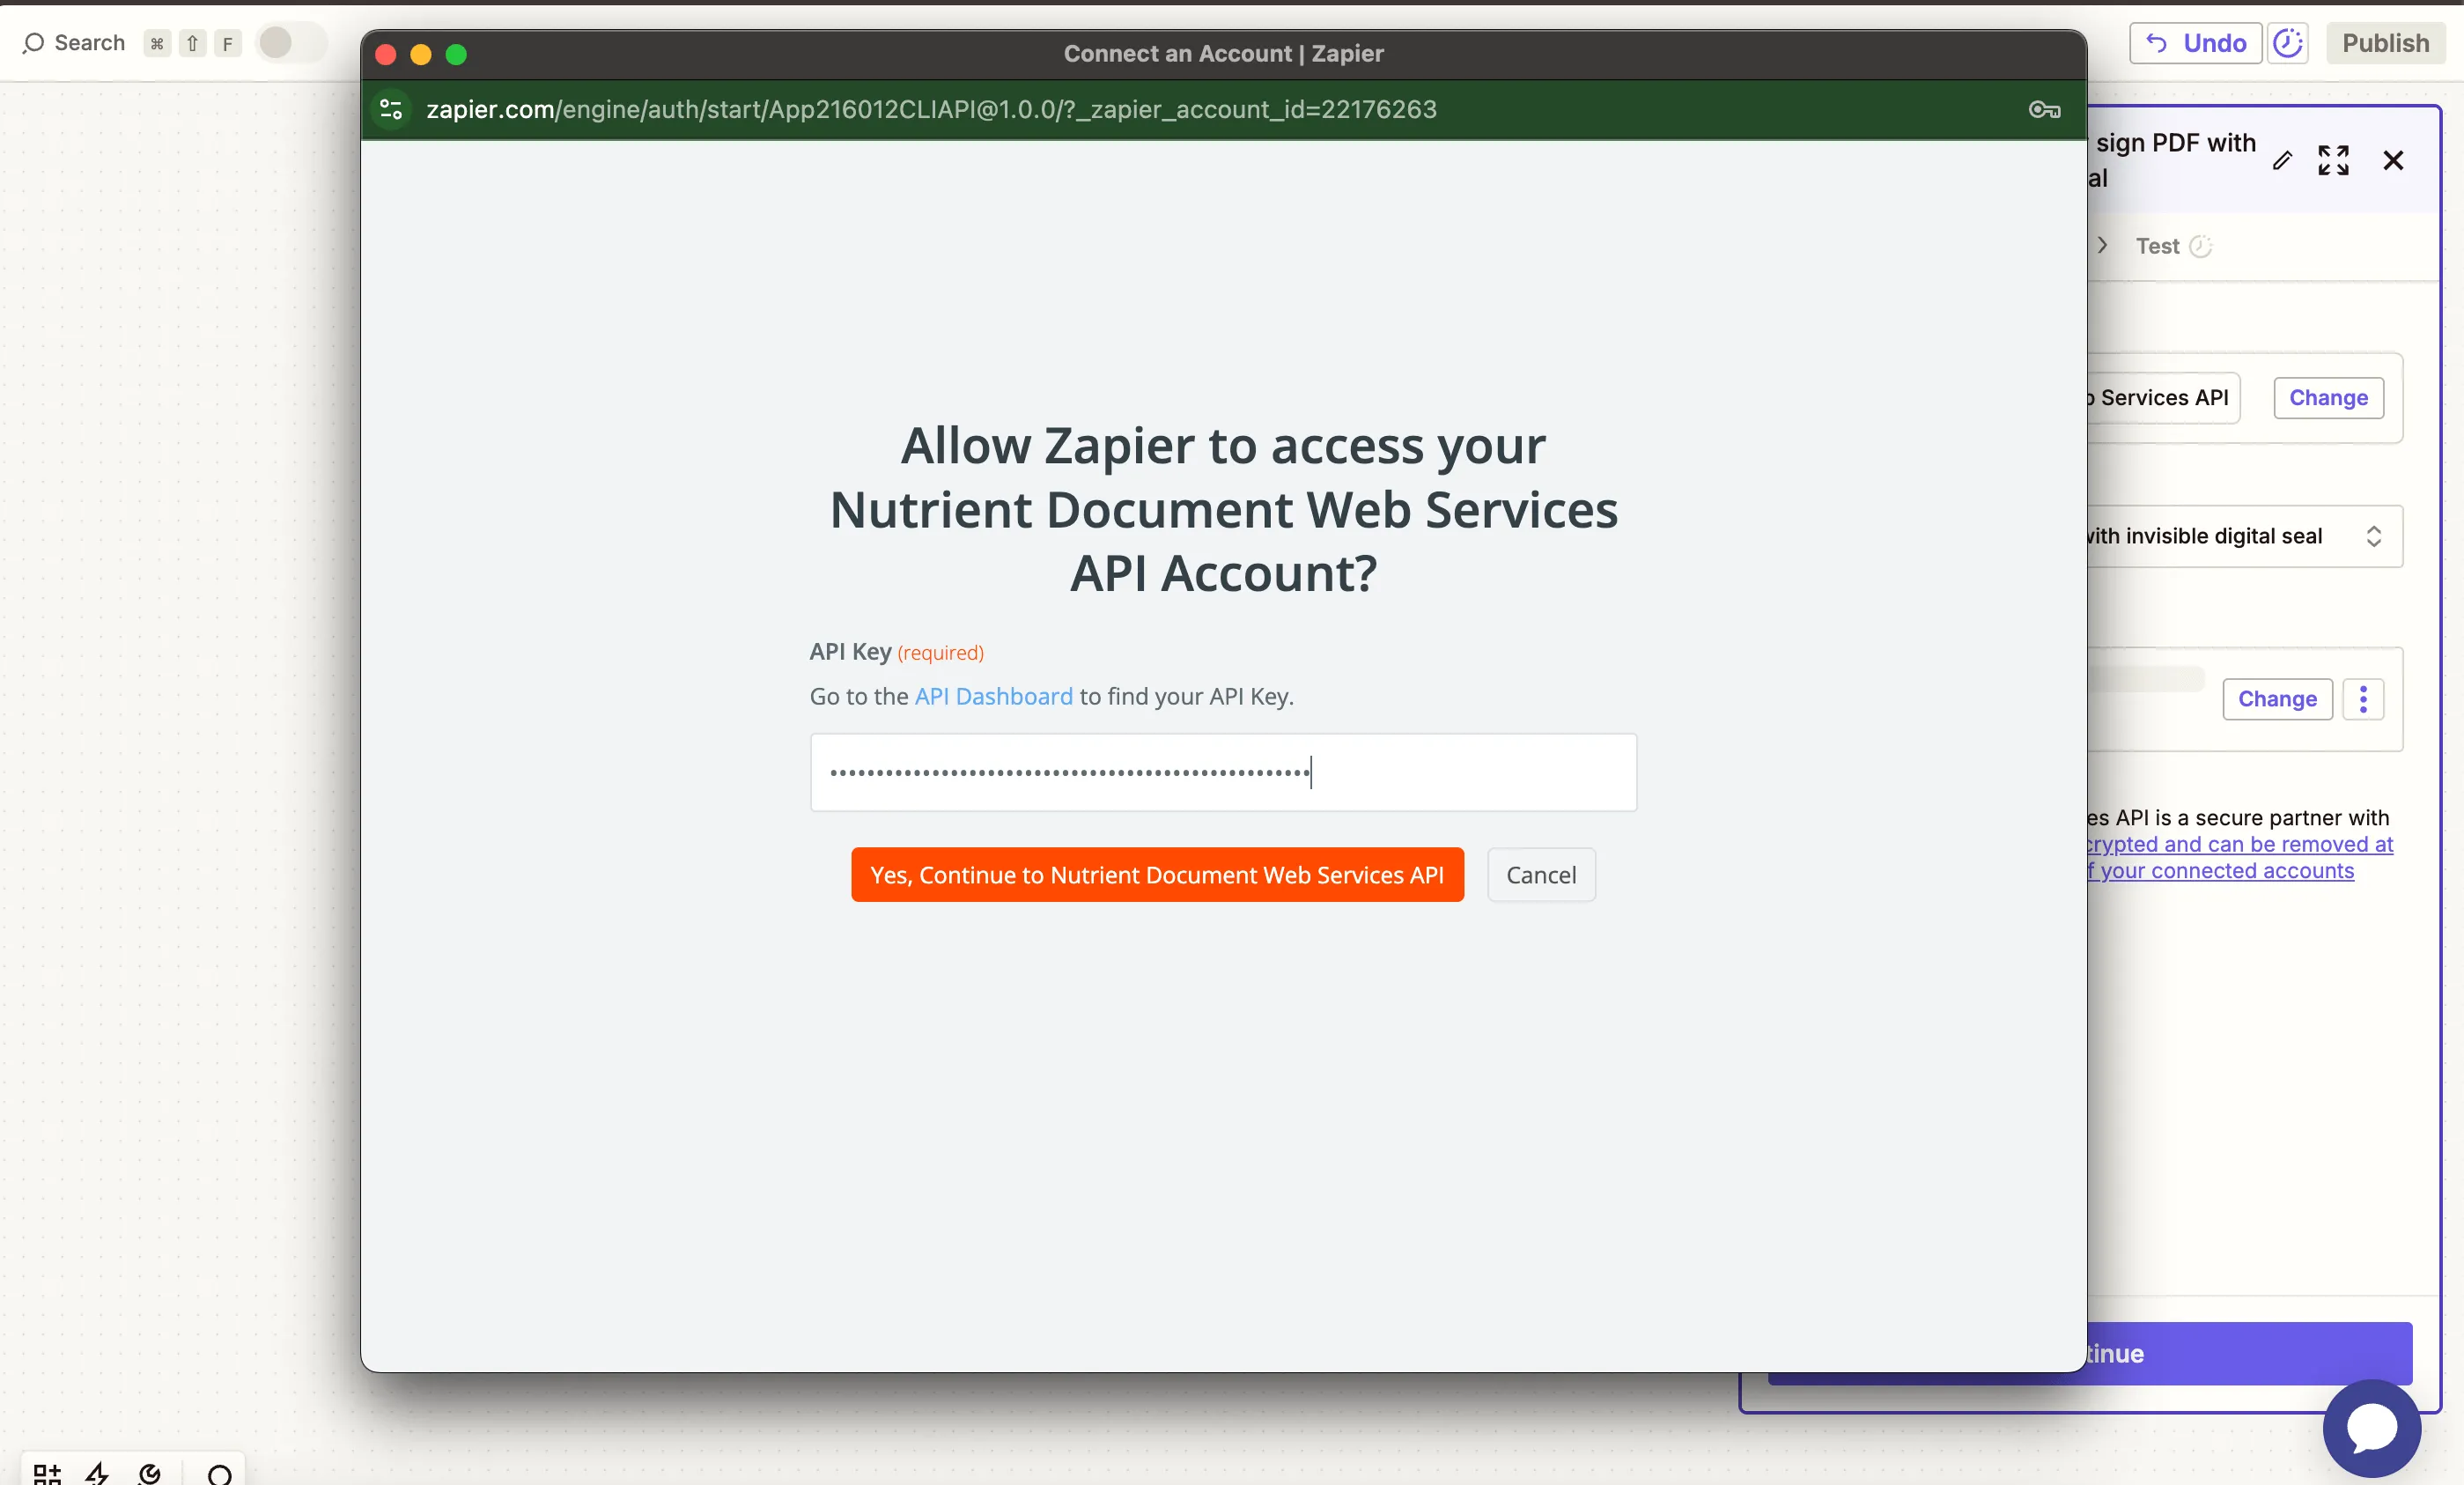
You can find your key in the Nutrient dashboard(opens in a new tab).
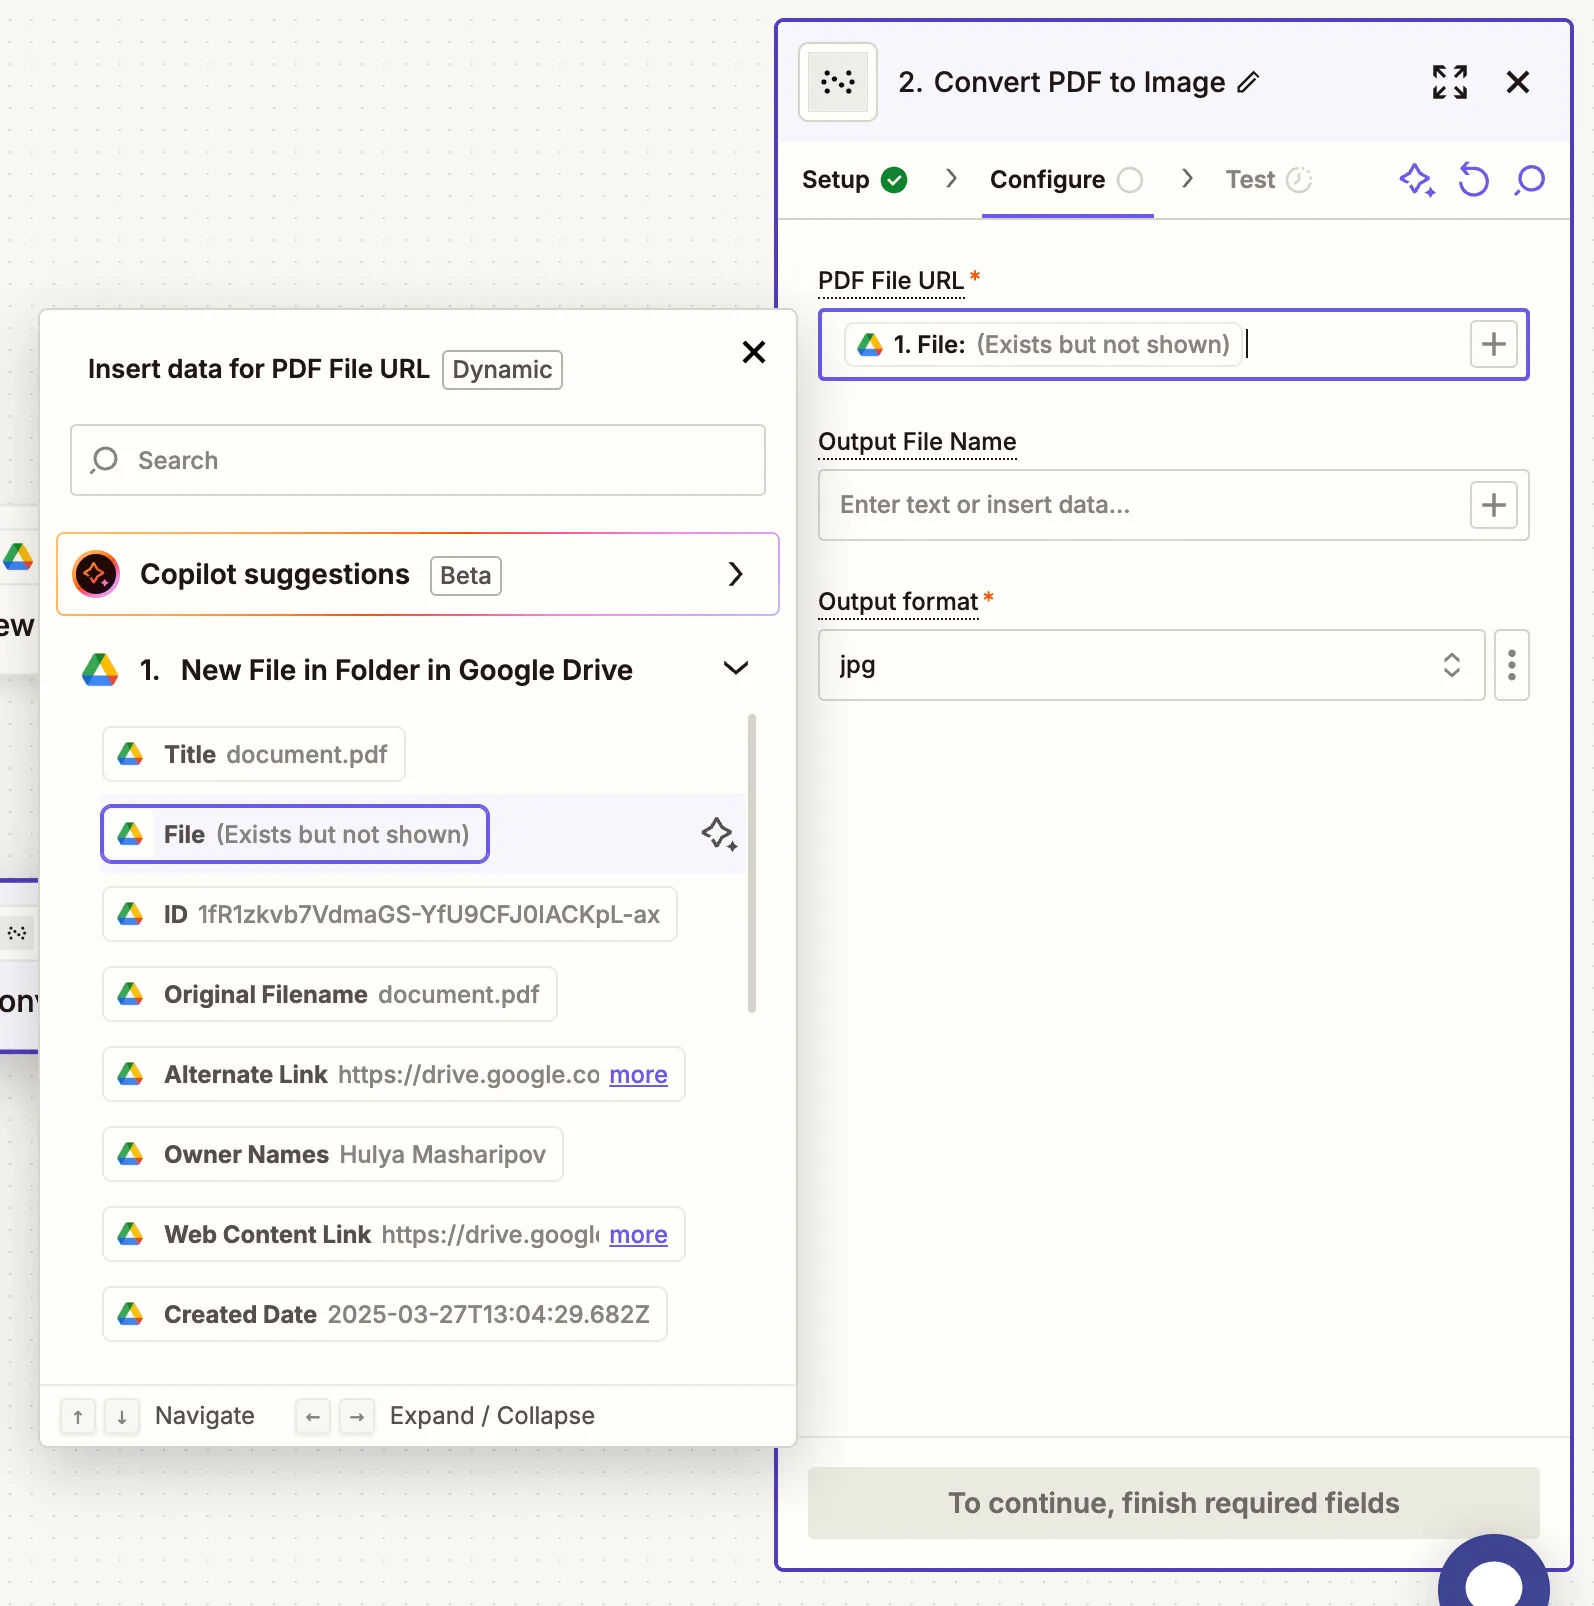
- Fill out the fields:
- PDF File URL — Use the file from step 1 (Google Drive).
- Output File Name — Optional (e.g.
output.png). - Output format — Choose from
jpg,png,tiff, orwebp.
Your PDF must be publicly accessible or Zapier will use a direct download link from Google Drive.
- Test the step to confirm the PDF is successfully converted.

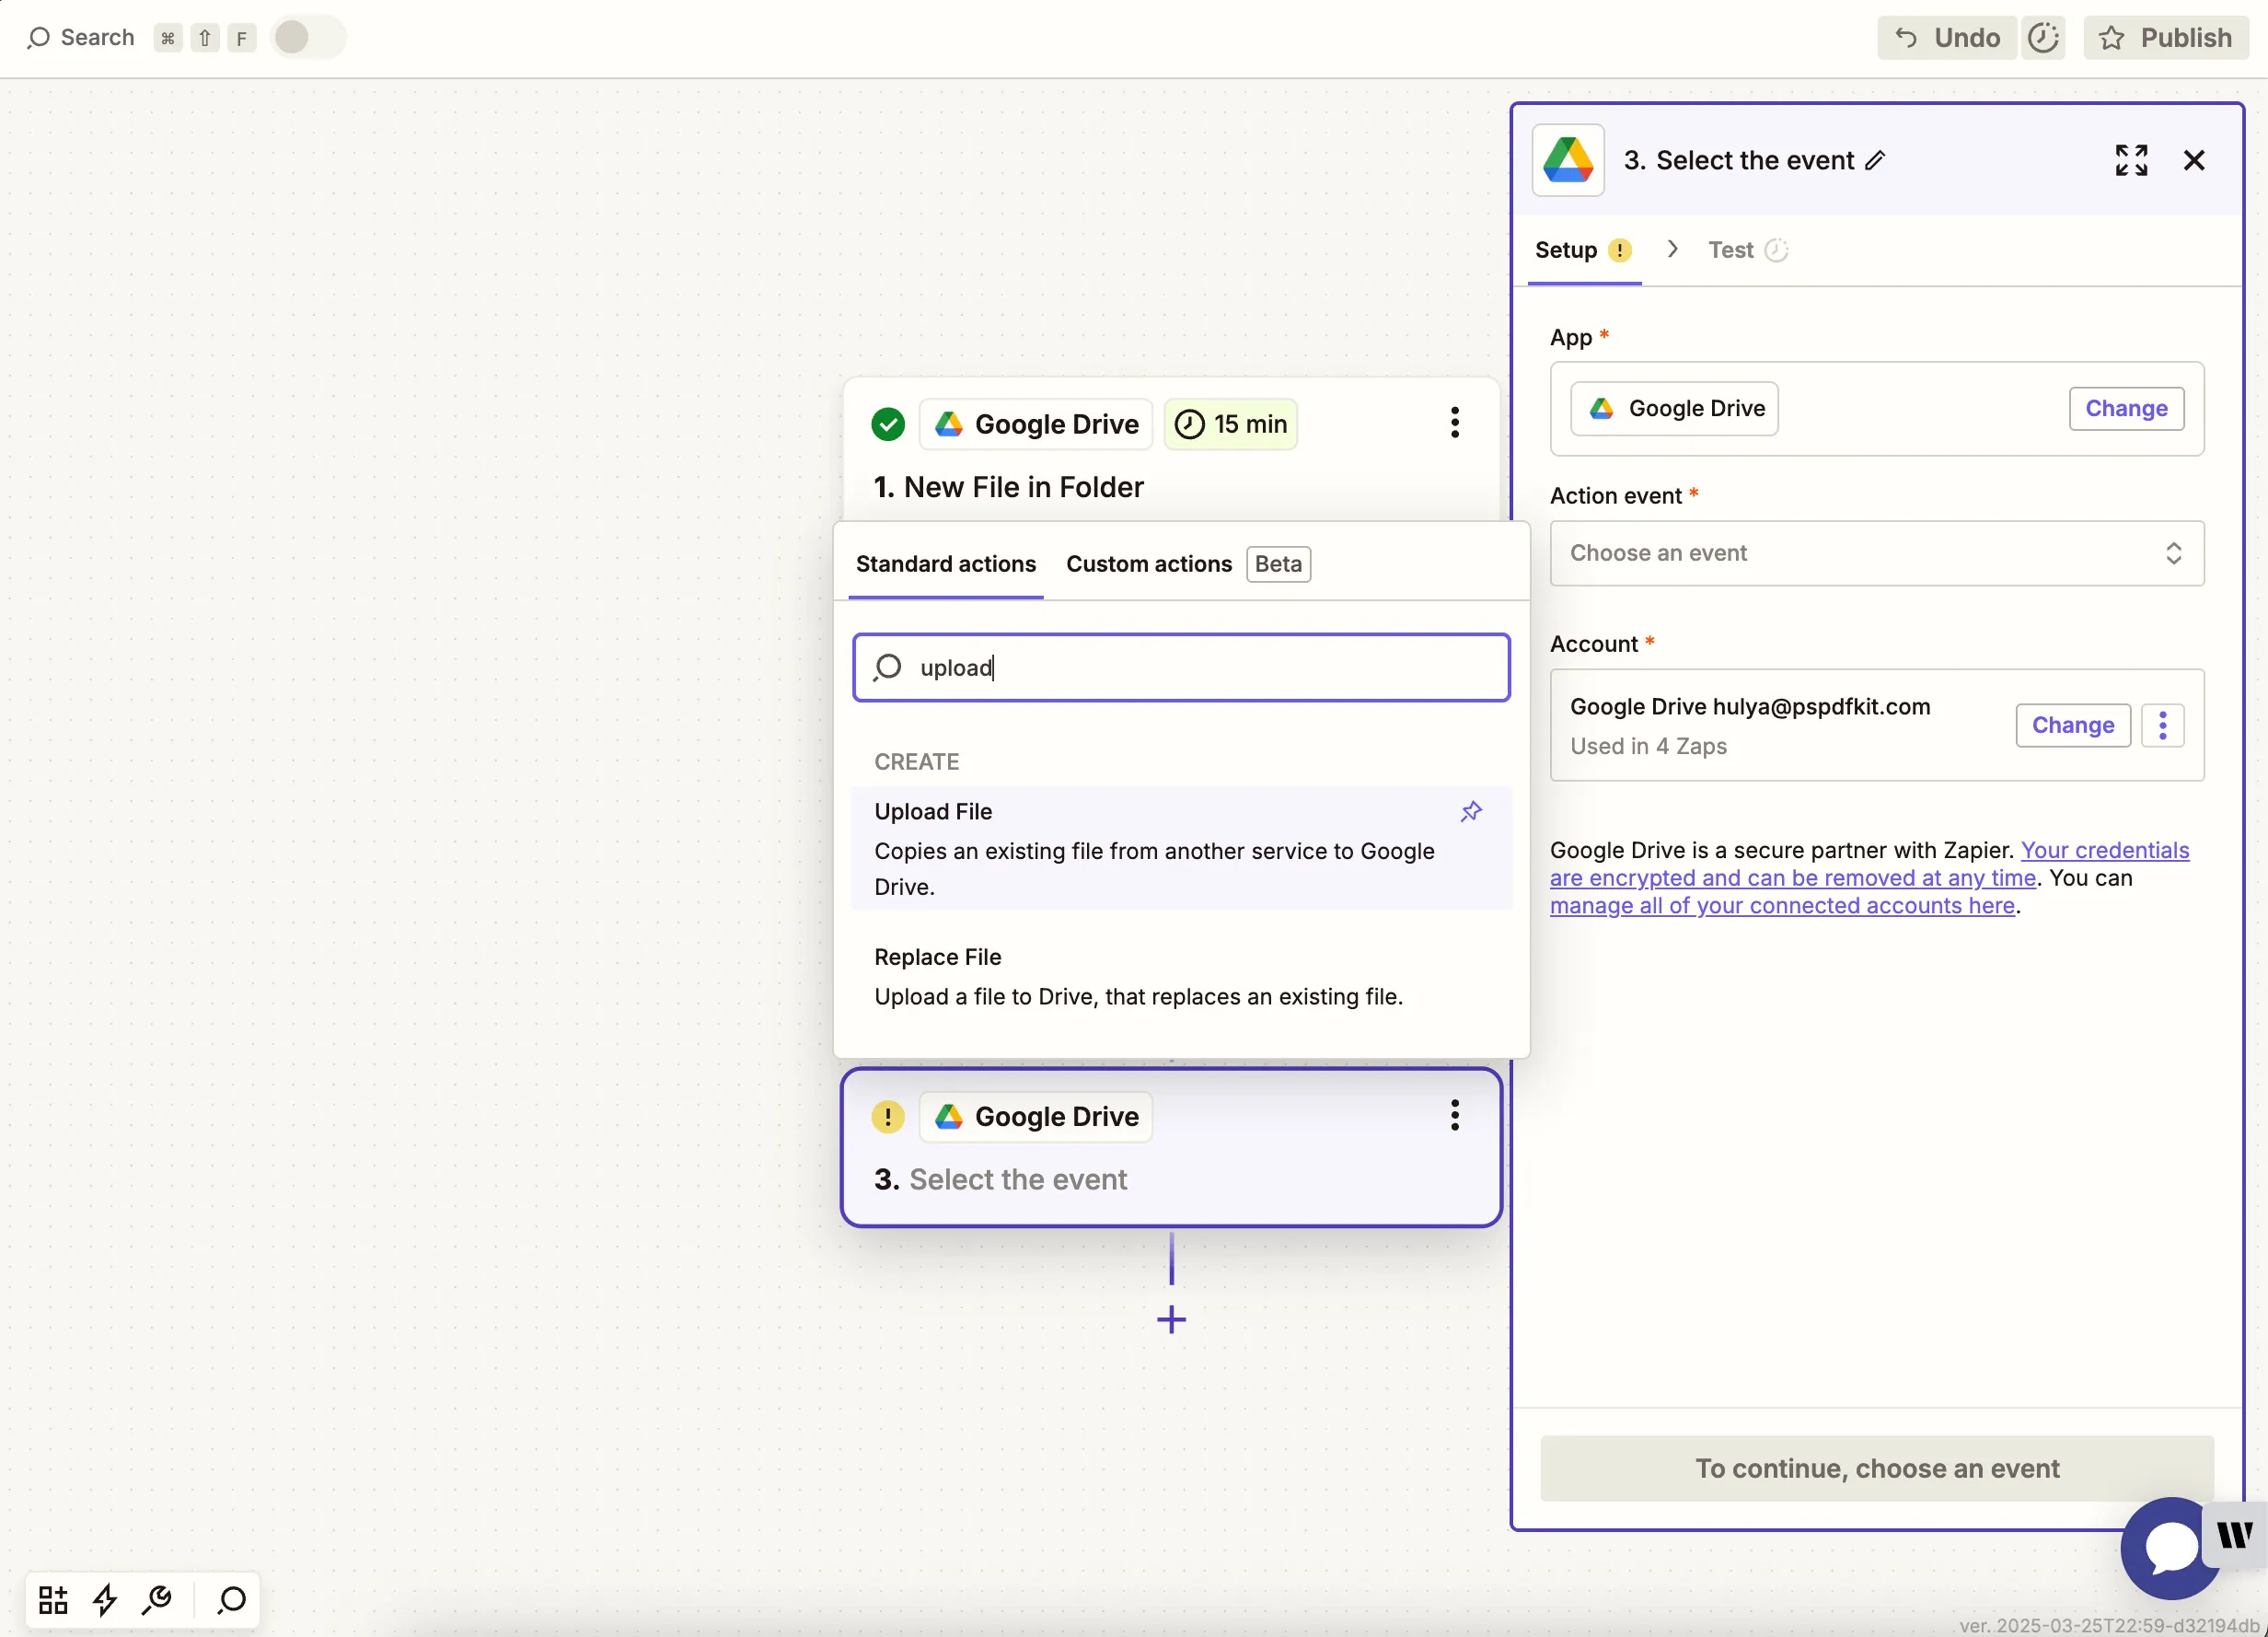
Step 3 — Upload the image to Google Drive
- Add Google Drive again and choose Upload File.
- Configure:
- Drive — Select your Google Drive.
- Folder — Choose where to save the output image.
- File — Use the output file from the Nutrient step.

To avoid Zap loops, don’t upload the output image to the same folder as your input PDF.
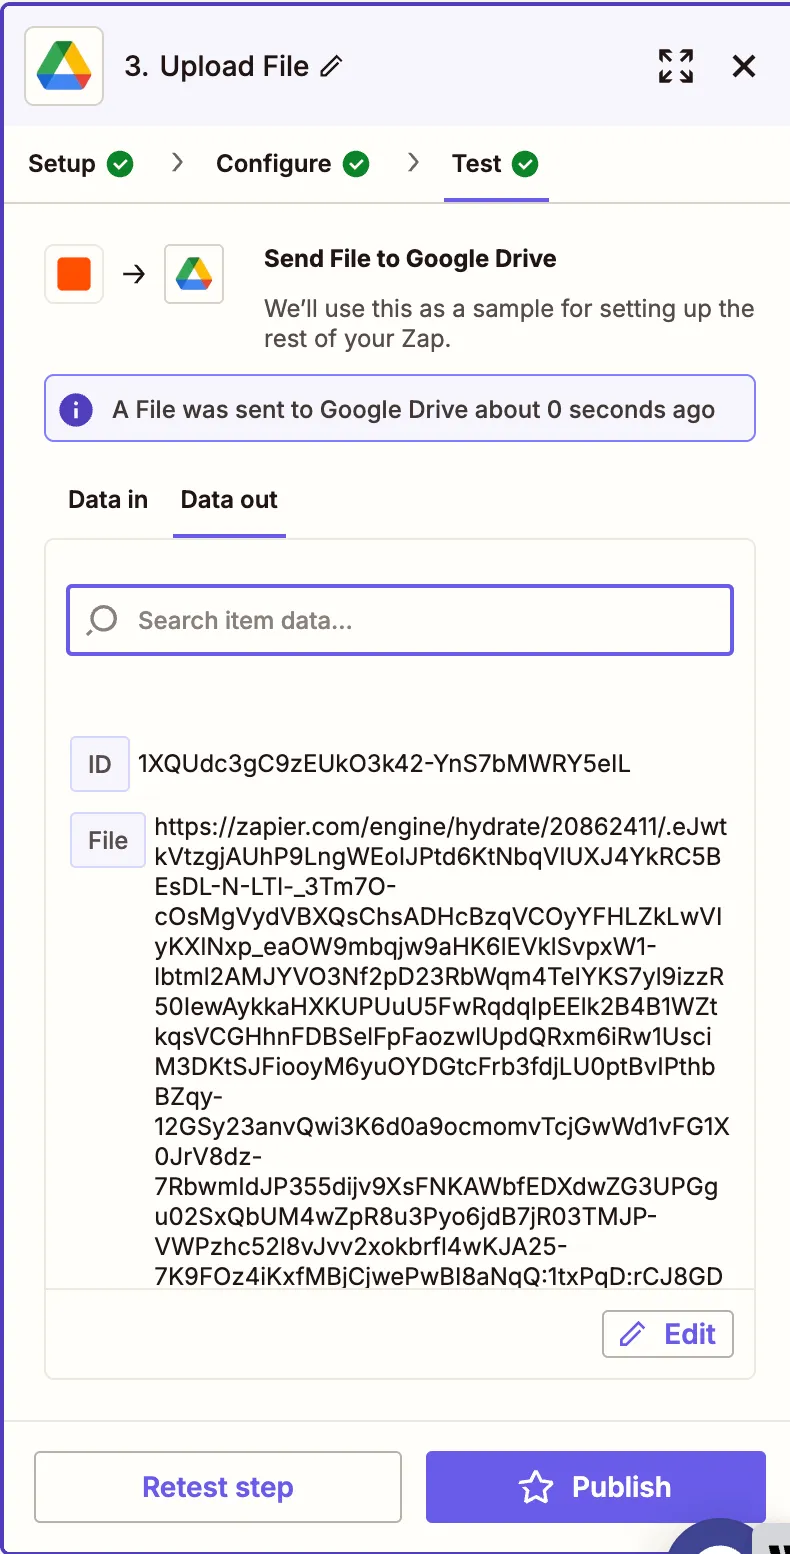
- Run a test to verify that the image uploads correctly.
Conclusion
You’ve now automated the process of converting PDF files to image formats using Zapier and Nutrient DWS Processor API(opens in a new tab). This is especially useful for generating thumbnails, sharing visual previews, or extracting content from PDFs in image format.
You can continue enhancing this workflow with steps like OCR, watermarking, or extracting tables.

