Performing OCR on Android
Table of contents

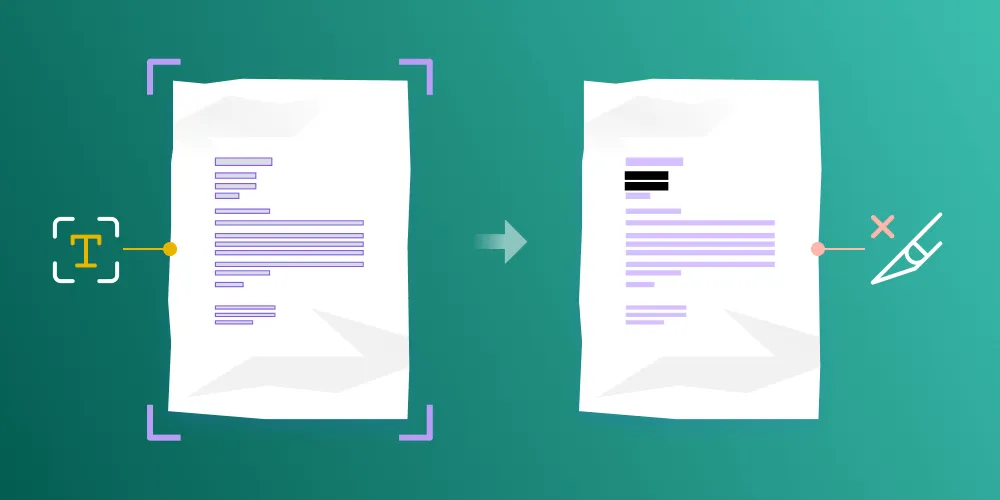
We added support for OCR in PSPDFKit 6.5 for Android, and in this small how-to, I’ll walk you through how to use PSPDFKit for Android to perform OCR on scanned documents and then explain what can be done with the resulting files. More specifically, we’ll be taking a scanned-in document, performing OCR to make the text machine readable, and then automatically redacting certain parts of it. Before getting started, let me give you a quick reminder of what OCR actually is so you know what will be happening.
What Is OCR?
OCR stands for Optical Character Recognition. It’s the process of taking a plain picture and extracting machine-readable text from it. So how does this work in the case of PSPDFKit? Here’s a simple outline of the steps needed:
- First, we need to identify areas of text in a PDF.
- Then, we extract lines of text from those areas.
- Finally, we embed the textual information into the PDF using an invisible layer of text above the image.
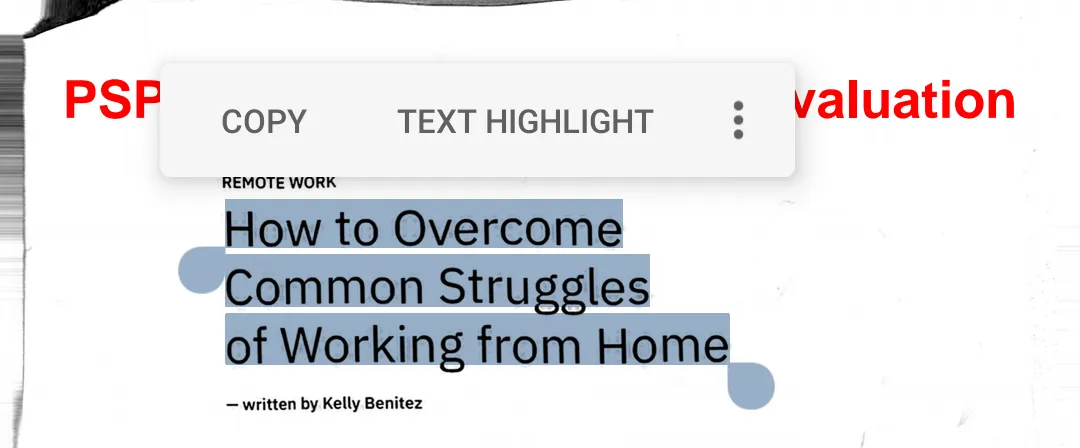
After this process is complete, we can work with the new PDF the same way we would with any other document. This means we can select, copy, highlight, and redact any part of the text. For a more in-depth look at OCR, check out our Optical Character Recognition in Scanned PDFs blog post.
The Document
Let’s start by looking at the document we’ll be working with today.

Download ocr-sample-document.pdf
This is your typical scanned document: It’s a bit roughed up, mostly legible, and saved as a PDF. Let’s see how PSPDFKit does with it.
Performing OCR
Performing OCR couldn’t be easier. We simply need to load the document and then use PdfProcessor to apply a PdfProcessorTask configured to perform OCR.
ℹ️ Pro Tip: The below sample can also be used with Image Documents; we just need to use
ImageDocument#getDocument()when creating thePdfProcessorTask.
// Load the document.val document = PdfDocumentLoader.openDocument(this, ...)// This allows us to run OCR on all pages of the document.val pageIndexesToProcess = (0 until document.pageCount).toSet()
// Create a `PdfProcessorTask` configured to perform OCR.// Make sure to use the correct language.val task = PdfProcessorTask.fromDocument(document)            .performOcrOnPages(pageIndexesToProcess, OcrLanguage.ENGLISH)
// Create a path where we can save the document.val outputFile = File(filesDir, "${document.title}-ocr-processed.pdf")
// Finally we process the file.// OCR is quite slow, so make sure to run this in a background thread, or use `processDocumentAsync`.PdfProcessor.processDocument(task, outputFile)
With that, we have all the text in the document extracted.

The document hasn’t changed visually, but if we now try to select some text, it will be highlighted correctly, showing that our OCR operation was successful. This means we’re ready for the next step: redacting the document.
Applying Redactions
For this example, I want to show how to automatically redact certain words using our PDF redaction library — something that’s only possible because we performed OCR on the document beforehand. To perform the automatic redaction, we need to use the TextSearch class, which allows us to find text in our document.
// Open the processed document we just produced.val processedDocument = PdfDocumentLoader.openDocument(this, Uri.fromFile(outputFile))
// Create a `TextSearch` object to perform the search.val textSearch = TextSearch(processedDocument, this.configuration.configuration)
// Search for the word we want to redact.val searchResults = textSearch.performSearch("work")for (searchResult in searchResults) {  // Now for each result, create a matching redaction annotation.  val redactionAnnotation = RedactionAnnotation(searchResult.pageIndex, searchResult.textBlock.pageRects)  processedDocument.annotationProvider.addAnnotationToPage(redactionAnnotation)}
// Make sure the redaction annotations are properly stored.processedDocument.saveIfModified()
// Now save the file to a new path while applying the redactions.val redactedFile = File(filesDir, "${document.title}-ocr-redacted.pdf")
// To apply the redactions, we simply create `DocumentSaveOptions` and make sure to call `setApplyRedactions(true)`.val documentSaveOptions = processedDocument.defaultDocumentSaveOptionsdocumentSaveOptions.setApplyRedactions(true)processedDocument.save(redactedFile.canonicalPath, documentSaveOptions)
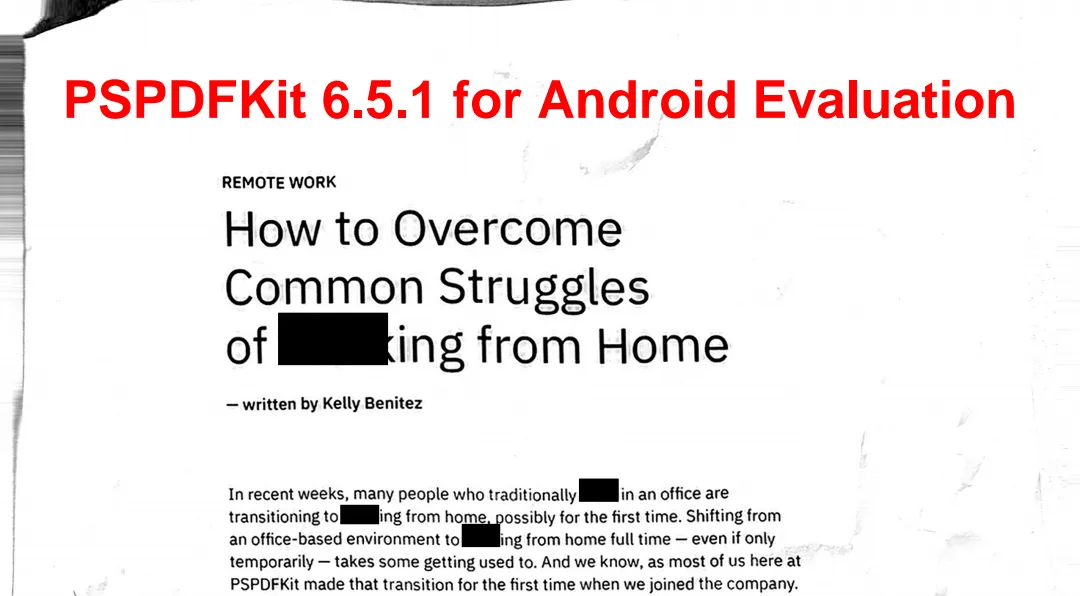
The final output should look something like the following, with all occurrences of "work" being redacted.

But wait! Something you might have noticed in the above screenshot that I feel is worth pointing out is that the very first instance of the word "work" wasn’t actually redacted. This is because OCR almost never has an accuracy of 100 percent, so in situations where it’s absolutely critical that the redactions cover everything, nothing beats a human double-checking things. That being said, if you do encounter documents with particularly bad accuracy, don’t hesitate to let us know through our support channels(opens in a new tab), as we’re actively working on improving the quality on offer.
Final Words
I hope this gave you an idea of what OCR is and why it’s so useful. Automatically applying redactions is just one of many functions you can unlock once the text of a scanned document has been made machine readable. Others include being able to use our full suite of text highlighting tools, searching through single documents, copying the text, and even indexing an entire collection of documents using our full-text search.


