Processing PDF Files in a Browser Using JavaScript
Table of contents
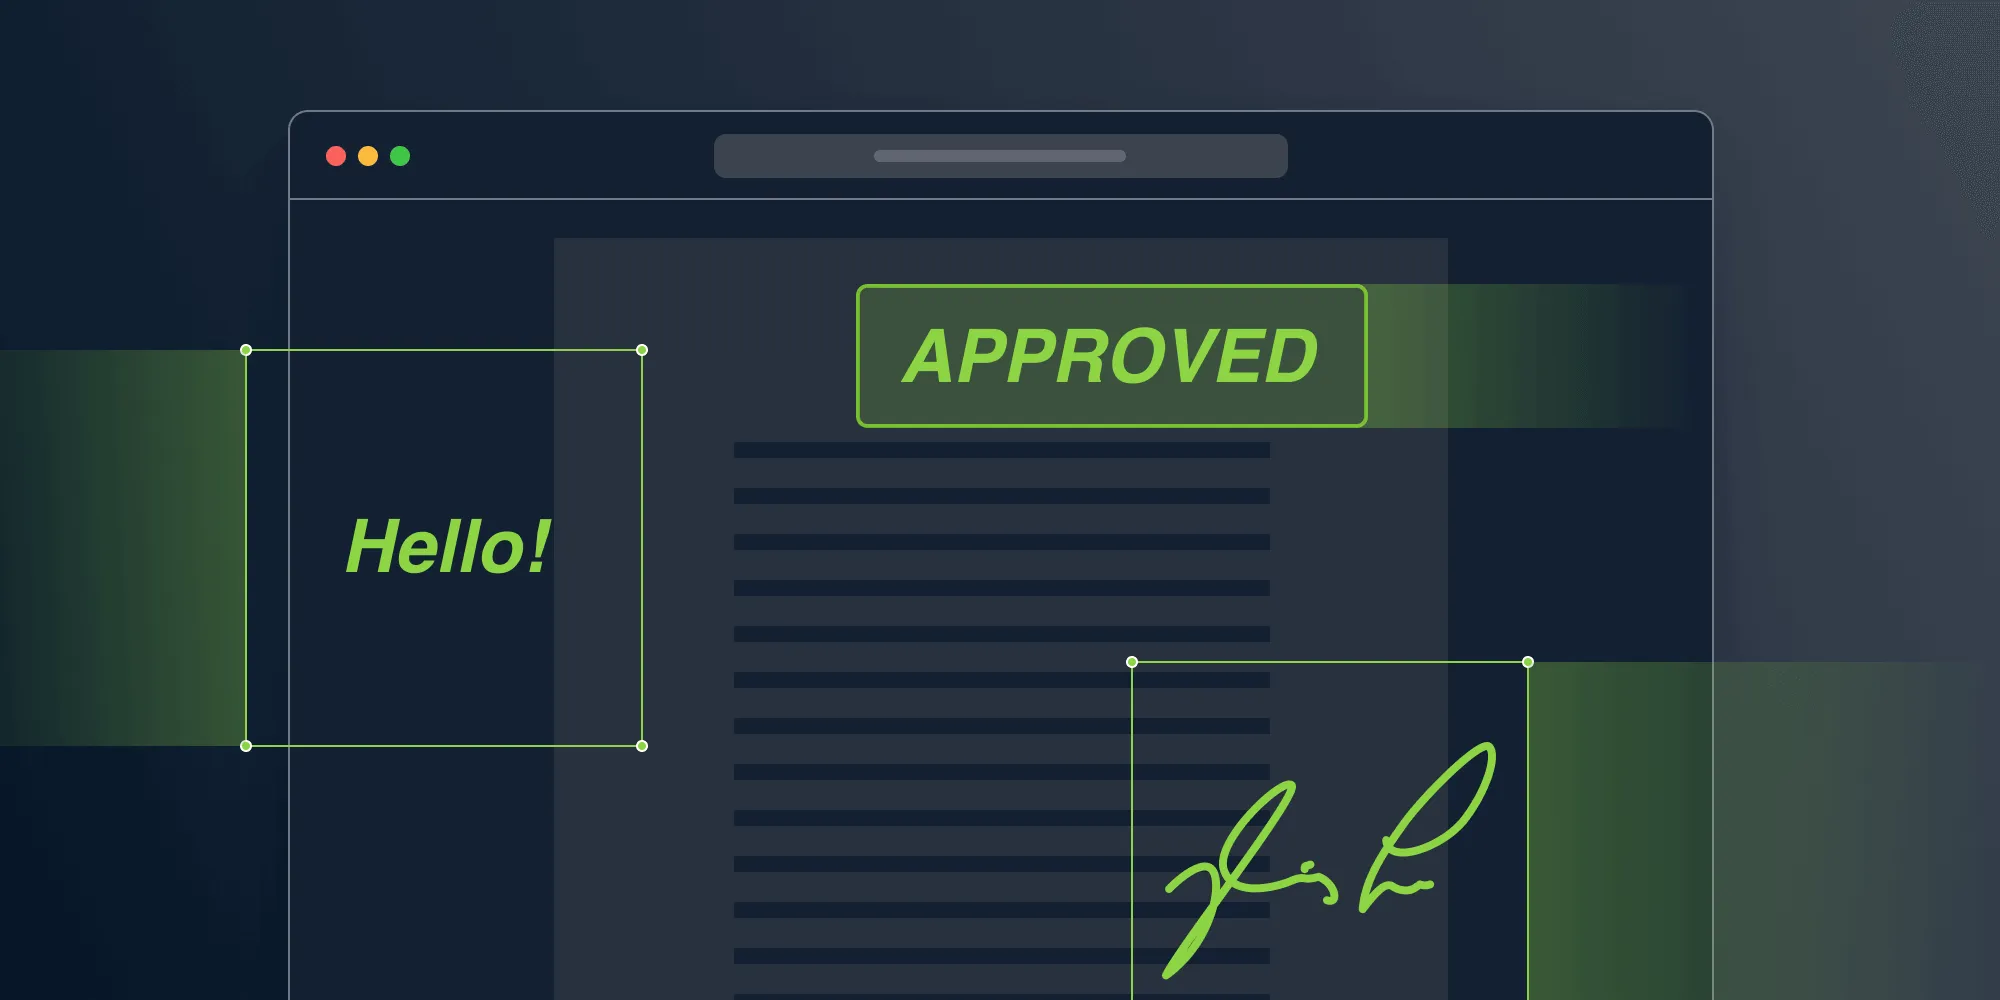
Editing PDF files can be a relatively complex task, especially if it needs to be performed in a browser. PSPDFKit for Web supports a wide range of PDF editing functionality, both via the UI and programmatically via APIs. This functionality spans from marking up a page with annotations, to editing full pages in a document. In this post, we’ll look at how to use our APIs to process PDF files programmatically in a browser.
Introducing PSPDFKit for Web
PSPDFKit for Web is a fully featured solution for web apps that supports viewing and editing PDF documents. It comes with two deployment options out of the box: server-backed and standalone.
- Server-backed relies on PSPDFKit Server to handle all your PDF needs. It processes and renders documents on the server, which ensures a smooth user experience, regardless of the end user’s device.
- Standalone deployment runs entirely in the browser without any server component required. The absence of a server makes it easier to integrate into your existing website. The downside is potentially worse performance in certain browsers and on certain devices.
For the most part, PSPDFKit APIs work the same for both deployments. The only difference is that of the configuration options required when initializing the framework. For the sake of simplicity, this post will only talk about processing files using standalone deployments.
If you want to follow along with the code samples in this post, you need to have a running instance of PSPDFKit for Web. Follow the steps in our getting started guides to set it up in a frontend environment of your choice.
Headless Mode
When loading a document, PSPDFKit for Web instantiates a PDF viewing UI by default:
const instance = await PSPDFKit.load({ document: 'Document.pdf', container: '#pspdfkit',});However, the additional work required to instantiate the UI is wasteful when we only want to process PDFs. For this reason, we support running the framework in headless mode:
const instance = await PSPDFKit.load({ document: 'Document.pdf', headless: true,});The code above informs PSPDFKit to only load the document and skip loading any UI. Notice that passing the container option doesn’t make sense in headless mode. Also, keep in mind that any APIs related to PSPDFKit’s UI won’t work in headless mode. Examples of these are the toolbar configuration and the relevant APIs.
Annotating Pages
We’ll start with editing the content of a document’s pages using the Annotations API. Due to the nature of the PDF file format, content displayed as a PDF page isn’t suitable for easy editing. The PDF specification solves this problem by defining a set of objects that can be added to PDF pages without changing the page contents. These objects are called annotations, and their uses range from marking up the page content — for example, with text, images, or shape drawings — to implementing interactive features such as forms. You can read a more in-depth introduction to PDF annotations in our What Are Annotations? blog post.
PSPDFKit for Web has full support for creating, editing, and deleting annotations. So let’s create a simple text annotation:
const annotation = new PSPDFKit.Annotations.TextAnnotation({  // This is the 0-based index of the page where the annotation should be created.  pageIndex: 0,  // The bounding box defines the bounds of the annotation on the page. Coordinates originate  // in the top-left corner of the page and use PDF points as the dimension.  boundingBox: new PSPDFKit.Geometry.Rect({    left: 10,    top: 20,    width: 200,    height: 100,  }),  // The actual text of the annotation itself.  text: {      format: 'plain',      value: 'Welcome to\nPSPDFKit',    },  font: 'Helvetica',  isBold: true,  horizontalAlign: 'center',  fontColor: PSPDFKit.Color.RED,});
// Now pass the annotation to the `Instance.create()` method. This method returns a list of// created annotations — notice that you can also create multiple annotations in a single// batch by passing an array of annotations to create.const [createdAnnotation] = await instance.create(annotation);
console.log(`Annotation created: ${createdAnnotation}`);
Annotations can also be easily updated and deleted. As an exercise, we’ll move all annotations on the first page to the second page:
// First, we'll retrieve all annotations on first page.const pageAnnotations = await instance.getAnnotations(0);
// Each annotation has a unique ID assigned. We'll remove this and update the page index of all annotations to the second page.const newAnnotations = pageAnnotations.map((annotation) => {  annotation.remove('id').set('pageIndex', 1);});
// We can now create the newly created annotation objects.await instance.create(newAnnotations);
// And finally, we delete the original annotations.await instance.delete(pageAnnotations);
Notice the use of the remove and set methods. Annotation objects are immutable, which means changing their properties directly isn’t possible. Any change to annotation object properties creates a brand-new object with a copy of the old properties and the new property change. This is exactly what the remove and set methods do — they create a new object that’s produced by modifying the original annotation.
To update an existing annotation, update the annotation object and pass it to the instance.update() method:
const updatedAnnotation = annotation.set('fontColor', PSPDFKit.Color.BLACK);await instance.update(updatedAnnotation);I hope you got a good understanding of the general idea behind the Annotations API. To learn more, refer to our introduction to annotations guide.
Exporting the Document
Since we’re handling our documents in a browser, it isn’t possible to save changes we make directly back to the source file. Instead, whenever we’re done with making modifications to the document, we need to export the PDF:
const pdfData = await instance.exportPDF();This gets us an ArrayBuffer with the exported PDF data. We now need to handle it appropriately. This could mean triggering a download with the exported document, sending it to our backend server, or loading it for viewing in a browser. For example, see how quickly we can preview the result in PSPDFKit:
instance = await PSPDFKit.load({ baseUrl: 'http://localhost:8080/assets/', document: pdfData, container: '#pspdfkit',});For details on how to download the exported PDF or how to send it to a remote server, refer to this guide on PDF exporting.
ℹ️ Note: PSPDFKit for Web differentiates between “unsaved” local changes stored in the client’s state, and “saved” changes applied to the PDF on Server (in case of Server-backed deployments) or the PDF in memory (for standalone deployments). By default, the changes are saved automatically. In case you modify a
Configuration#autoSaveModeproperty in PSPDFKit’s configuration, make sure to save changes viaInstance#save()before exporting. This ensures all your changes are present in the exported PDF.
Editing Document Pages
PSPDFKit also supports performing structural changes to documents via its Document Editor APIs, including new page creation, duplication, reordering, rotation, and deletion. Each of these operations is defined as a PSPDFKit.DocumentOperation(opens in a new tab).
Document operations can be applied either to the current document instance via Instance#applyOperations()(opens in a new tab), or to the exported document via Instance#exportPDFWithOperations()(opens in a new tab). Both methods accept an array of document operations as an argument. All provided operations will be performed in a single batch, applying each operation in order on the result of the previous operation:
await instance.applyOperations([ // Add new empty page. { type: 'addPage', // Add new page before first page. beforePageIndex: 0, // Set the new page background color. backgroundColor: new PSPDFKit.Color({ r: 100, g: 200, b: 255 }), pageWidth: 750, pageHeight: 1000, }, // Then duplicate the new page. { type: 'duplicatePages', // Page index of the new page — 0 because the first operation adds it before the first page of the original document. pageIndexes: [0], },]);Example — Watermarking
Now, let’s take what we learned so far and apply it to a slightly more complicated example: watermarking a document with an image.
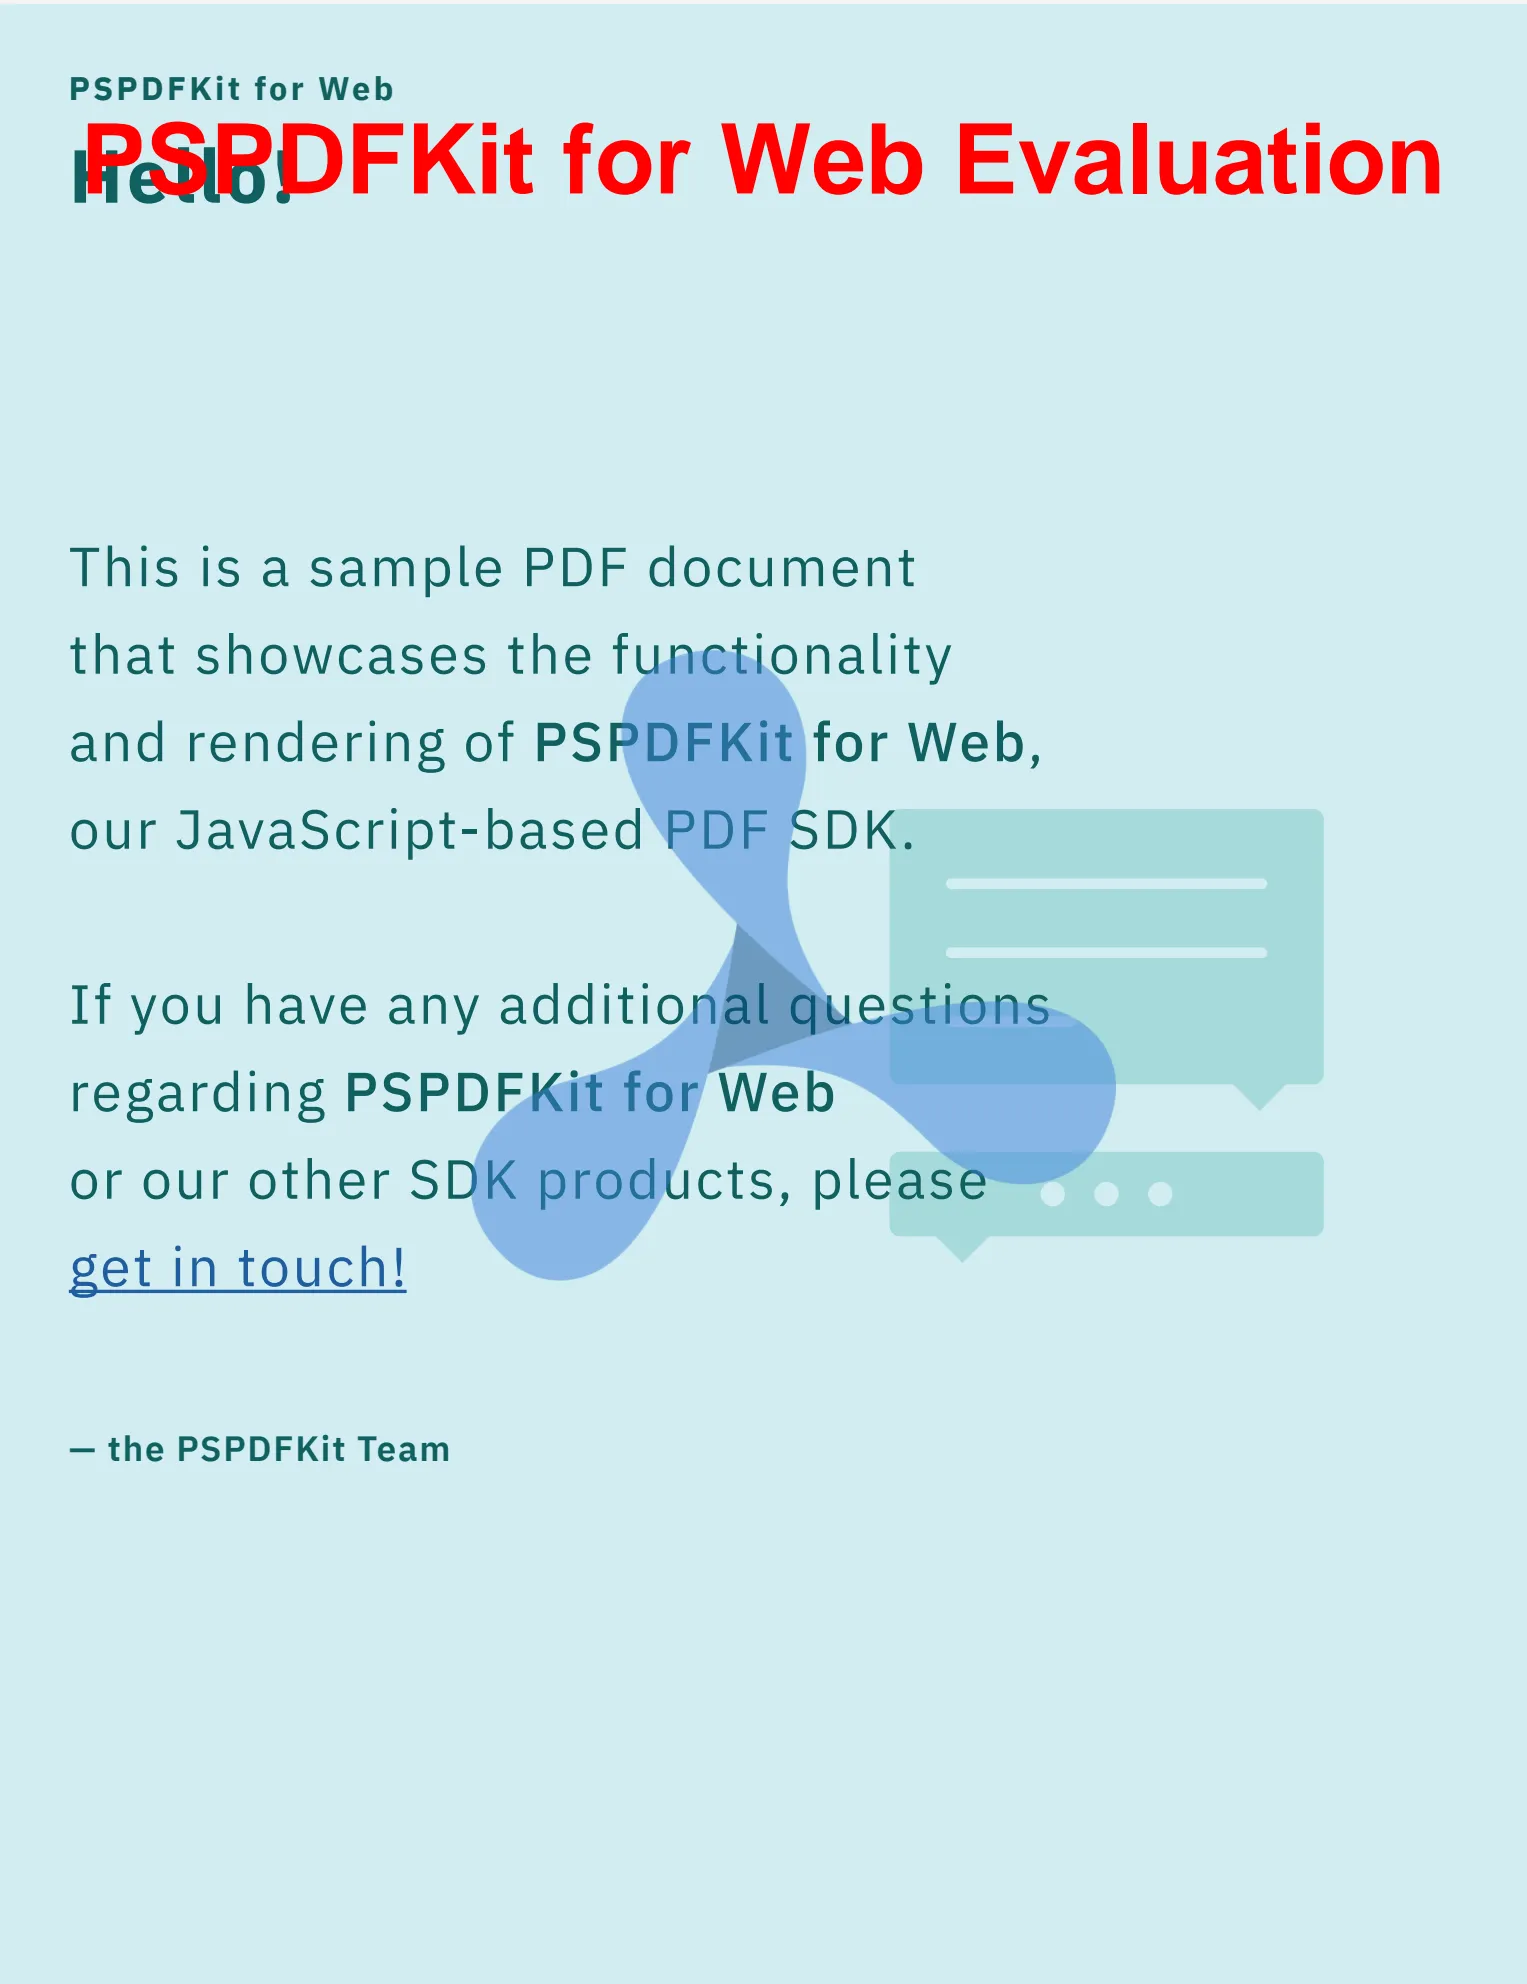
Our goal is to add a transparent image annotation to the middle of all the pages and flatten them via the Document Editor.
Image Annotations
However, I need to touch on one more concept before we can create image annotations. Attachments are blobs of binary data associated with annotations. To create an image annotation, the attachment needs to first be created and then referenced by its ID as imageAttachmentId in the image annotation.
We’ll start by fetching the image from our server:
const request = await fetch('company-logo.png');const blob = await request.blob();Attachments can be created directly from a Blob(opens in a new tab) with the image data:
const imageAttachmentId = await instance.createAttachment(blob);To keep the code tidy, we’ll introduce a function responsible for creating an image annotation centered on a specified page:
function watermarkForPage(  instance,  pageIndex,  watermarkWidth,  watermarkHeight,  imageAttachmentId,) {  // Calculate the page's middle point.  const pageInfo = instance.pageInfoForIndex(pageIndex);  const pageMidX = pageInfo.width / 2;  const pageMidY = pageInfo.height / 2;
  // Position the annotation bounding box so that its middle point matches the middle of the page.  const boundingBox = new PSPDFKit.Geometry.Rect({    left: pageMidX - watermarkWidth / 2,    top: pageMidY - watermarkHeight / 2,    width: watermarkWidth,    height: watermarkHeight,  });
  // Finally, create the desired image annotation.  return new PSPDFKit.Annotations.ImageAnnotation({    contentType: 'image/png',    pageIndex,    imageAttachmentId,    boundingBox,    opacity: 0.5,  });}
Flattening Annotations
To make our image annotations non-editable, we’ll perform annotation flattening. This process embeds the contents of annotation objects into the page contents, removing the annotation objects themselves:
const result = await instance.exportPDFWithOperations([ { type: 'flattenAnnotations' },]);ℹ️ Note: PDF viewers and editors usually support creating and editing a subset of annotation types defined by the PDF specification, and PDF viewers conforming to the PDF specification should support rendering all annotation types. However, this isn’t the case for some widely used PDF viewers, such as those built into web browsers. If you don’t keep your annotations editable, consider flattening them to make sure they can be displayed correctly across all PDF viewers.
Putting It All Together
To put it all together, we’ll iterate over all the pages in the document and create an image annotation for each page:
const watermarkWidth = 300;const watermarkHeight = 300;
const imageAnnotations = [];for (let pageIndex = 0; pageIndex < instance.totalPageCount; ++pageIndex) {  imageAnnotations.push(    watermarkForPage(      instance,      pageIndex,      watermarkWidth,      watermarkHeight,      imageAttachmentId,    ),  );}
await instance.create(imageAnnotations);
const result = await instance.exportPDFWithOperations([  { type: 'flattenAnnotations' },]);
Now we’re done, and we have our document watermarked:
Conclusion
This article provided a very basic overview of the PDF processing capabilities of PSPDFKit for Web. For the sake of simplicity, we started with a standalone deployment that runs fully in a browser. This is also the recommended route if you’re just evaluating PSPDFKit. In case you find standalone deployment limiting (for example, for its performance implications or its lack of collaboration features), you’ll be able to easily migrate your code to Server-backed deployments. This is because our API is designed in such a way that the same code will continue working for you even after you make the switch.


