Using a Webcam as an Image Input Source
Table of contents

In this post, you’ll learn how a webcam can be used to add images to a PDF using PSPDFKit for Web and the MediaDevices Web API(opens in a new tab).
Using a webcam in this way can be useful for capturing and incorporating real-time images into your PDF documents. This is helpful in a variety of scenarios, such as when capturing signatures, adding photos to forms, or incorporating visual elements into reports and presentations.
Installing PSPDFKit
To display a PDF in your project, you’ll need to install the PSPDFKit for Web package. Once PSPDFKit is installed and initialized, you can use it to display and manipulate PDF documents in your web application.
- Install the
pspdfkitpackage using eithernpmoryarn. Or, if you prefer, you can also download PSPDFKit for Web manually:
npm install pspdfkityarn add pspdfkit- Add the PSPDFKit library files to your
assetsfolder. Once this is done, PSPDFKit for Web will be able to access and use them. Use the following command to do this:
cp -R ./node_modules/pspdfkit/dist/ ./assets/Make sure your assets directory contains the pspdfkit.js file and a pspdfkit-lib directory with the library assets.
Integrating into Your Project
- Add the PDF document you want to display to your project’s directory. You can use our demo document as an example.
- Create an empty
divelement with a defined height in your HTML file where PSPDFKit will be mounted:
<div id="pspdfkit" style="height: 100vh;"></div>- Include
pspdfkit.jsin your HTML page:
<script src="assets/pspdfkit.js"></script>- Finally, initialize the PSPDFKit for Web instance by calling
PSPDFKit.load():
<script> PSPDFKit.load({ container: "#pspdfkit", document: "document.pdf" // Add the path to your document here. }) .then(function(instance) { console.log("PSPDFKit loaded", instance); }) .catch(function(error) { console.error(error.message); });</script>You can see the full index.html file below:
<!DOCTYPE html><html>  <head>    <title>My App</title>    <meta      name="viewport"      content="width=device-width, initial-scale=1.0, minimum-scale=1.0, maximum-scale=1.0, user-scalable=no"    />  </head>  <body>    <!-- Element where PSPDFKit will be mounted. -->    <div id="pspdfkit" style="height: 100vh;"></div>
    <script src="assets/pspdfkit.js"></script>
    <script>      PSPDFKit.load({        container: '#pspdfkit',        document: 'document.pdf',      })        .then(function (instance) {          console.log('PSPDFKit loaded', instance);        })        .catch(function (error) {          console.error(error.message);        });    </script>  </body></html>
Using a Webcam as an Image Input Source
To use a webcam as an image input source in PSPDFKit for Web, you’ll first need to ensure that your web browser supports webcam access. Most modern browsers — including Google Chrome and Mozilla Firefox — support(opens in a new tab) webcam access.
Now you need to request access to the webcam you’ll be using with the navigator.mediaDevices.getUserMedia() method. This method will prompt you to grant permission for the webpage to access the webcam. If you grant permission, the method will return a MediaStream object containing the video and audio tracks from the webcam:
navigator.mediaDevices .getUserMedia({ video: true, audio: false, }) .then(function (mediaStream) { // The user has granted permission to access their webcam. // We now have a `MediaStream` object containing the video and // audio tracks from the webcam. });Once you have a MediaStream object, you can use it to create a video element that will display the webcam video on your webpage. You can later use this element as a source for a canvas element, which enables you to capture images from the webcam and incorporate them into PDF documents.
Putting It All Together
Now it’s time to put it all together:
PSPDFKit.load({  container: '#pspdfkit',  document: 'document.pdf',})  .then(function (instance) {    instance.setToolbarItems((toolbarItems) => [      ...toolbarItems,      {        type: 'custom',        icon:          '<svg style="color: white" xmlns="http://www.w3.org/2000/svg" width="16" height="16" fill="currentColor" viewBox="0 0 16 16"><path d="M15 12a1 1 0 0 1-1 1H2a1 1 0 0 1-1-1V6a1 1 0 0 1 1-1h1.172a3 3 0 0 0 2.12-.879l.83-.828A1 1 0 0 1 6.827 3h2.344a1 1 0 0 1 .707.293l.828.828A3 3 0 0 0 12.828 5H14a1 1 0 0 1 1 1v6zM2 4a2 2 0 0 0-2 2v6a2 2 0 0 0 2 2h12a2 2 0 0 0 2-2V6a2 2 0 0 0-2-2h-1.172a2 2 0 0 1-1.414-.586l-.828-.828A2 2 0 0 0 9.172 2H6.828a2 2 0 0 0-1.414.586l-.828.828A2 2 0 0 1 3.172 4H2z" fill="white"></path> <path d="M8 11a2.5 2.5 0 1 1 0-5 2.5 2.5 0 0 1 0 5zm0 1a3.5 3.5 0 1 0 0-7 3.5 3.5 0 0 0 0 7zM3 6.5a.5.5 0 1 1-1 0 .5.5 0 0 1 1 0z" fill="white"></path></svg>',        onPress: async () => {          const modal = document.createElement('div');          modal.setAttribute(            'style',            'position: absolute; background-color: rgba(0,0,0,0.6); top: 0; left: 0; bottom: 0; right: 0;',          );
          // Here, we create video, canvas, and button elements.          modal.innerHTML = `            <div style="height: 100%; width: 100%; display: flex; flex-direction: column; justify-content: center; align-items: center;">              <video id="video" autoplay height="240" width="320"></video>              <canvas id="canvas" style="display: none;" height="240" width="320"></canvas>              <div style="margin-top: 8px;">               <button id="insert">Insert</button>               <button id="close">Close</button>              </div>            </div>              `;          const canvas = modal.querySelector('canvas');
          const video = modal.querySelector('video');          // Asking the user for permissions. If allowed, set webcam feed to video element.          video.srcObject = await navigator.mediaDevices.getUserMedia(            {              video: true,              audio: false,            },          );
          function closeModal() {            video.srcObject.getTracks().forEach(function (track) {              track.stop();            });
            instance.contentDocument.body.removeChild(modal);          }
          const closeButton = modal.querySelector('#close');          closeButton.addEventListener('click', closeModal);
          const insertButton = modal.querySelector('#insert');          insertButton.addEventListener('click', function () {            // Draw an image in canvas from the video element.            canvas              .getContext('2d')              .drawImage(                video,                0,                0,                canvas.width,                canvas.height,              );
            canvas.toBlob(async (blob) => {              // Create a blob attachment that will be an `Image`.              const imageAttachmentId = await instance.createAttachment(                blob,              );              // Create an image annotation with the blob attached above.              const annotation = new PSPDFKit.Annotations.ImageAnnotation(                {                  pageIndex: 0,                  isSignature: true,                  contentType: 'image/jpeg',                  imageAttachmentId,                  description: 'Example Image Annotation',                  boundingBox: new PSPDFKit.Geometry.Rect({                    left: 10,                    top: 20,                    width: canvas.width,                    height: canvas.height,                  }),                },              );
              await instance.create(annotation);
              closeModal();            });          });
          instance.contentDocument.body.appendChild(modal);        },      },    ]);  })  .catch(function (error) {    console.error(error.message);  });
To summarize the code above:
- Create a new toolbar item using
Instance.setToolbarItems. - That new item has a press listener that creates a modal.
- The modal contains a
videoelement with a webcam video feed, a hiddencanvaselement, and Close and Insertbuttons. - Click the Close
buttonto stop the video feed and remove the modal. - Click the Insert
buttonto add a video screenshot to an invisiblecanvaselement and export that to a blob that will be used to create an image annotation. After this is done, it removes the modal altogether.
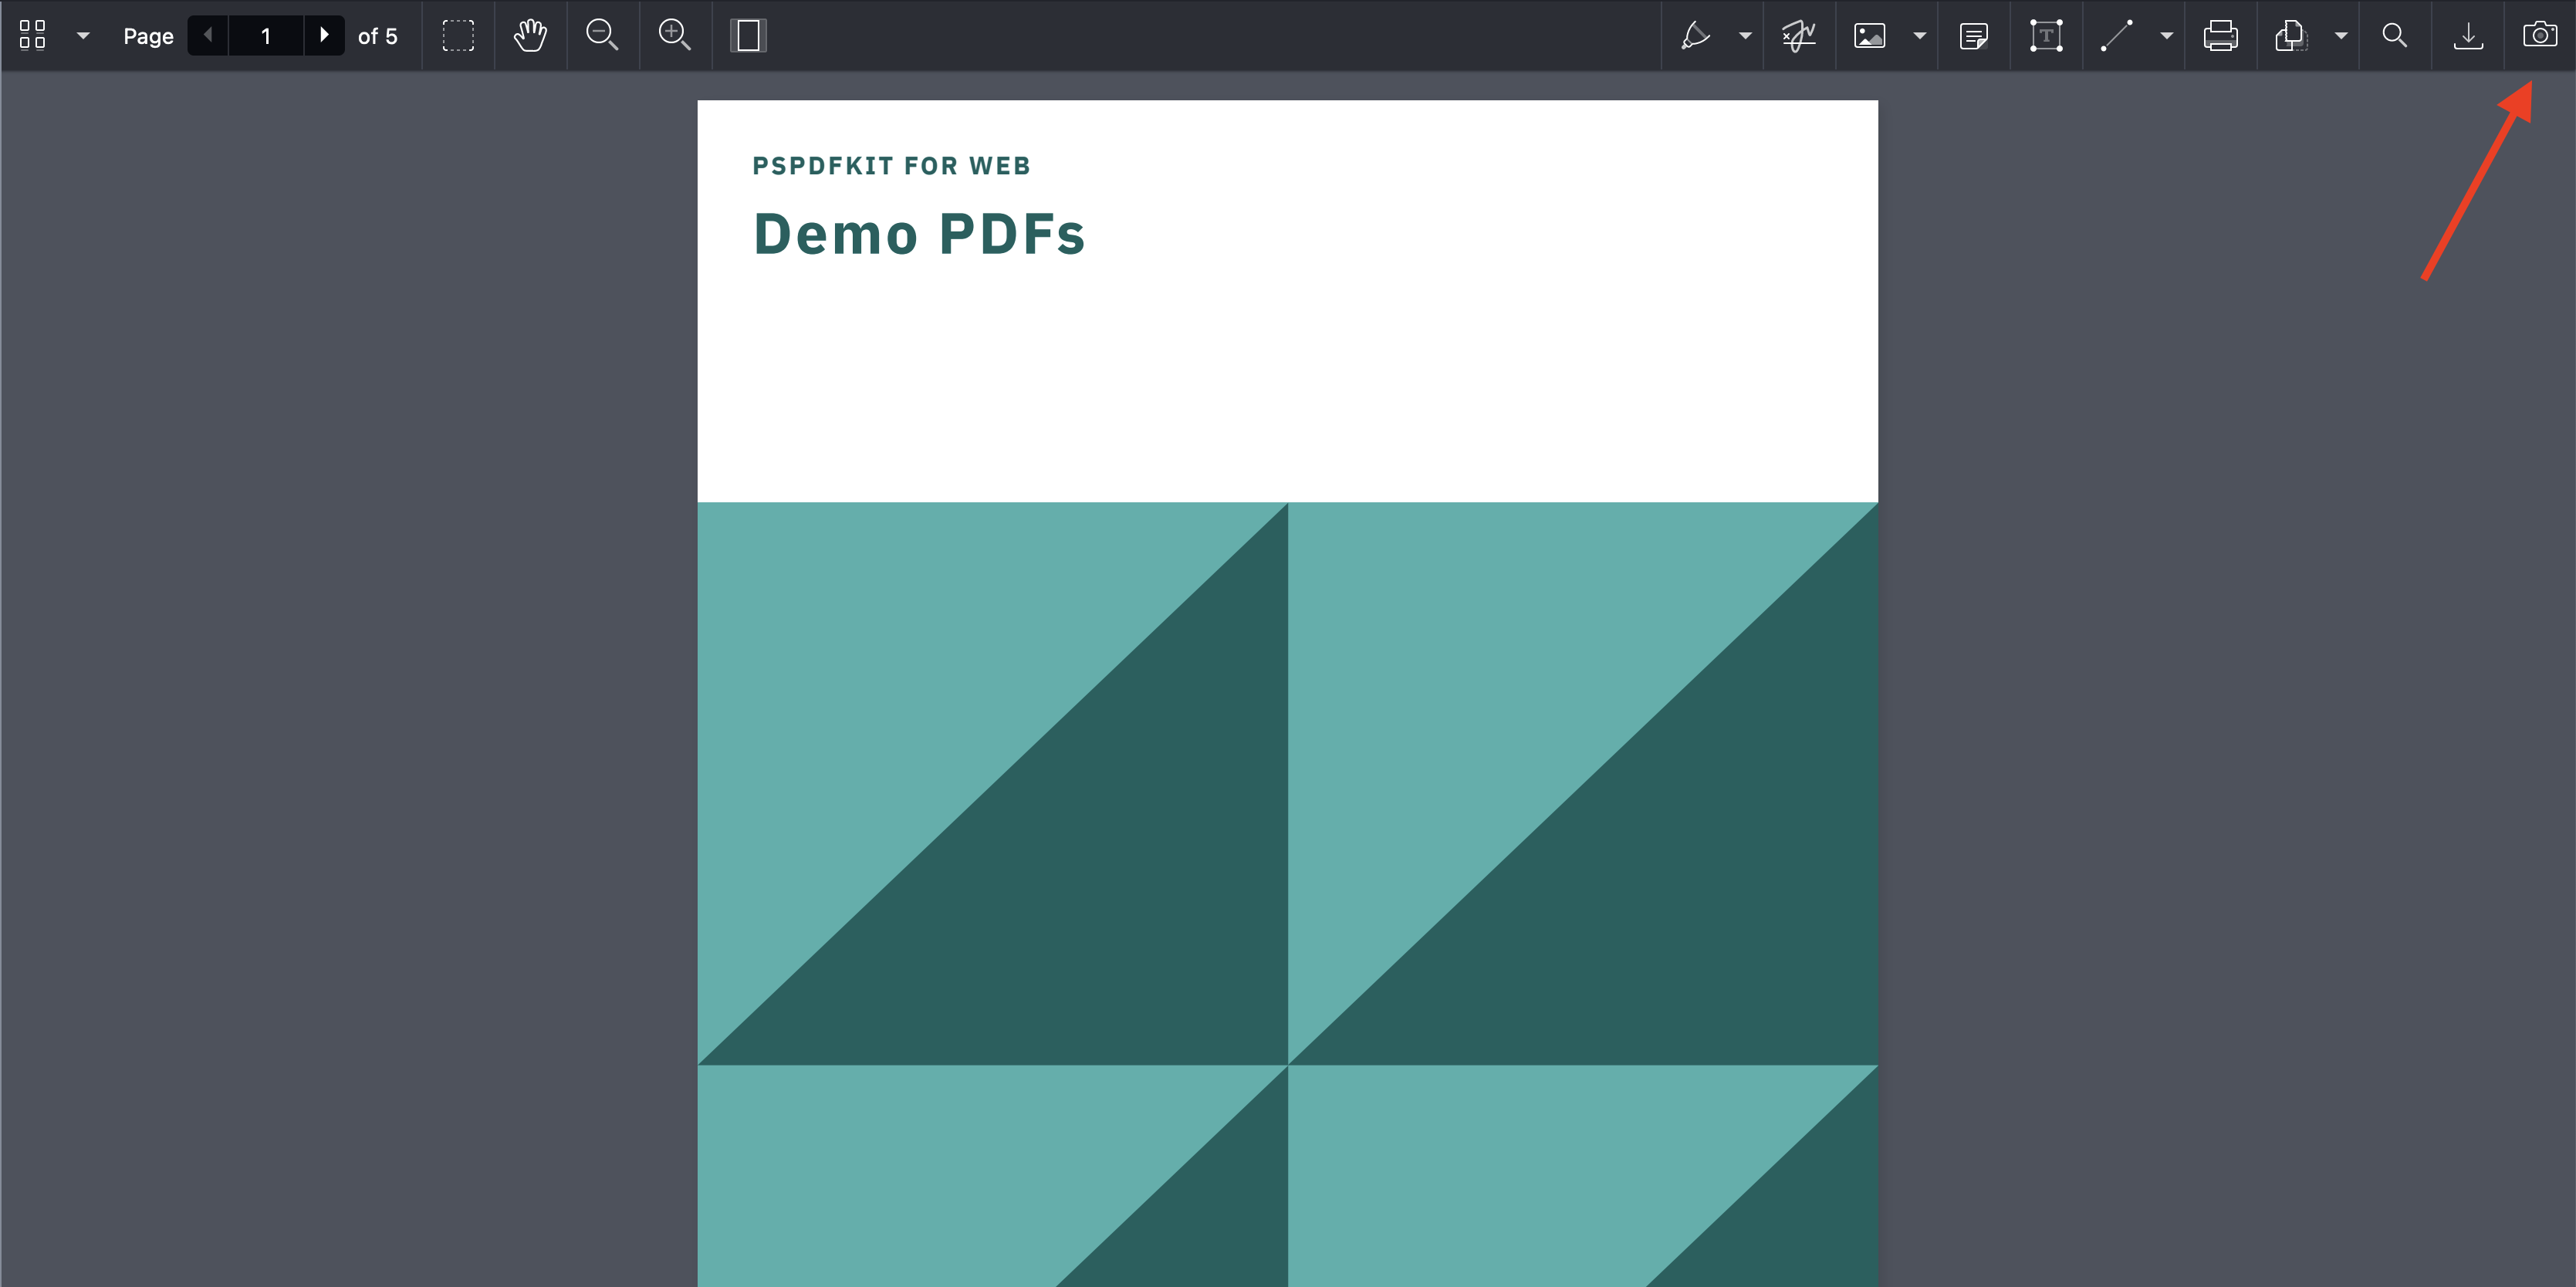
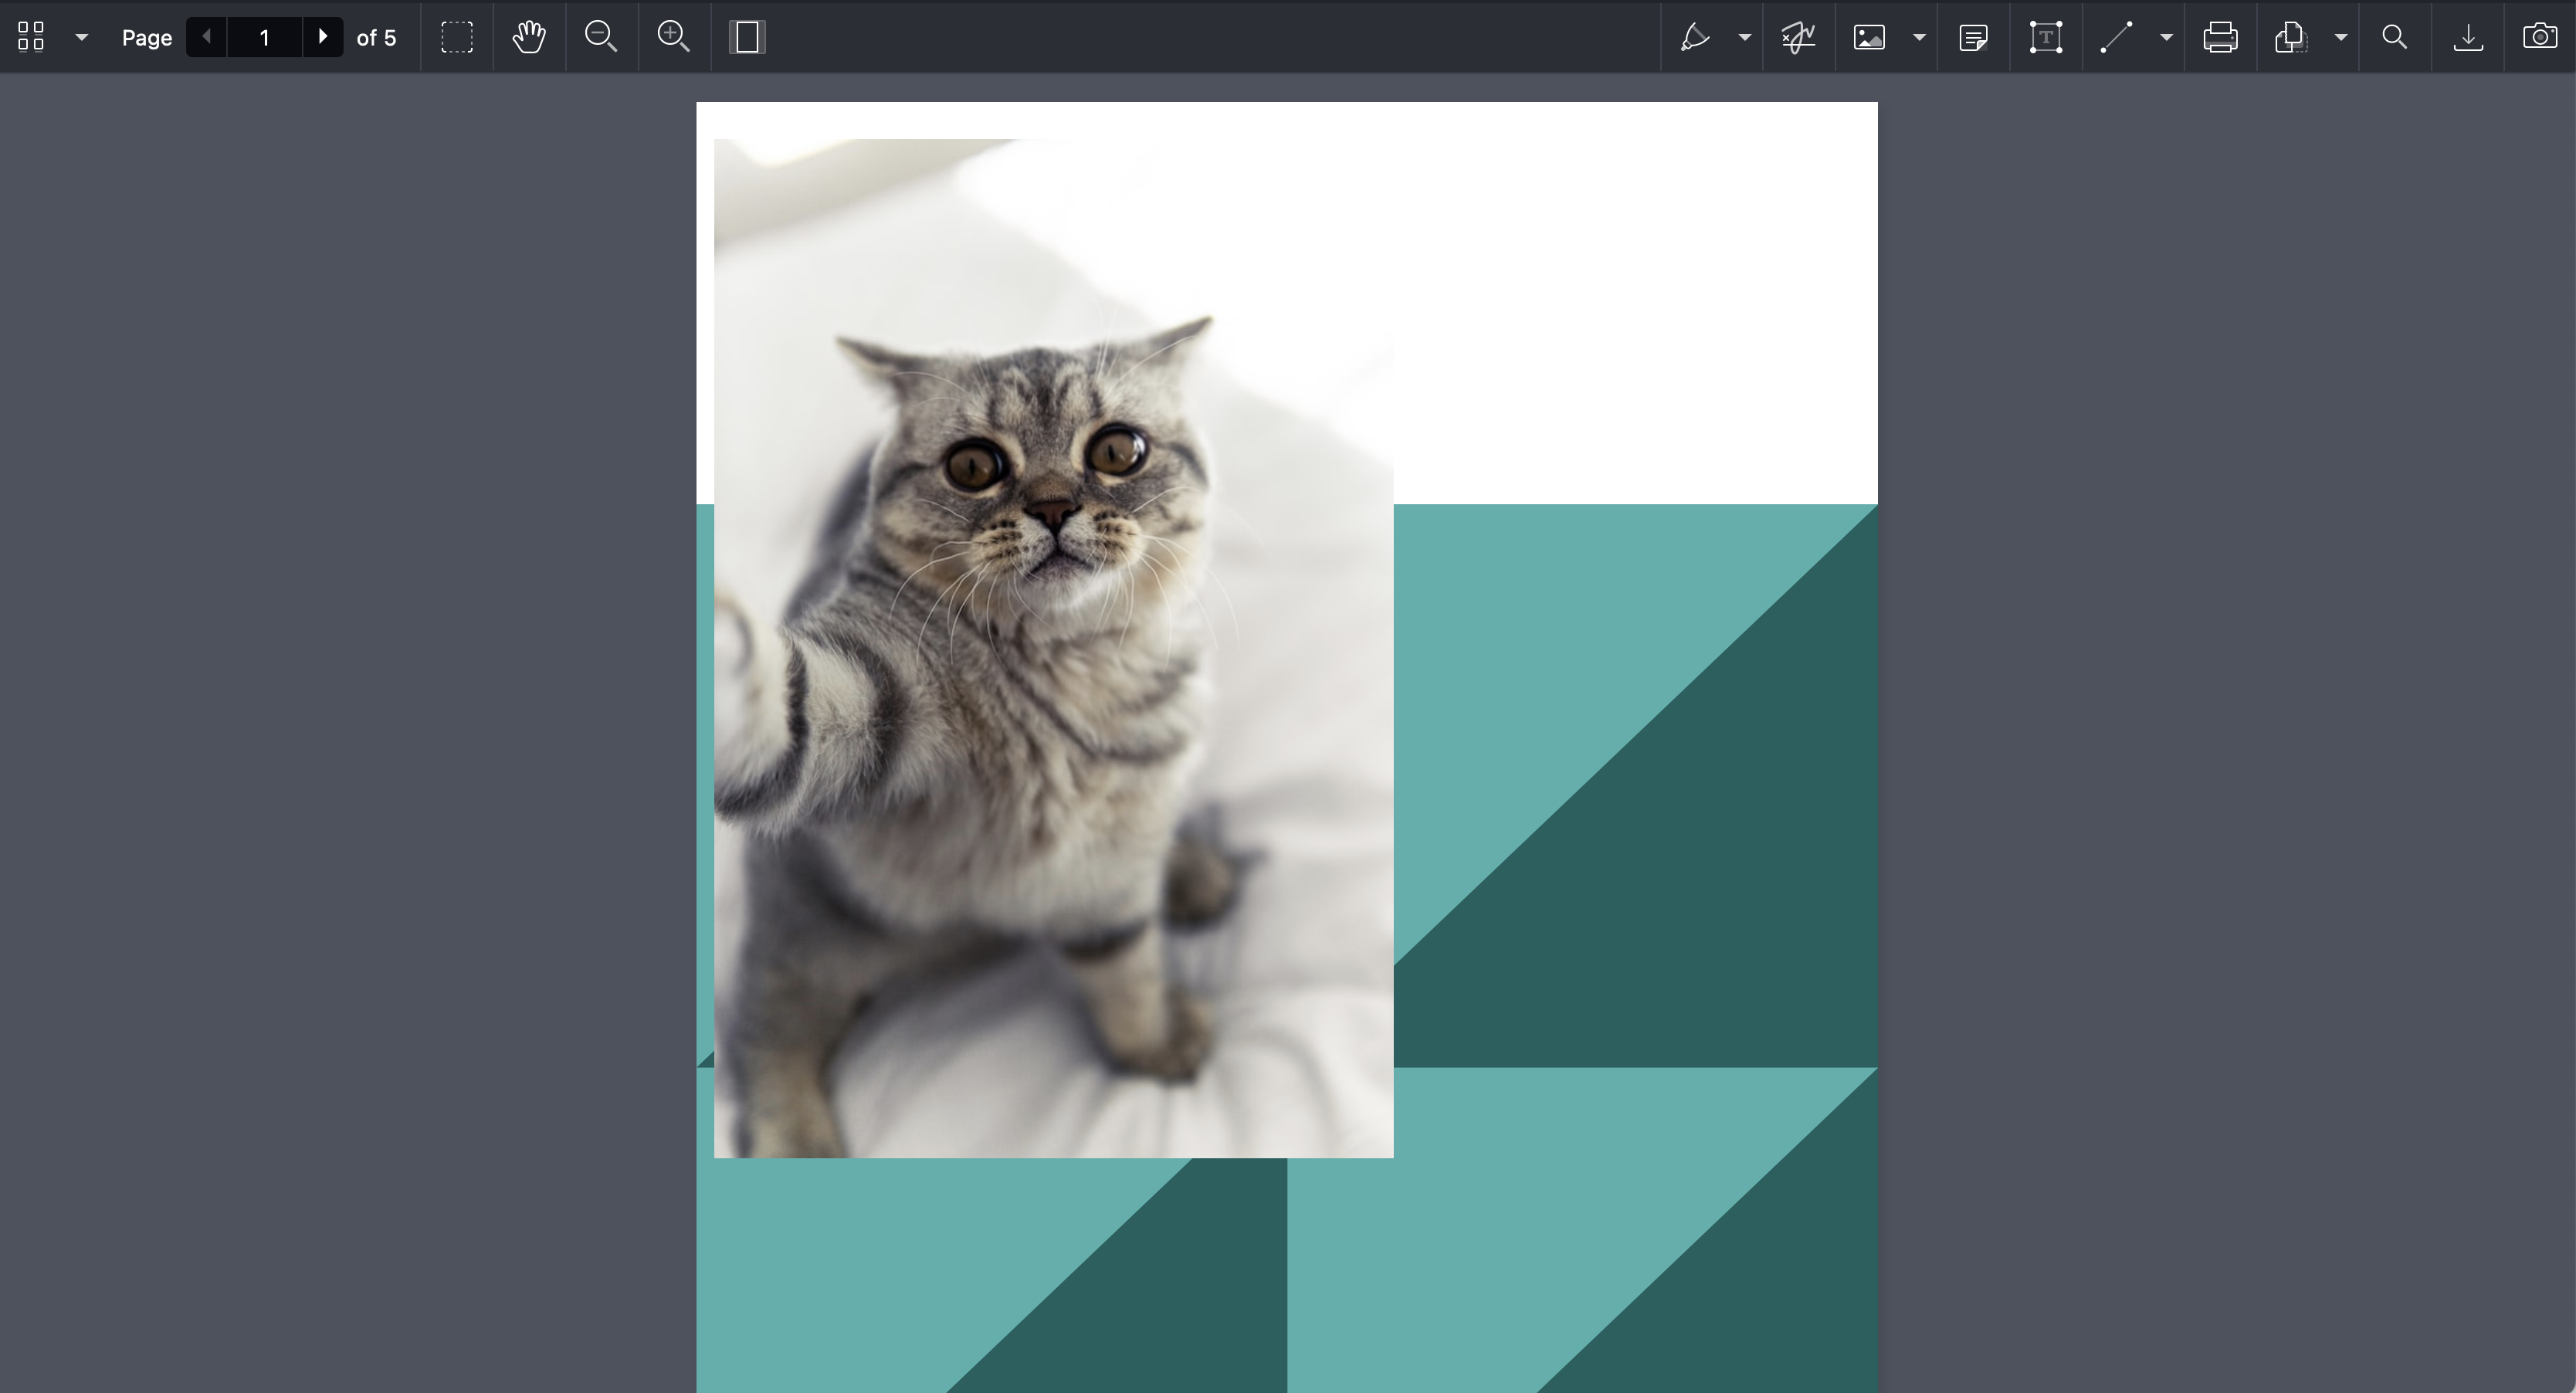
That’s it! Now, when you run your app, you’ll see a new toolbar item that enables you to add an image from a webcam to a PDF!

Conclusion
In this post, you learned how a webcam can be used as an image input source for a PDF using PSPDFKit for Web and the MediaDevices Web API. If you hit any snags following this tutorial, don’t hesitate to reach out to our Support team for help.

You can also deploy our vanilla JavaScript PDF viewer or use one of our many web framework deployment options like Vue.js, React.js, and jQuery. To see a list of all web frameworks, start your free trial.


